Thanks for checking out this backend project.
Mastering Backend projects help you improve your coding skills by building real-world projects.
To do this challenge, you need a good understanding of any backend programming languages such as PHP, Node.js, Python, Rust, C#, Java, etc.
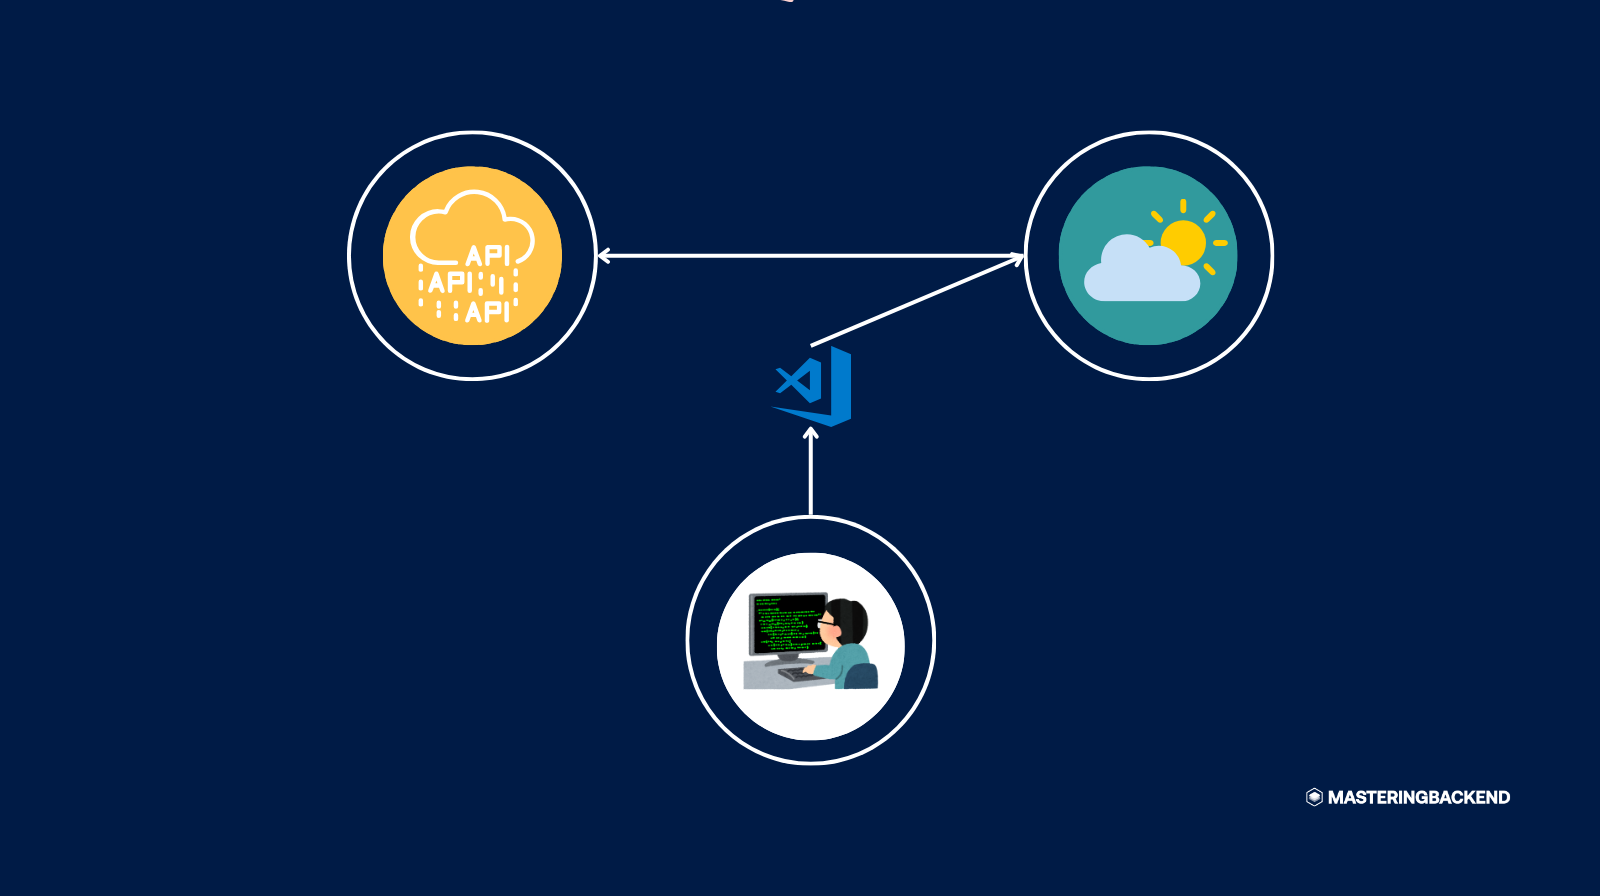
The project is to build Build Your Own Weather API and get the front end working (the front end has already integrated the API).
Click here to view more details about this project.
You can use any tools you like to help you complete the project. So if you've got something you'd like to practice, feel free to give it a go.
- Allow users to sign up, log in, and manage their accounts.
- Enable users to set and manage their locations.
- Provide current weather conditions, daily and hourly forecasts.
- Send real-time weather alerts to users.
- Support user preferences for units of measurement and notification settings.
Want some support on the project? Join our community and ask questions in the #project-builders channel.
You should have a working API with the functionalities mentioned above. Also, the API should follow the instructions listed in each task.
Your task is to Build Your Own Weather API. You will find an SQLite database file called db.sqlite inside the root folder. You will find the front end of each project on the project description page.
You can click on the Preview Frontend to have a visual view of what the project is all about.
If you would like the Figma design file to gain experience using professional tools and build more accurate projects faster, you can subscribe as a PRO member.
All the required assets and files for this project are in the root folder. If any image is required, they are already exported for the correct screen size and optimized.
There is also a **prd.pdf file containing the project requirement information you'll need, such as features, API structure, use cases, objectives, etc. Click on the Download PRD on the project description page.
Feel free to use any workflow that you feel comfortable with. Below is a suggested process, but do not feel like you need to follow these steps:
- Initialize your project as a public repository on GitHub. Creating a repo will make it easier to share your code with the community if you need help. If you're not sure how to do this, have a read-through of this Try Git resource.
- Configure your repository to publish your code to a web address. This will also be useful if you need some help during a challenge as you can share the URL for your project with your repo URL. There are several ways to do this, and we provide some recommendations below.
- Look through the PRD document to understand the scope and objectives of the project, and preview Frontend for visual understanding, start planning out how you'll tackle the project task.
- Before adding any files, structure your content with any backend language. Setting up your database with good schema design first can help focus your attention on creating a well-structured API.
- Write out the different endpoints for your project, including all the authenticated and non-authenticated endpoints.
- Start adding controllers, and models to your project. Only move on to the next task once you're happy you've completed each task and marked it as completed.
As mentioned above, there are many ways to host your project for free. Our recommended hosts are:
You can host your site using one of these solutions or any of our other trusted providers.
We strongly recommend deleting everything in this README.md and adding the instructions on how to run and test out your API.
Also, inside your own README, you should add all the things you learned while working on the backend project.
Submit your solution on the platform for the rest of the community to see. Follow our "Complete guide to submitting solutions" for tips on how to do this.
Remember, if you're looking for feedback on your solution, be sure to ask questions when submitting it. The more specific and detailed you are with your questions, the higher the chance you'll get valuable feedback from the community.
There are multiple places you can share your solution:
- Share your solution page in the #finished-projects channel of our community.
- Tweet @master_backend and mention @master_backend, including the repo and live URLs in the tweet. We'd love to take a look at what you've built and help share it around.
- Share your solution on other social channels like LinkedIn.
- Blog about your experience building your project. Writing about your workflow, and technical choices, and talking through your code is a brilliant way to reinforce what you've learned. Great platforms to write on are dev.to, Hashnode, and CodeNewbie.
We provide templates to help you share your solution once you've submitted it on the platform. Please edit them and include specific questions when you're looking for feedback.
The more specific you are with your questions the more likely it is that another member of the community will give you feedback.
We love receiving feedback! We're always looking to improve our challenges and our platform. So if you have anything you'd like to mention, please email info[at]masteringbackend[dot]com.
Want more projects: Backend Projects Please share it with anyone who will find it useful for practice.
Have fun building! 🚀