Developer: Baturay Özgürün
Copyright © 2018 Baturay Özgürün
If you have any requests or questions please do not hesitate to contact me via baturay.ozgurun@gmail.com
This algorithm aims at estimating depth maps from stereo images by capitalizing on SIFT features. It also presents the feature coordinates of each stereo image and their best matches in text files.
| Input 1 | Input 2 | Output 1 | Output 2 | Output 3 | Output 4 |
|---|---|---|---|---|---|
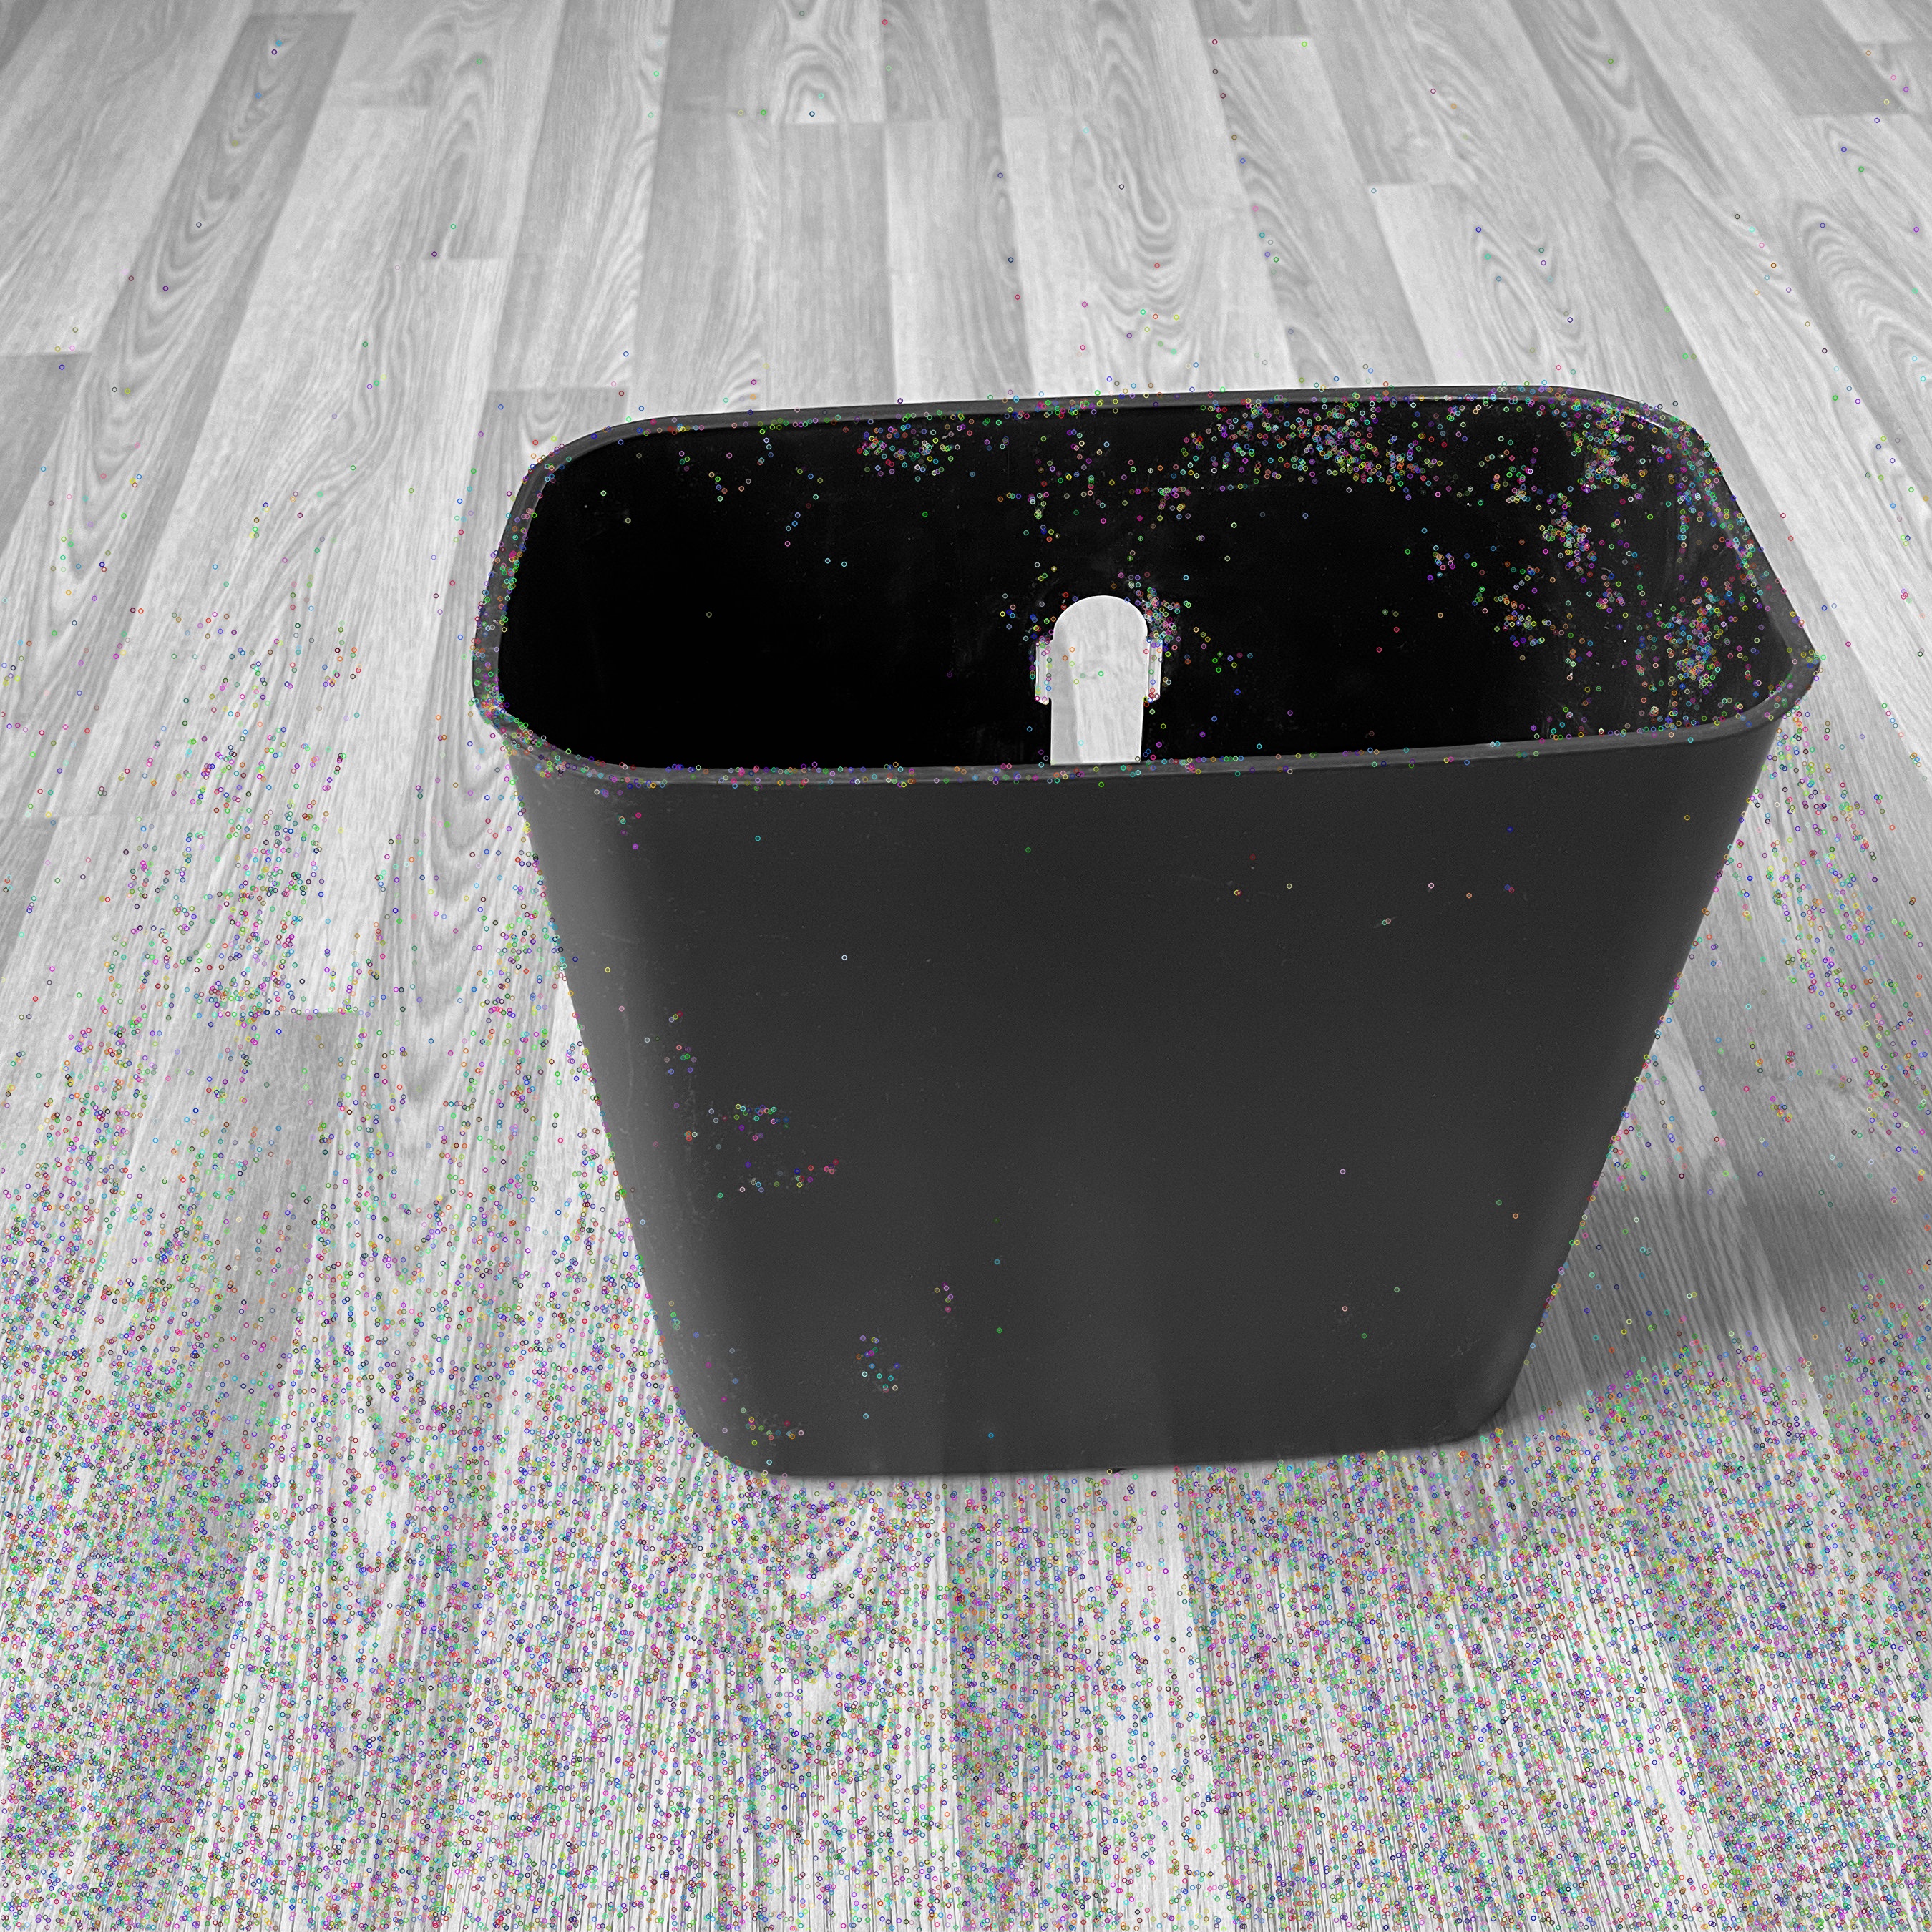
 Left image Left image |
 Right Image Right Image |
 SIFT features on the left image SIFT features on the left image |
 SIFT features on the right image SIFT features on the right image |
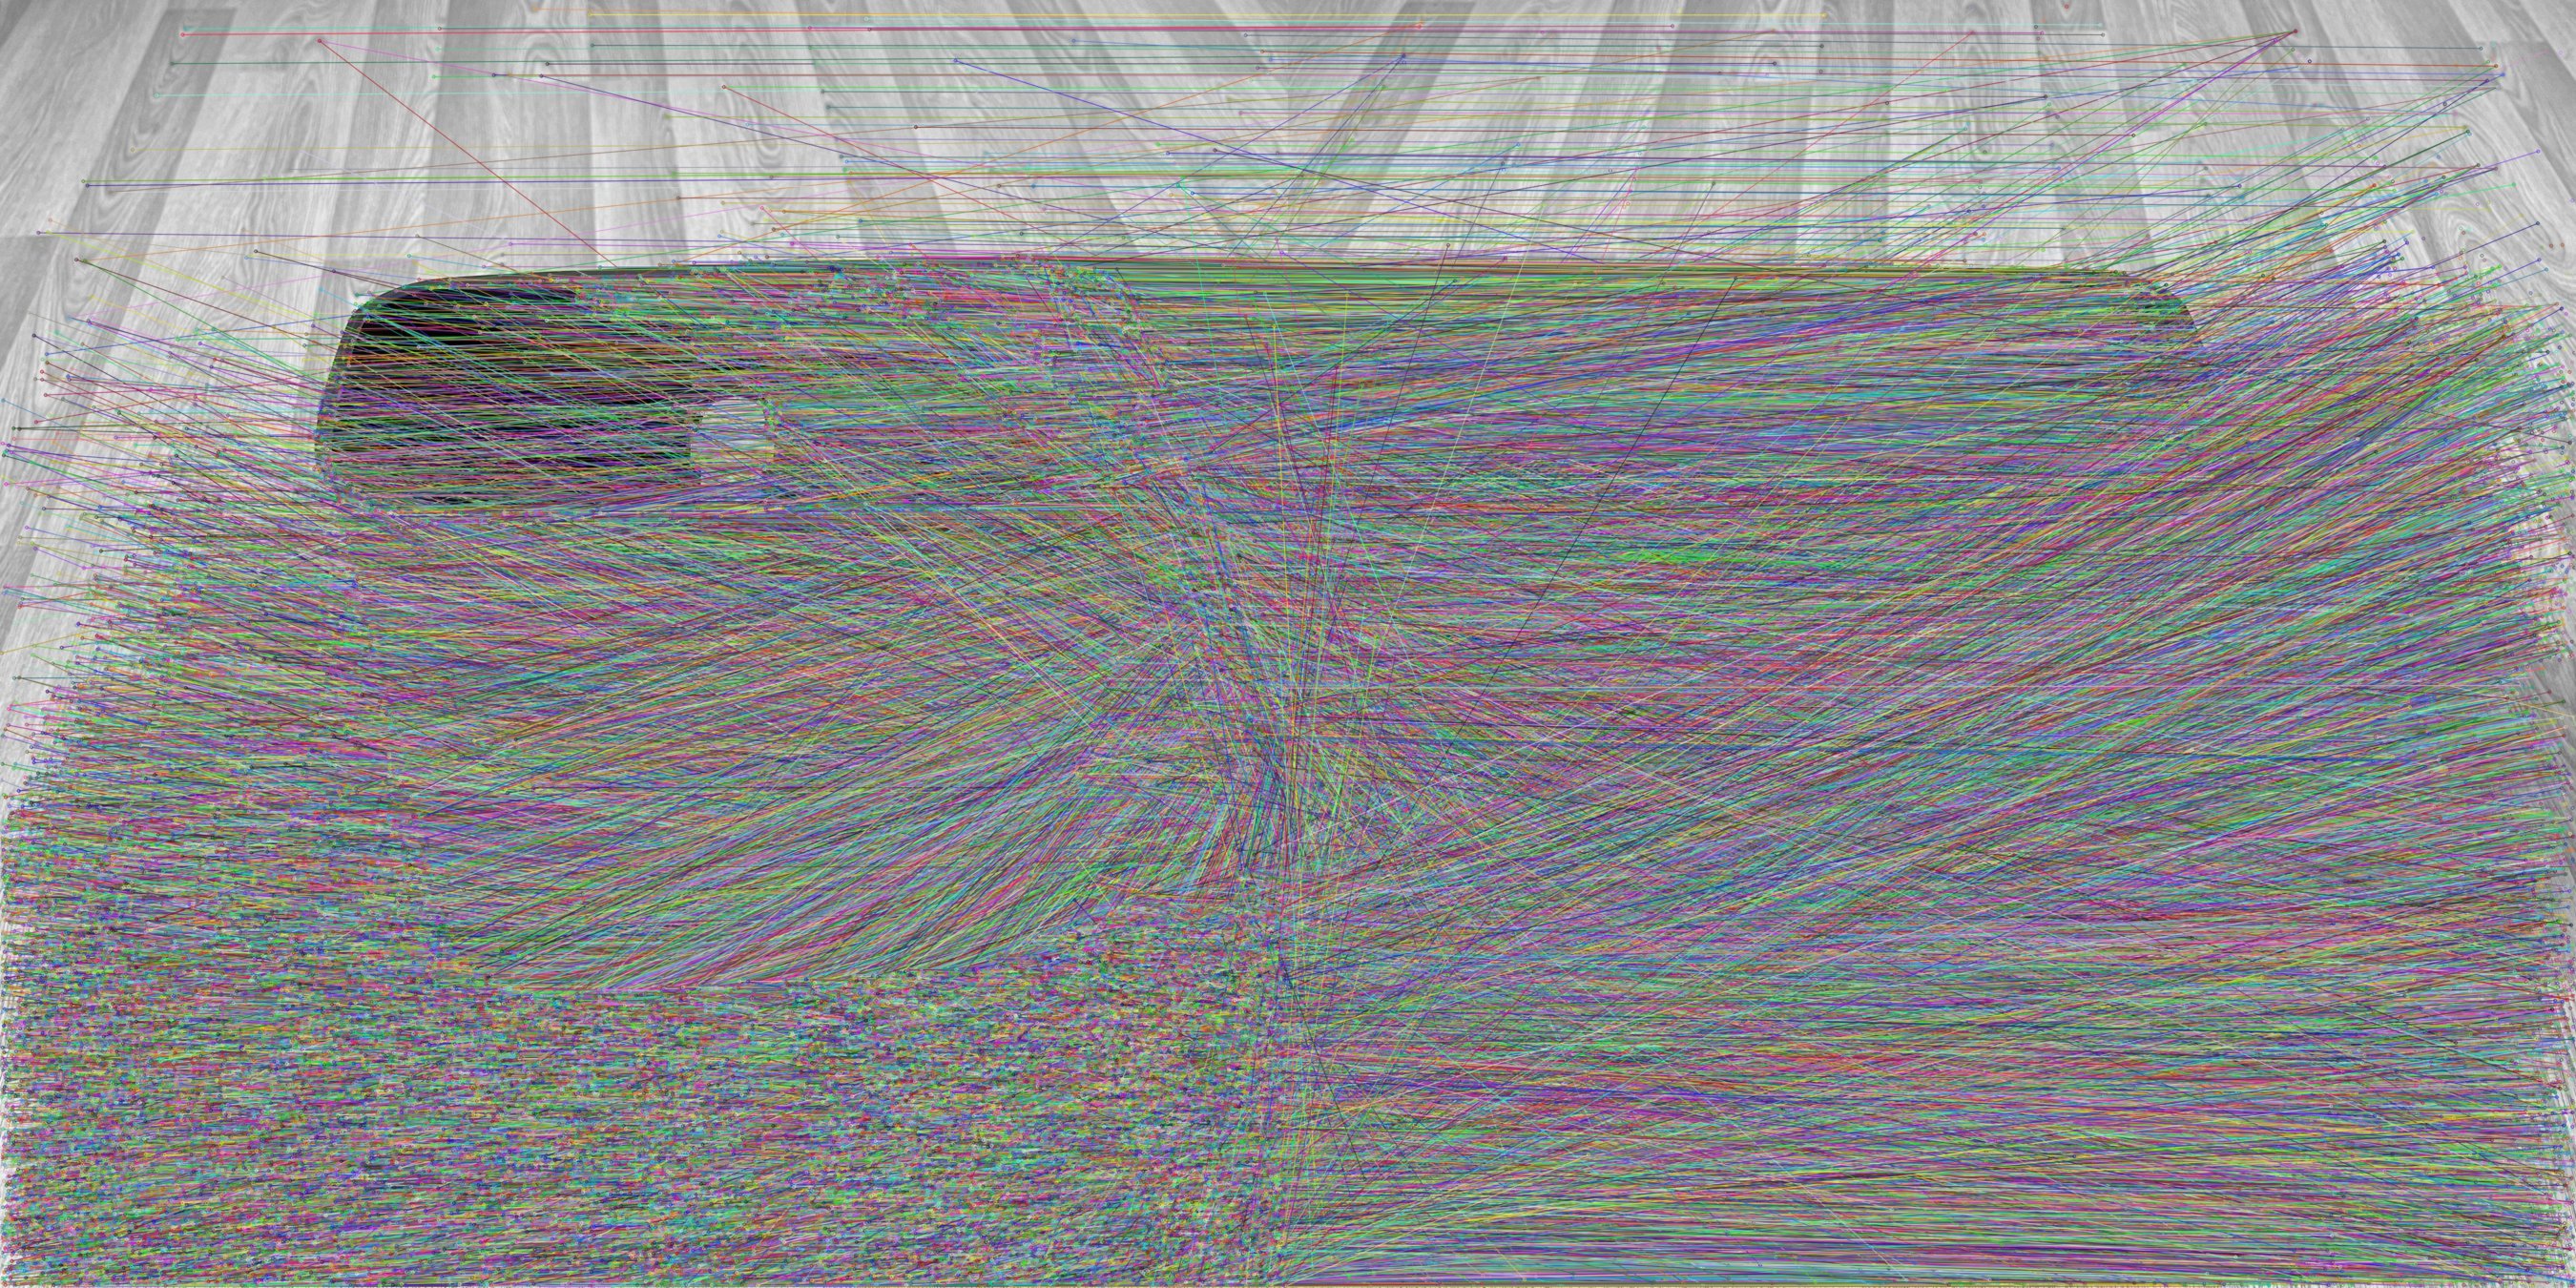 SIFT features with the matches SIFT features with the matches |
 SIFT features with the best matches SIFT features with the best matches |
| Output 5 | Output 6 | Output 7 | Output 8 | Output 9 | Output 10 |
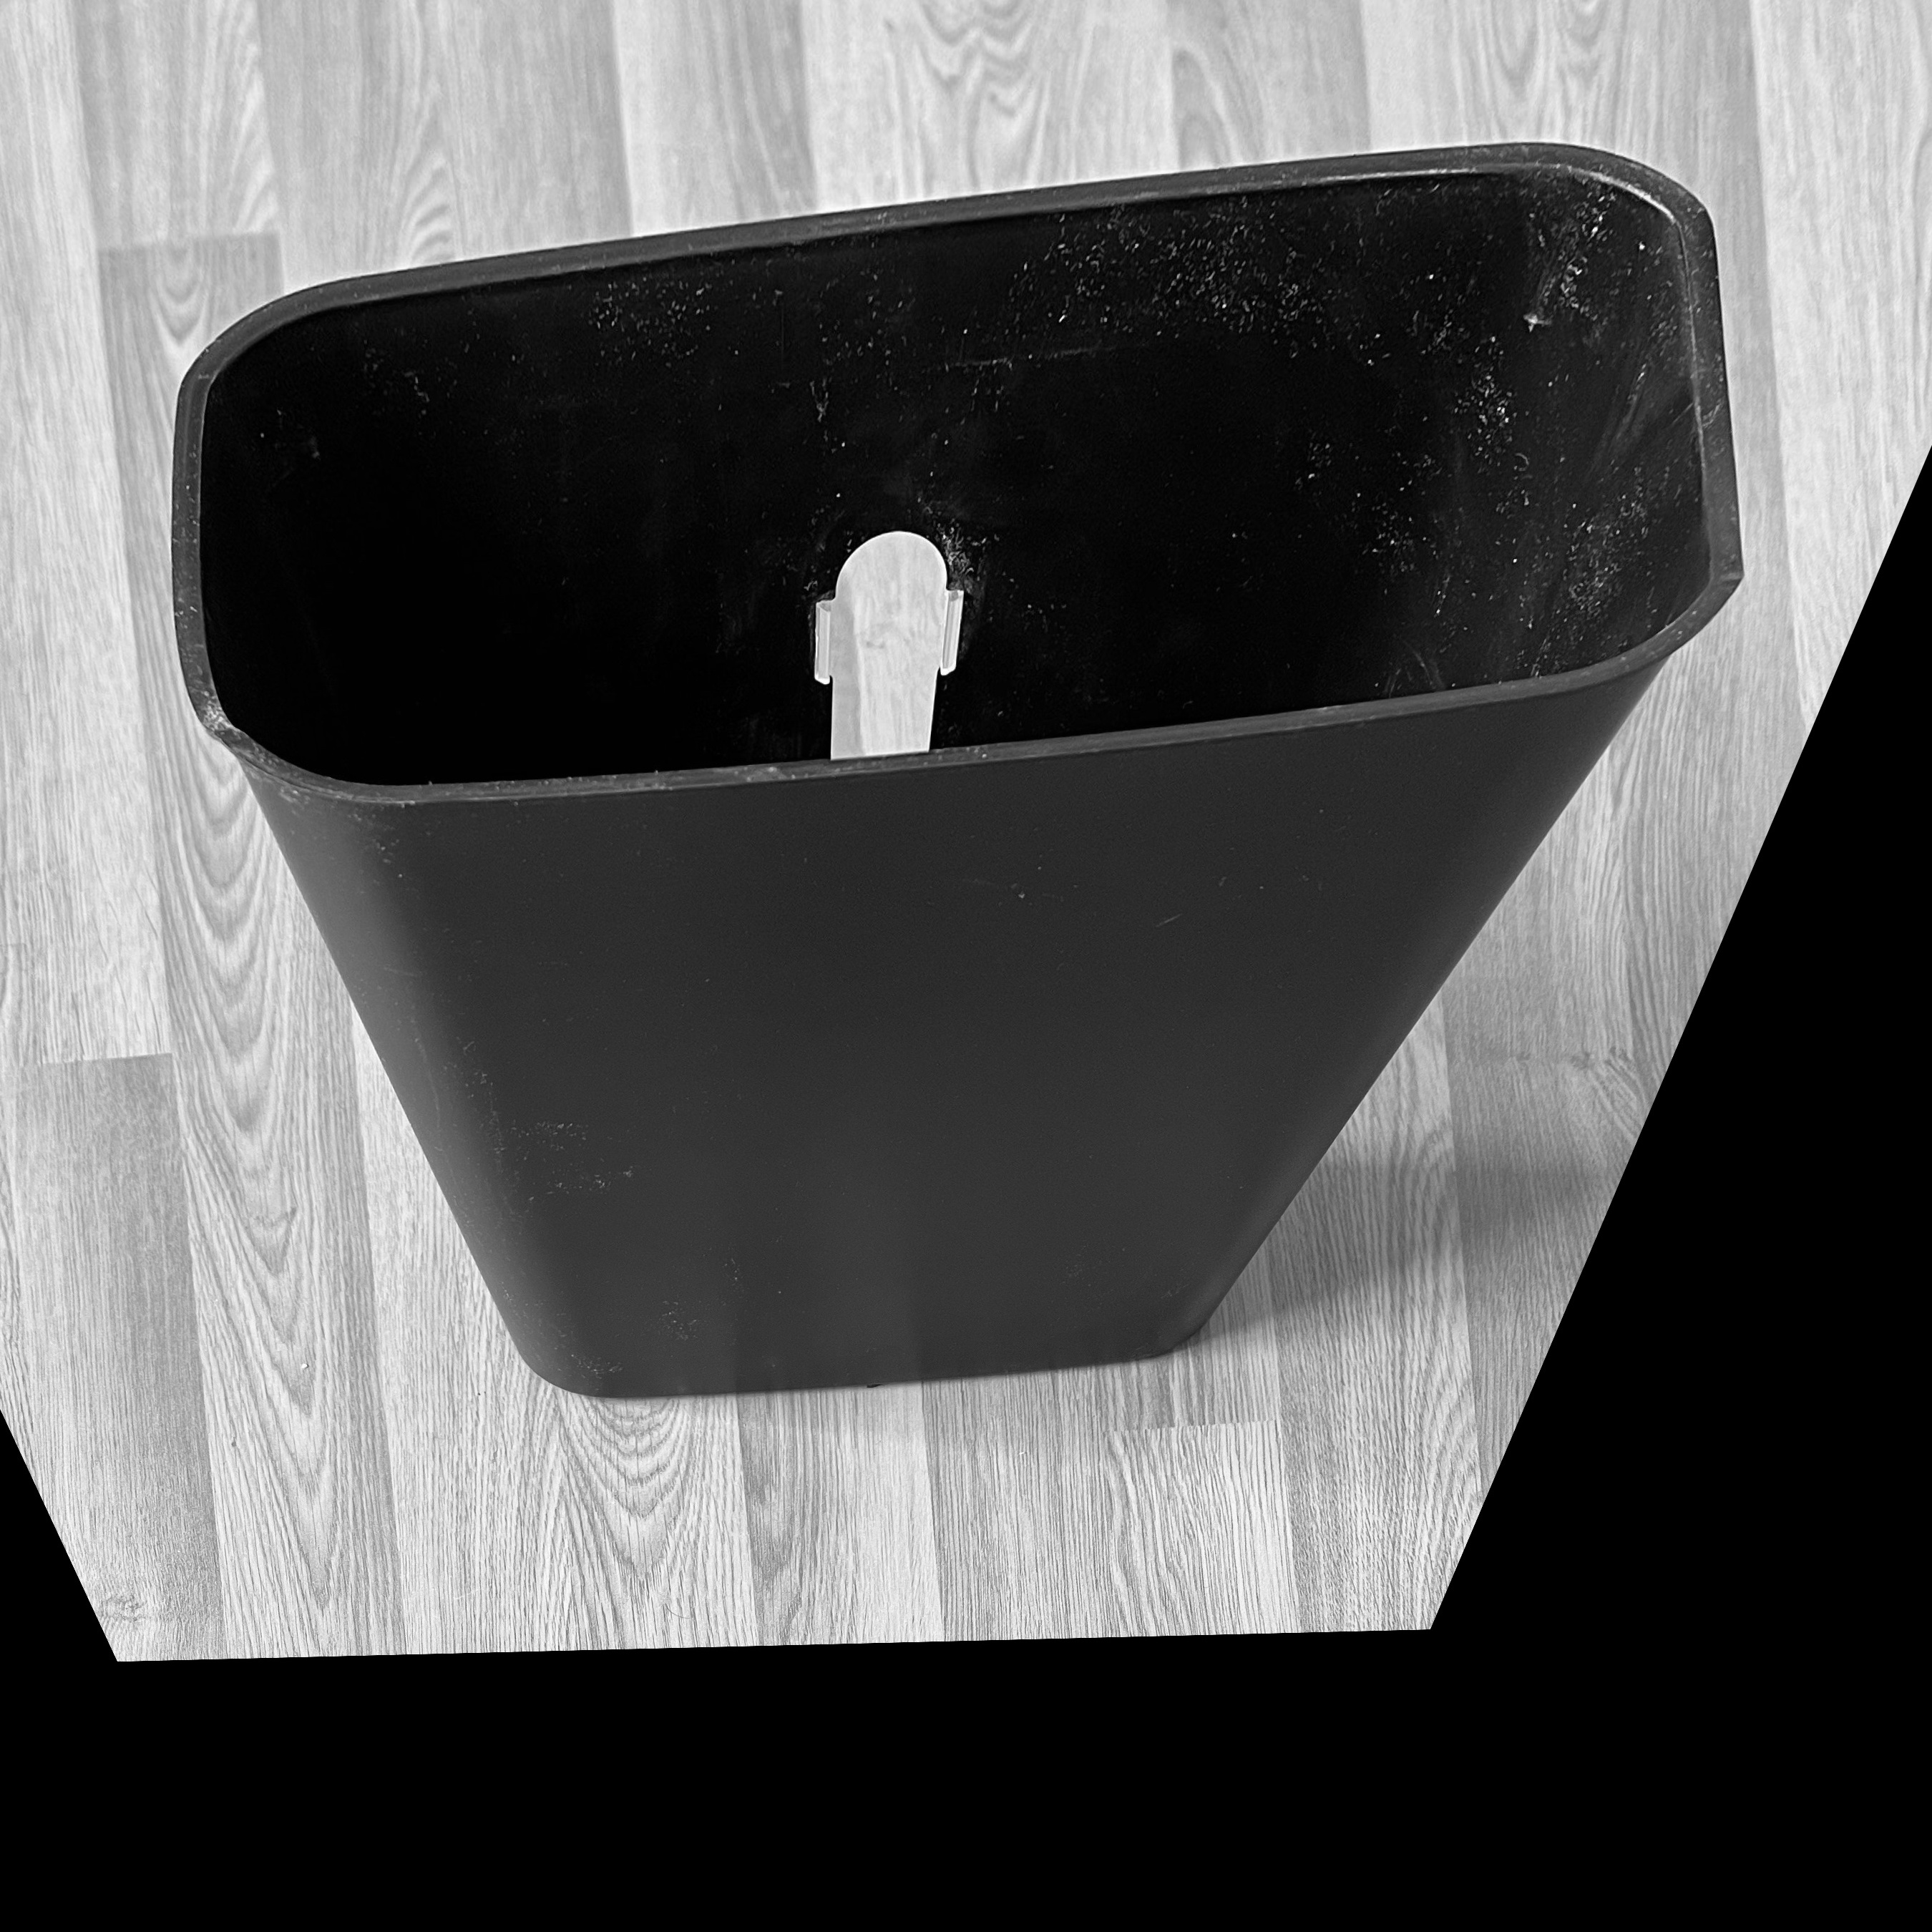 Rectified left image Rectified left image |
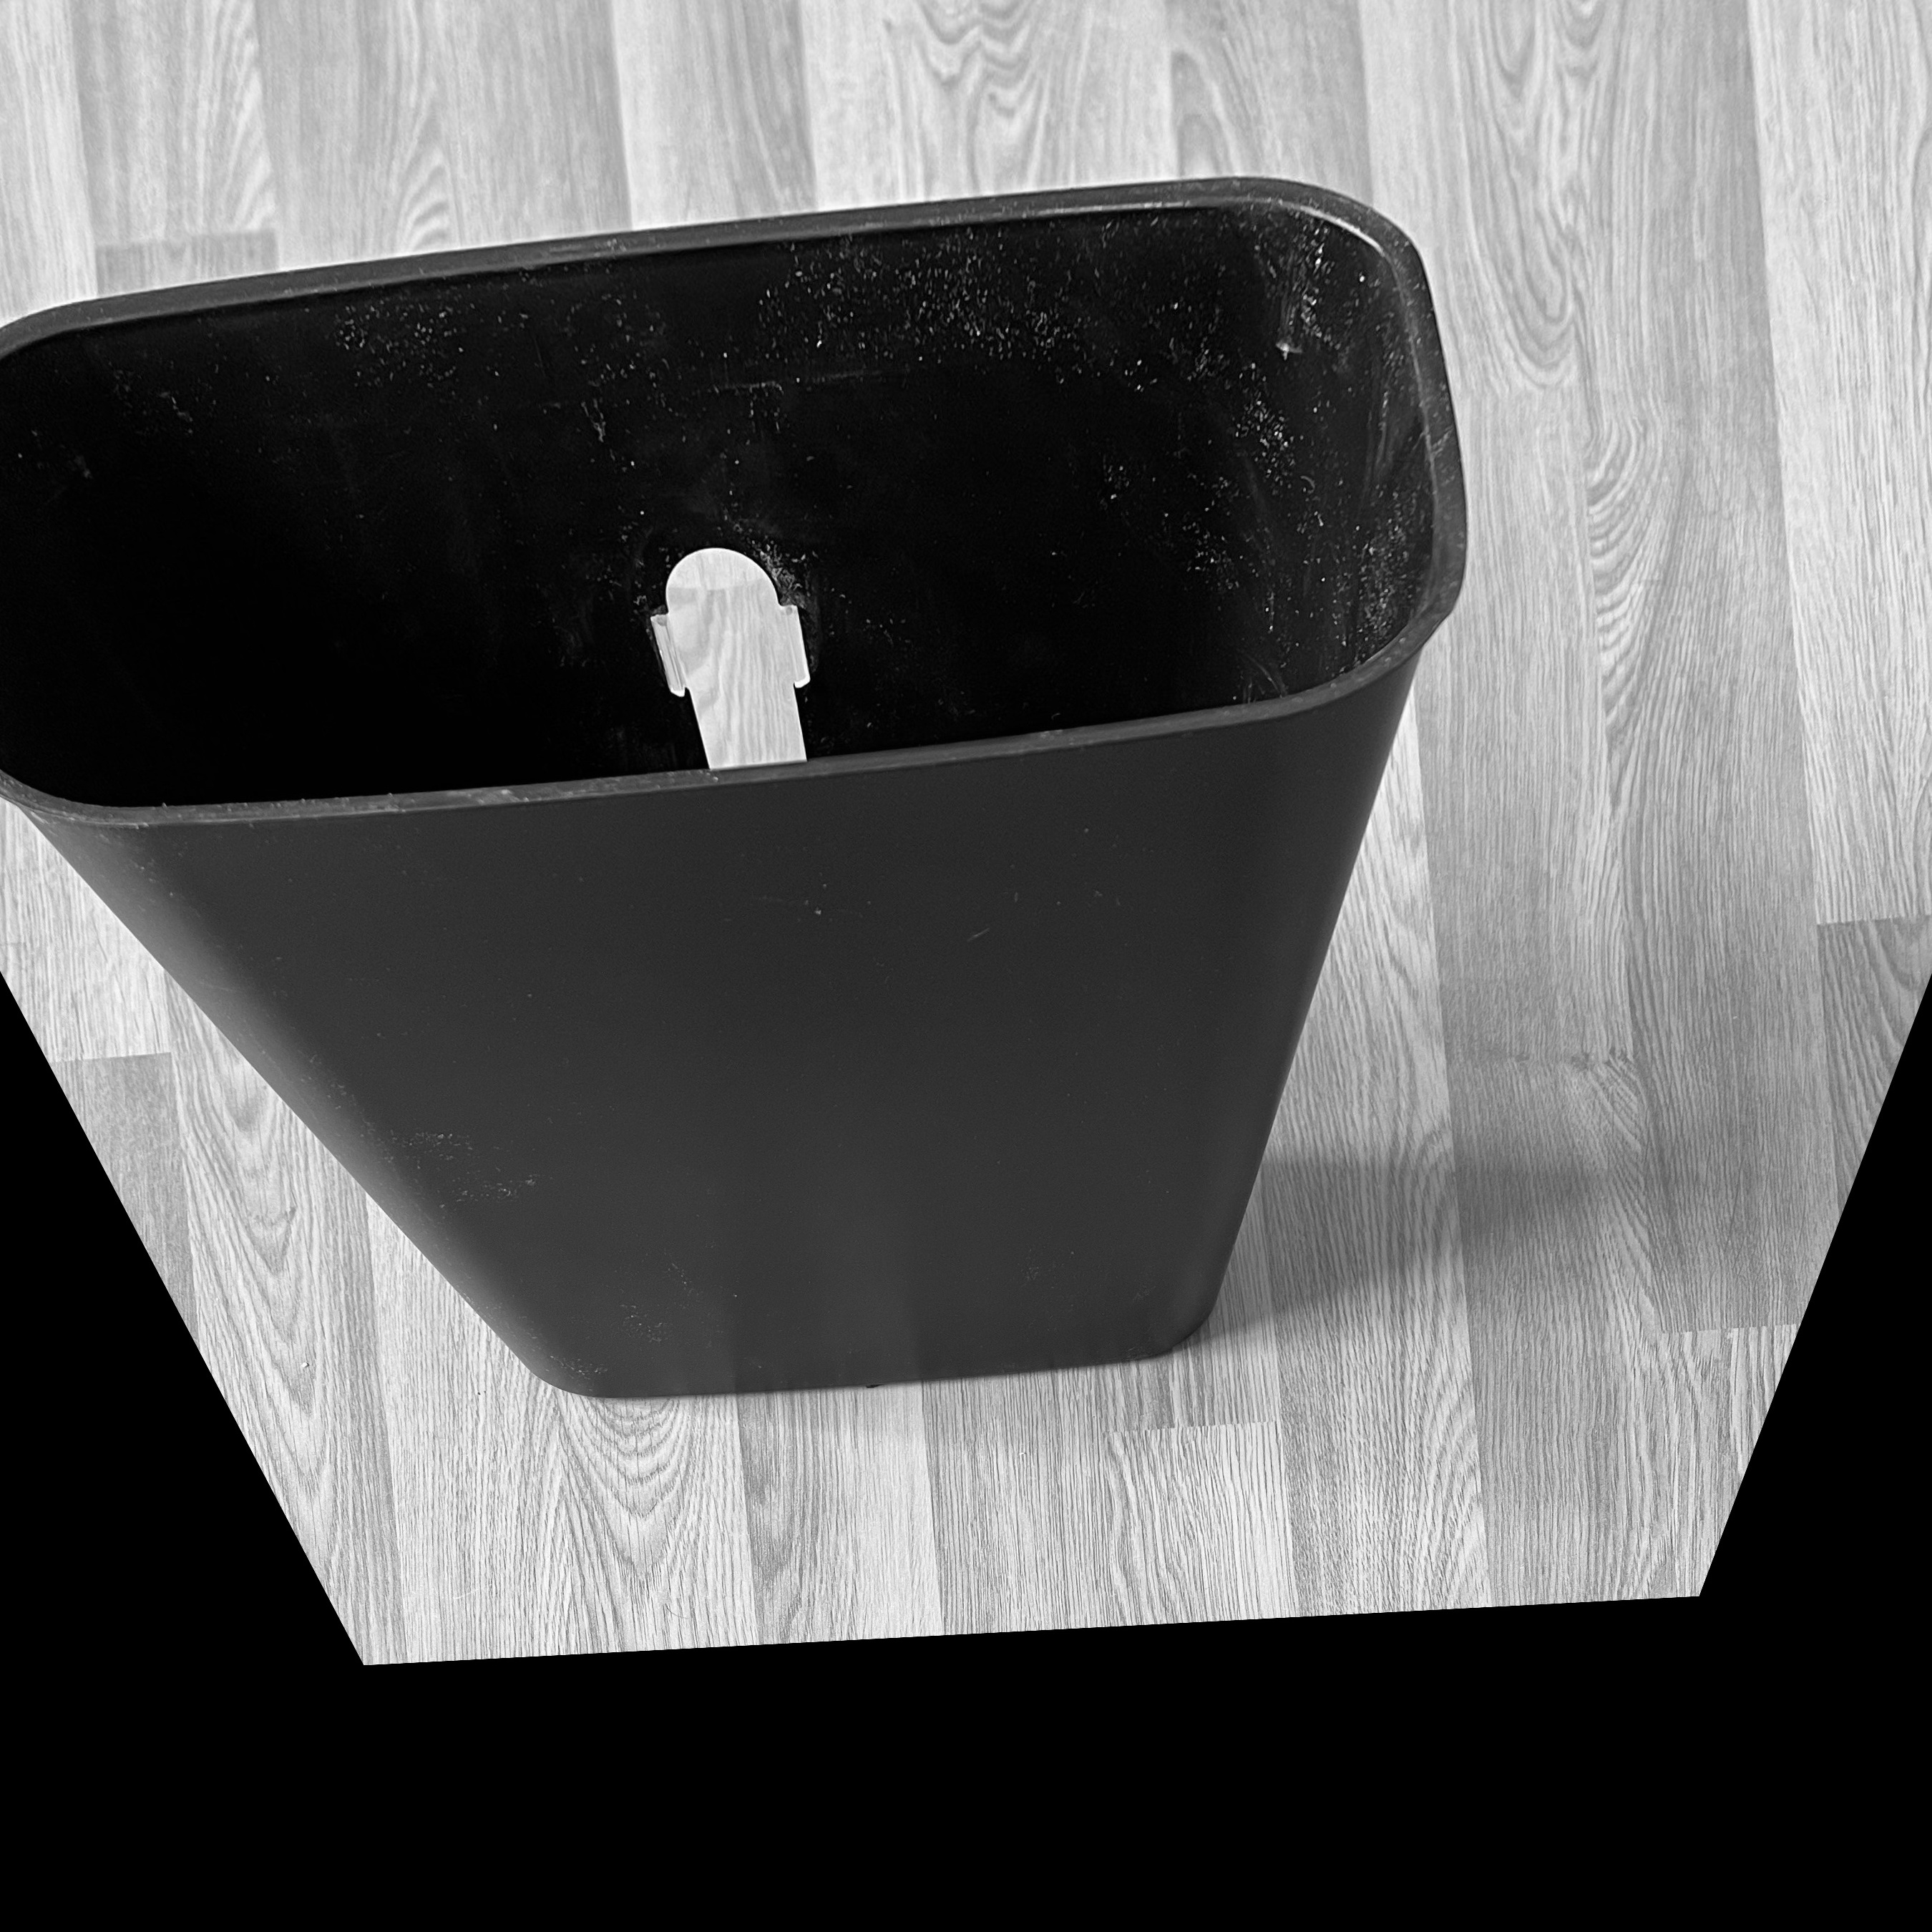 Rectified right Image Rectified right Image |
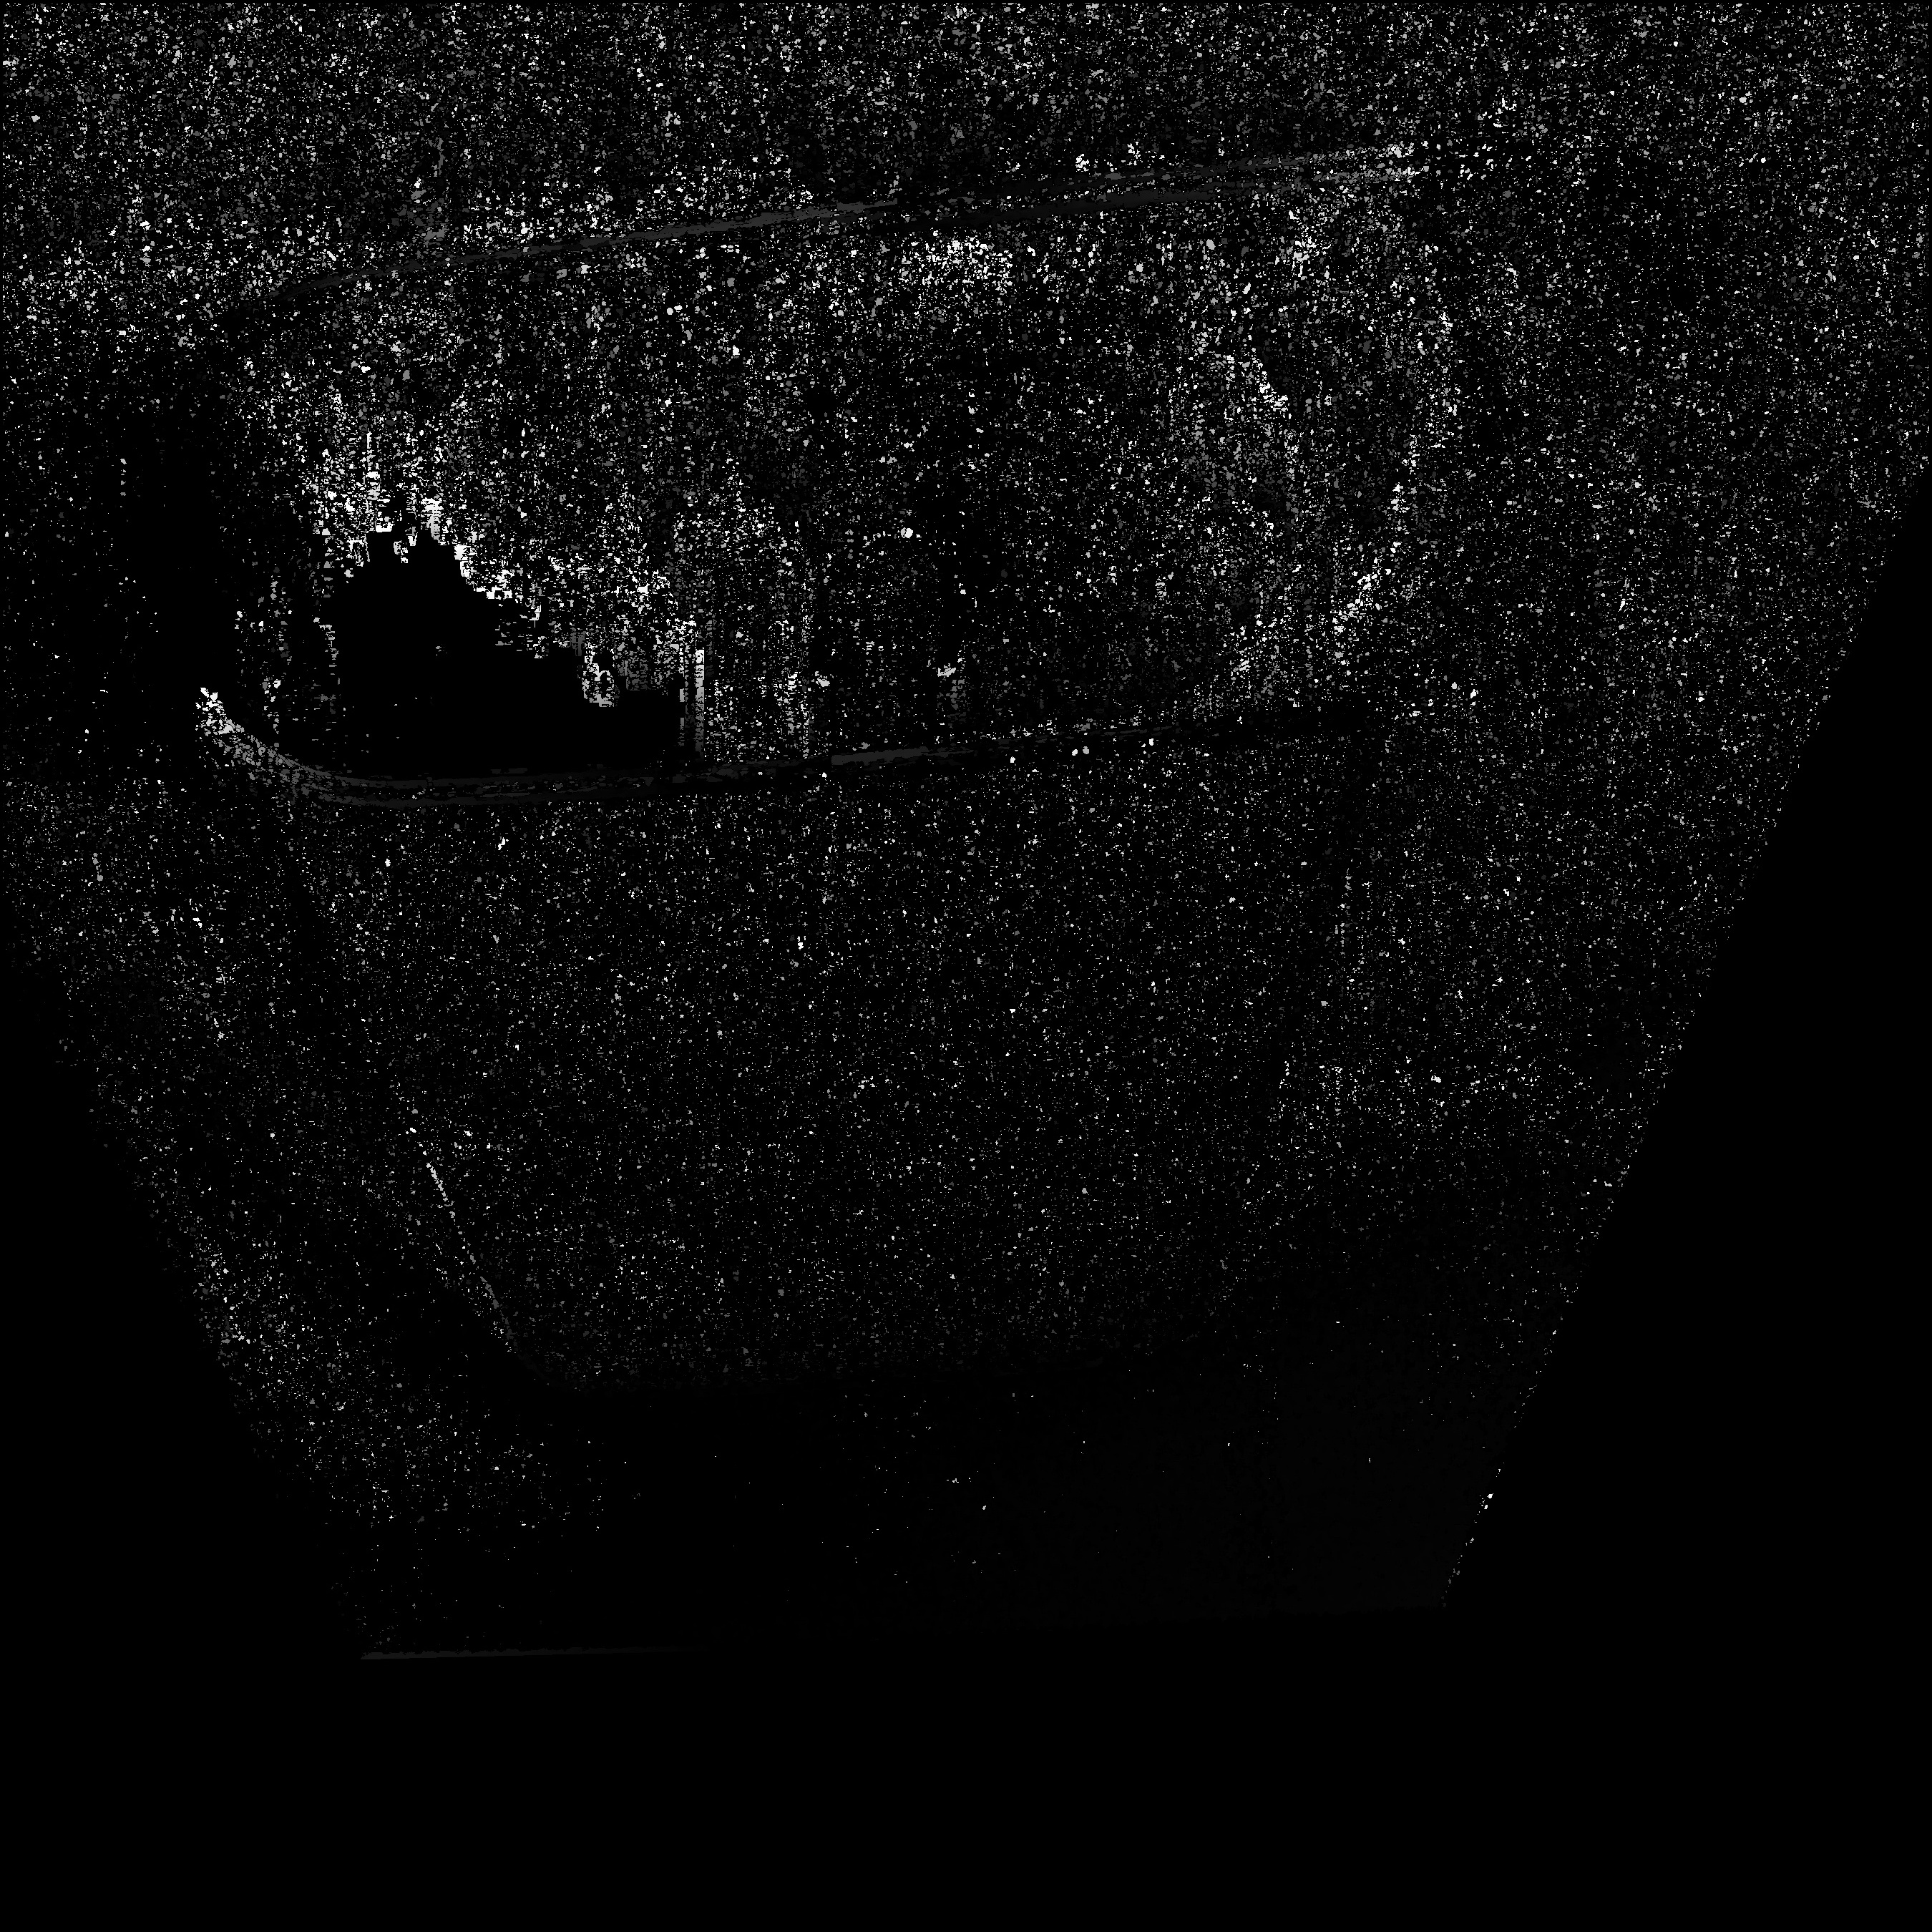 Disparity map Disparity map |
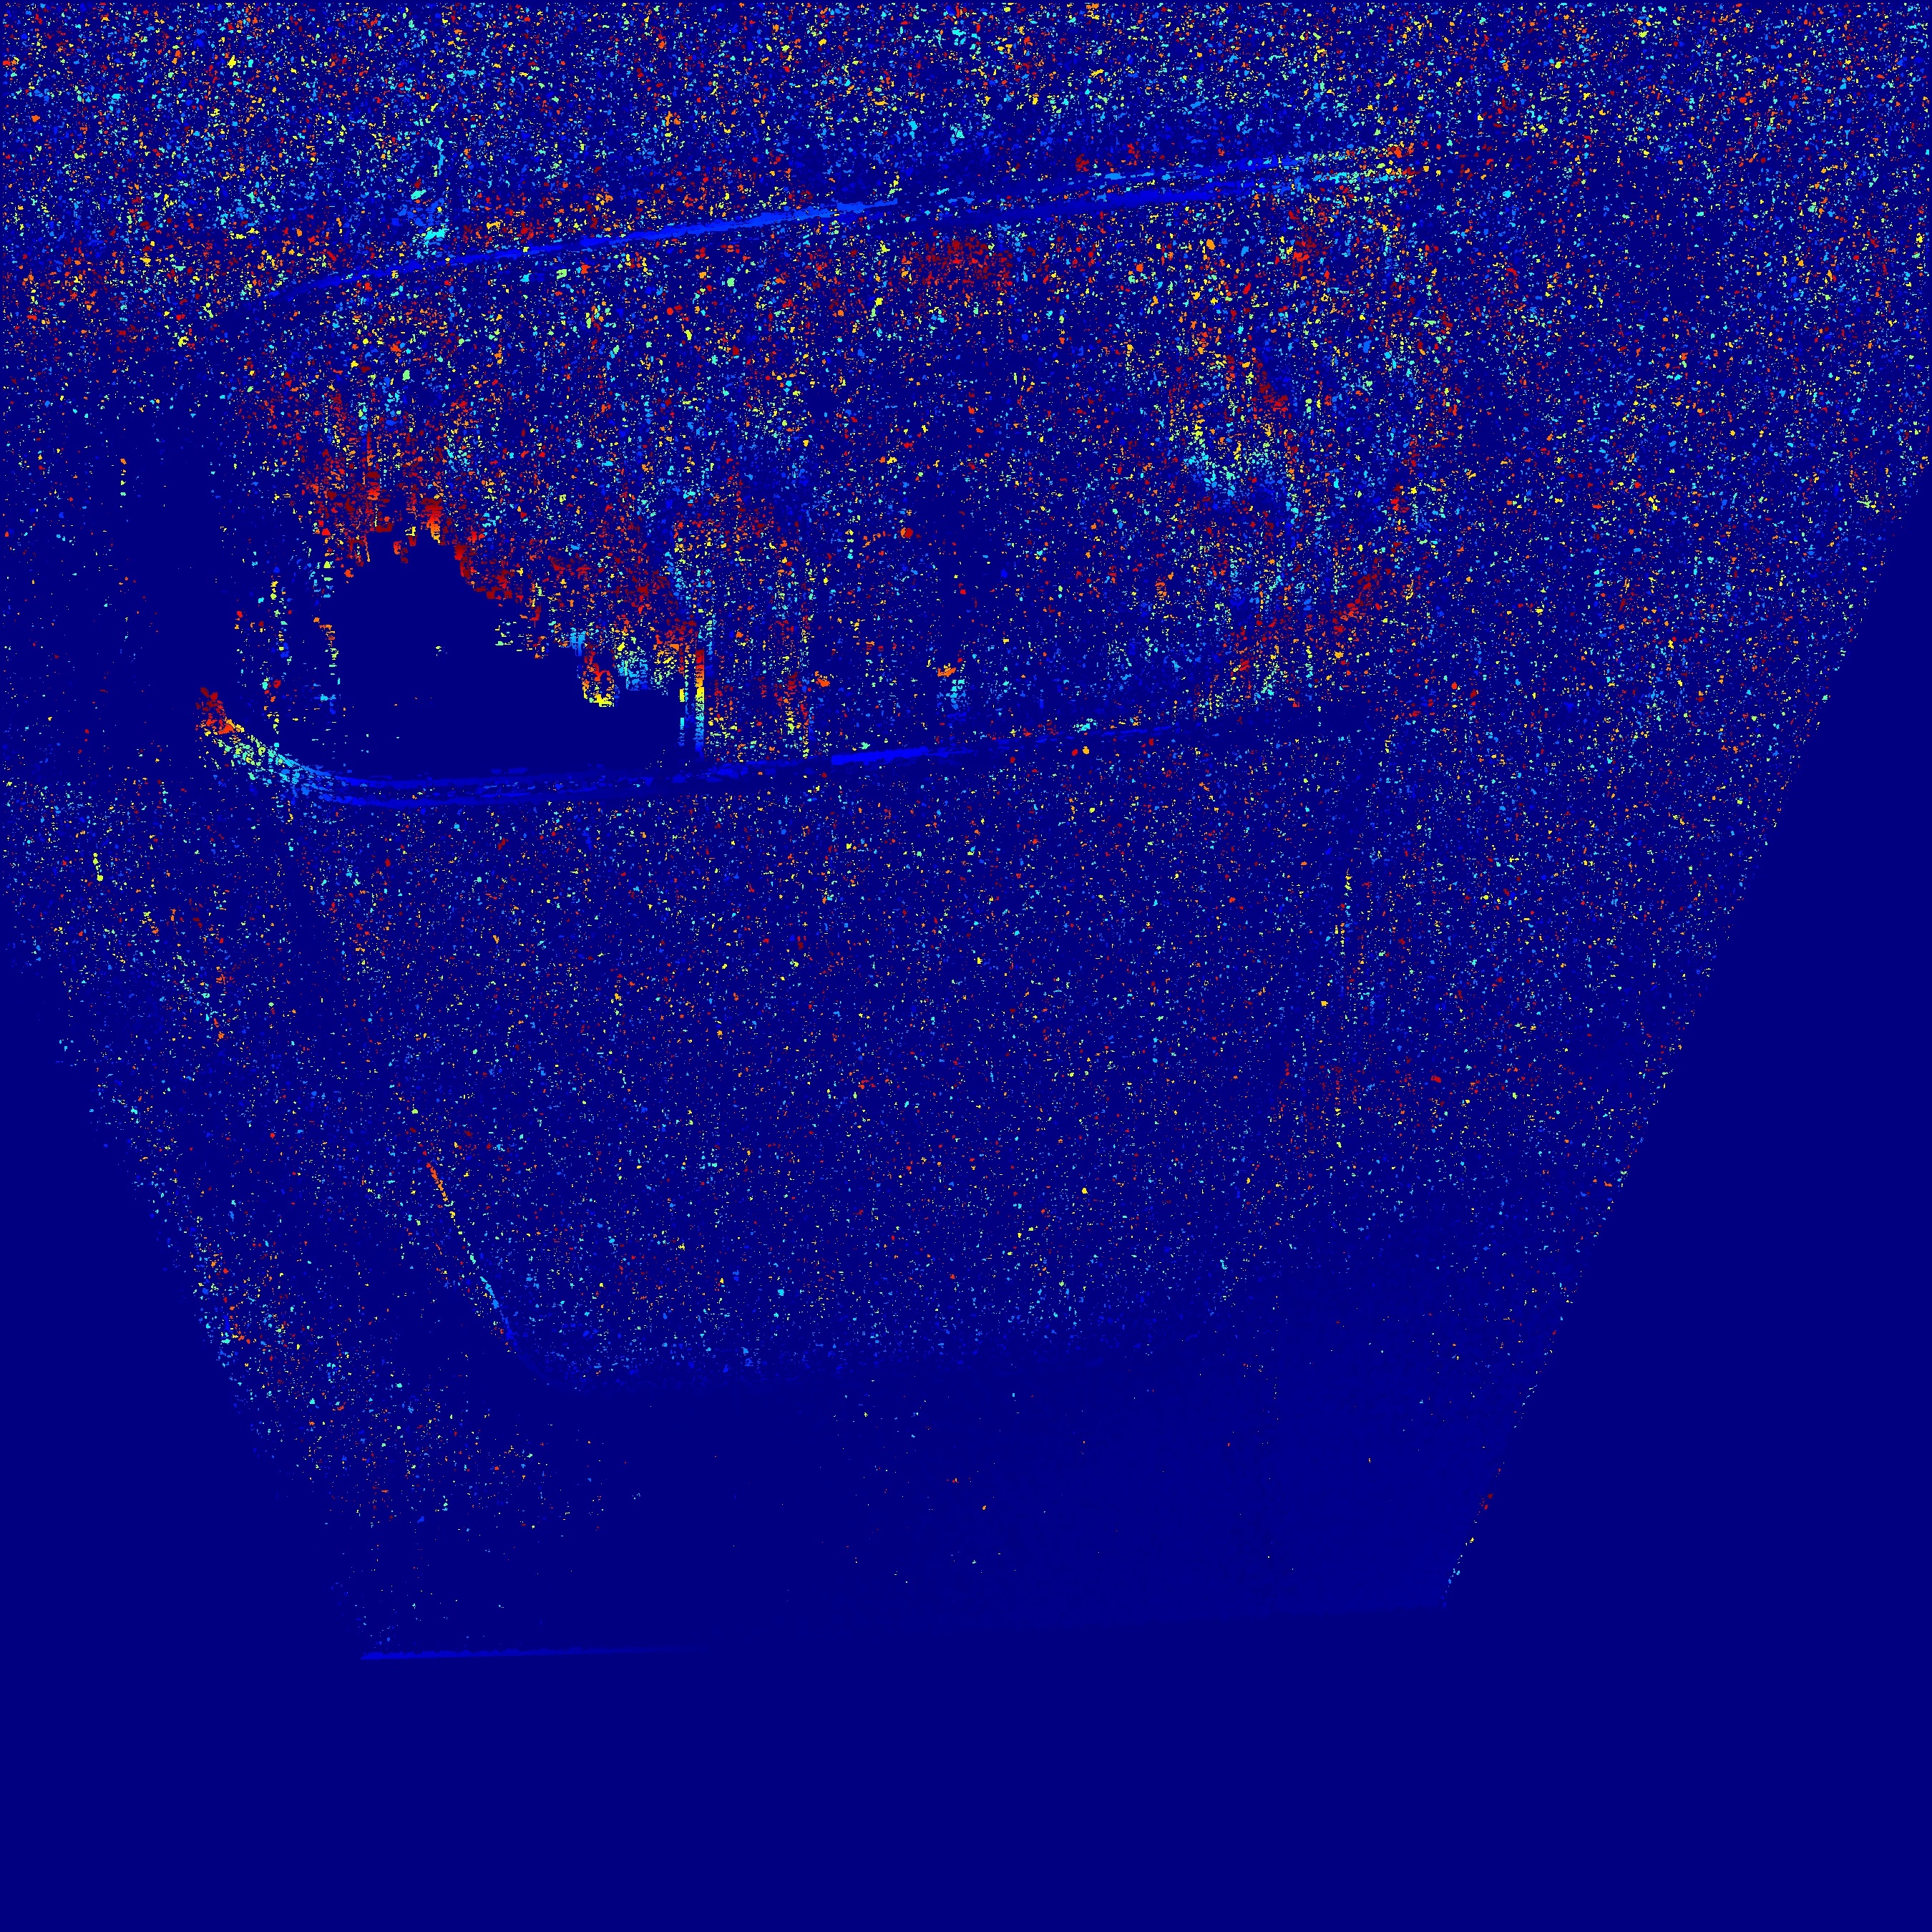 Disparity map in color Disparity map in color |
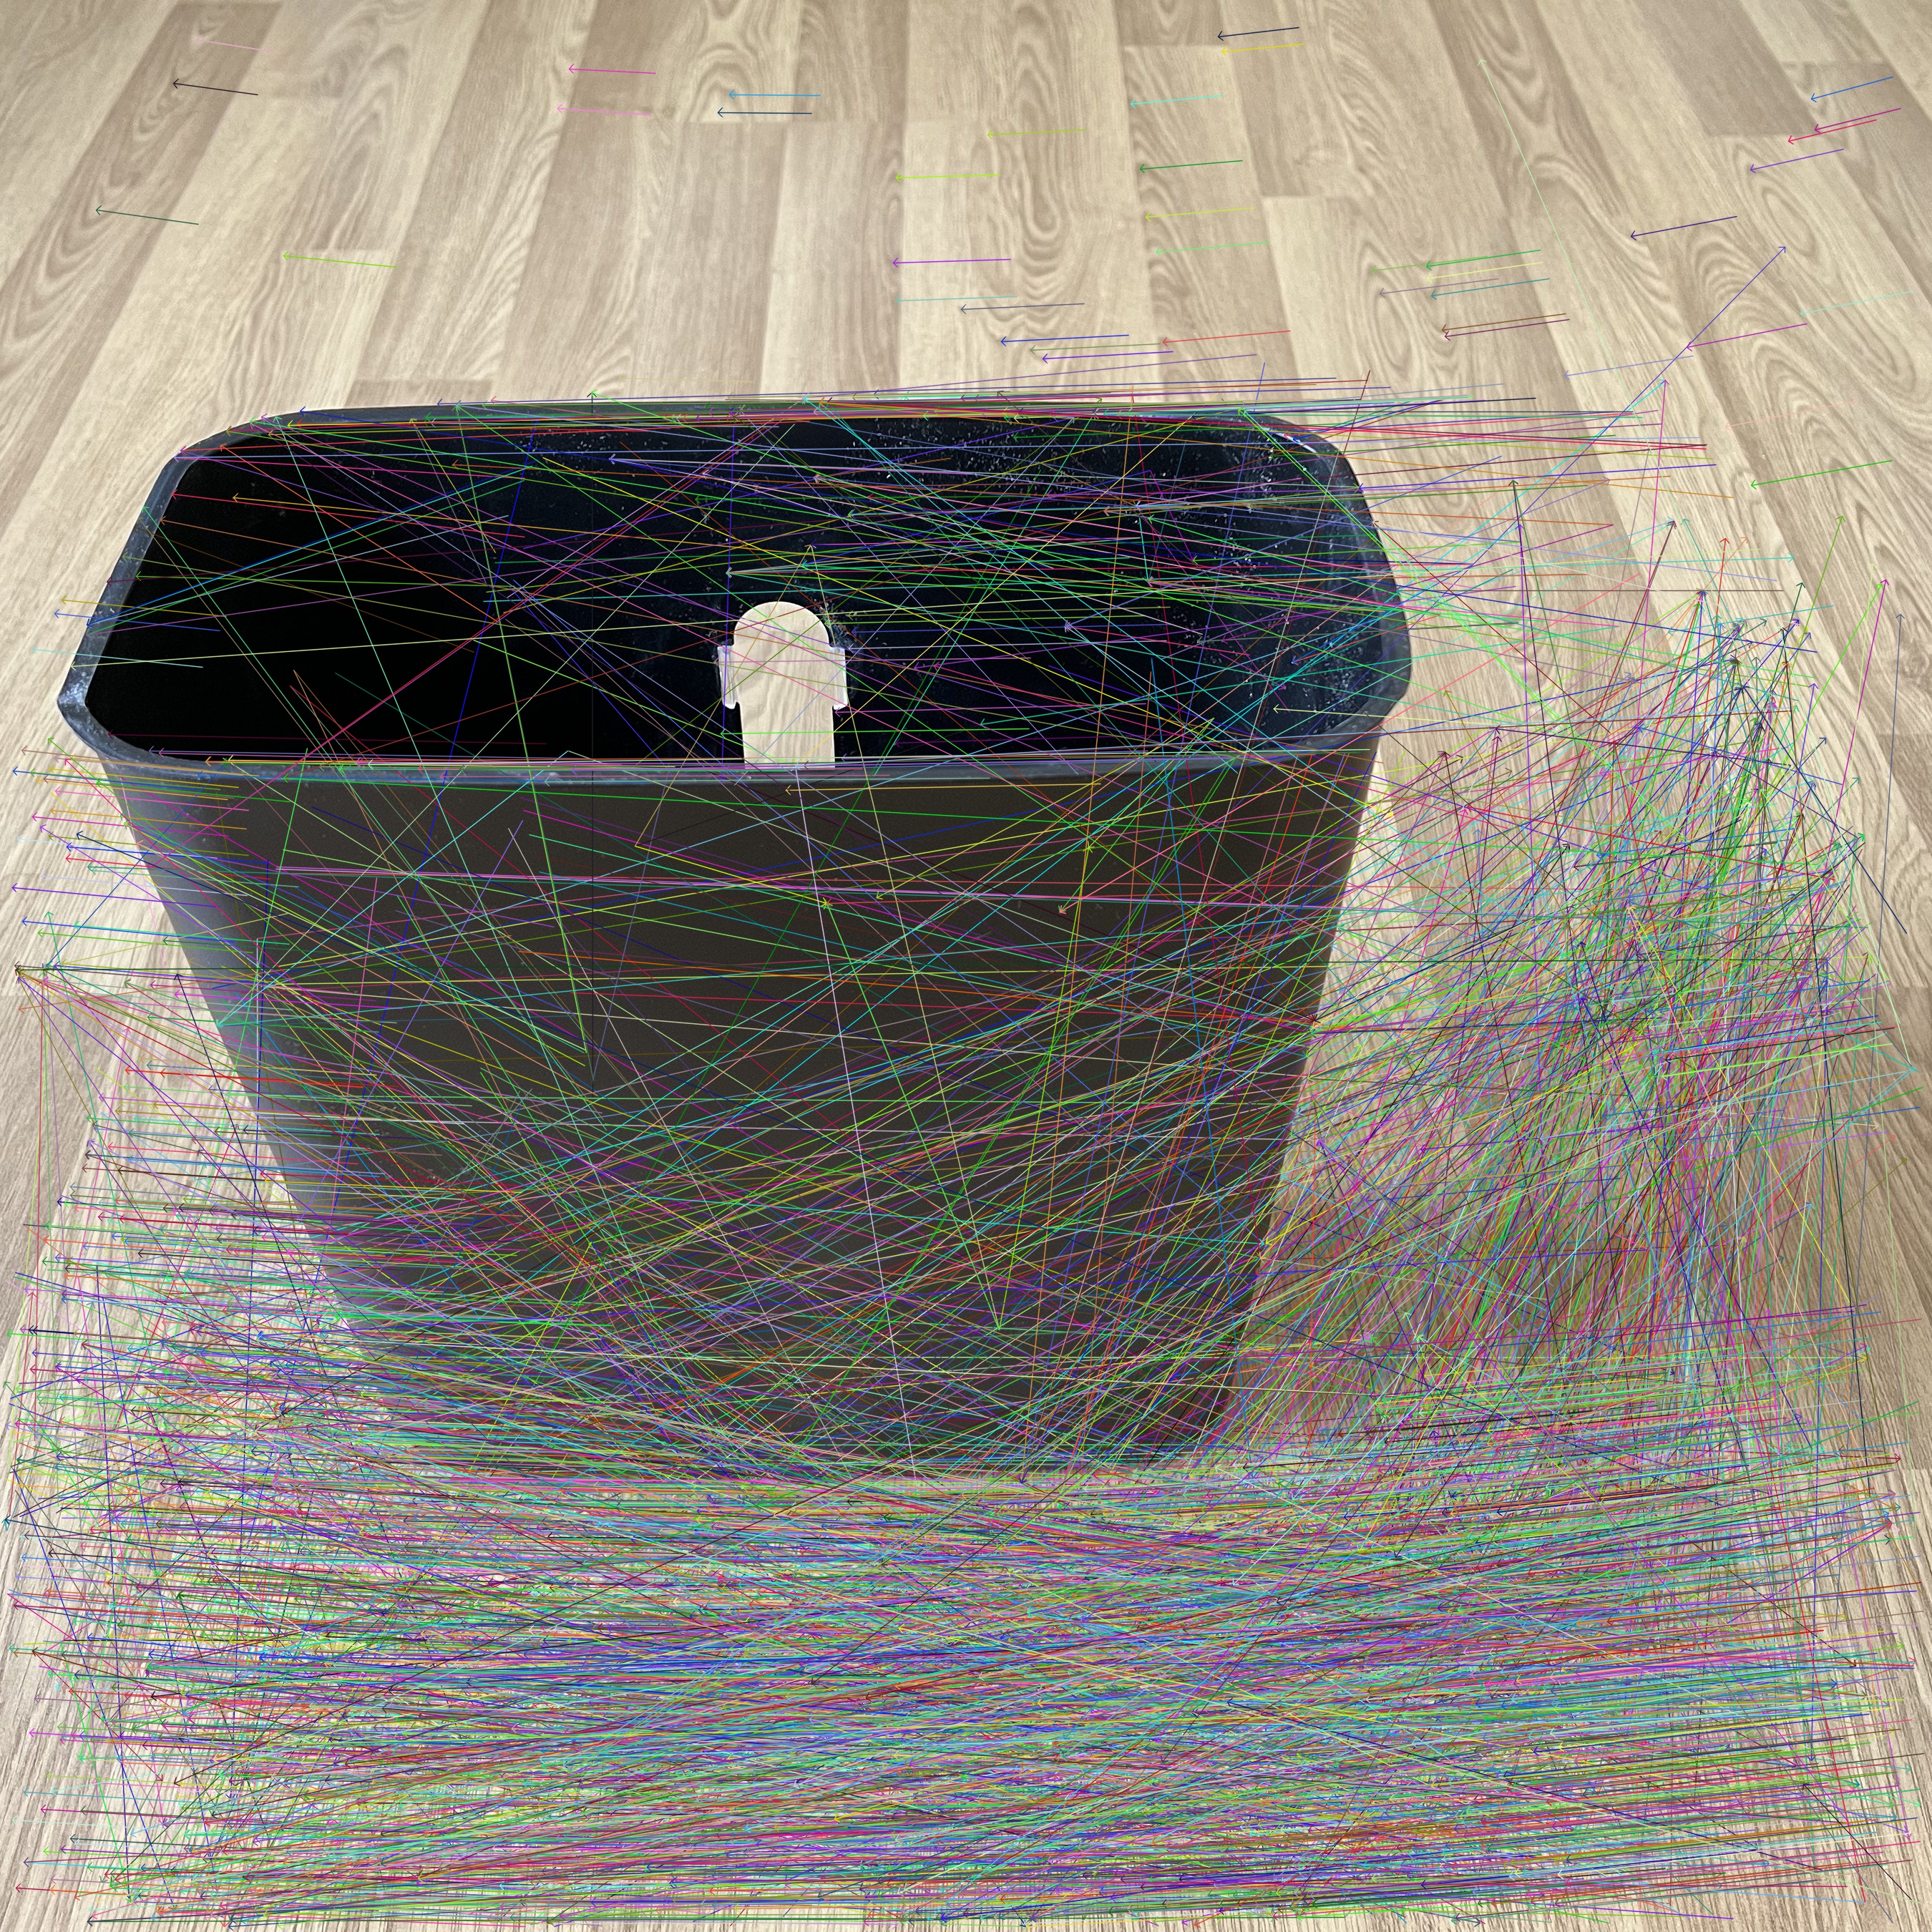 Vector field shown on the right image Vector field shown on the right image |
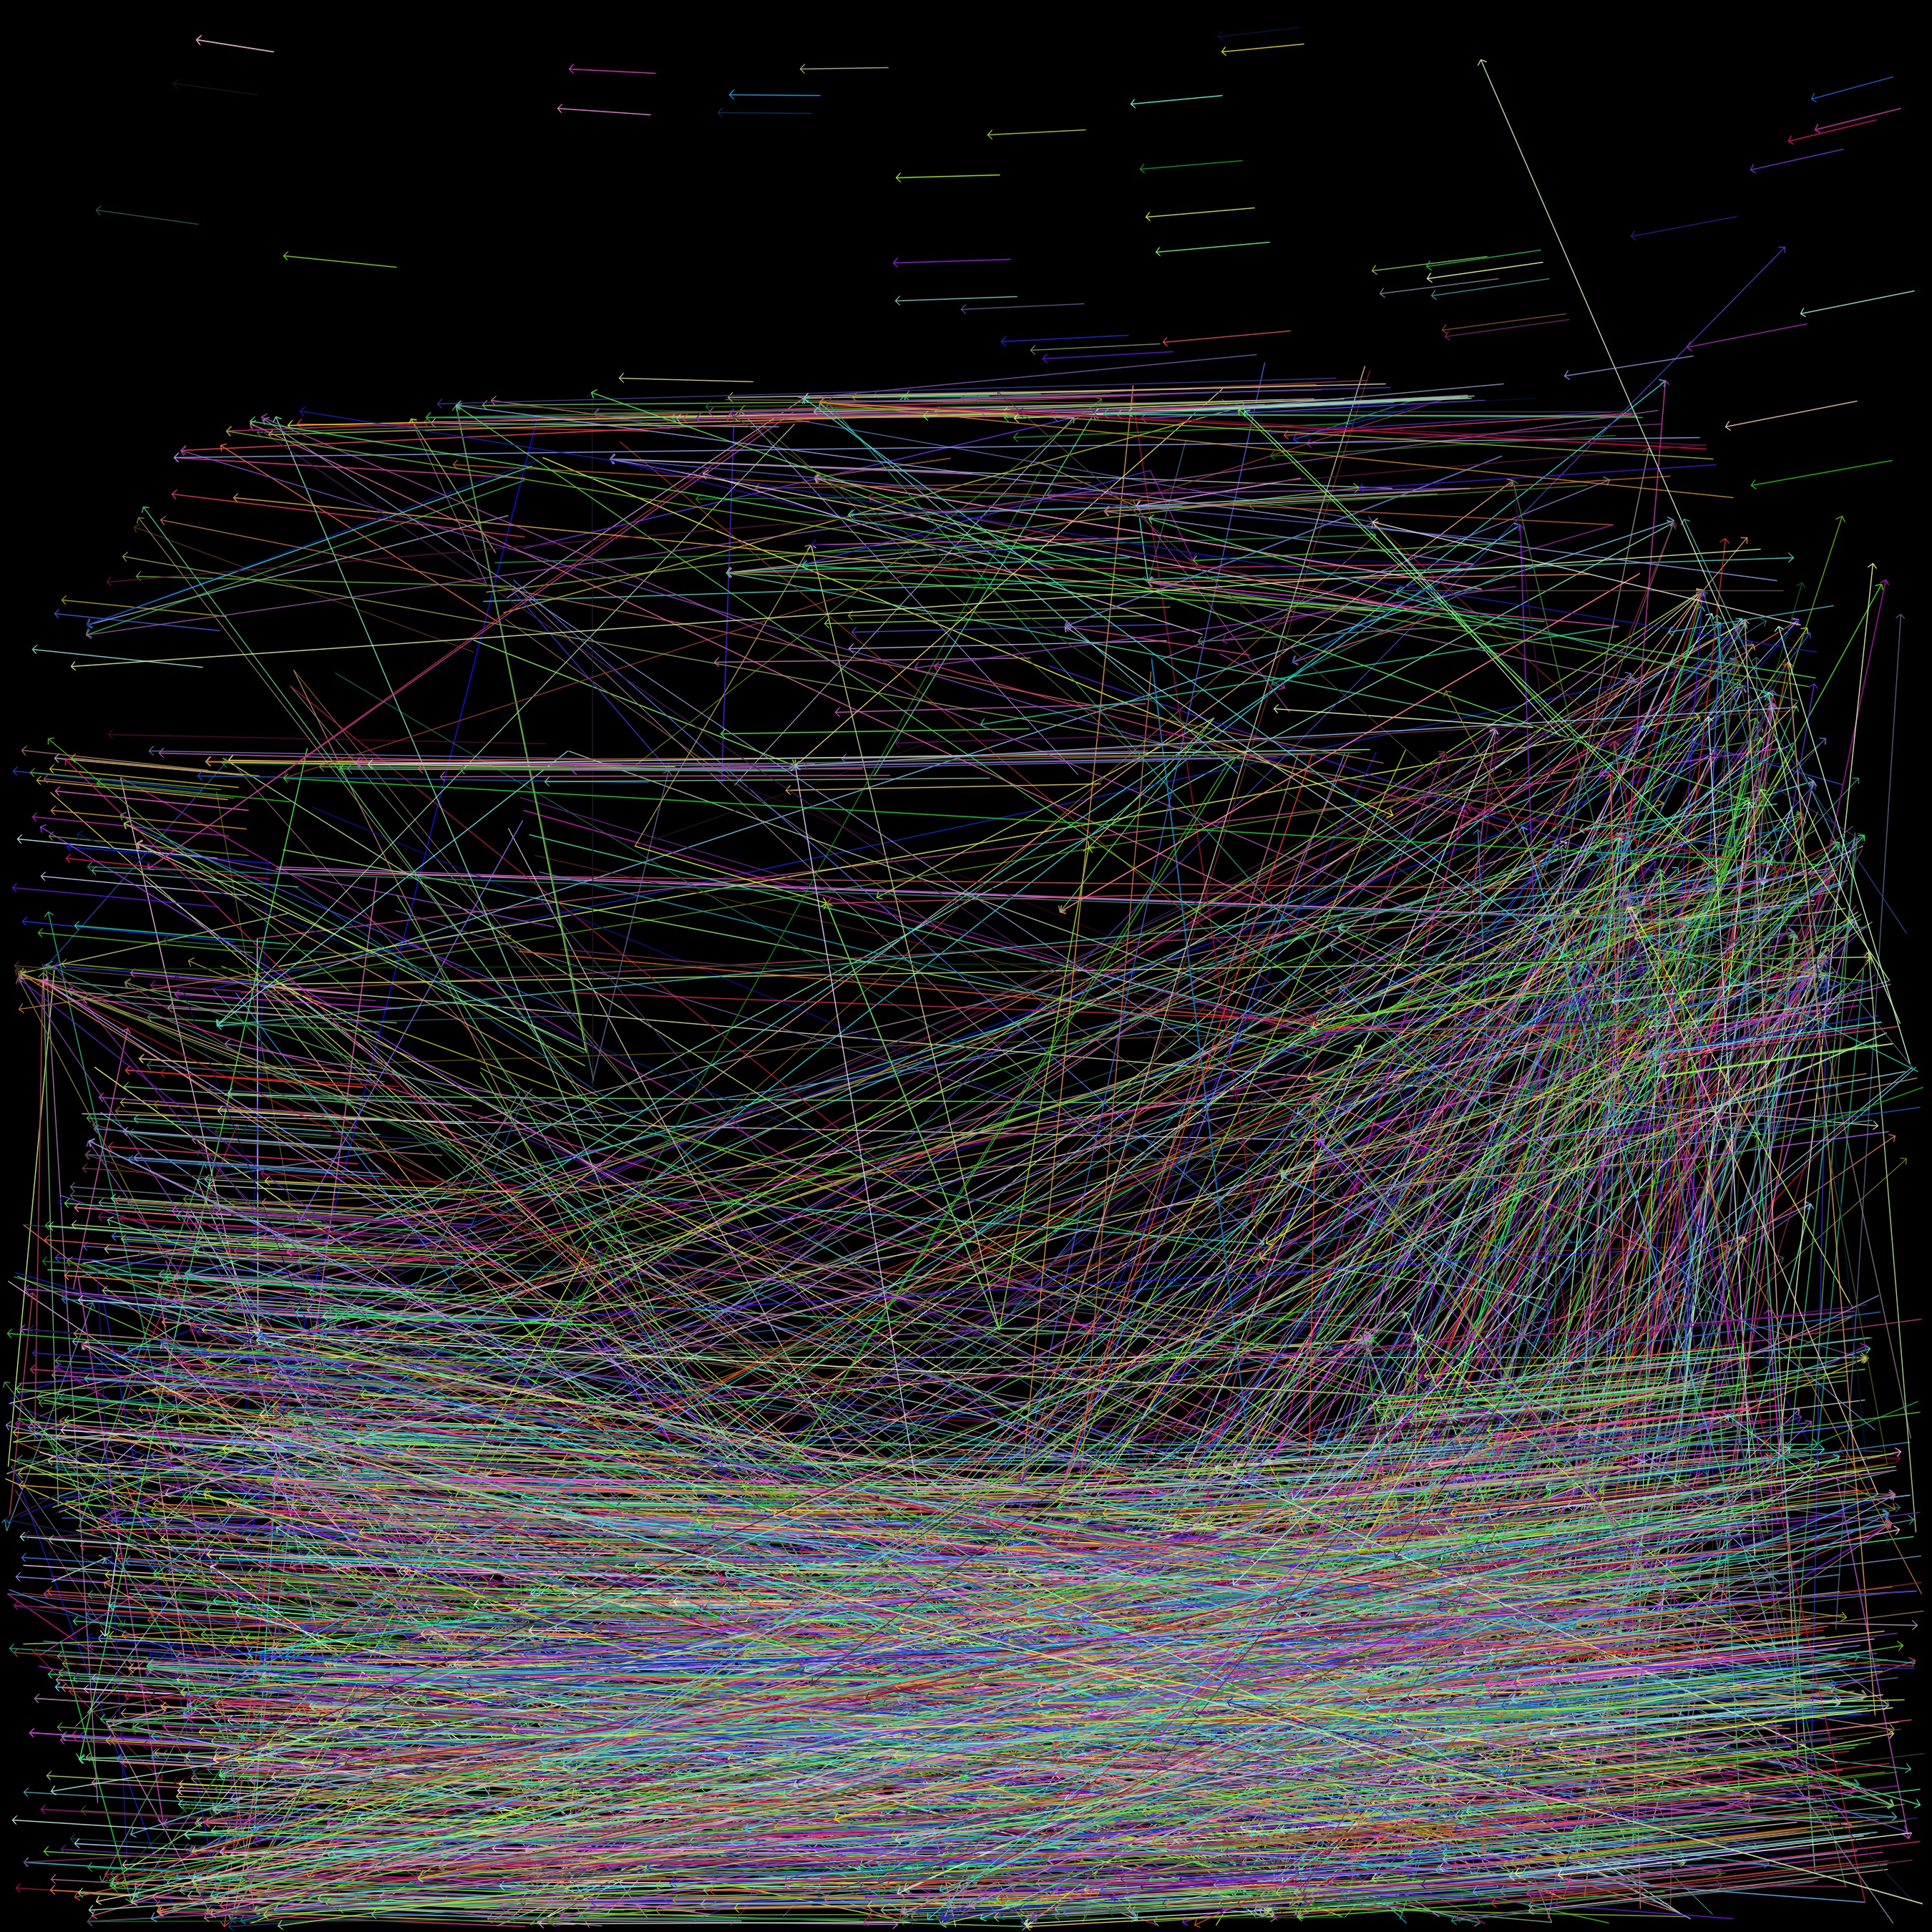 Vector field on the blank image Vector field on the blank image |
The project was developed on macOS 10.13.6 environment.
In order to run the project, it is required to install the following programs:
- Xcode 10.1
- OpenCV 3.4.0
First, it is required to download and install Xcode to run OpenCV projects for C++ on macOS environment. To install Xcode go to App Store -> Search bar -> Type Xcode -> Click Install App (see the following figure). Make sure that Xcode is stored in the Applications folder. The OpenCV project presented here was developed on Xcode 10.1 and macOS 10.13.6.

To download and install OpenCV 3.4.0 package go to www.opencv.org and then go to Library -> Releases -> Download OpenCV 3.4.0 Sources. Open the zip file and place it on Desktop. In the opencv-3.4.0 folder, create a new folder and name it build (see the following figure).

Go to www.cmake.org then click Download button. The binary distributions for MacOS are listed on this page (see the following figure). Since the platform is macOS 10.13, download and install make-3.25.0-rc2-macos-universal.dmg. Make sure that CMake is stored in the Applications folder.

After installing the CMake software, open it and select the source and build folders as shown in the following figure. Then press Configure (please see the following figure).

Select Unix Makefiles and use default native compilers. Then press Done, and wait until the configuration is done (please see the following figure).

After the configuration is done, check the build files out, and then press Generate in the CMake software (please see the following figure).

When the generation is done, close the CMake software (please see the following figure).

Open the terminal, and type the following lines of codes.
$ cd Desktop/opencv-3.4.0/build
$ make
$ sudo make install
After installing OpenCV, open the Xcode project (the file you downloaded; main.xcodeproj). Go to Build Settings, and type paths in the search bar. Check if Header Search Paths and Library Search Paths are indicated as shown in the following figure.

Make sure that the OpenCV libraries are linked to Xcode, and do not forget that the full path name of your libraries might be different than those in the downloaded Xcode project. Therefore, type linking in the search bar, and then clear contents in Other Linker Flags. Hold and drag the libraries from Desktop/opencv-3.4.0/build/lib, and then drop them to Other Linker Flags (please see the following figure).

It is required to define a custom working directory to read and write images in Xcode. To do this, in Xcode, go to Product -> Scheme -> Edit Scheme. Then go to Options, and define 'your' Working Directory. It should contain the path name of the main folder you downloaded. In my case, it is /Users/BATURAY_OZGURUN/Desktop/main (please see the following figure).

Now the OpenCV project is ready to run.
This project may require an extra module, e.g., xfeatures2d. To build the extra module, go to https://github.com/opencv/opencv_contrib and download opencv_contrib-3.4 folder. In this folder, find the module (e.g., xfeatures2d), copy and paste it into the modules folder of opencv-3.4.0. Open the CMake software, and then repeat Step 3 and Step 4.
If you use this project in your research, please cite it as follows:
B. Ozgurun, Computer Vision Project -- Depth Extraction Algorithm with OpenCV, (2022), GitHub repository, https://github.com/baturayozgurun/Computer_Vision_Project_Depth_Extraction_Algorithm_with_OpenCV
This project is licensed under MIT License.