Setup Development Environment
pip is a python package that allows you to easily install other python packages. We recommend reading a bit about this tool and understanding its features. Installing it is easy:
~$ curl --silent --show-error --retry 5 https://bootstrap.pypa.io/get-pip.py | sudo python
Verify its installed by running:
~$ pip --version
virtualenv is a python package that allows you to create isolated python environment. Again, we recommend reading a bit about this tool and understanding its features. Installing it is easy:
~$ sudo pip install virtualenv
Verify its installed by running:
~$ virtualenv --version
Its a good idea to create a brand new directory for cloudify source code. In this tutorial we will use ~/dev/src/cloudify-cosmo
We recommend setting up an SSH Key with your Github account. This will allow you to push code by using key-pair authentication, without the need to enter a username and password each time. If you do not wish to do so, follow the instructions in the Basic Authentication part below.
Clone this repo:
~/dev/src/cloudify-cosmo$ git clone git@github.com:cloudify-cosmo/cloudify-dev.git
Since many repositories need to be cloned, we wrote a small python script to do that for you:
~/dev/src/cloudify-cosmo$ python cloudify-dev/scripts/clone_ssh.py
This method of cloning will require you to authenticate with your Github credentials each time you push code.
Clone this repo:
~/dev/src/cloudify-cosmo$ git clone https://github.com/cloudify-cosmo/cloudify-dev
Since many repositories need to be cloned, we wrote a small python script to do that for you:
~/dev/src/cloudify-cosmo$ python cloudify-dev/scripts/clone_basic.py
Its also a good idea to have a dedicated directory for python virtual environments. In this tutorial we will use ~/dev/venvs
Once you have this directory in place, lets create a new virtualenv for all cloudify related stuff:
~/dev/venvs$ virtualenv cloudify-cosmo
now lets activate this env:
~/dev/venvs$ source cloudify-cosmo/bin/activate
from this point on (until you deactivate the virtualenv or exit the shell),
all python packages will by installed under this virtualenv, i.e, inside ~/dev/venvs/cloudify-cosmo/lib/python2.7/site-packages
Now we need to install all the cloudify packages to the virtualenv. Usually to install packages we can just run, for example:
~/dev/src/cloudify-cosmo$ pip install cloudify-dsl-parser/
This will copy the necessary source files to the virtualenv, which will make them available when you run python from this virtualenv. However, this means that any time you change code, you will have to re-install the package, since the new sources need to copied to the virtualenv. When we are developing, this will become a hassle. Luckily, pip comes to our rescue. For development purposes, pip introduced a way to install packages in editable mode, by passing the -e flag:
~/dev/src/cloudify-cosmo$ pip install -e cloudify-dsl-parser/
What this does is create links between the virtualenv and your source files. Now when you run python, the interpreter will use the actual source files under the cloudify-dsl-parser folder. So again, because we have many repositories, and packages need to be installed in a specific order, we wrote a small script to do that for you:
~/dev/src/cloudify-cosmo$ python cloudify-dev/scripts/install_packages.py
If you didn't encounter any errors during the previous steps, everything should be ok. However, lets double check. To see a list of the installed cloudify packages, run this:
~/dev/src/cloudify-cosmo$ pip list | grep cloudify
the output (varies by version) should look like so:
~/dev/src/cloudify-cosmo$ pip list | grep cloudify
cloudify (3.2a1, /home/elip/dev/src/cloudify-cosmo/cloudify-cli)
cloudify-agent-installer-plugin (3.2a1)
cloudify-dsl-parser (3.2a1, /home/elip/dev/src/cloudify-cosmo/cloudify-dsl-parser)
cloudify-plugin-installer-plugin (3.2a1)
cloudify-plugins-common (3.2a1, /home/elip/dev/src/cloudify-cosmo/cloudify-plugins-common)
cloudify-rest-client (3.2a1, /home/elip/dev/src/cloudify-cosmo/cloudify-rest-client)
cloudify-rest-service (3.2a1)
cloudify-riemann-controller-plugin (3.2a1)
cloudify-script-plugin (1.2a1, /home/elip/dev/src/cloudify-cosmo/cloudify-script-plugin)
cloudify-workflows (3.2a1)These packages are only test dependencies and are therefore not installed during the installation phase. That's ok, its just three packages, lets install them manually. Like we mentioned, nose is the framework we use to run our tests:
~/dev/src/cloudify-cosmo$ pip install nose
mock is a python mocking framework we also use:
~/dev/src/cloudify-cosmo$ pip install mock
And testtools is the base testing framework we use. It does not come packed with python:
~/dev/src/cloudify-cosmo$ pip install testtools
Lets verify we are able to run unit tests. Just as a sanity check, lets run the cloudify-dsl-parser tests:
~/dev/src/cloudify-cosmo$ nosetests cloudify-dsl-parser/dsl_parser/tests/
......................................................................
----------------------------------------------------------------------
Ran 430 tests in 12.618s
OKA fully functional environment is one that has everything setup in order to run the integration tests locally. To do so, follow the instructions Here
This section only refers to Intellij IDE, which is the recommended IDE in our opinion.
The first thing you need to do is install the Intellij Python Plugin, you can install it directly from Intellij.
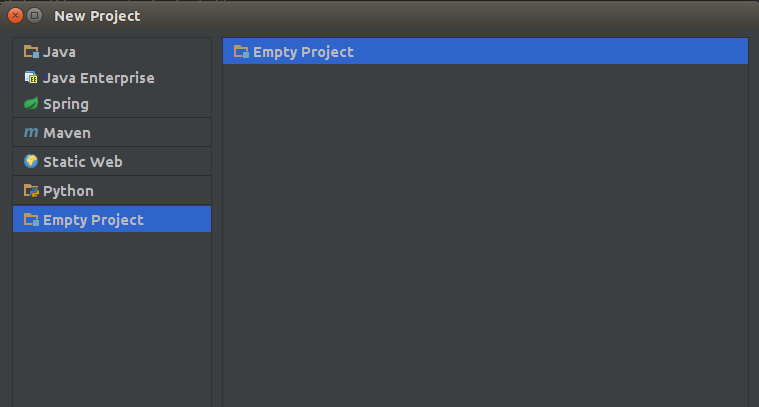
Once the plugin installation finishes, create a new empty project and give it a name (maybe cloudify-cosmo?)
Lets setup your project to work with the virtualenv we created
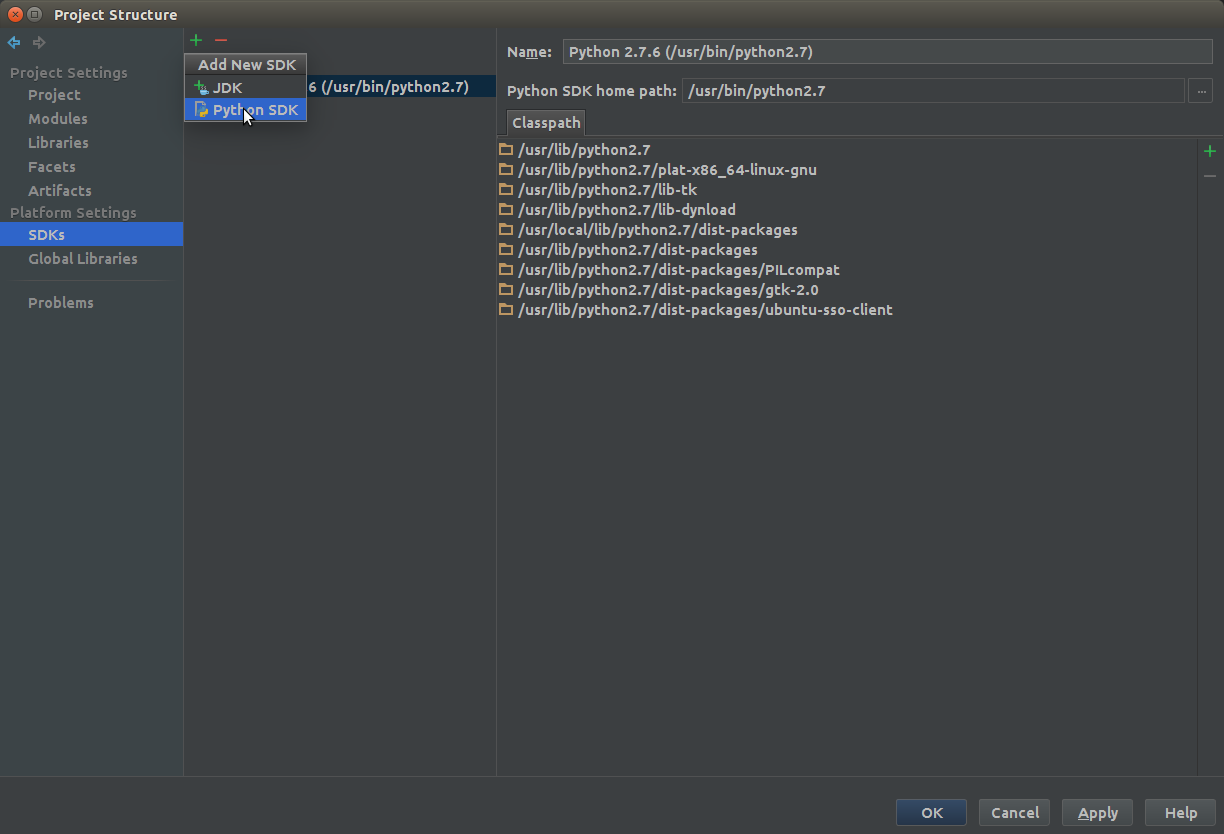
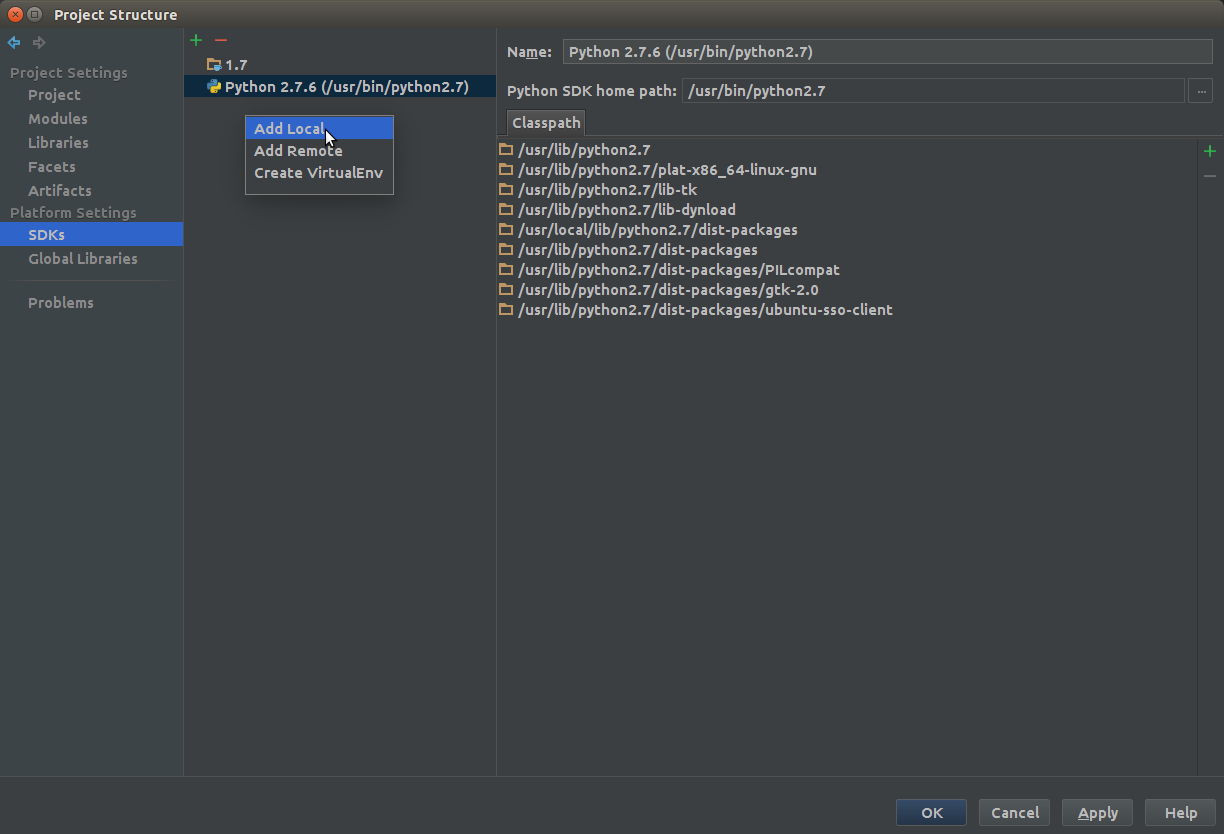
Go to File --> Project Structure. On the left hand pane, click SDKs under the Platform Settings section.
Now add the virtualenv as an additional Python SDK, as seen in the images:

Once you apply and the process is finished, you should see your new SDK on the list. Now lets make this SDK the default project SDK:
Go to File --> Project Structure. On the left hand pane, click Project under the Project Settings section.
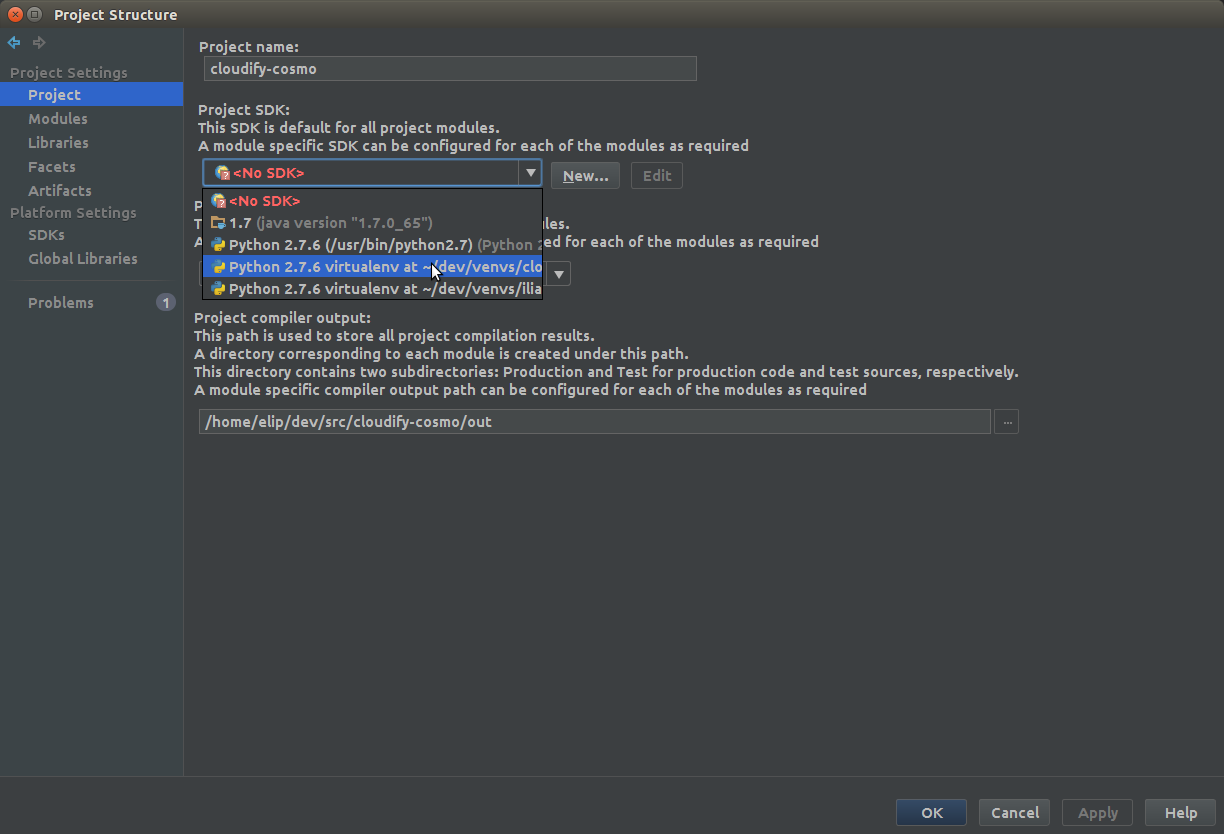
Apply the changes.
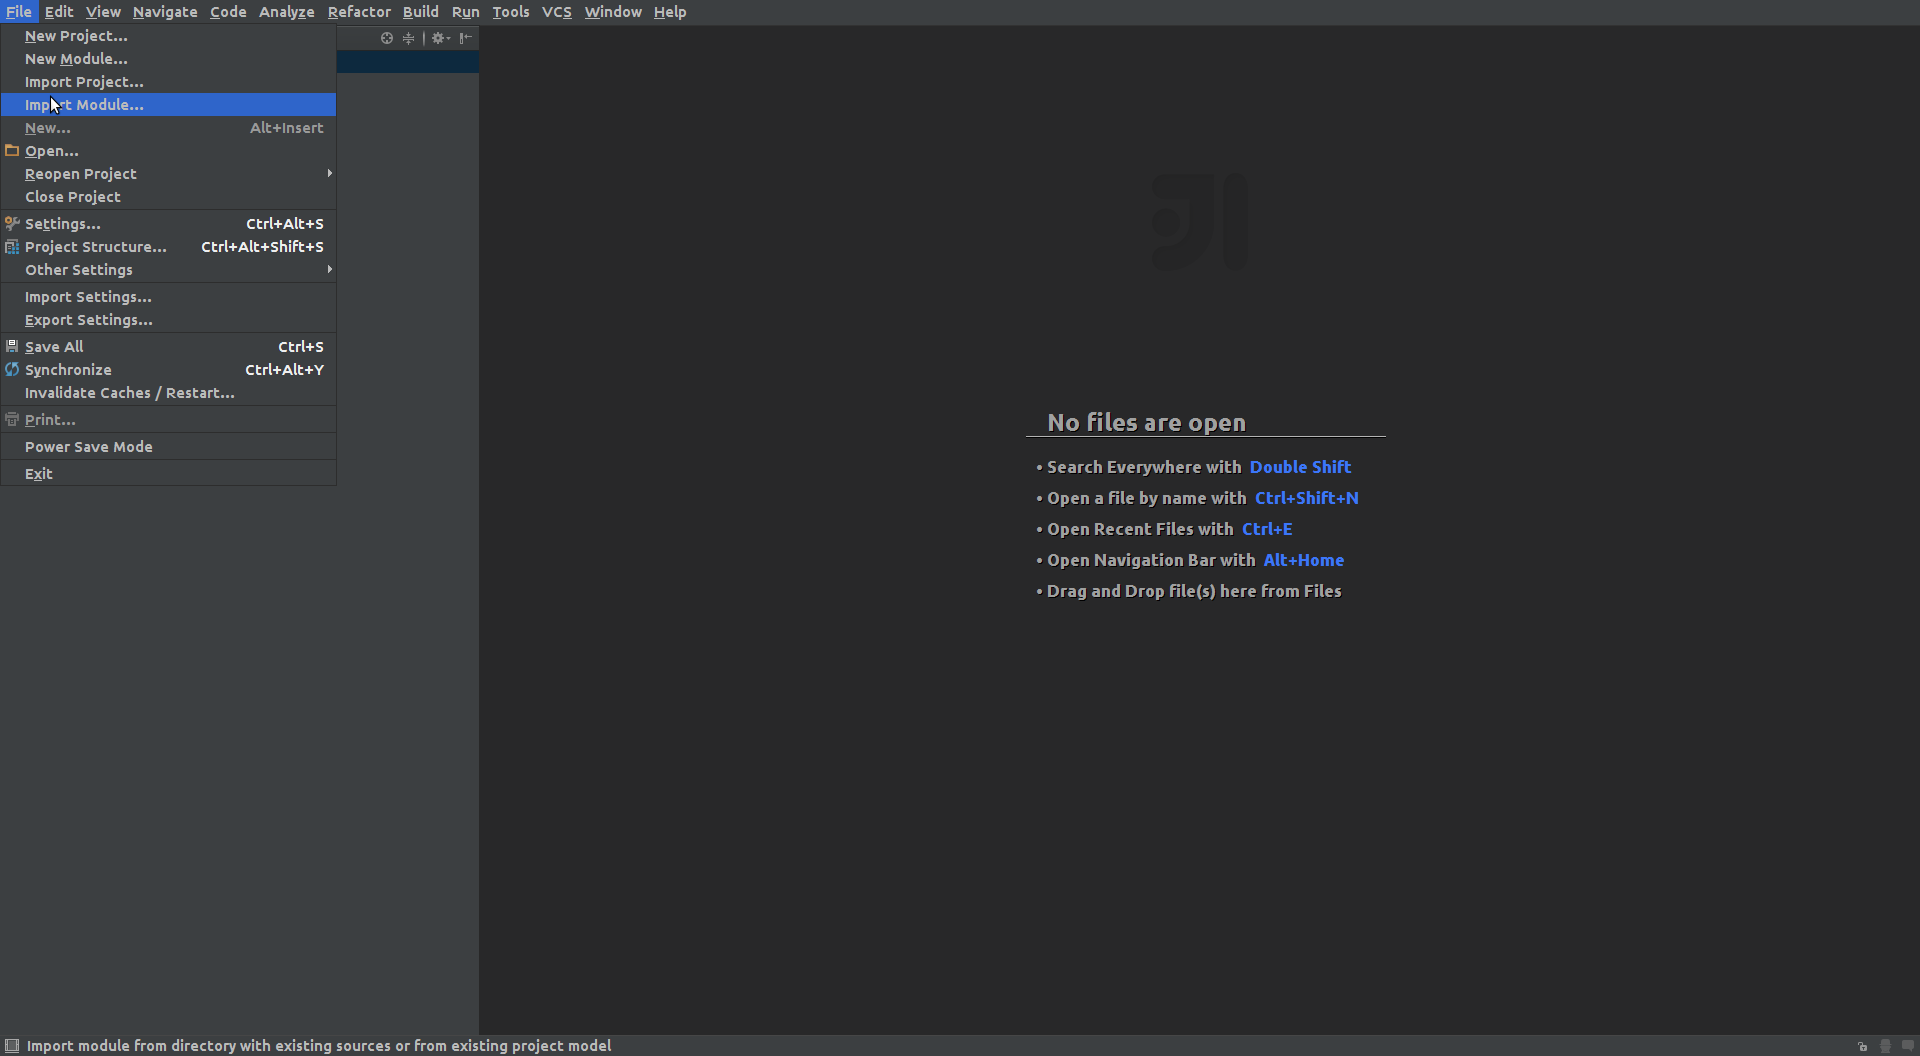
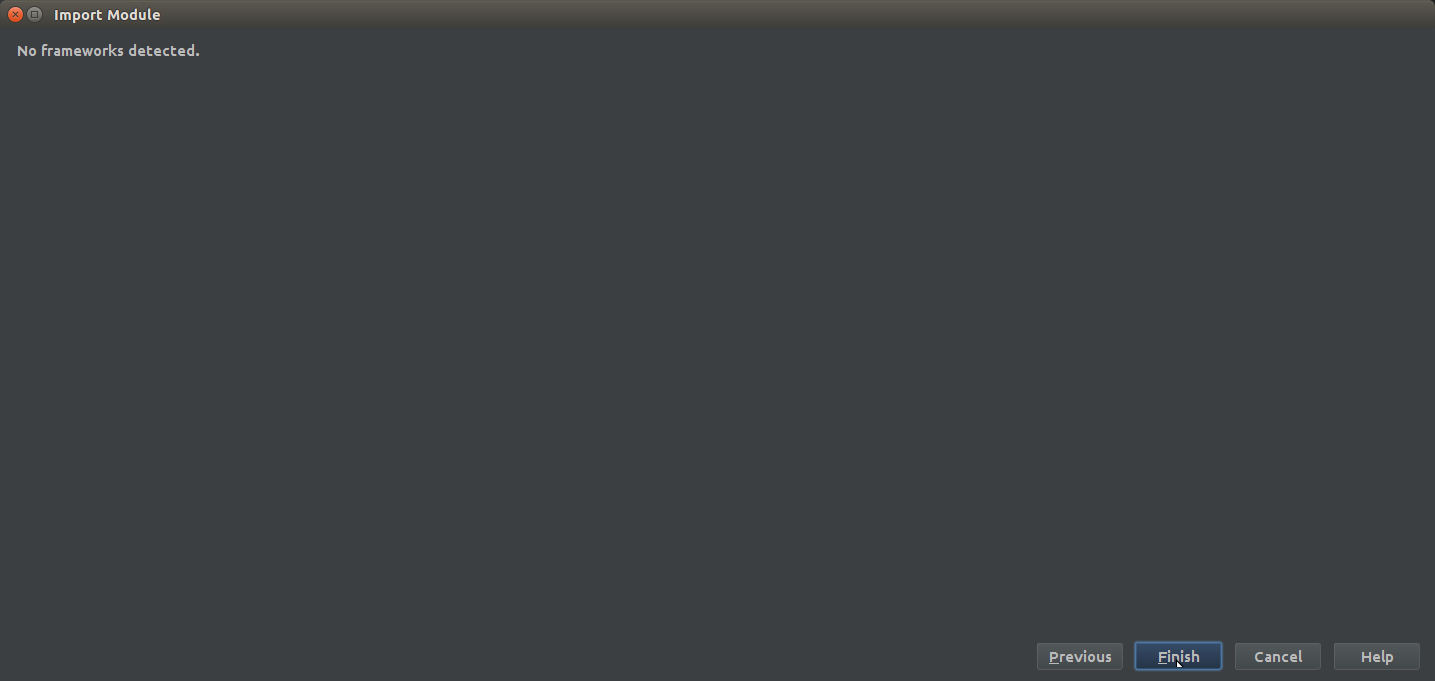
Next up is to import the code. In intellij, each source code project is called a module, and a collection of modules* is called a project (Yeah, go figure...).
So what we want to do is to import all our modules. For example, lets import the cloudify-cli module:
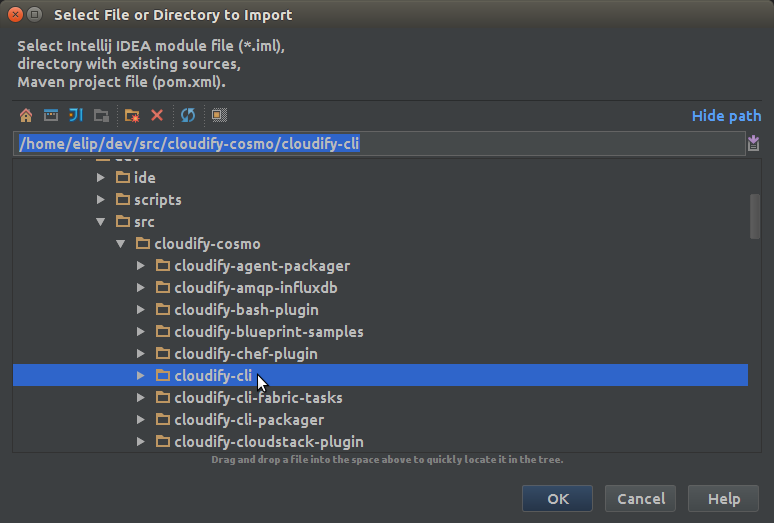
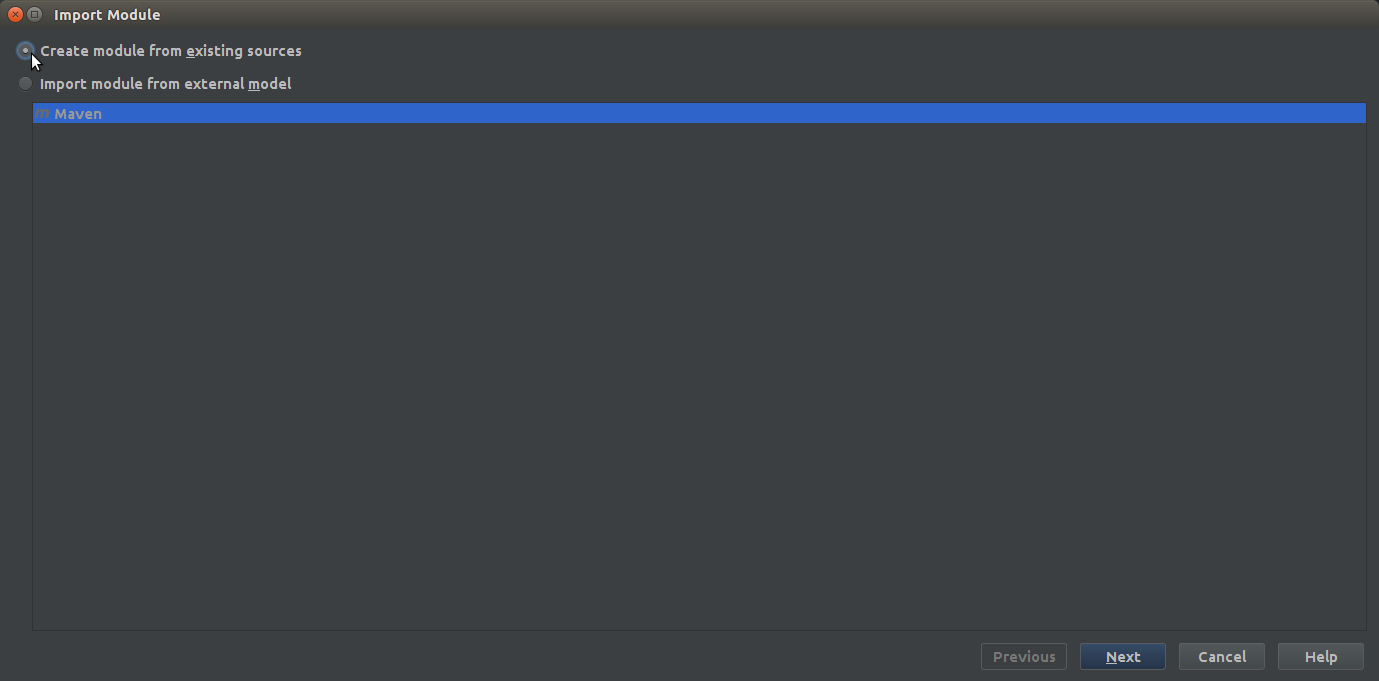
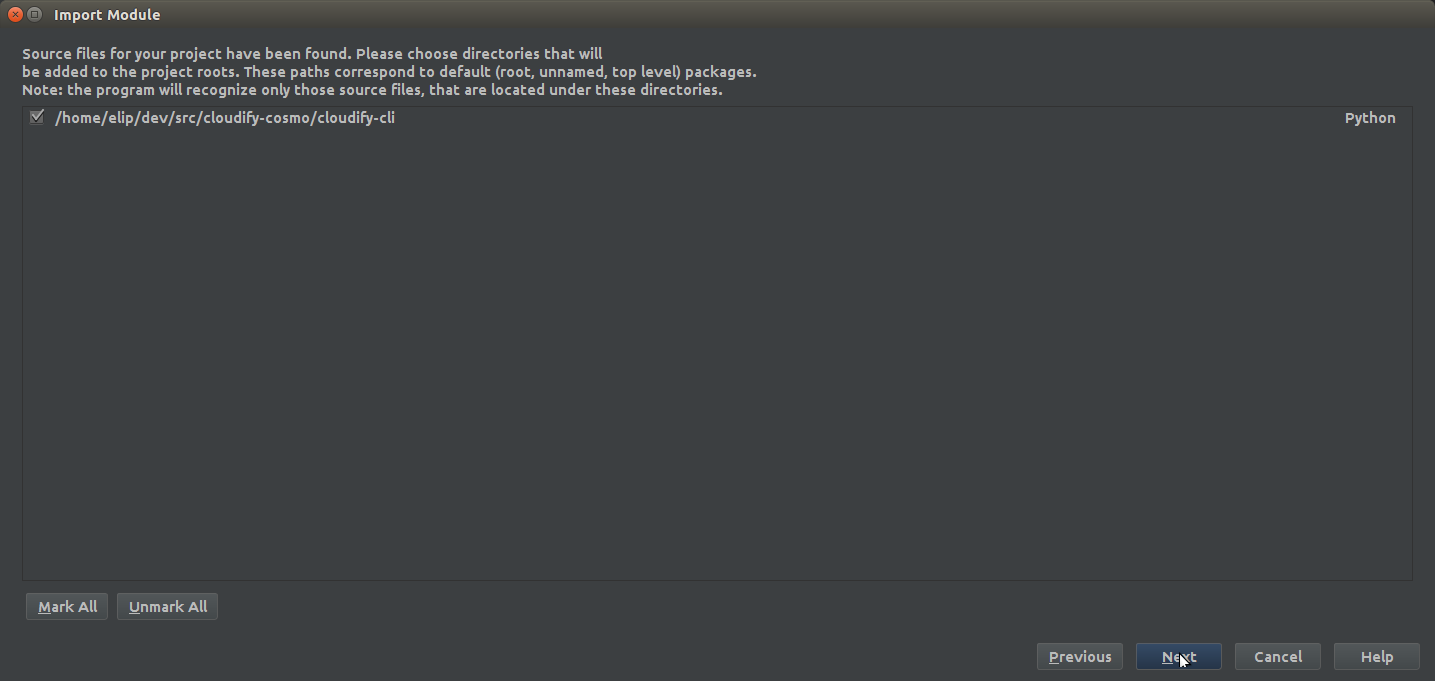
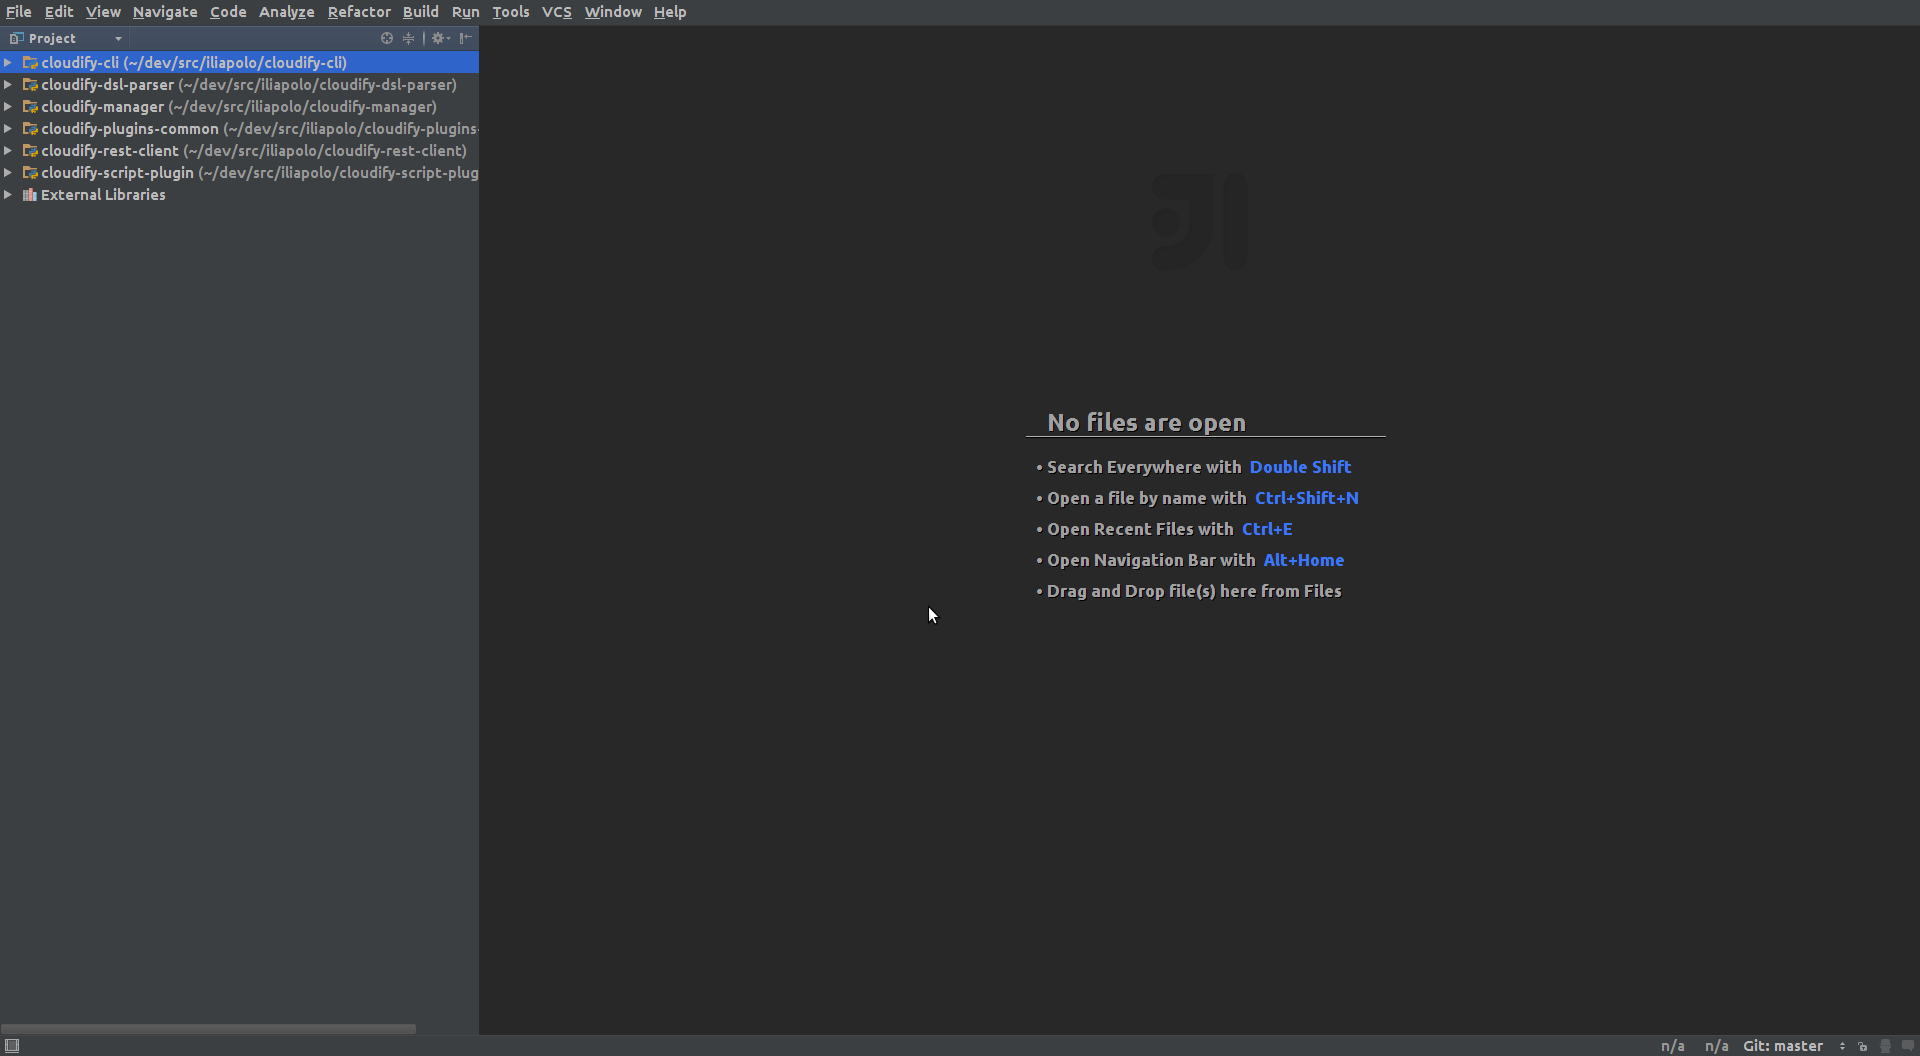
Repeat the exact same process for every module.
Your Intellij project should now look like this:
We want to be able to run tests directly from intellij, and not having to execute a command line. To do so properly, we need to configure the default test runner intellij will use.
Like we mentioned (twice), we use nose to run tests, intellij actually has built-in support for it, we just have to tell it that's what we want.
The annoying part though, is that we have to do it for every module separately. For example, lets to this for the cloudify-cli module.
Go to File --> Settings and search for Python Integrated Tools.

Do this for all modules and apply the change.
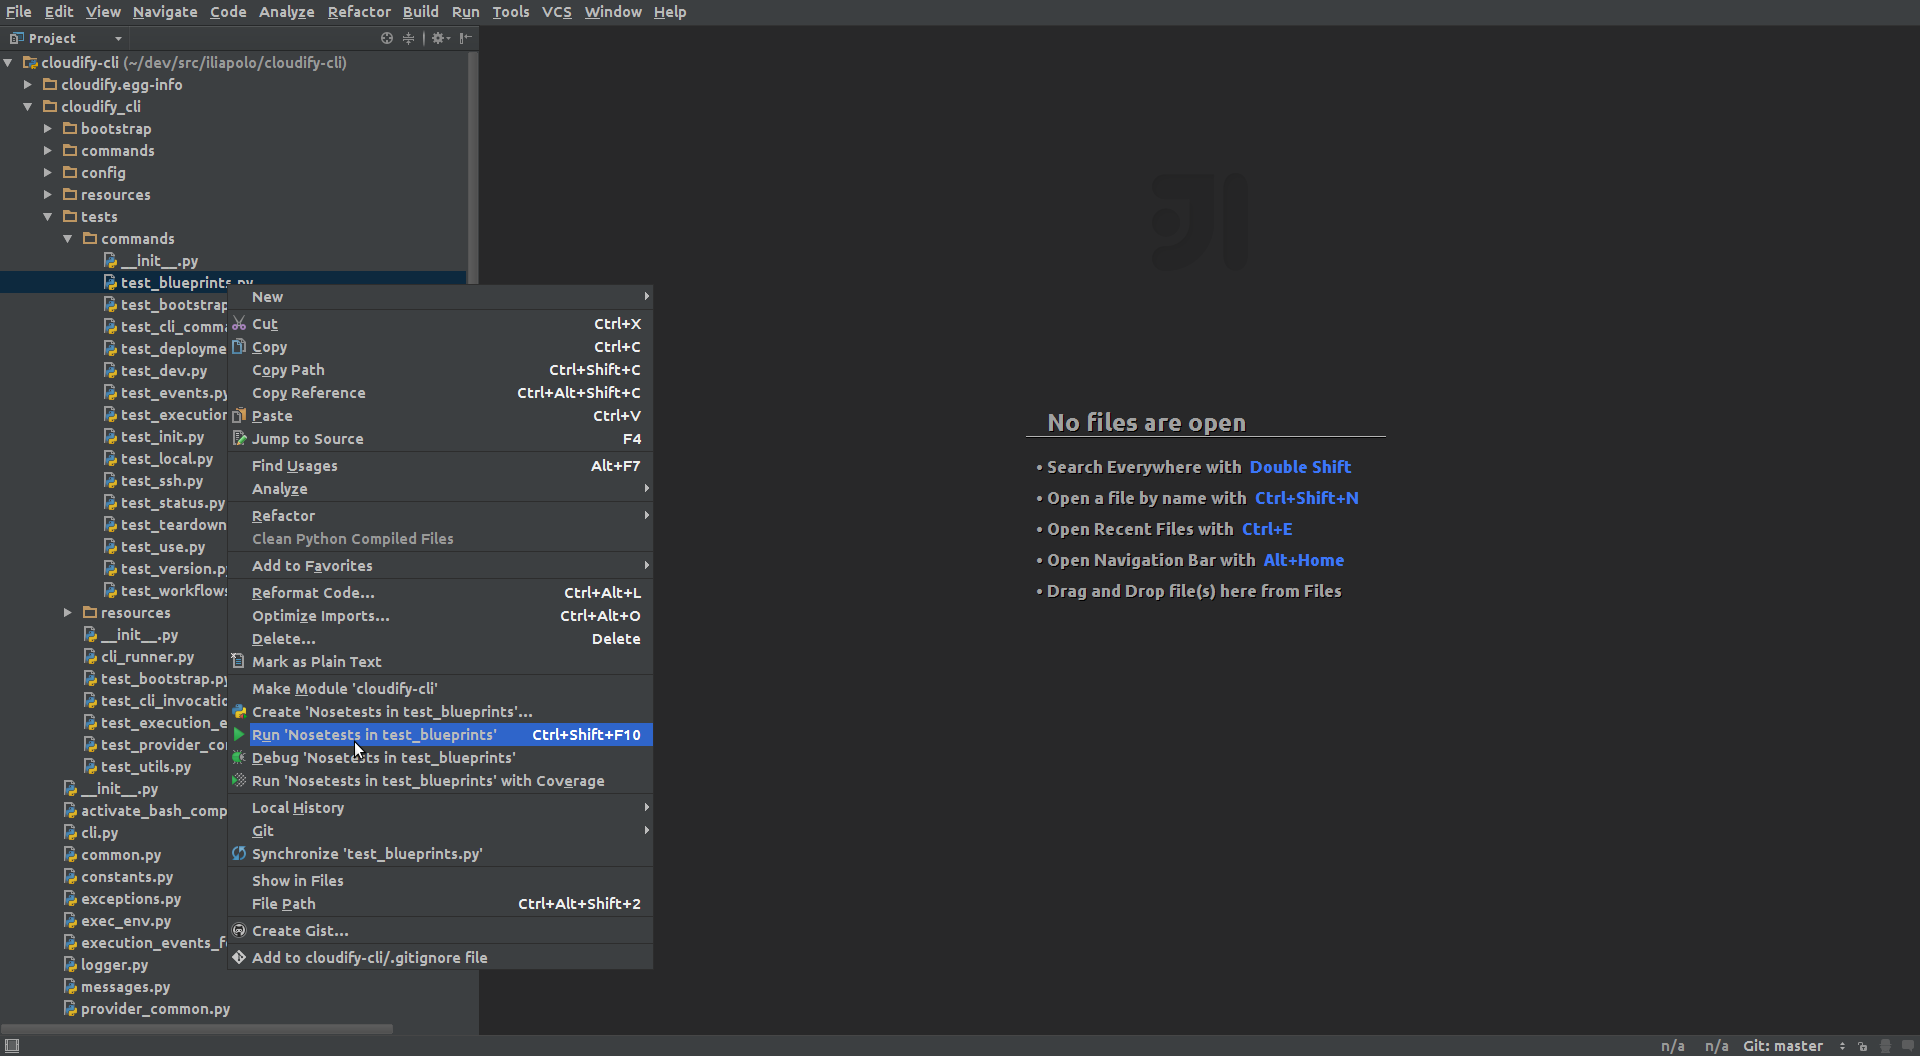
Now lets make sure this worked, to do that we will try to run some unit tests from the cloudify-cli module.
Traverse that module as following: cloudify-cli-->cloudify_cli-->tests-->commands, now right click the test_blueprints.py file.
Notice it should should give you the option to run tests in this file using Nosetests
If you don't see the option to run the test using Nosetests, try restarting IntelliJ.
The execution will be very quick, if you see something like this, your done! :)

Cloudify code changes pretty rapidly, we suggest you sync your code (git pull) at least once a day. Remember that when you work on a feature/bug, you should always be working on your own branch, leaving the master branch clean of changes or commits. So, by syncing we mean updating the master branch of every project. If you follow this, syncing your master branch should not introduce any conflicts, and it just a matter of running:
(cloudify-cosmo)10:14:43 (master) ~/dev/src/cloudify-cosmo/cloudify-cli$ git pull origin master
On every directory. Its up to you when you wish to update your own branch with the latest changes from master, to do so run the following (after you've synced the master branch):
(cloudify-cosmo)10:14:43 (master) ~/dev/src/cloudify-cosmo/cloudify-cli$ git checkout <branch_name>
(cloudify-cosmo)10:14:43 (<branch_name>) ~/dev/src/cloudify-cosmo/cloudify-cli$ git merge masterEvery time a new version is released, the version number of each project is progressed accordingly. However, just updating the source code does not inform pip that the version has changed, and as far as dependencies go, you still have the old version installed. This can cause conflicts with dependency resolution and should be avoided. So we need to force pip to recognize a version change, essentially it means re-installing the packages.
~/dev/src/cloudify-cosmo$ python cloudify-dev/scripts/install_packages.py
Also, its a good idea to stay tuned to the cloudify-developers group, as changes are posted there.