Laravel Starter is a Laravel 9.x based simple starter project. Most of the commonly needed features of an application like Authentication, User and Role management Application Backend, Backup, Logviewer are available here. It is modular, so you can use this project as a base and build your own modules. You can use the same module in any of the Laravel Starter based projects.
Please let me know your feedback and comments.
If you discover any security related issues, please send an e-mail to Nasir Khan Saikat via nasir8891@gmail.com instead of using the issue tracker.
Check the following demo project. It is just a straight installation of the project without any modification.
Demo URL: http://laravel.nasirkhn.com
User: super@admin.com
Pass: secret

User: user@user.com
Pass: secret
If you want to test the application on you local with additional demo data you may use the following command. By using this you can truncate the posts, categories, tags and comments table and insert new demo data.
--fresh option will truncate the tables, without this command new set to data will be inserted only.
php artisan starter:insert-demo-data --fresh
We have created a number of custom commands for the project. The commands are listed below with a brief about the use of it.
To create a project use the following command, you have repalce the MODULE_NAME with the name of the module.
php artisan module:build MODULE_NAMEYou may want to use --force option to overwrite the existing module. if you use this option, it will replace all the exisitng files with the defalut stub files.
php artisan module:build MODULE_NAME --forcecomposer clear-allthis is a shortcut command clear all cache including config, route and more
composer pintapply the code style fix by this command. This command uses the Laravel Pint package: https://laravel.com/docs/10.x/pint
A number of custom commands are available to add and update role-permissions. Please read the Role - Permission Wiki page, where you will find the list of commands with examples.
The Laravel Starter comes with a number of features which are the most common in almost all the applications. It is a template project which means it is intended to build in a way that it can be used for other projects.
It is a modular application, and a number of modules are installed by default. It will be helpful to use it as a base for the future applications.
- Admin feature and public views are completely separated as
BackendandFrontendnamespace. - Major feature are developed as
Modules. Module like Posts, Comments, Tags are separated from the core features like User, Role, Permission
- User Authentication
- Social Login
- Github
- Build in a way adding more is much easy now
- User Profile with Avatar
- Separate User Profile table
- Role-Permissions for Users
- Dynamic Menu System
- Language Switcher
- Localization enable across the porject
- Backend Theme
- Bootstrap 5, CoreUI
- Fontawesome 6
- Frontend Theme
- Tailwind
- Fontawesome 5
- Article Module
- Posts
- Categories
- Tags
- Comments
- wysiwyg editor
- File browser
- Application Settings
- External Libraries
- Bootstrap 5
- Fontawesome 6
- CoreUI
- Tailwind
- Datatables
- Select2
- Date Time Picker
- Backup (Source, Files, Database as Zip)
- Log Viewer
- Notification
- Dashboard and details view
Follow the steps mentioned below to install and run the project. You may find more details about the installation in Installation Wiki.
- Clone or download the repository
- Go to the project directory and run
composer install - Create
.envfile by copying the.env.example. You may use the command to do thatcp .env.example .env - Update the database name and credentials in
.envfile - Run the command
php artisan migrate --seed - Link storage directory:
php artisan storage:link - You may create a virtualhost entry to access the application or run
php artisan servefrom the project root and visithttp://127.0.0.1:8000
After creating the new permissions use the following commands to update cashed permissions.
php artisan cache:forget spatie.permission.cache
This project is configured with Laravel Sail (https://laravel.com/docs/9.x/sail). You can use all the docker functionalities here.
FontAwesome & CoreUI Icons, two different font icon library is installed for the Backend theme and only FontAwesome for the Frontend. For both of the cases we used the free version. You may install the pro version separately for your own project.
- FontAwesome - https://fontawesome.com/search?m=free
- CoreUI Icons - https://icons.coreui.io/icons/
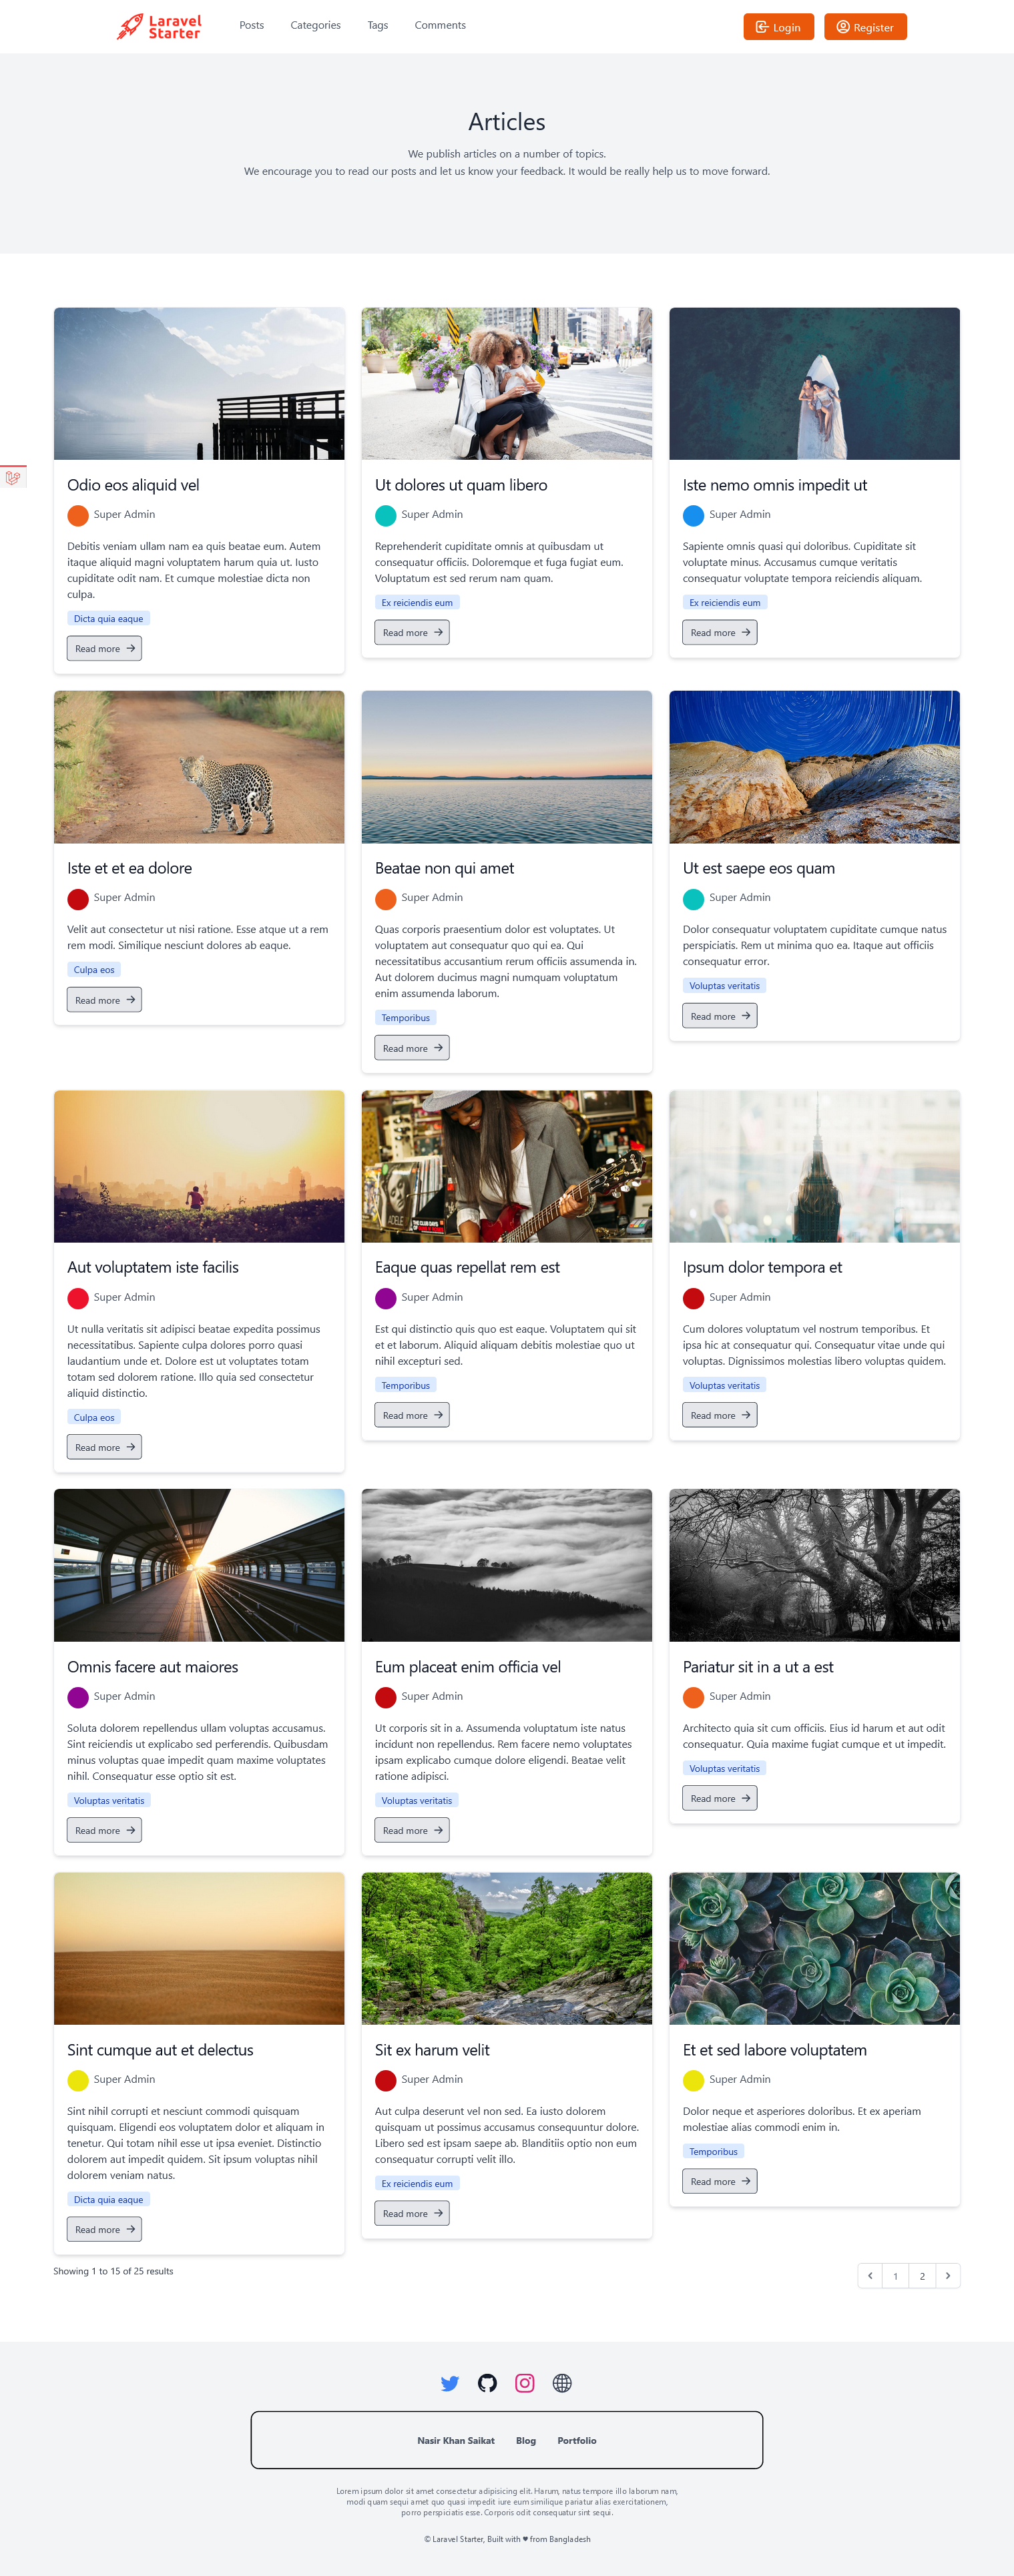
Home Page

Login Page

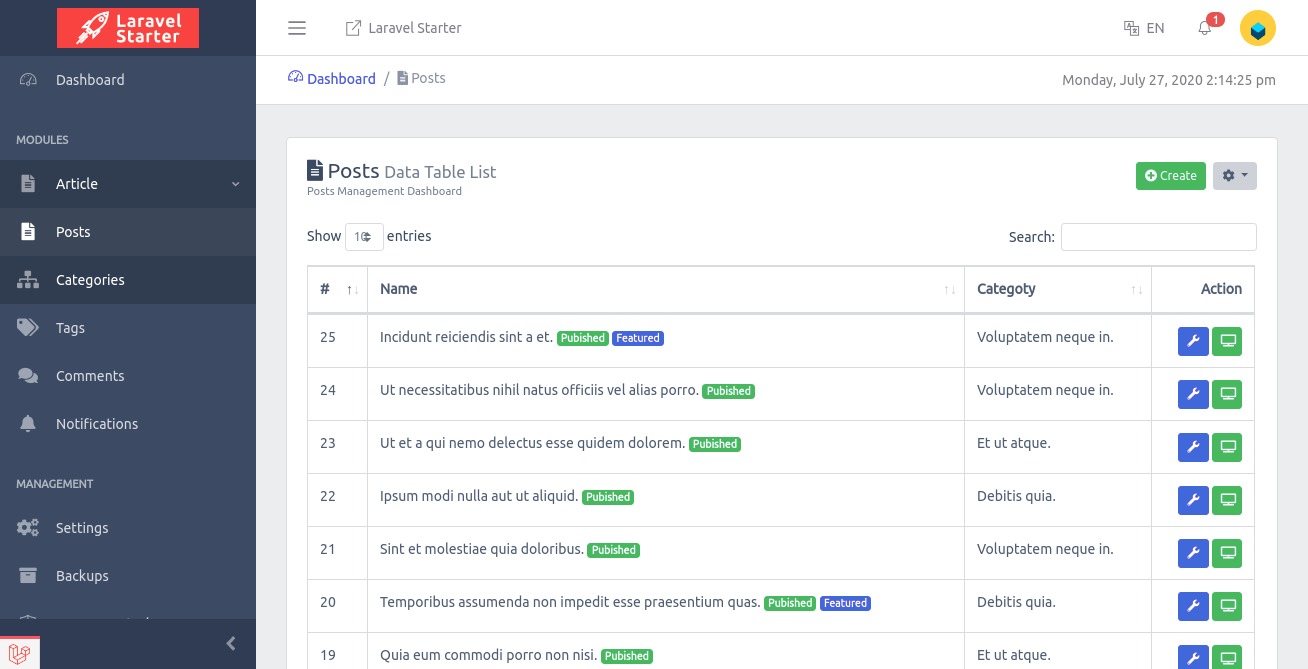
Posts Page
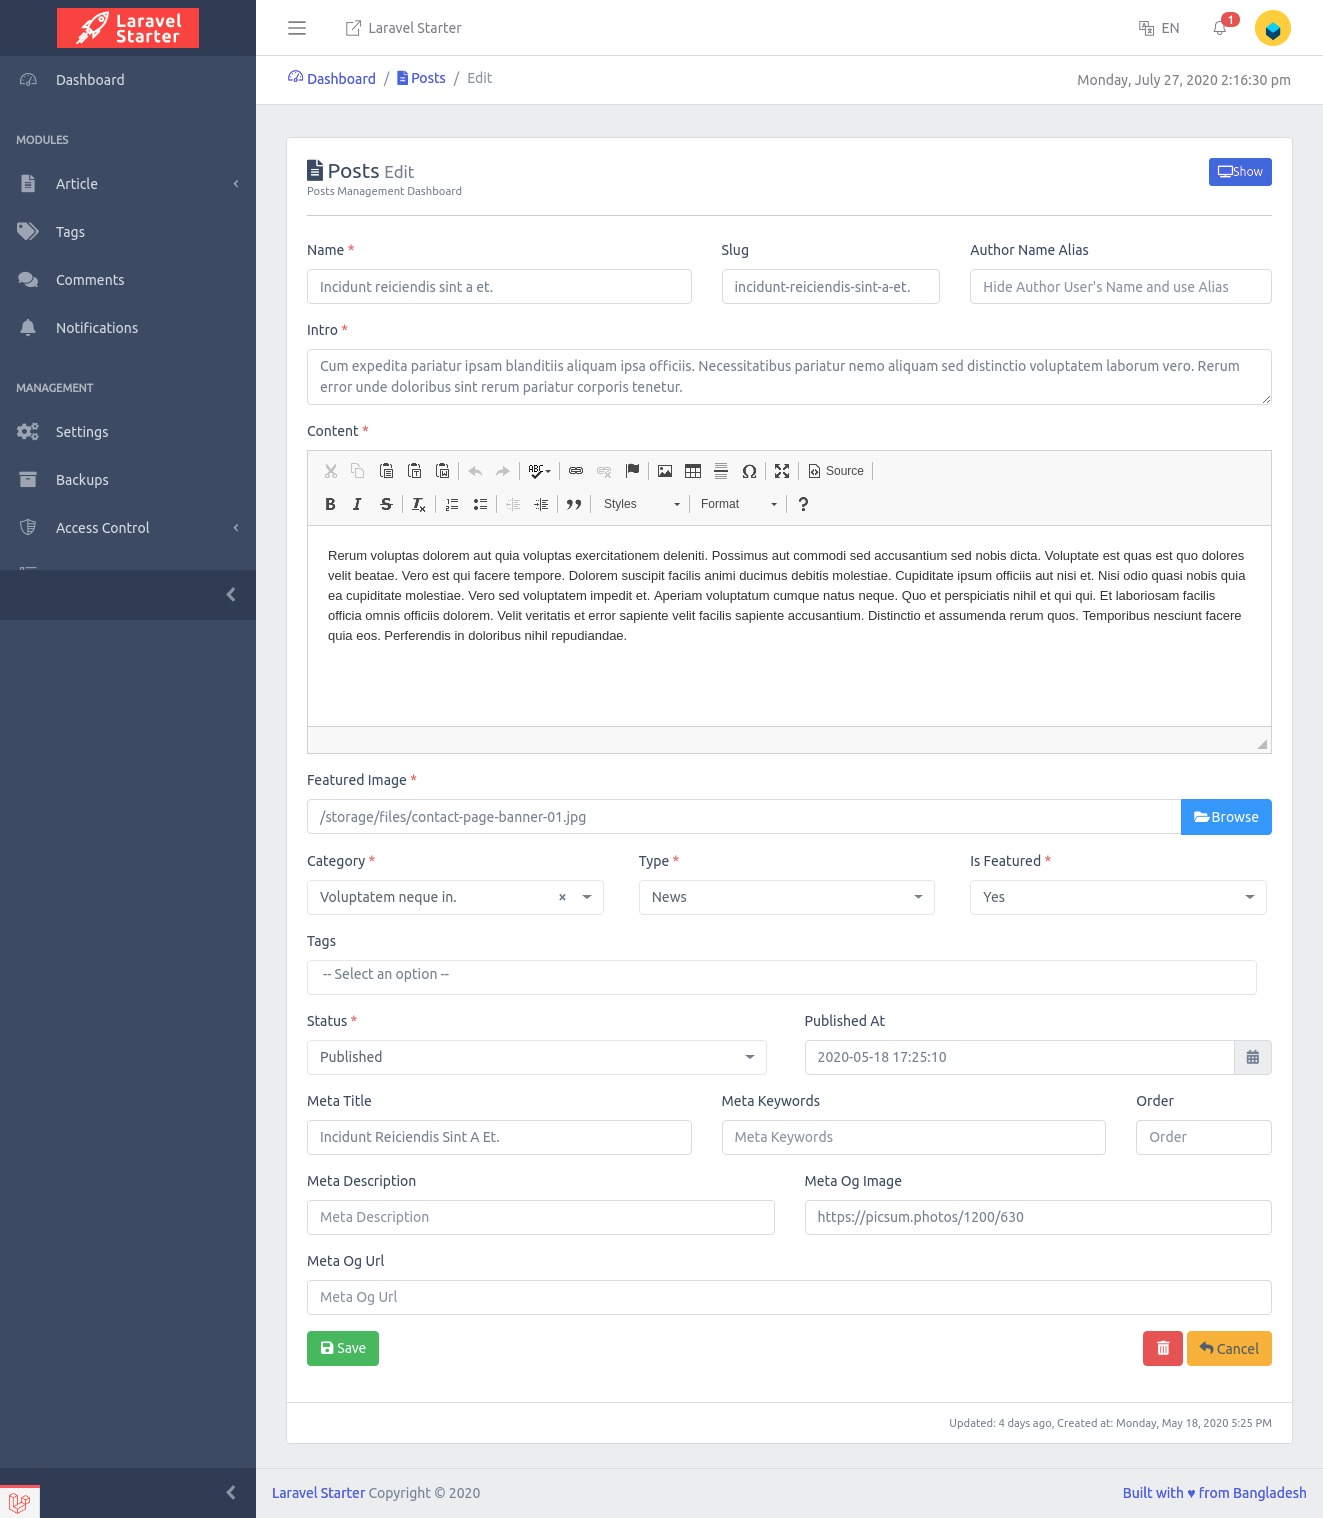
Backend Dashboard