We are creating an custom docker image with help of existing docker image and we are creating an container using the custom/created docker image. Let's move on to the process.
If you need to download docker to the EC2 instance, then follow this:
sudo yum install docker -y
sudo systemctl restart docker.service
sudo systemctl enable docker.service
sudo systemctl status docker.service
sudo usermod -a -G docker ec2-user
Please exit from the instance and login back to reflect the above changes
We need to get an HTTPD docker image, this is done to get the httpd.conf file from the image. We use this conf file for our custom docker image. You can use this link for getting docker image
docker container run --name webserver -d httpd:alpineNeed to copy the conf file
docker container cp webserver:/usr/local/apache2/conf/httpd.conf .Now we can stop & remove the container as well as the docker image
docker container stop webserver ; docker container rm webserver
docker image rm httpd:alpine
Now we have conf file with us, we can make our desired changes in this conf file and save it.

Download an sample HTML template to the EC2 instance, you can use this link for getting sample HTML . Here we downloaded the template to /home/ec2-user/website/ location.
To get sample HTML template
wget https://www.tooplate.com/zip-templates/2124_vertex.zip /home/ec2-user/website/
cd /home/ec2-user/website/
unzip 2124_vertex.zip
rm -rf 2124_vertex.zip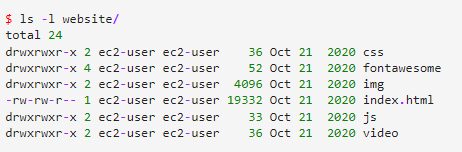
So, we have the site template in /home/ec2-user/website/
Now we create a directory for handling our project and we move these 2 files (website and conf) to that directory.
mkdir project/
cp -r website/ httpd.conf devops-project
cd project/
ls -l project/
total 24
-rw-r--r-- 1 ec2-user ec2-user 20827 Apr  4 10:00 httpd.conf
drwxrwxr-x 6 ec2-user ec2-user 106 Apr 9 02:29 websiteNow we will create a file in project directory for building our custom docker image. We create file "Dockerfile" and we add these:
vim Dockerfile
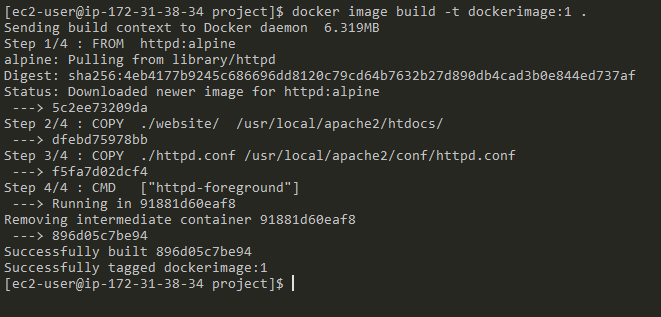
Let's build the image, please ensure you run this command from the corect woreking directory (Project):
docker image build -t dockerimage:1 .Result
Now, let's add this custom docker image to our docker hub. First we need to sign up in docker hub and then follow this:
docker loginpass your credentials and you will get login succeeded message/result

We will rename the custom image (dockerimage:1) to desired one, here I rename it to:
docker image tag dockerimage:1 devanandts/dockertestimage:custom
docker image tag devanandts/dockertestimage:custom devanandts/dockertestimage:latest
Result

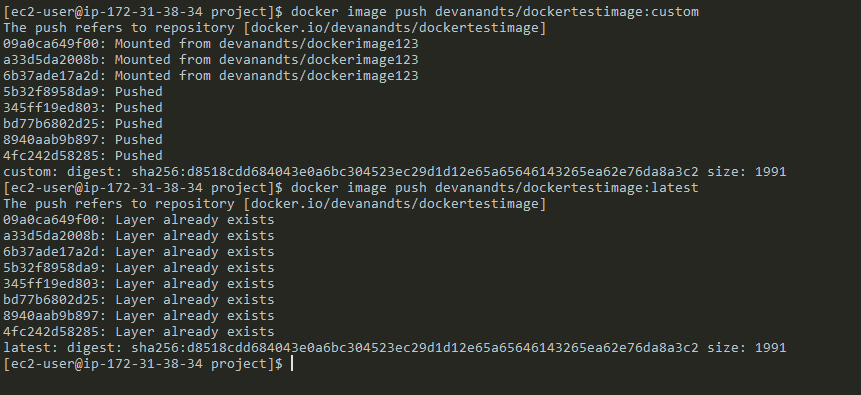
Now, we can push the image to docker hub
docker image push devanandts/dockertestimage:custom
docker image push devanandts/dockertestimage:latest
Result

Now we can pull this image for creating docker container!
This is how an docker custom image is created and pushed to docker hub. Please contact me when you encounter any difficulty error while using this terrform code. Thank you and have a great day!