Repository navigation
Imagery Workflow
Follow the Vienna walkthrough for an example with two acquisitions and a bounding box you can paste.
- Open Imagery → Orbilume. Use the viewport, selected objects, or a pasted bounding box in west, south, east, north order.
- Choose a provider and set acquisition dates and a maximum scene cloud percentage. Click Search.
- Select a scene and a composition, then click Load imagery. Hide or remove the imagery in the Layers panel.
| Composition | RGB channels | Use |
|---|---|---|
| Natural color | B04, B03, B02 | Identify visible features |
| Vegetation | B08, B04, B03 | Separate vegetation from other surfaces |
| Soil and vegetation | B12, B8A, B04 | Compare exposed soil and vegetation |
Choose a scene and click Preview AOI for a small natural-color crop. The preview estimates cloud and cloud shadow from the Sentinel-2 Scene Classification Layer. It also shows the share of the AOI with valid samples. The catalog filter still uses scene-wide cloud cover. Valid coverage measures how much of the selected rectangle has usable scene-classification samples. Cloud and shadow percentages are calculated within that valid portion.
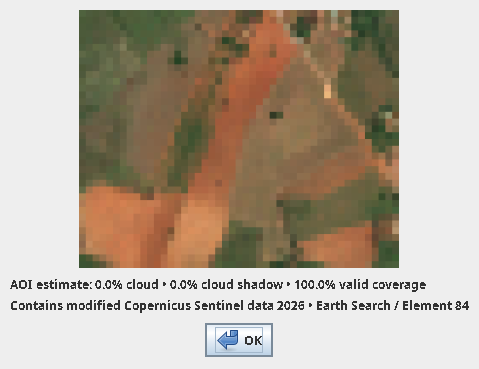
Contains modified Copernicus Sentinel data 2026, accessed through Earth Search (Element 84).
Select two scenes from different dates with Ctrl-click (Cmd-click on macOS), choose one composition, and click Compare dates. Right-click the resulting layer and choose Switch to [date]. The dates share one extent and pixel grid. Switching leaves the current map view in place.
Compare persistent features across dates before interpreting a land-use boundary.
When you use Sentinel-2 imagery to edit OpenStreetMap, record source=Sentinel-2 in the changeset. OpenStreetMap changeset guidance