Outpainting implementation #1251
Conversation
|
I'm testing this now. Do the black areas need to have a transparent mask over them? |
 lstein
left a comment
lstein
left a comment
There was a problem hiding this comment.
I've done the work of adding the CLI arguments, but need some documentation as to what the various options do and how they effect the outpainted image (i.e. --seam_strength). Could you add them to the appropriate place in CLI.md?
Here are the args:
Outpainting and outcropping:
  --seam_size SEAM_SIZE
                        When outpainting, size of the mask around the seam between original and outpainted image
  --seam_blur SEAM_BLUR
                        When outpainting, the amount to blur the seam inwards
  --seam_strength SEAM_STRENGTH
                        When outpainting, the img2img strength to use when filling the seam. Values around 0.7 work well
  --seam_steps SEAM_STEPS
                        When outpainting, the number of steps to use to fill the seam. Low values (~10) work well
  --tile_size TILE_SIZE
                        When outpainting, the tile size to use for filling outpaint areas
  --force_outpaint      Force outpainting if you have no inpainting mask to pass
|
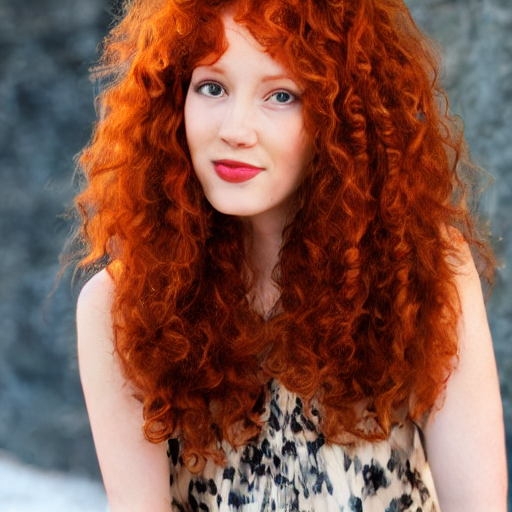
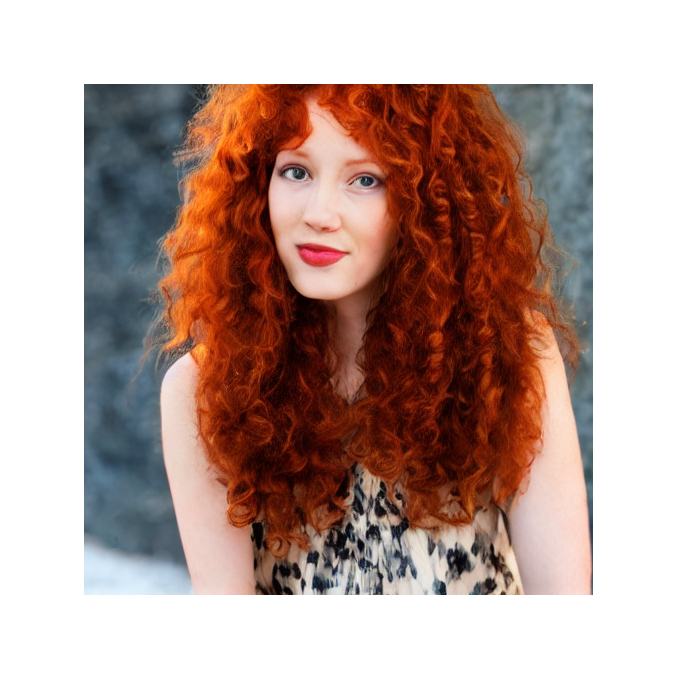
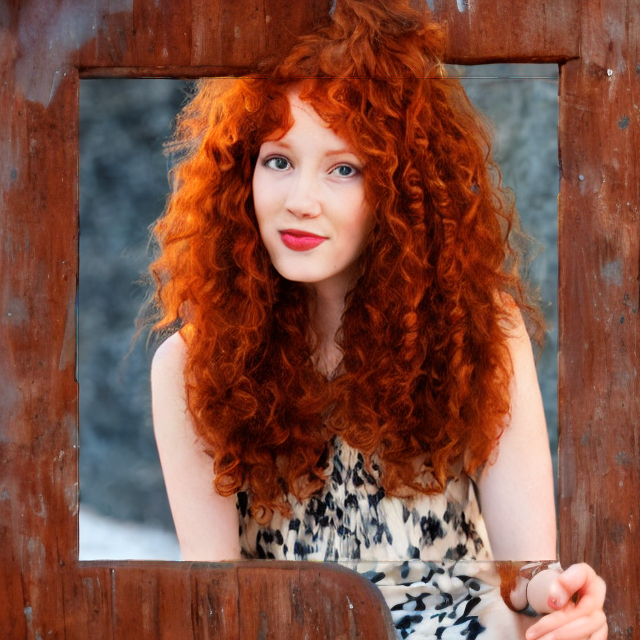
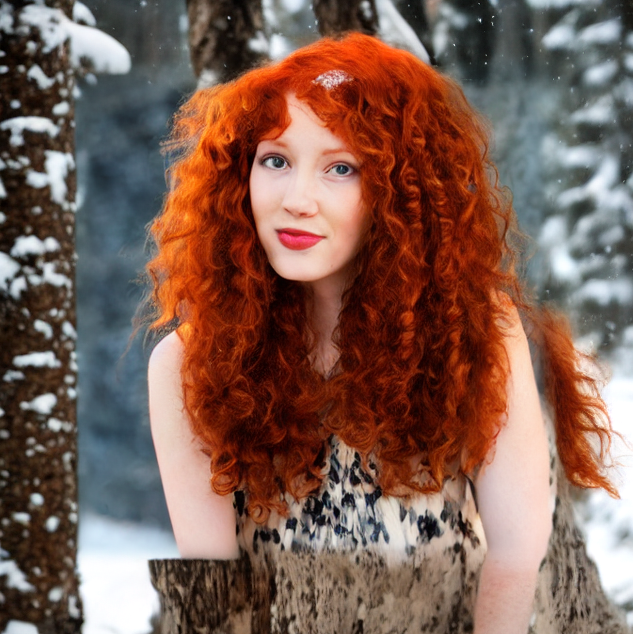
Seems to be working as advertised, but I think that the system was optimized for landscape painting. When I apply to a portrait, I'm getting some funniness. Original image: After application of mask and transparency: After outpainting with a seam blur of 4: (I like that it positions her in front of a window or something) In contrast, here's what I get when outpainting with the runwayML inpainting model (and no image manipulation stuff, just straight img2img): |
|
Almost good to go. I'd just like to get some documentation of the multiple options. You can put them into |
|
Does the seed being |
|
I ended up getting this:
Here's how I tested (my prompt isn't probably the best for this): input_image = Image.open('.scratch/test_full_outpaint.png')
result = generate.prompt2image(
prompt = "a woman with red hair in a forest in the snow",
steps = 50,
seed = 1234,
init_img = input_image,
init_mask = None,
strength = 0.9,
width = input_image.width,
height = input_image.height,
cfg_scale = 7.5,
sampler_name = 'k_lms',
seamless = False,
inpaint_replace = 0.0,
seam_size = 32,
seam_blur = 8,
seam_strength = 0.7,
seam_steps = 20,
tile_size = 32,
force_outpaint = True
)
result = result[0][0]
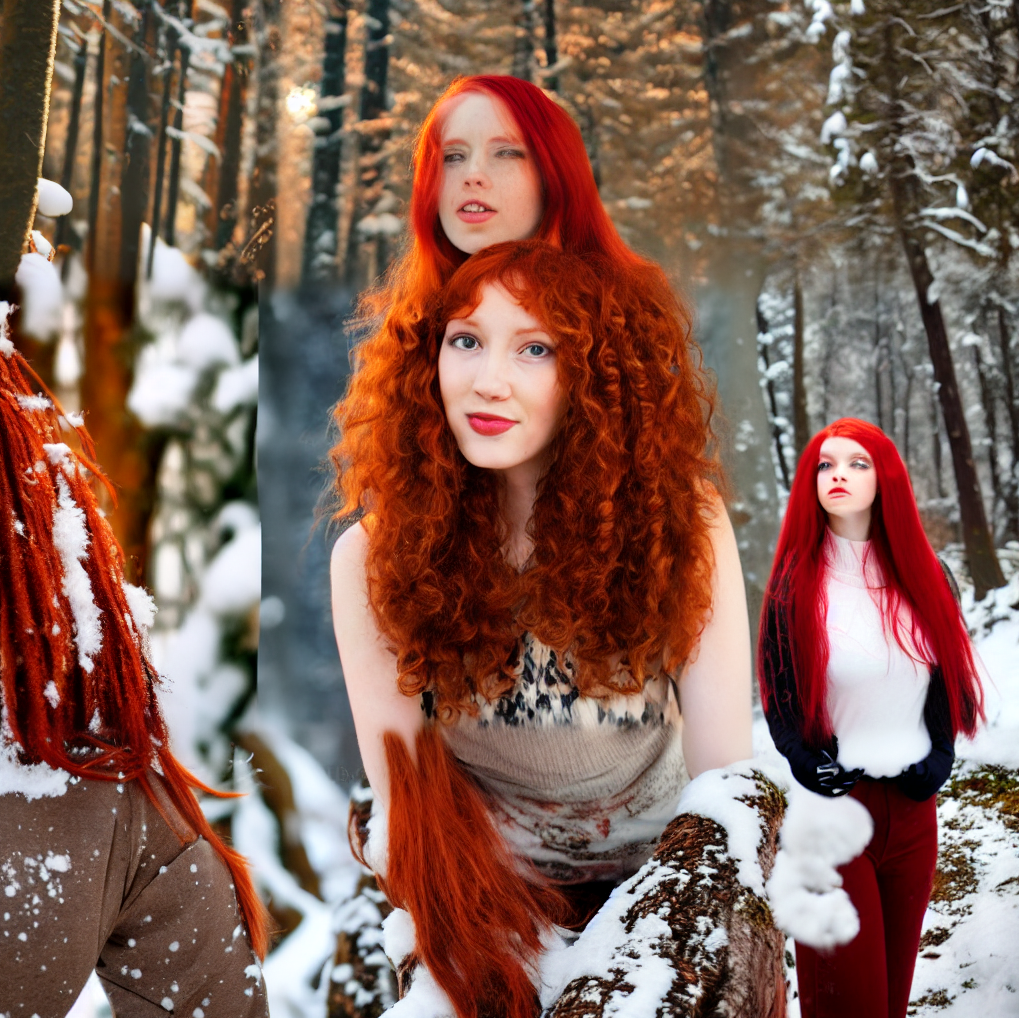
result.show()I haven't tested with the inpainting-trained model. If that improves the quality, that's awesome. The other repos I was looking at did outpainting one direction at a time (I think mostly because outpainting can get pretty expensive with the full image). I get really poor results outpainting one direction at a time (up/down/left/right/corners), but I suspect that's because I'm not modifying the prompt at all:
For UI usage, I'd expect the process being more like this: https://openai.com/blog/dall-e-introducing-outpainting/. You select an area to outpaint, modify your prompt a bit to say what you'd like there, then hit generate to outpaint (and retry until you're satisfied). This could be automated to an extent, but getting a "good" result would likely need prompt modification as you outpaint. I had some ideas to use the txt2mask code to calculate the portions of a prompt that are in the cropped area to include in the outpainting prompt (or at least how to weight them), but I don't know how many people would use that above just outpainting interactively with the UI. |
|
I agree. Asking the outpainting to do all borders at once is too much.
Maybe it didn't come across that way, but I am very impressed with what
your outpainting code did with that image. My "outcropping" code, when
asked to fill in all four sides simultaneously (using the standard model),
fails spectacularly.
Lincoln
|
|
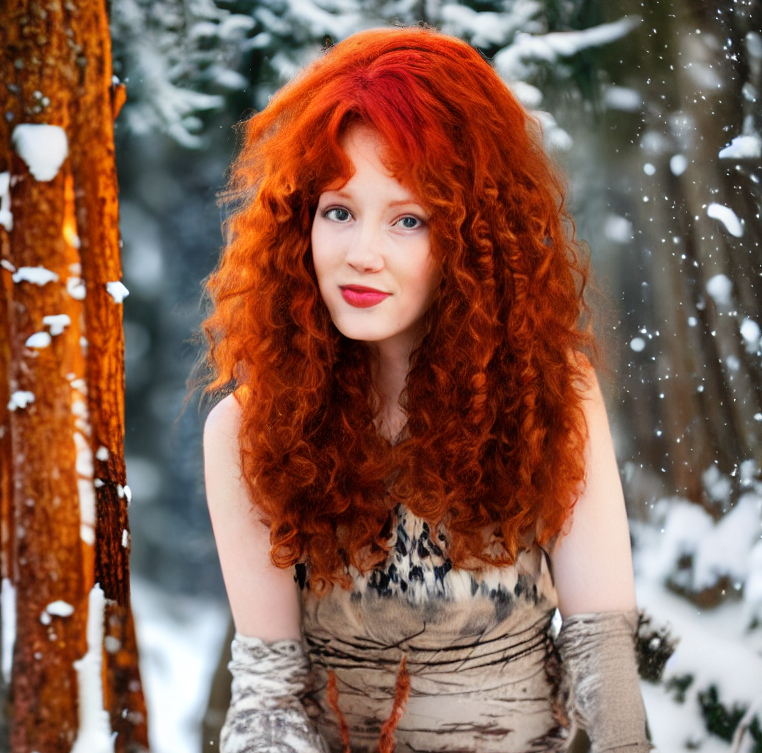
Oh I've just been pursuing perfection and frustrated whenever it doesn't work =P. Here's a 128-pixel outpaint. It performs a lot better: I actually mostly built upon your idea for outpainting (taking the edge image and flipping it to pre-fill the RGB layer outside the canvas). I was having trouble figuring out how I'd consistently choose which edge to use for corners, infill, and other scenarios, then I figured if I were to just pick random areas of the image to use as infill for outpainted areas, it might work pretty well. I think there may be room for improvement (e.g. if I used more "local" tiles for fill, it might produce better results), but I figured this is a pretty good first step =). |
Oh nevermind, I didn't realize that |
|
I noticed this in the docs:
It's possible for my code to fill those areas as well (it actually will by default if the mask isn't specified separately, since it will think you intend to outpaint). We might want to add an option in the future to tile-fill the inpaint mask as well. |
|
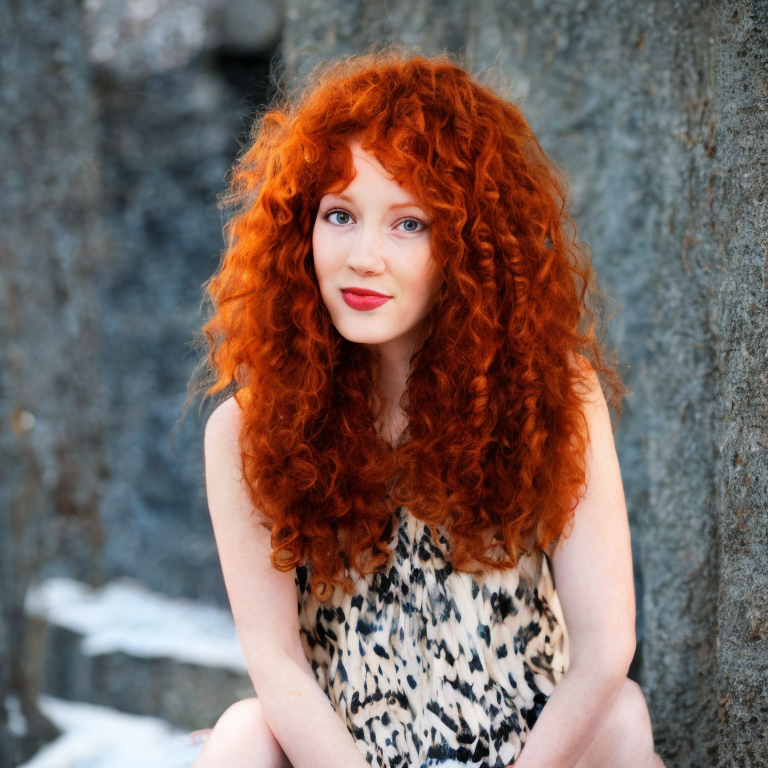
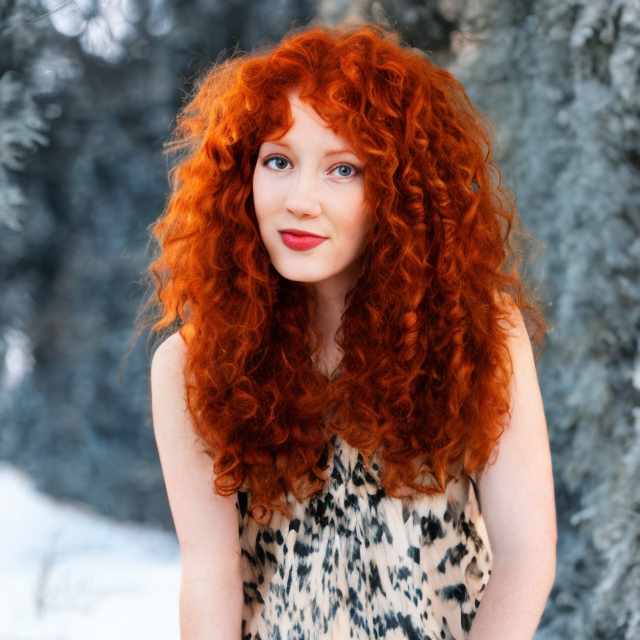
Testing out the new commits. When combined with the runwayML inpainting model, the results are truly impressive:
|
|
... and it is done. |
Wow, I can't believe it does the shirt correctly and even manages the bokeh with no visible seam. |
This adds outpainting capabilities. Note that this PR also contains the color correction from #1246.
Usage
Call prompt2image with the below parameters. Your init_image should be in RGBA format, with all outpainting areas full black (
0) and all original image areas any alpha value above 0. You can also pass a separate mask if you'd like to inpaint at the same time.Notable changes:
New
prompt2imageparameters:Changes to behavior:
init_img will not be converted to
RGBif it is currentlyRGBA. The outpainting requires the alpha channel.