This work is licensed under a Creative Commons Attribution-NonCommercial-ShareAlike 4.0 International License.


The goal of this project is to design an enhanced version of my hand-wired keyboard that I have been using for several years. The keyboard has a well-balanced size that allows it to be quite compact while still having all the important keys available on the main layer. Its layout is quite atypical but very convenient for typing text with accented Latin characters.
It is based on an Atmega32u4 chip and runs QMK. The switch footprints are 5-pins MX type.
The design is minimalist, not including backlight, but modern : the pcb has no screws and is fully dampened by EVA foam.
However, not being an electronics professional and this project being my first one, the switches are not hot-swappable since integrating this feature makes the design too complex for my skill level.
Before continuing, I would like to thank ai03 and Masterzen for their tutorials which made this project possible, as well as all the contributors of the QMK firmware.


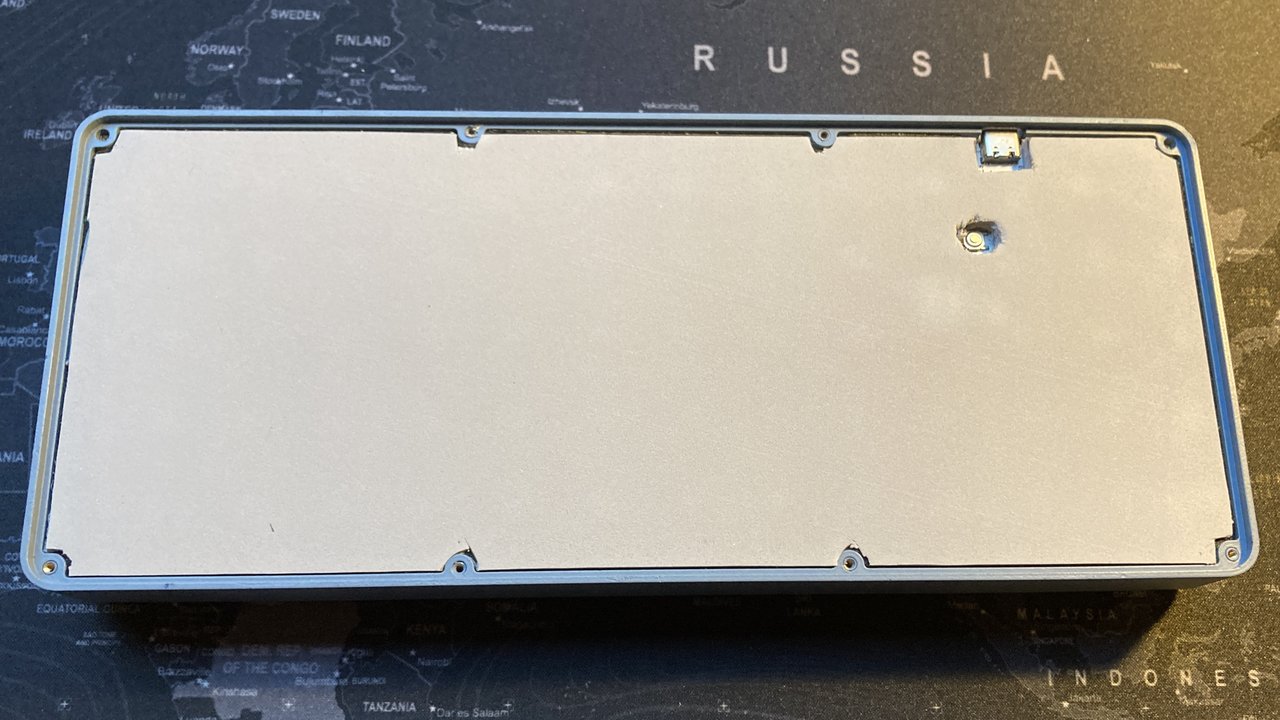
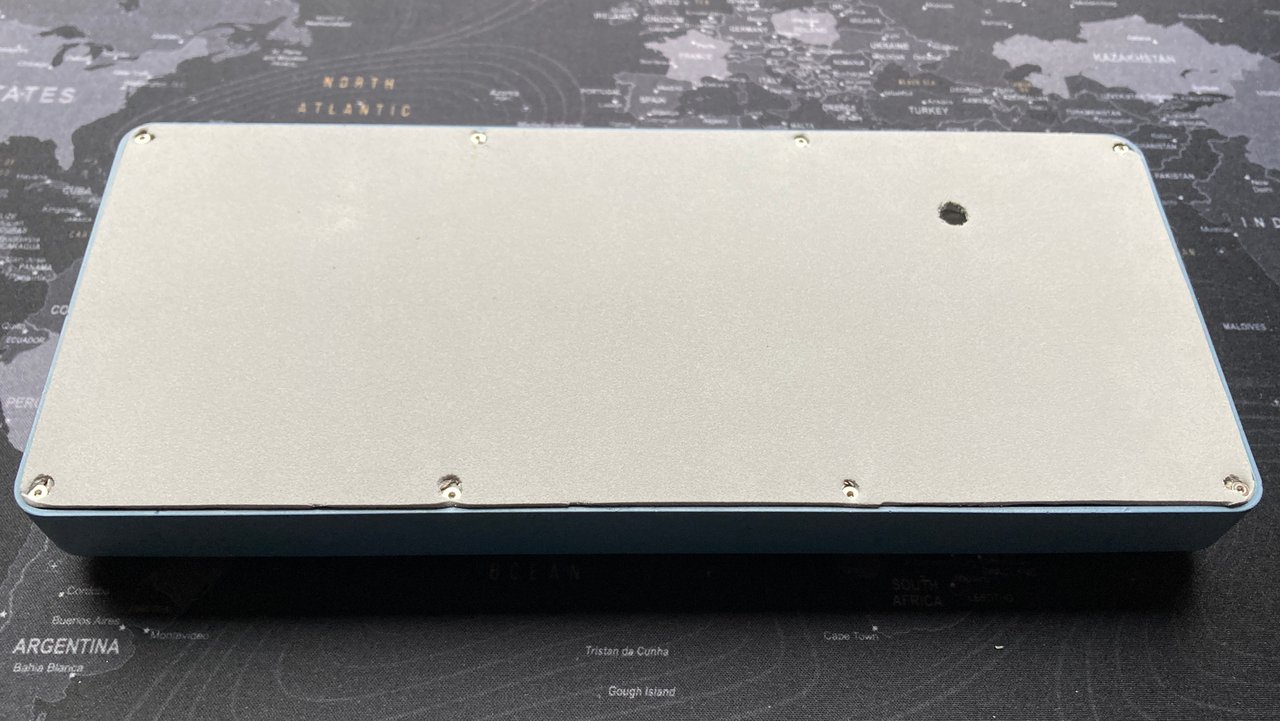
The keyboard consists of a top plate, a pcb and a bottom plate, all in fr4 and designed on Kicad, as well as a 3d printed frame in resin 8000 (sla) designed on Fusion 360. All these parts were ordered from JLCPCB. I chose these materials for their reasonable cost, their lightness as well as to obtain a soft typing feeling.
All the electronic components come from Digikey except the Atmel chip which comes from Aliexpress since it is out of stock at all specialist retailers. The BOM list therefore consists of component references available from Digikey.
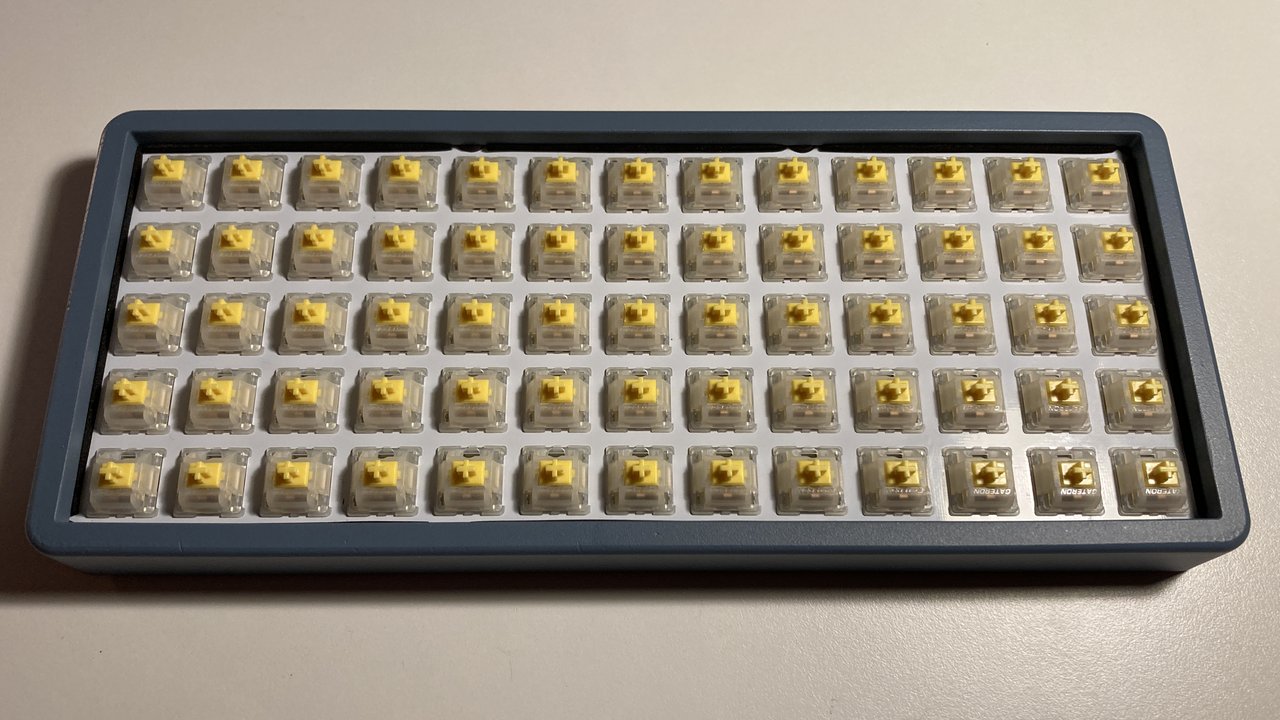
Regarding the switches, I chose Gateron Pro Milky Yellow for their price, their softness and because they are stock lubed, which saves me laborious work.
Finally, I reused the keycaps from my previous hand-wired keyboard because they come from Signature Plastics and are very expensive. It is difficult to find a keyset that is perfectly compatible with this keyboard because the caps have to be non sculpted (dsa or xda) and ortholinear sets lack keycaps since they are designed for the Plank and Preonic which are smaller than my keyboard.
Apart from the Signature Plastics solution, I found two sets that fit perfectly :
A simple set, entirely white, inexpensive and available immediately: https://fr.aliexpress.com/item/1005003174191494.html (version white with legend)
If you are not in a hurry, a magnificent set, more expensive and rarely available: https://drop.com/buy/massdrop-x-mito-canvas-xda-custom-keycap-set (alphas/betas set + text ortho/micons ortho set)
Aditionnal stuff you will need :
An USB type C cable.
Spray paint and plastic primer : I used Montana Colors mtn94 paint, nice quality, easy to use.
M2 brass standoffs 10mm : https://aliexpress.com/item/4000314663724.html (fit perfectly).
M2 flat head screws 10mm : https://aliexpress.com/item/4001072025844.html
Foam tapes 1x12mm + 3x8mm : https://aliexpress.com/item/33012825553.html
Foam sheets 2mm : I used this item https://aliexpress.com/item/1005002856054113.html but it is more dense than I expected, maybe not the best option.
A Double-sided adhesive tape.
A syringe of solder paste (preferably T5 grade because the usb type c port is tricky to solder) as well as solder wire.
A hot air rework station, a solder iron, tweezers, a magnifying glass and a cutting tool.
A lot of patience :)
To start, heat the frame with a hair dryer and then insert the spacers into it. Once cool, the spacers will be tight enough, no need to add glue.
Then take care of painting the frame and let it dry well.Sanding may be required before painting.
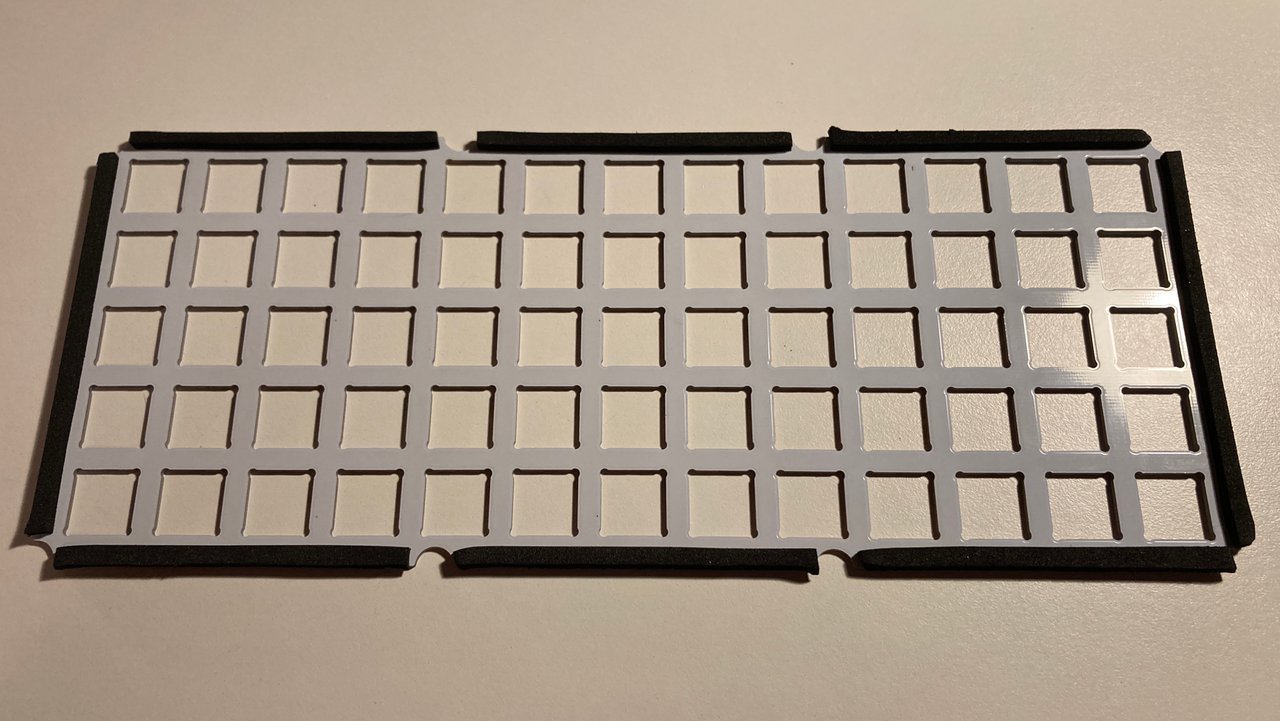
Then place the 1mm adhesive foam strip inside the frame as shown in the photo below.
Cut out the different foams using the top plate and bottom plate as templates :
Between the top plate and the pcb I used 2 sheets of 2mm that I glued together before cutting them. With 4mm of compact foam for a space between plates of 3mm, soldering the switches was very difficult because I had to compress the foam at the same time. Instead, try to find a sheet of 3mm foam or less dense foam.
Same observation for the foam between the pcb and the bottom plate, 4mm if good but EVA foam is definitely too dense and it was difficult to close the case the first time.
A last sheet of 2mm foam glued under the bottom plate as a sole. Here, EVA is perfect and provides a good support for the keyboard and prevents the screw heads from touching the desk.
Finally, cut strips of 3mm wide and thick self-adhesive foam and stick them all around the top plate.

Now it's time to solder the components on the pcb.
Leave the components in their bag until it is time to place them on the solder paste and be sure of their correct placement. Once out of their bag, it is very difficult to differentiate them so be careful!
You will have 5 pcb, so also have some spare components in case it goes wrong. If you do not know how to use a hot air station, I advise you to find out before you start.
Start with the usb receptacle which is the hardest part to solder because the pins are very close. Use very little solder paste to avoid making bridges which are very hard to see and remove.
Do not forget to secure the fixing of the usb receptacle by soldering the through tabs with a soldering iron and soldering wire
Do the same for the Atmel chip, but this time it's easier and you can put a little more solder paste.
Finally, put solder paste on all the remaining pads and arrange all your smd components, taking care to respect the polarity of the diodes, and solder them all at the same time.
Check your welds with a magnifying glass and use a multimeter to check that there are no bridges.
If everything is ok, it's time to flash the firmware. Instructions are available in the README file of the firmware's folder.
Finally comes the step of soldering the switches, don't forget the foam between the top plate and the pcb ;)
Start by soldering a switch at each corner, then one or two in the middle. After that, place all the switches and solder them.
Plug in your keyboard to test all the keys. If a whole row or column does not work, check that all the pins of the chip are well soldered. If an isolated key does not work, it is likely that the polarities of the associated diode are reversed.
If everything works, all you have to do is insert the assembly into the frame, add the 4mm foam, place the bottom plate and screw it gently.
Finally install the caps, connect the usb cable and enjoy!
If you plan to use accents, set your computer's input method to US International.

Using a wrist rest greatly improves comfort and ergonomics. I made one with some EVA foam, double sided tape and cloth, the dimensions are 300x80x15mm and that's fine, a little longer would be perfect, like 320-350mm.