First Steps
HOME > USERS > FIRST STEPS
Starting the ORM Editor is easy after you have set up the project (using the Setup Guide): just make a right-click on the org.framed.orm.model.editor project in the project manager and select "Run As" -> "Eclipse Application" in the context menu. A new Eclipse instance will be opened with the ORM Editor.

- Create an empty project:
- Right click in the project manager
- "New" -> "Project..."
- Choose the preselected general project
- Type in a project name and finish the wizard. A new project should appear in your project manager.
- Create the Role Model
- Right click on the new created project in the project manager
- "New" -> "Other..." -> "Graphical CROM" -> "Graphical CROM Model" -> Next
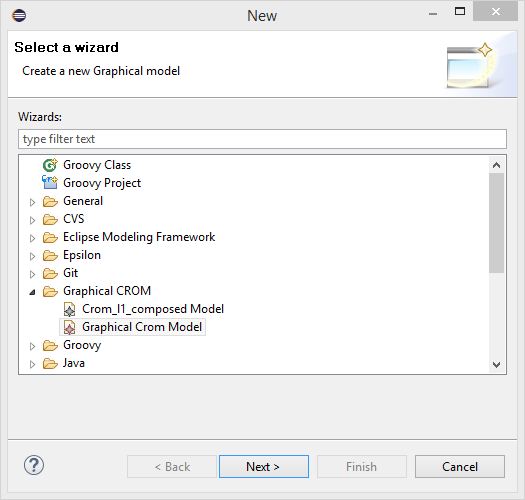
- Choose a filename and click on Finish
Now the editor will be opened and you can start creating your role model.
Saving a role model will create (or update) two files - the graphical model and the corresponding semantic model. During the save action, the model transformation (cf. Transformation) is triggered, and the graphical representation is transformed into a CROM model.