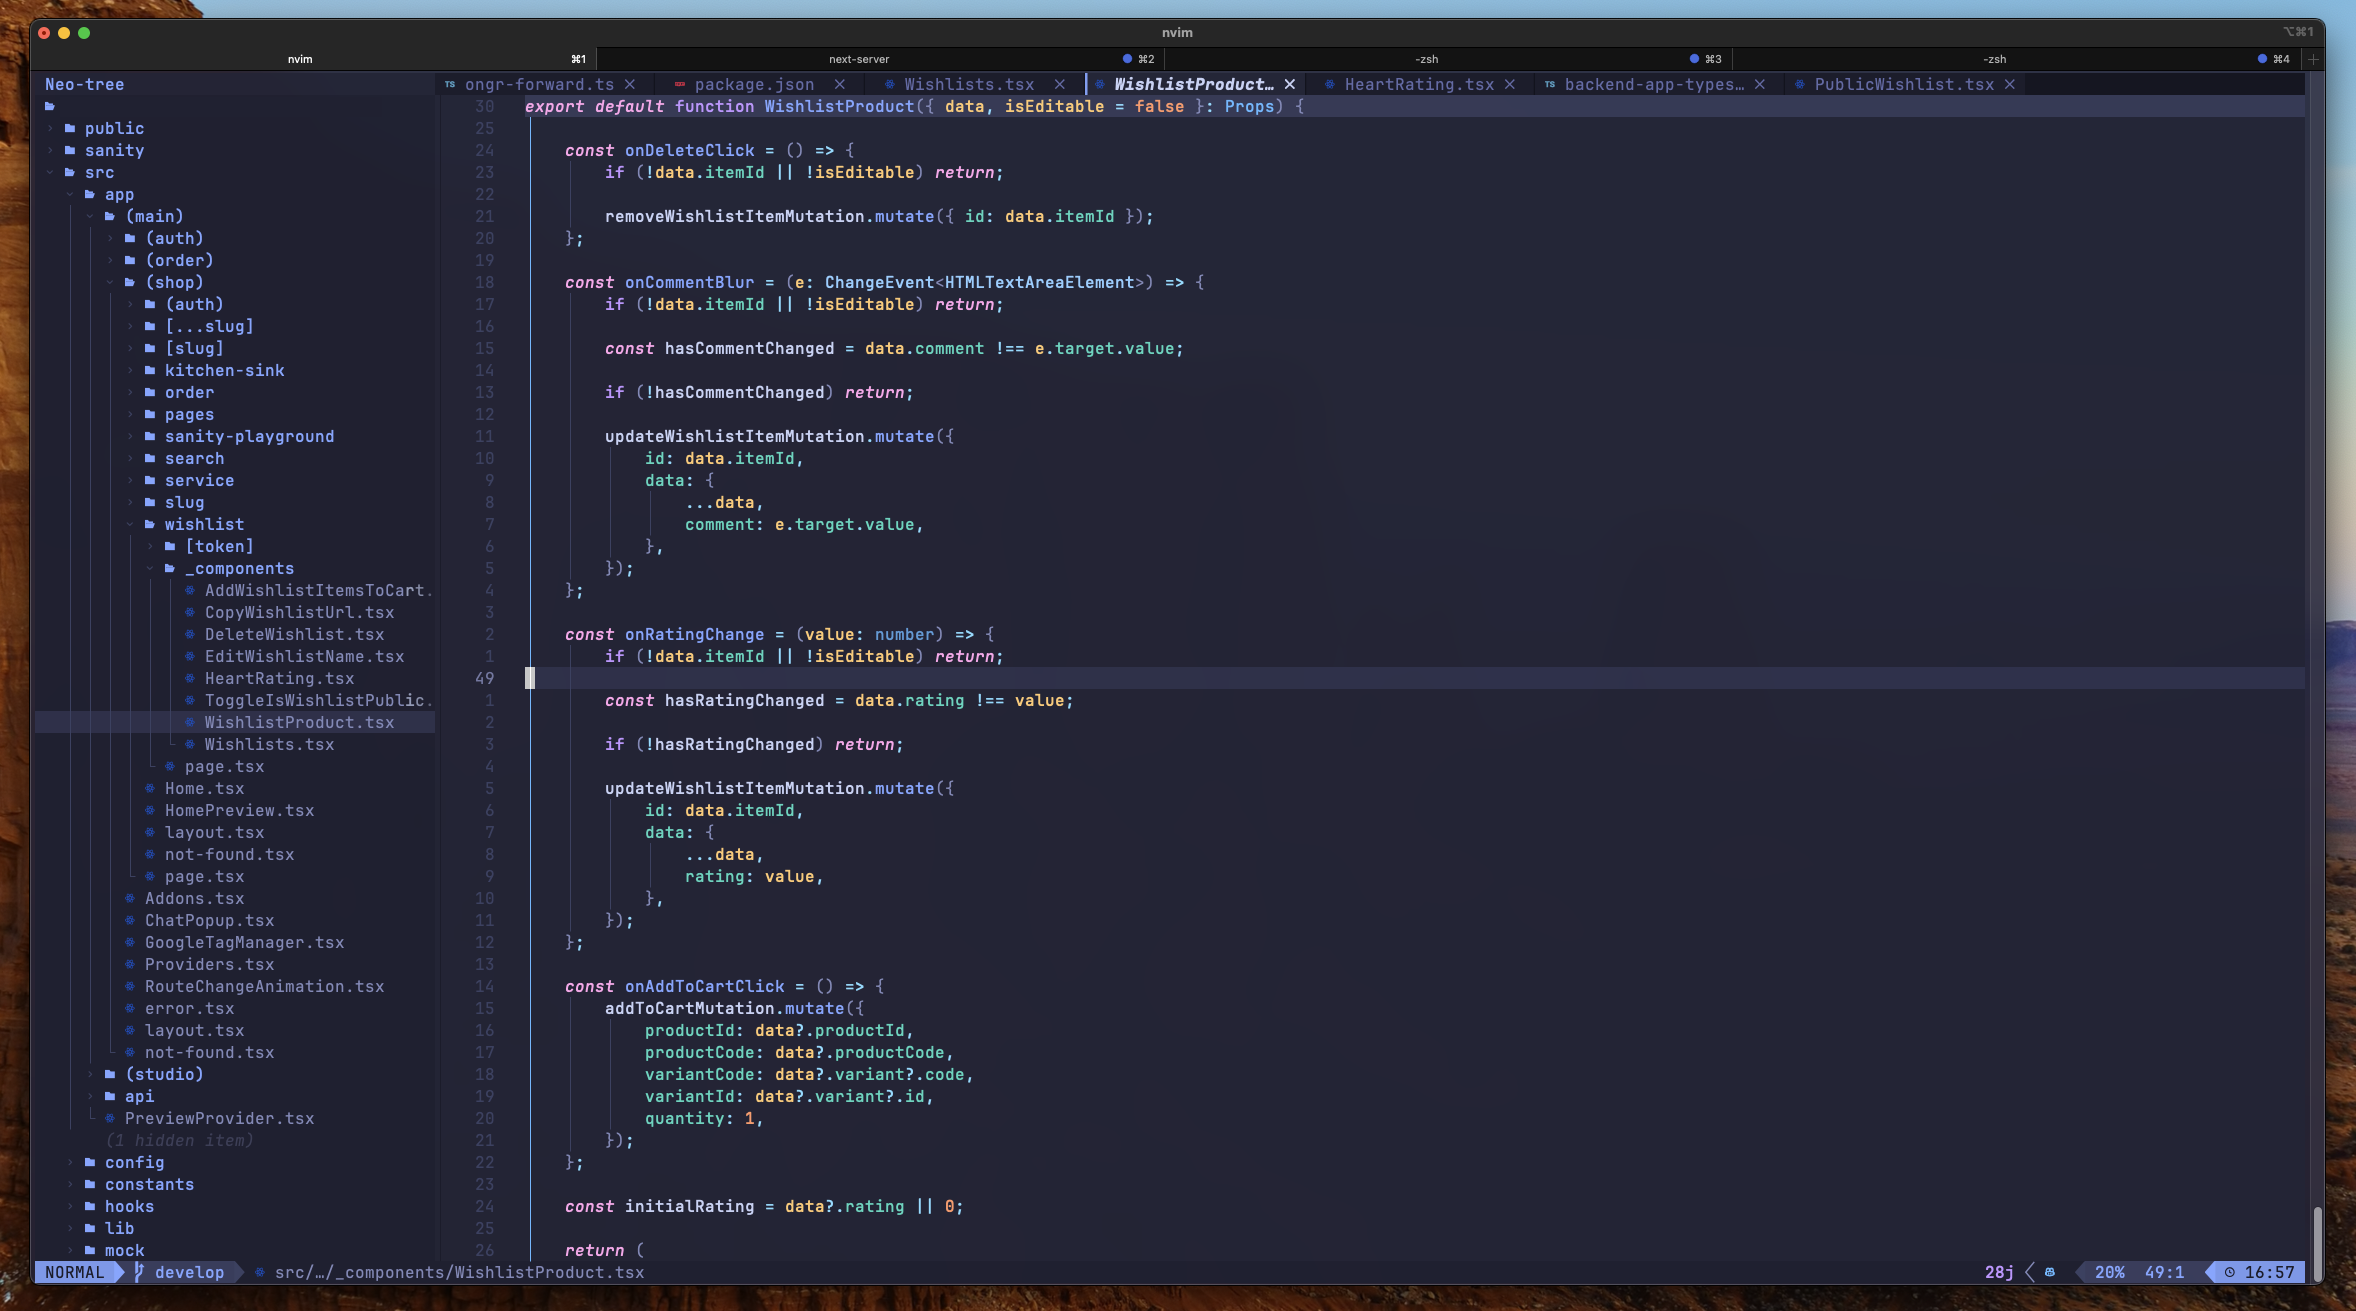
- A full-featured Neovim setup for modern web development.
- Prettier
- TypeScript
- Eslint
- Fuzzy search (Telescope)
- File tree
- Git diff and merge conflict resolution (DiffView)
- Make sure you have Neo Vim and Git installed on your system.
- Clone this repo:
git clone https://github.com/railaru/modern-nvim-setup ~/.config/nvim - Start Neo Vim in any directory on your system:
nvim
| Title | Description |
|---|---|
| Color hex | #232436 |
| Font | JetBrainsMono Nerd Font. Source: https://www.nerdfonts.com/font-downloads. I recommend one of the "nerdfonts" fonts, because the default system fonts often don't support file and folder icons. |
| Translucent effect | If you're using iTerm on Mac, you can reduce opacity and add some background blur for a translucent effect. |
Quick reminder for nvim/vim commands.
:wto saveuundoKhover over a symbol to see the type definitionctrl+rredog+ggo to the top of the file instantlyg+ccomment out the selected area. Works with JSX/TSXctrl + ]to go back and forth between the implementation and definition.shift + :go to enter a command modeshift + hgo to previous editor tabshift + lgo to next editor tabshift + >indent by a tabshift + <remove indent by a tab:%s/oldterm/newterm/greplace all matching references in the file. To use, first press:to open the command menu.sto search for text within the same file0go to start of a line horizontally$go to end of a line horizontallyogo to the line blow and enable the edit modeshift+]or[jump between empty linesctrl+uordscroll one full page up or down~/.config/nvim:colorscheme github_darkto change theme. Full list of themes https://github.com/projekt0n/github-nvim-theme?tab=readme-ov-file#supported-colorschemes--comparisons.zc,zacollapse/expand code sections
You can combine commands. For example:
d + 3 + jwill delete 3 lines below.d + wwill delete a word.
💡 Deleting also works as copying. You can delete a line and then type p to paste it somewhere else.
vi(select everything between ()vi{select everything between {}vi"select everything between ""vi<select everything between <>vi[select everything between []
va(select everything between and around ()va{select everything between and around {}va"select everything between and around ""va<select everything between and around <>va[select everything between and around []
yi(yank everything between ()yi{yank everything between {}yi"yank everything between ""yi<yank everything between <>yi[yank everything between []
ya(yank everything between and around ()ya{yank everything between and around {}ya"yank everything between and around ""ya<yank everything between and around <>ya[yank everything between and around []
di(delete everything between ()di{delete everything between {}di"delete everything between ""di<delete everything between <>di[delete everything between []
da(delete everything between and around ()da{delete everything between and around {}da"delete everything between and around ""da<delete everything between and around <>da[delete everything between and around []
viwselect the whole word, regardless of where the pointer is. By the way, while selected clicking shift + k or j will move the line up or down.
ienable insert modeaenable insert mode one letter forward.escorctrl + corctrl + [leave insert mode
venable visual modey"yank" copy selected region. You can also type yy to automatically select the line for yanking. This is a similar action as dragging a selected region with mouse.ppaste the selected regionshift + v, "visual line mode", copy the region with the lines, not just the text.
💡 You can copy a region and select a new region, and it will delete and add the copied area to the selection.
💡 Yanking also works with numbers, for example y + 5 + j (copy 5 lines to bottom)
shift+ffind files using the Telescope plugin. Similar to the double shift in JetBrains IDEs.
<leader>gd- Open DiffView to see current changes<leader>gc- Close DiffView<leader>gh- Open DiffView file history<leader>gm- Open DiffView for merge conflicts<leader>gr- Refresh DiffView
When in merge conflict resolution mode:
[x/]x- Navigate between conflicts<leader>co- Choose OURS version of conflict<leader>ct- Choose THEIRS version of conflict<leader>cb- Choose BASE version of conflict<leader>ca- Choose ALL versions of conflict<leader>cO- Choose OURS for entire file<leader>cT- Choose THEIRS for entire filedx- Delete the conflict region
<tab>/<s-tab>- Navigate between files in diffgf- Open file in previous tab<C-w>gf- Open file in new tab<leader>e- Toggle file panel
up,downnavigate between files.enterselect a file.ccopy a file and make a copy with a new name.rrename a fileaadd a new file in the folderspace+etoggle file tree
To automatically prepend the project and task number from your branch name into your commit messages, you can utilize a Git hook, specifically the prepare-commit-msg hook. This hook allows you to manipulate the commit message before it is finalized.
| Branch name | Commit name |
|---|---|
| feature/ABC-123 | ABC-123: added a header |
-
Locate Your Git Hooks Directory: Every Git repository has a
.git/hooksdirectory where you can place custom scripts to be executed at various stages of the Git workflow. -
Create a
prepare-commit-msgScript: You need to create a script namedprepare-commit-msgin the.git/hooksdirectory. This script will be executed before the commit message editor is opened. -
Script to Extract Information from Branch Name: The script should extract the project and task number from the branch name and prepend it to the commit message. Here's an example script in Bash:
#!/bin/bash

# The path to the file where the commit message is stored
COMMIT_MSG_FILE=$1

# Extract the branch name
BRANCH_NAME=$(git symbolic-ref --short HEAD)

# Use a regex to find the pattern 'ABC-XXX' where XXX is the task number
if [[ $BRANCH_NAME =~ feature/(ABC-[0-9]+)-.* ]]; then
    # Prepend the extracted information to the commit message
    echo "${BASH_REMATCH[1]}: $(cat $COMMIT_MSG_FILE)" > $COMMIT_MSG_FILE
fi
This script checks if the branch name matches the pattern and then prepends the project and task number (e.g., ABC-287) to the commit message.
Make the Script Executable:
After saving the script in .git/hooks/prepare-commit-msg, make it executable:
chmod +x .git/hooks/prepare-commit-msg
Test Your Setup: Create a new commit on a branch that follows the naming convention. The script should automatically prepend the project and task number to your commit message.
Project-Wide Setup (Optional):
If you want this script to be used by anyone who clones the repository, you'll need to share it some other way, like committing it to the repository and having users set it up manually. Git doesn't clone the .git/hooks directory.
- https://www.lazyvim.org/installation
- https://www.youtube.com/watch?v=N93cTbtLCIM
- https://github.com/jackMort/ChatGPT.nvim
A starter template for LazyVim. Refer to the documentation to get started.