Using MapEx with ZOO
ZOO is an addon for Joomla! developed by Yootheme, read more about ZOO. The widget can be used with and without ZOO. The instruction below describes how to use the MapEx widget with ZOO.
This screenshots and information here refer to CMS Joomla! 3.4.x with ZOO 3.3.15.
First of all we have to create or edit the App and its Types which we later want to use with our MapEx Widget.
Open the desired App in the App Manager of the ZOO control panel:
Components ➡️ ZOO ➡️ App Manager 
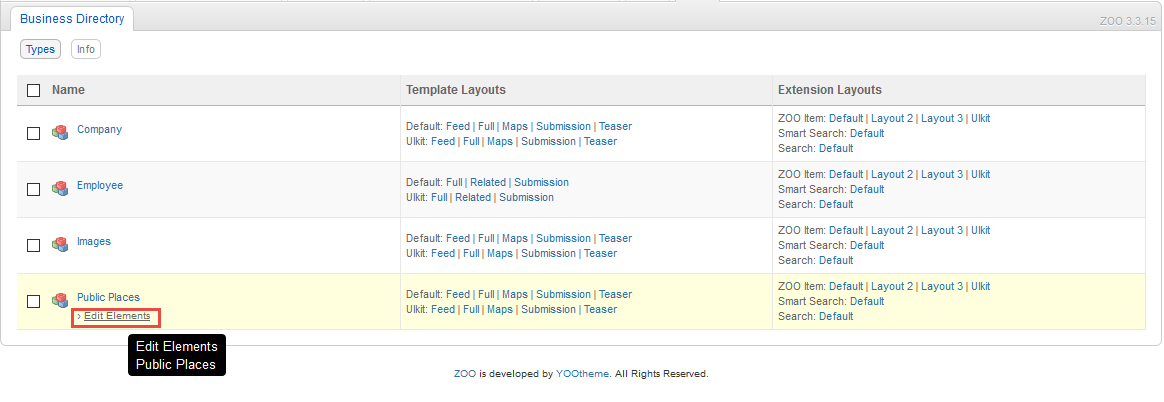
Click Edit Elements of the App Type you want to use with MapEx:
Add a new Image Element and name it Map Marker Icon (or whatever you like).
Create a Google Maps Element and name it Location (or whatever you like), if it doesn't already exist in your App Type:
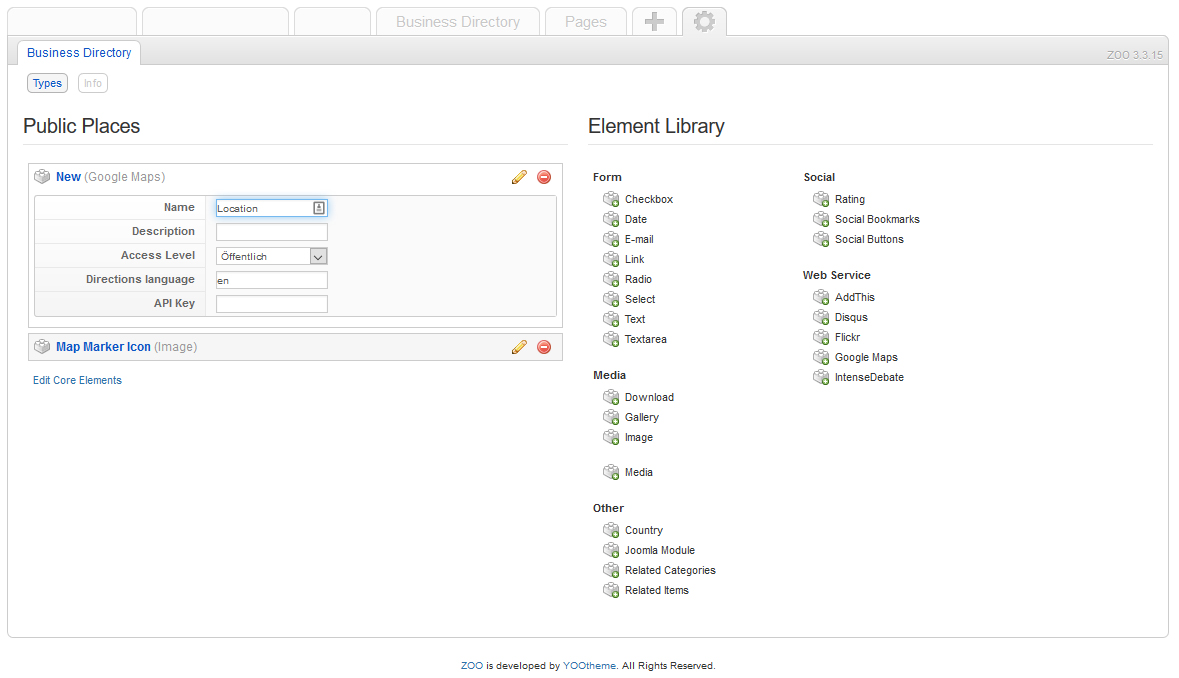
Save your Changes.
Note: You don't need to assign those Elements in a Template View. We just need to create it for a later use in the Widget.
Create or Edit a ZOO Item for the App Type we modified before. You now should have at least one new Element for the Map Marker Icon.
Now choose your desired Marker Icon File for this Item and make sure you defined a Location in the Google Maps Element:
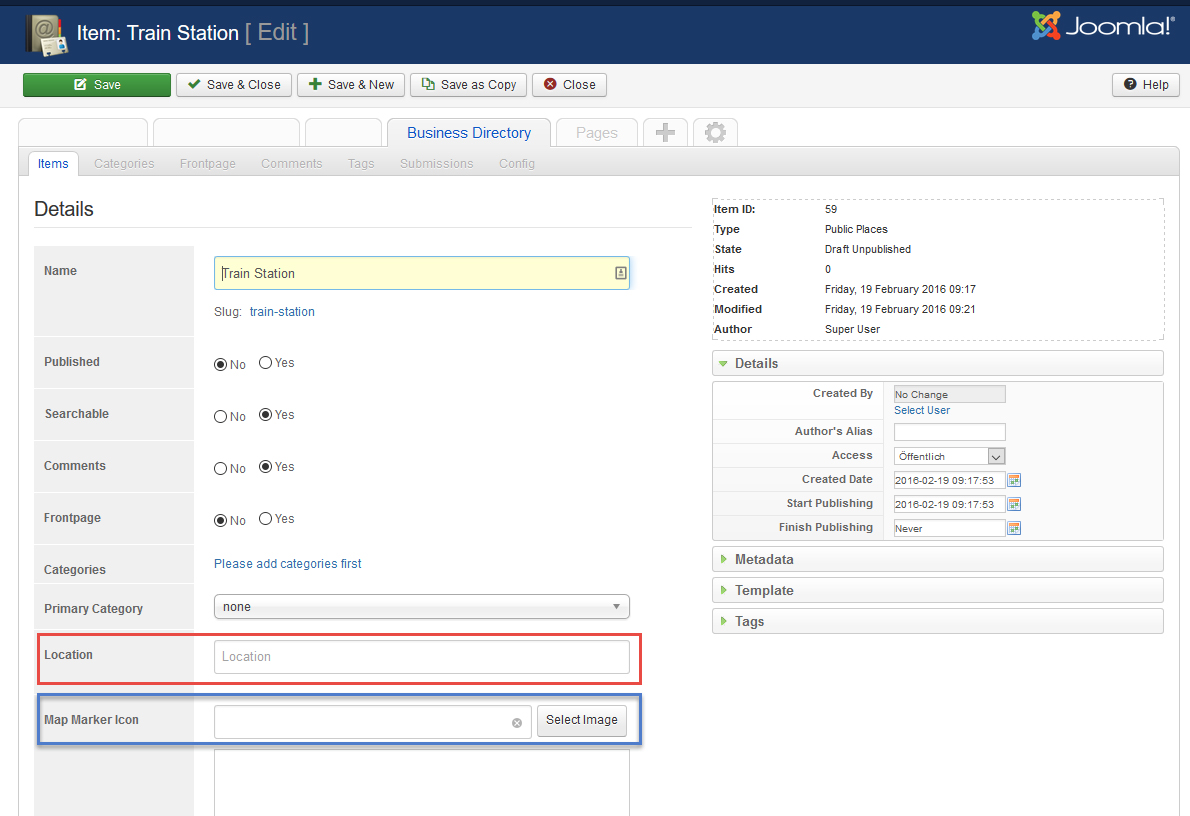
Save the Element and Repeat those Steps for every Item that you want to be visible on the MapEx Widget.
Now we create a new MapEx Widget and set Source to ZOO:
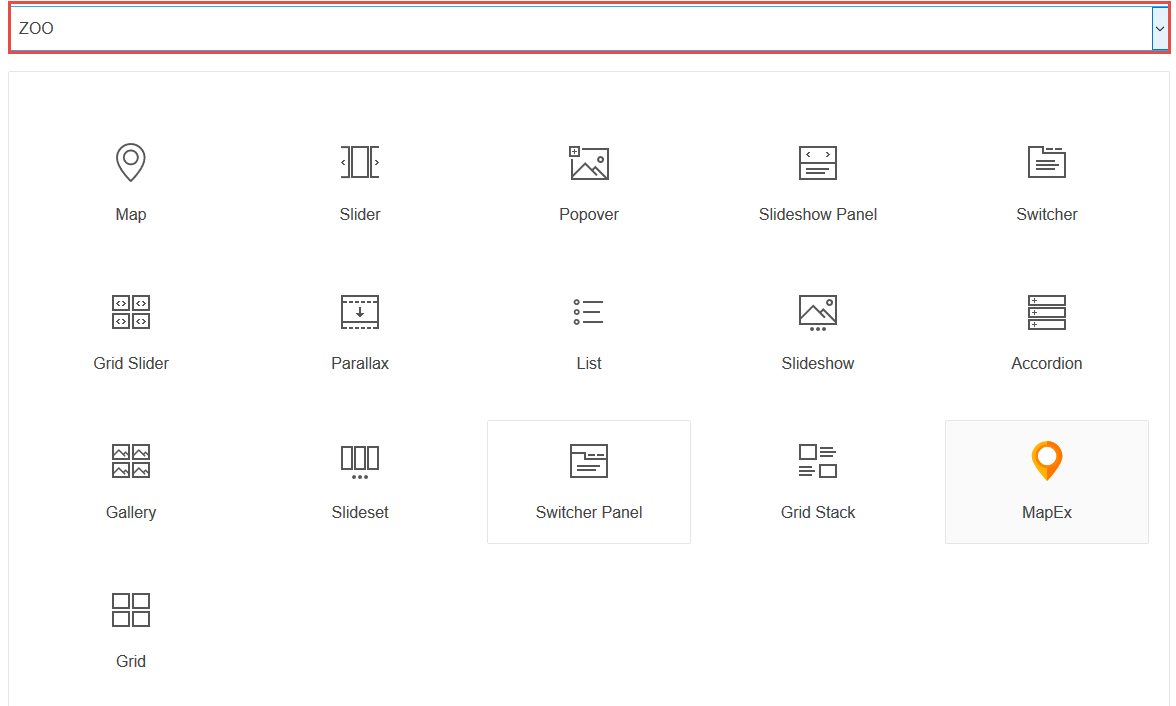
In the Widget settings select your App as App option.
As Mode we can choose Categories and then select the relevant Category or Types and choose the Type of those items we want to show on our map.
Increase the Limit of items that will be loaded by the Widget if needed.
Now you must link the items of the ZOO to the map Widget. You need to add two Custom Fields to do that:
- location for the position on the map;
- custom_pin_path for the Map Custom Icon.
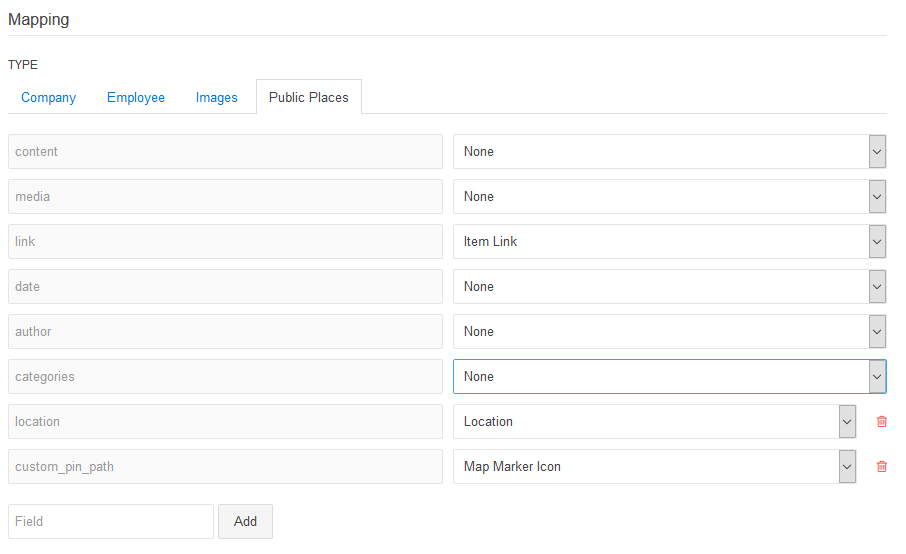
If you use the Mode Categories, then it is important that you edit the Custom Fields for each Type that you want to be visible on the map.
Important: you must give names the Custom Fields as described above, the Widget always uses location as Location parameter and custom_pin_path as path for the Custom Marker Image.
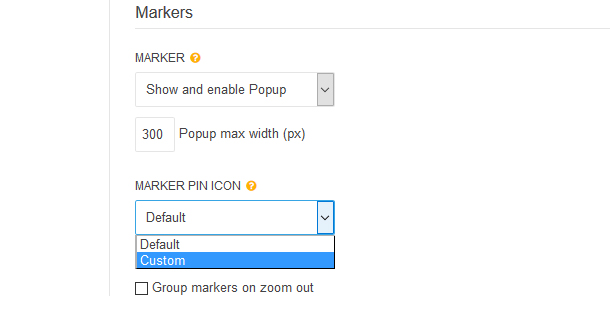
Finally we have to change the Settings in our MapEx Widget to activate the Custom Marker mode. Open the Settings interface of the widget and set the Marker Pin Icon option to Custom:
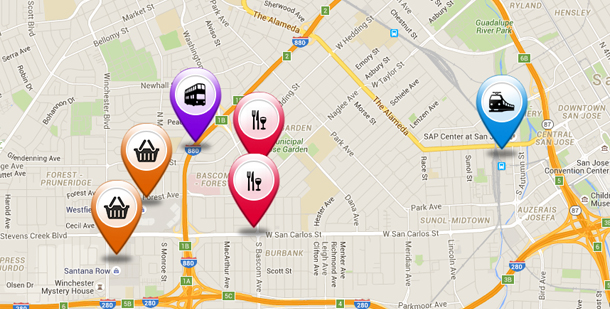
Now insert your MapEx Widget on your web page where you want it and we're done.
The final result looks as follow:
P.S. Many thanks to Marco Rensch for providing these instructions!