Setup Transifex Project
I'm going to assume you've already created an account on https://transifex.com.
The first thing that needs to be done is to create an organization that the project will reside in.
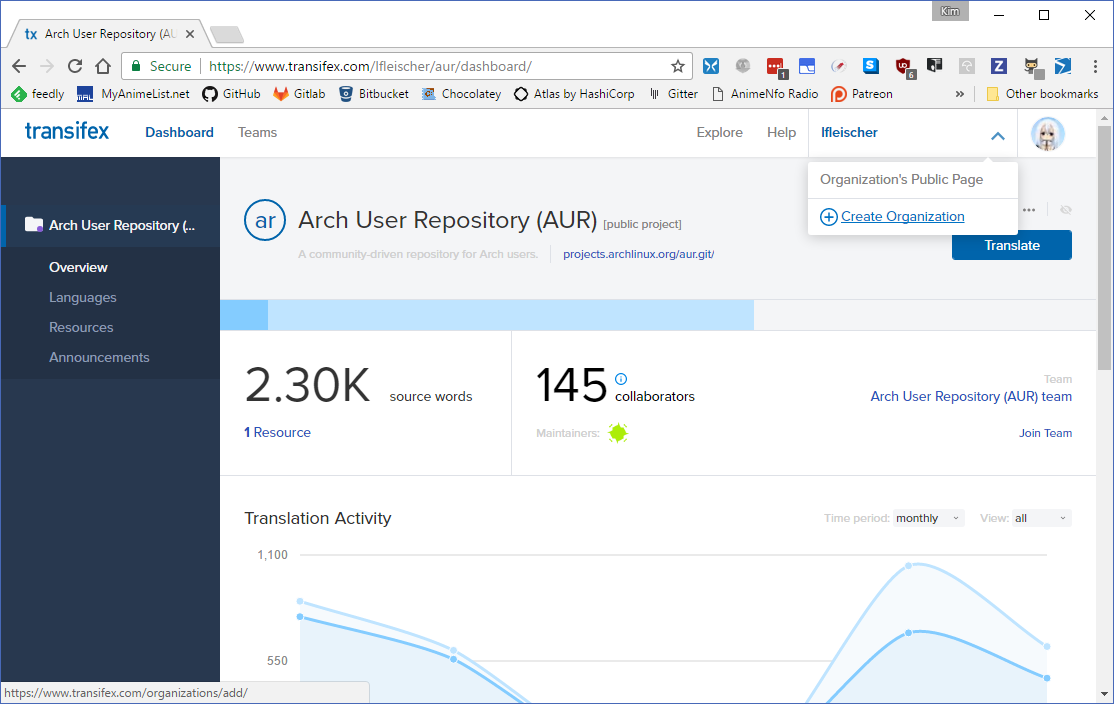
This can be done by clicking on down arrow next to your profile picture after you've logged in and click on Create Organization.
This will provide you with the following page where all boxes needs to be filled in (NOTE: Business phone in this instance is the numerical value of Not Available)
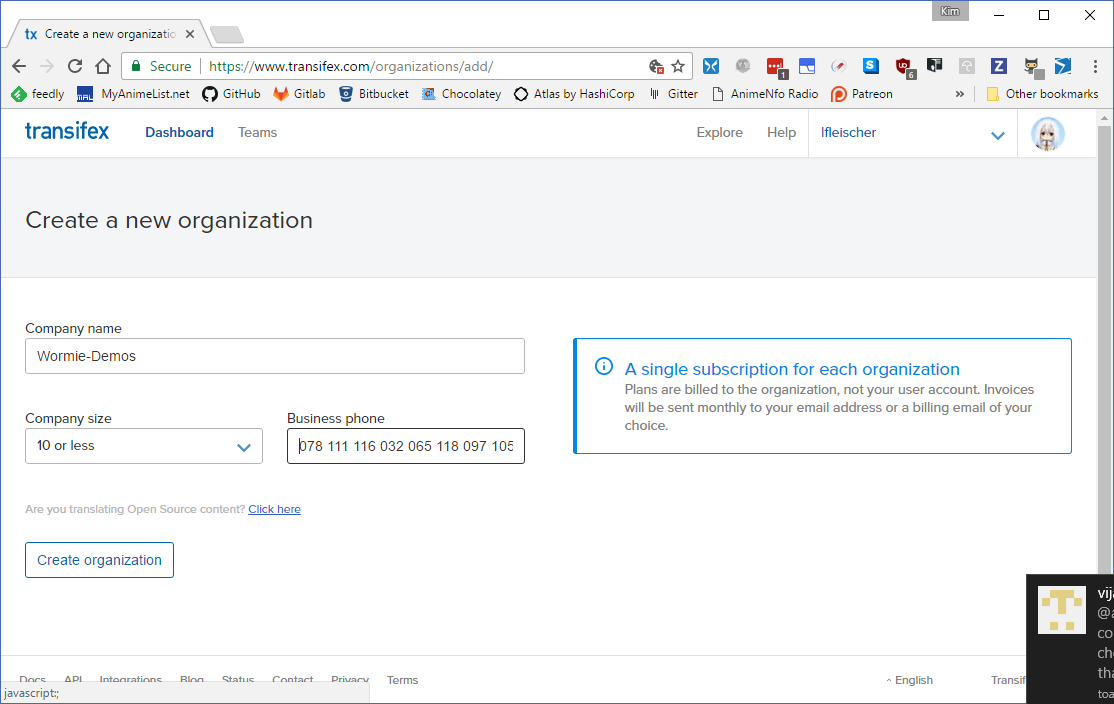
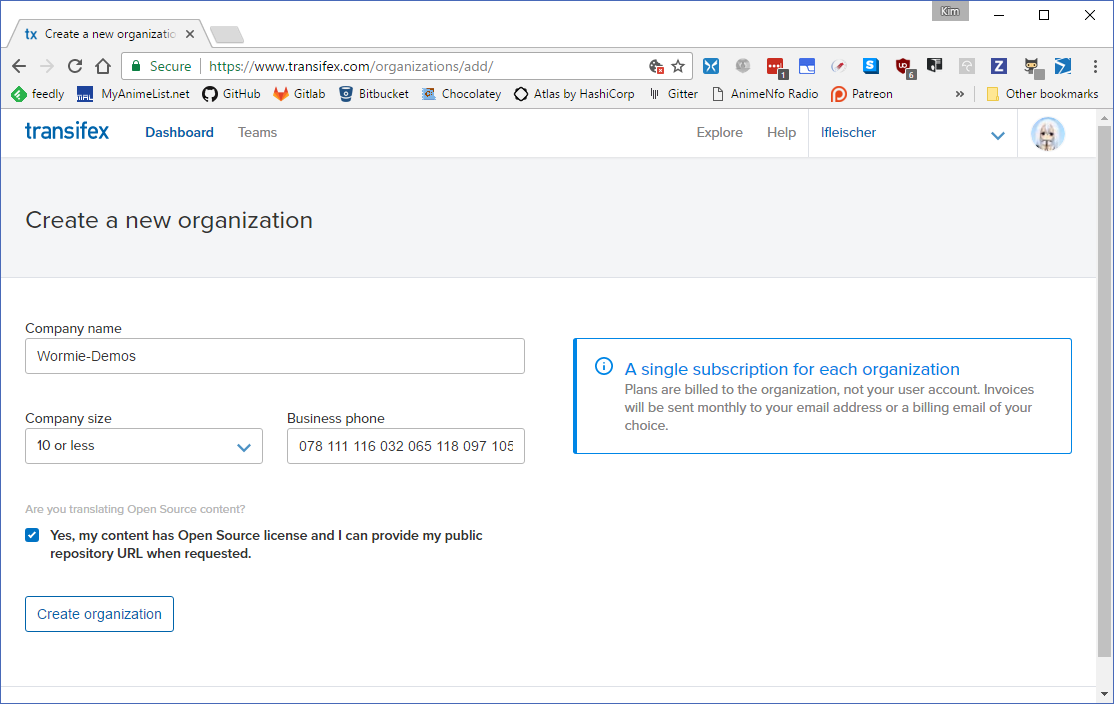
If this organization is only to support open source content, you will also need to click on the Click here link shown in the previous screenshot, that will provide a checkbox you'll need to check.
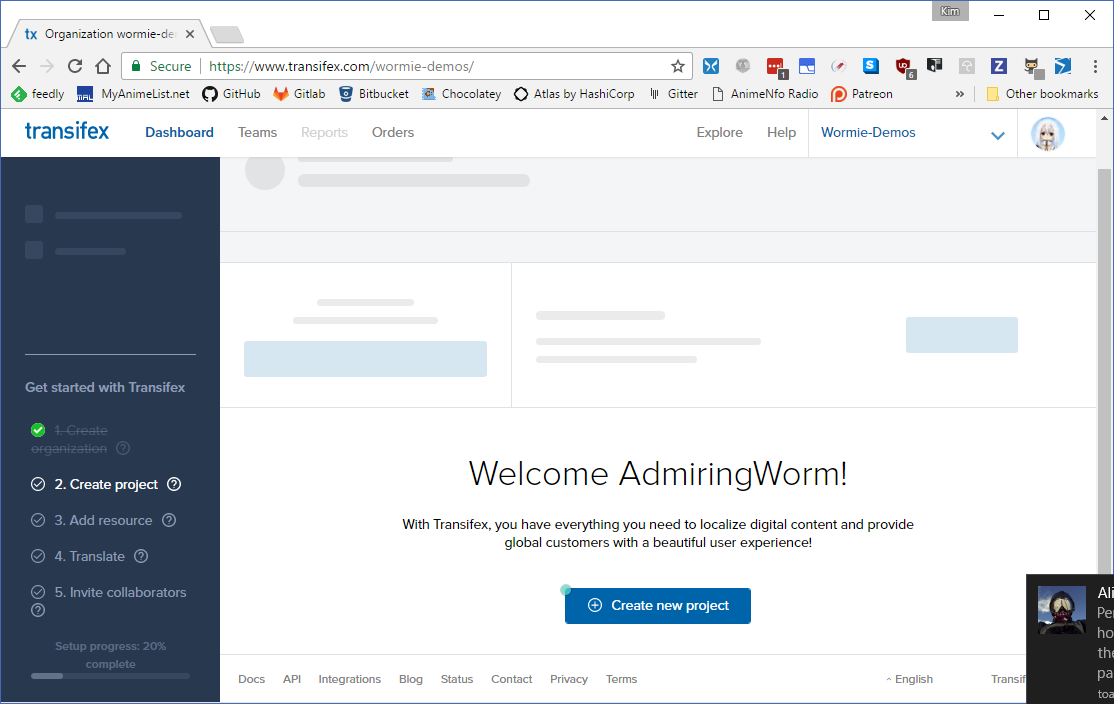
After you've created the organization you'll be presented with another page where you can create a new project:
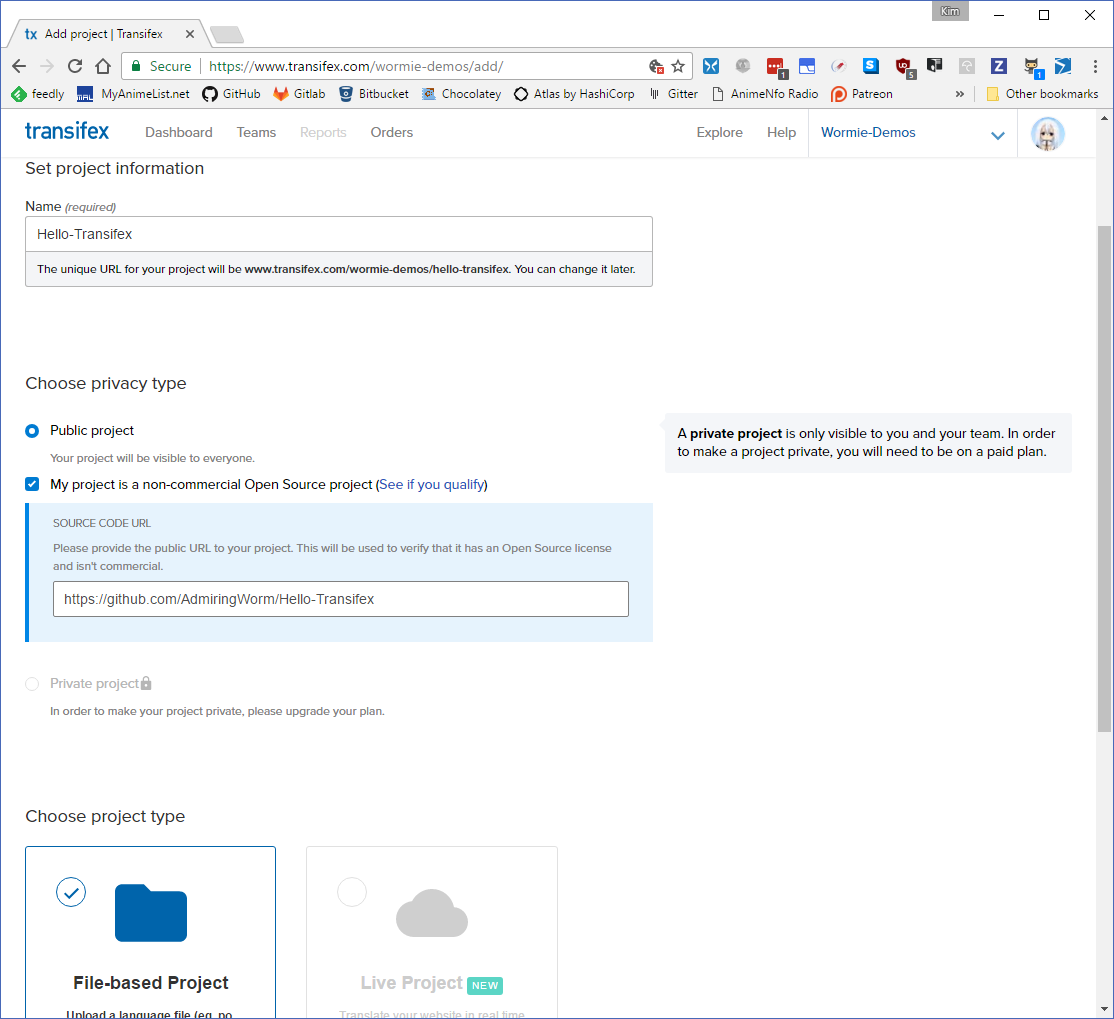
After clicking on that link you'll be provided with another page where you can put in the details of the project you want translated (All shown boxes is required on open source projects).
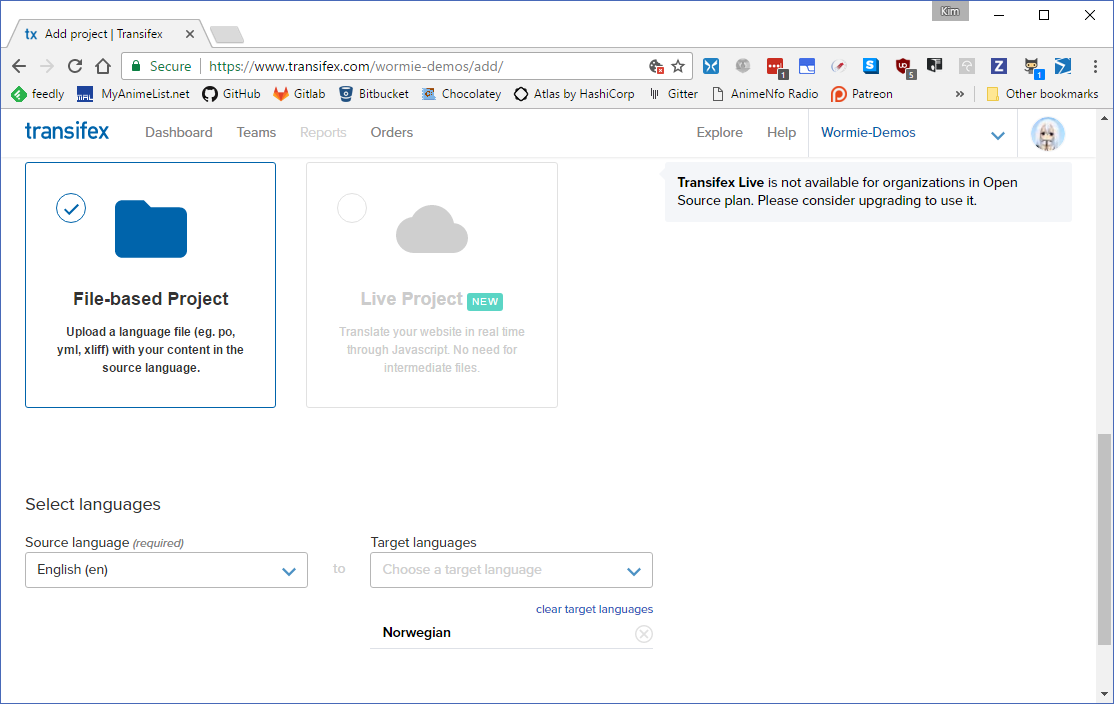
When the project have been created you're ready to upload your first resource file, you'll be presented with the following page where you'll need to press the Upload File button:
.png)
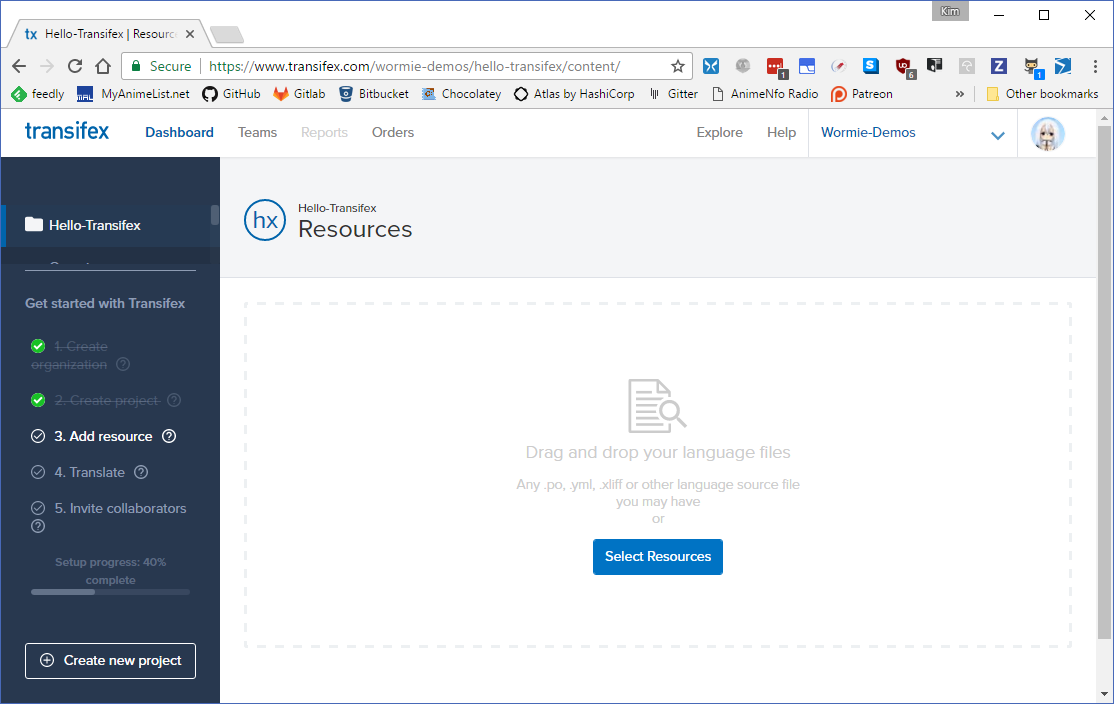
This will present you with the following page where you can drag-and-drop the resource file you want to upload, or click the Select Resources button to browse for the file.
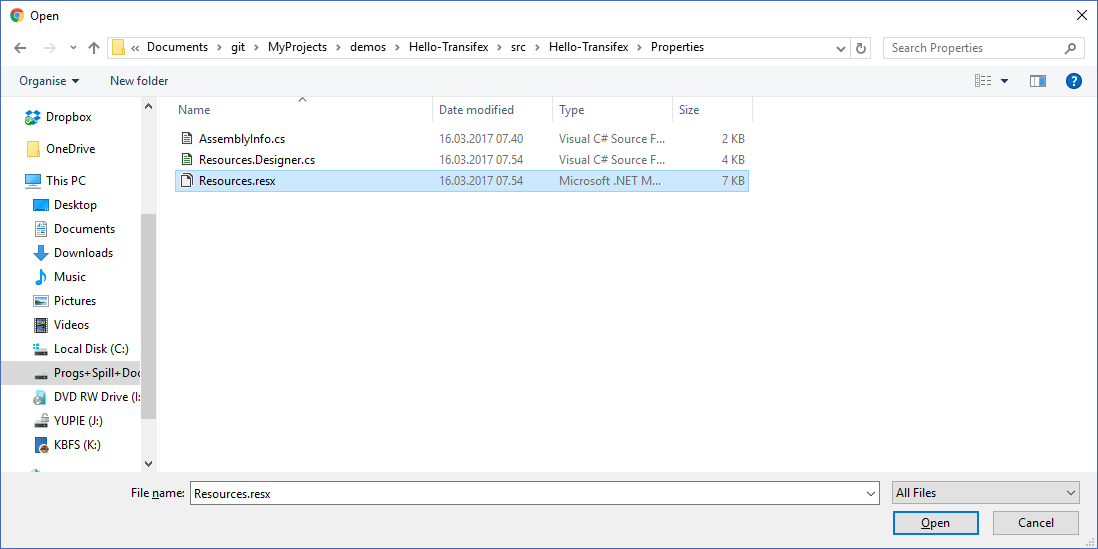
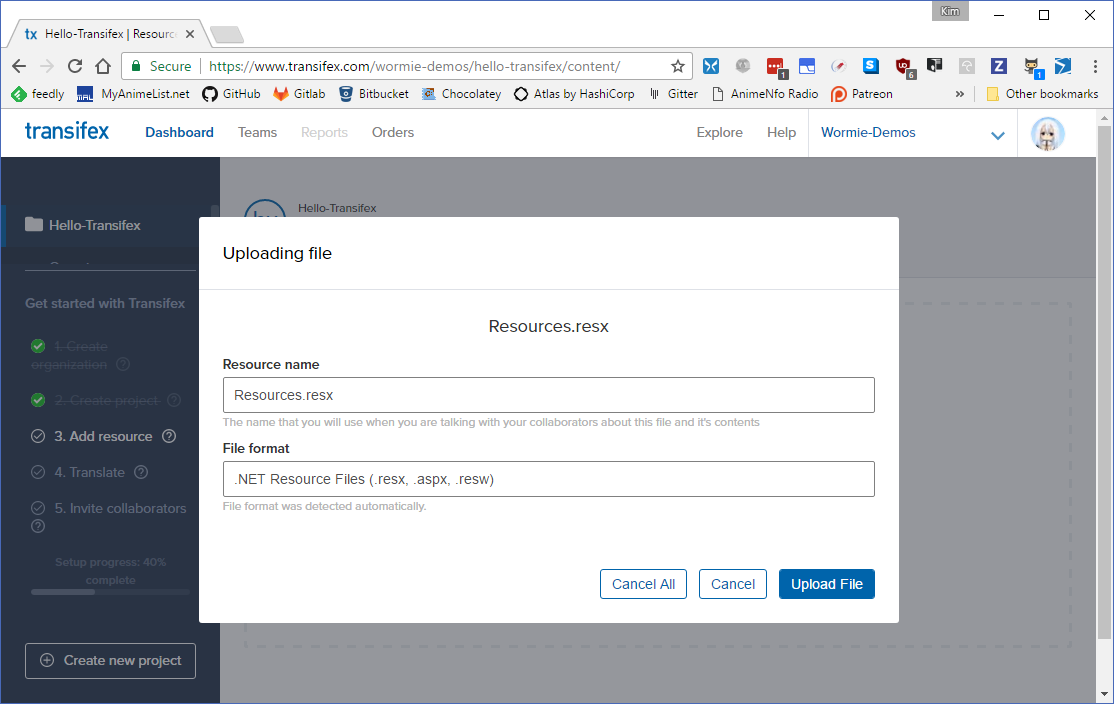
After you've selected the file you will be presented with a dialog where you need to specify the resource name, and the file format to use for the resource file (These are often automatically filled in)
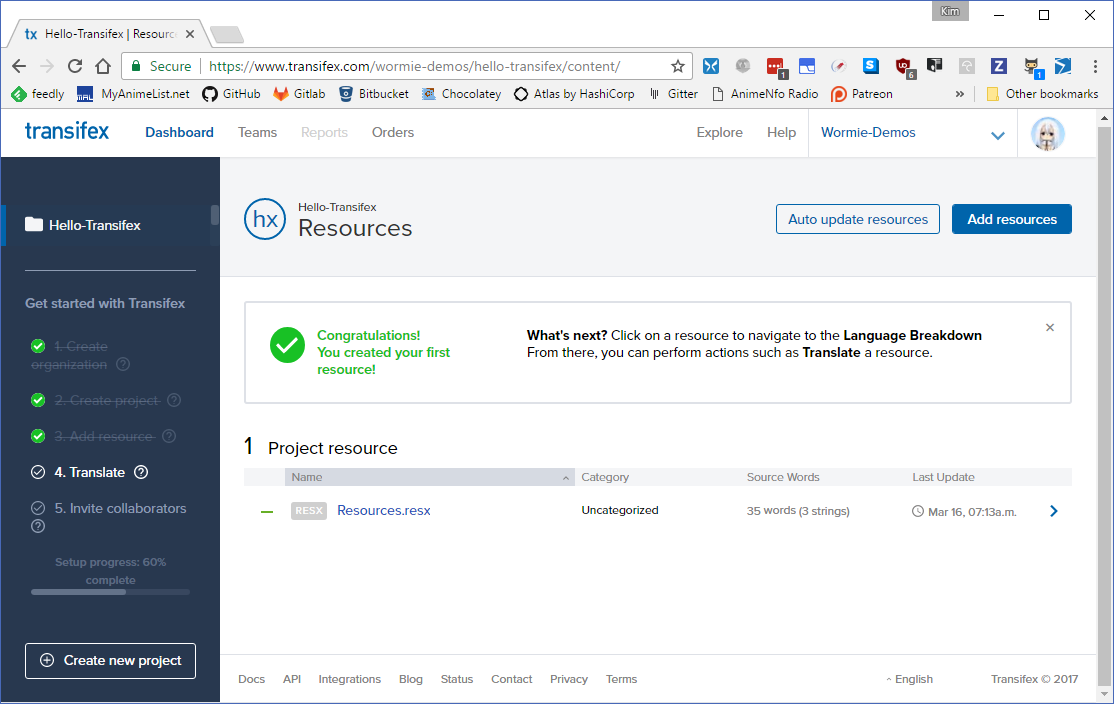
When you're done adding the resource file you'll get redirected to a new page where you see a list of all your resources for this project.
From here you can add more resources (repeating the above steps) or set a url to monitor for a updated resource file.
Since I didn't wish to upload my resource file(s) manually each time I had updated it, and don't need it to be available right away (Auto update checks for updated resource once per day) I chose to add a url to monitor.
So let's click on the Auto update resources which opens the following dialog where you can add a url for all the resources you currently have added.
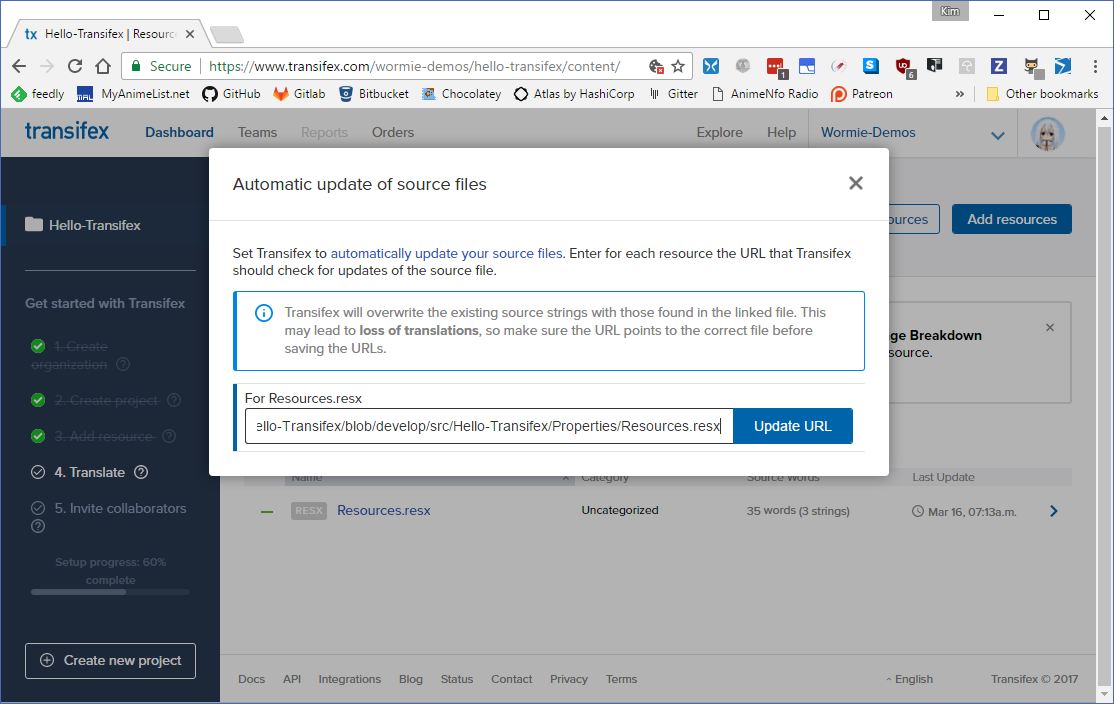
The url I added was the direct raw link to the resource file on the develop branch (I tried first just to the blob, but that didn't work). So I ended up with the following url added: https://github.com/AdmiringWorm/Hello-Transifex/raw/develop/src/Hello-Transifex/Properties/Resources.resx
This completes the set up of the project, see the Initialize Project for how the transifex client was used to set up the necessary configuration needed to pull (and push) the resource files used in this project.