How To Use
The "Jepetobot" application does not require any type of installation for its implementation.
As the entire infrastructure is automated in the cloud, it is not necessary to install anything locally. You only need to have the following:

-
The Github account is necessary to fork the code and to be able to execute the deployment automations
-
To create an account on Github, go to the official website and follow the steps described there.

-
Obviously, you need a Telegram account to deploy a bot on Telegram.
-
To create a Telegram account, you must download a Telegram client and follow the steps described there.
-
It is necessary to obtain a token from the Telegram Bot API.
-
Instructions for it are HERE.

-
All the infrastructure of the application is deployed in AWS, therefore, an account is needed in said public cloud provider to be able to create the necessary resources.
-
You can see how to create an AWS account HERE
-
It is necessary to obtain a Access Key and a Secret Access Key from the AWS Management Console.
-
Instructions for it are HERE

-
The main functionality of Jepetobot is based on the OpenAi api, therefore an account is needed there.
-
To create an OpenAi account, you can click HERE
-
It is necessary to obtain a token from the OpenAI API.
-
Instructions for it are HERE.
First of all, once you are logged into Github, you must go to the jepetobot repository and click on the fork button as indicated in the following image:

At that point, you will have a copy of the project in your Github account that you can customize.
Once the Jepetobot project is located in your Github account, you must enter in settings:

Next, you must go to "secrets and variables" and click on "Actions":
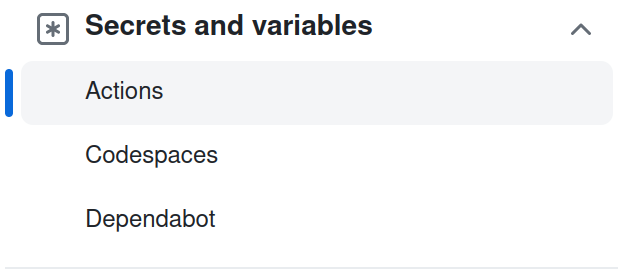
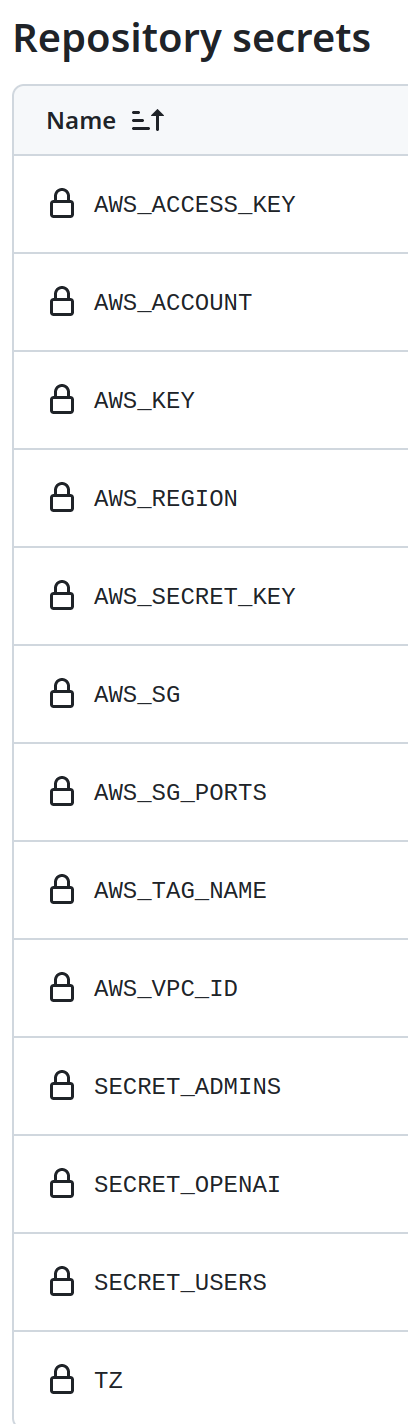
Once there, you must click on "New repository secret" and add the following secrets:
-
AWS_ACCESS_KEY_ID: It's a set of credentials that allow you to programmatically access AWS services and resources. Instructions for get it are HERE.
-
AWS_ACCOUNT: It's a unique identifier assigned to an Amazon Web Services (AWS) account. It is a 12-digit number that is used to identify and authenticate the AWS account when accessing AWS services and resources.
-
AWS_BUCKET_NAME: Name of the bucket where the jepetobot versions will be stored. This value is only useful for developers who want to experiment with jepeto and automatically update their code. (eg. NONE)
-
AWS_KEY (optional): Name of the ssh key linked to the ec2 instance that is automatically created. It can be any name (eg NONE)
-
AWS_REGION: AWS Region where the resources will be deployed. This section is important because not all regions have the same services or prices (eg eu-west-1)
-
AWS_SECRET_ACCESS_KEY: It's a long, secret string of characters that is used to authenticate and authorize access to AWS services and resources. Together with an access key ID, the secret key is used to sign requests made to AWS services, ensuring that only authorized users and applications can access the resources.
-
AWS_SG (optional): If you want to use an existing aws Security group (A a type of virtual firewall that allows you to control network traffic entering and leaving your cloud resources), you must specify it here. By default an automatic Security group is created if you put "NONE" here. (eg. NONE)
-
AWS_SG_PORTS (optional): If you specify the value "NONE" in AWS_SG, a Security Group will be created by default. So, the open ports for that Security Group will be set here (eg [80,443], brackets included)
-
AWS_TAG_NAME: It's a label or metadata key-value pair that can be applied to AWS resources (eg jepeto)
-
AWS_VPC_ID: By default when creating the AWS account, AWS creates a default vpc per region, whose id can be used to insert here. Any valid vpc id can be used. Automatic VPC creation is not done yet.
Finally it should be something like this:
The next step within Github is to execute the "action" that will deploy all the infrastructure in the AWS cloud. Therefore, within the Github repository, you must click on "Actions":

And then in "Deploy Resources":
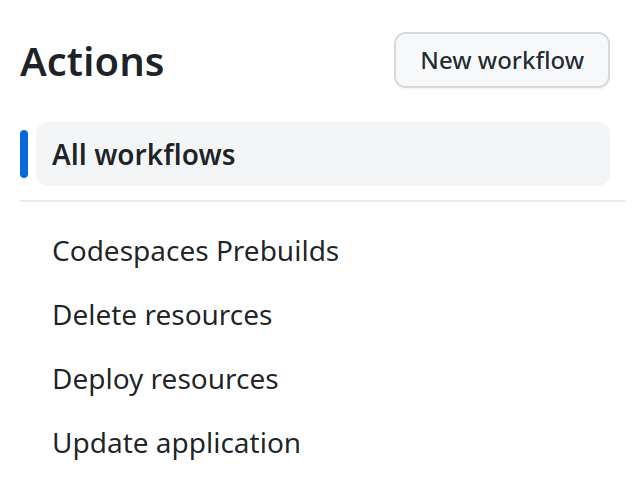
Finally, by clicking on "Run Workflow", the Jepetobot resources will be automatically deployed in the cloud:
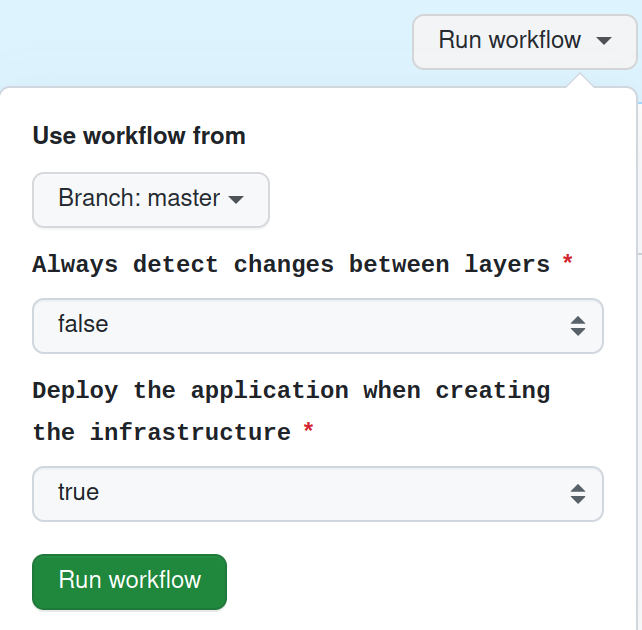
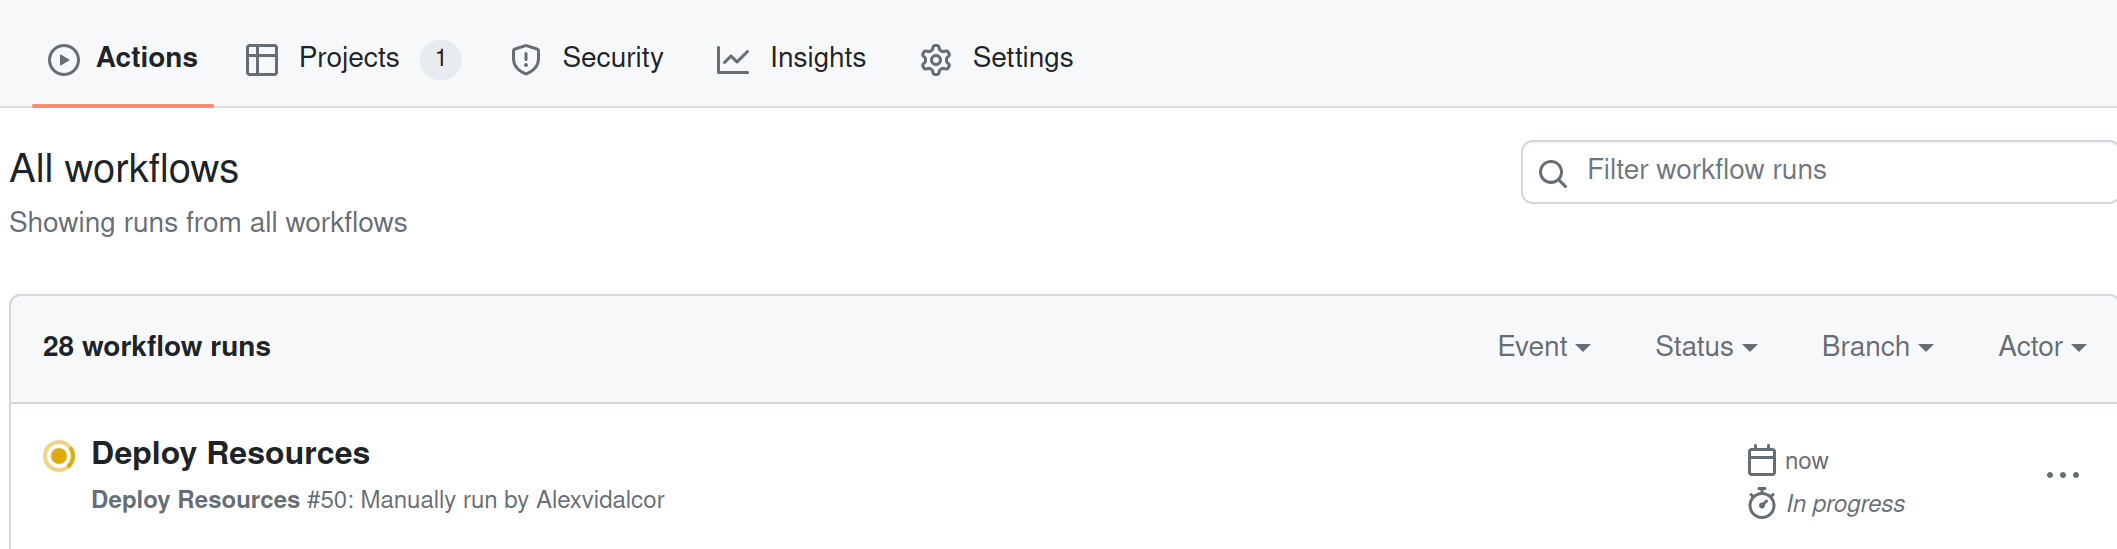
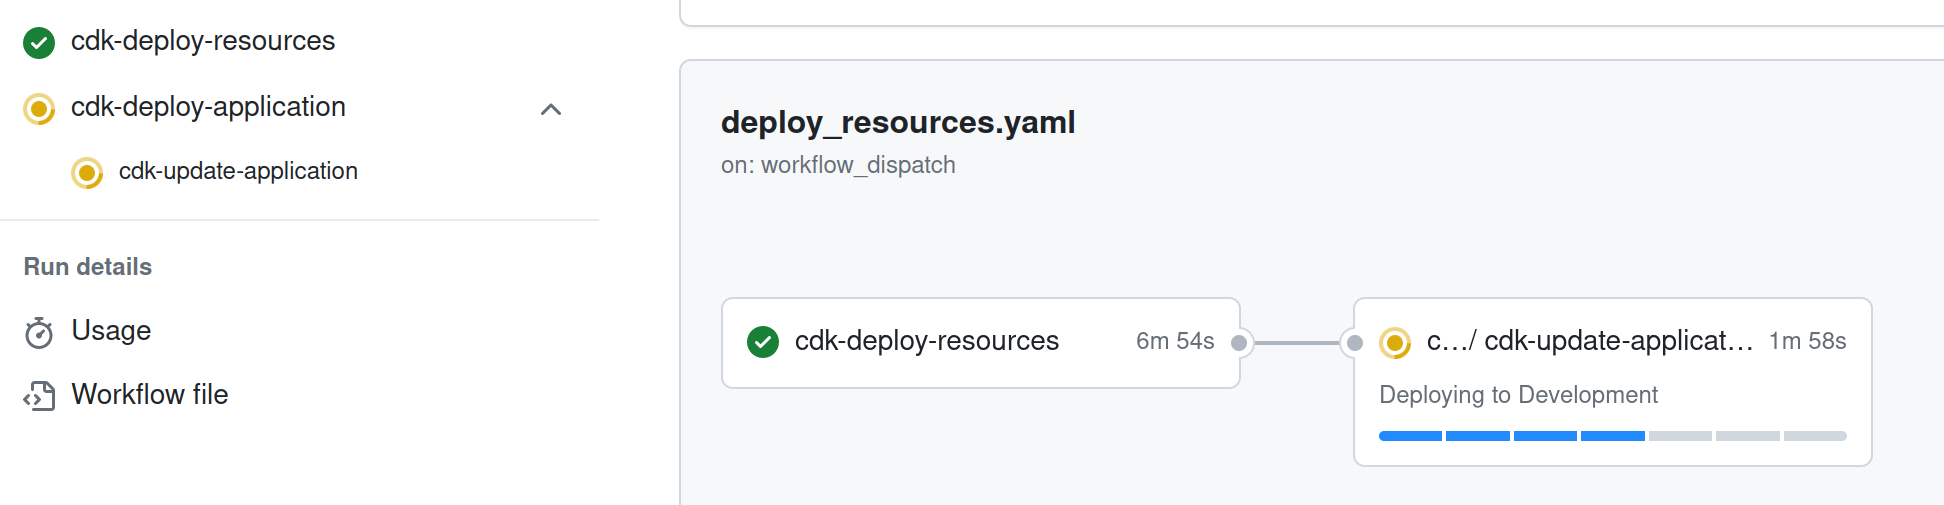
Thus, when clicking again on "Actions", it will be seen how a new execution has been generated:
--- | --- |
|  |
|  |
|
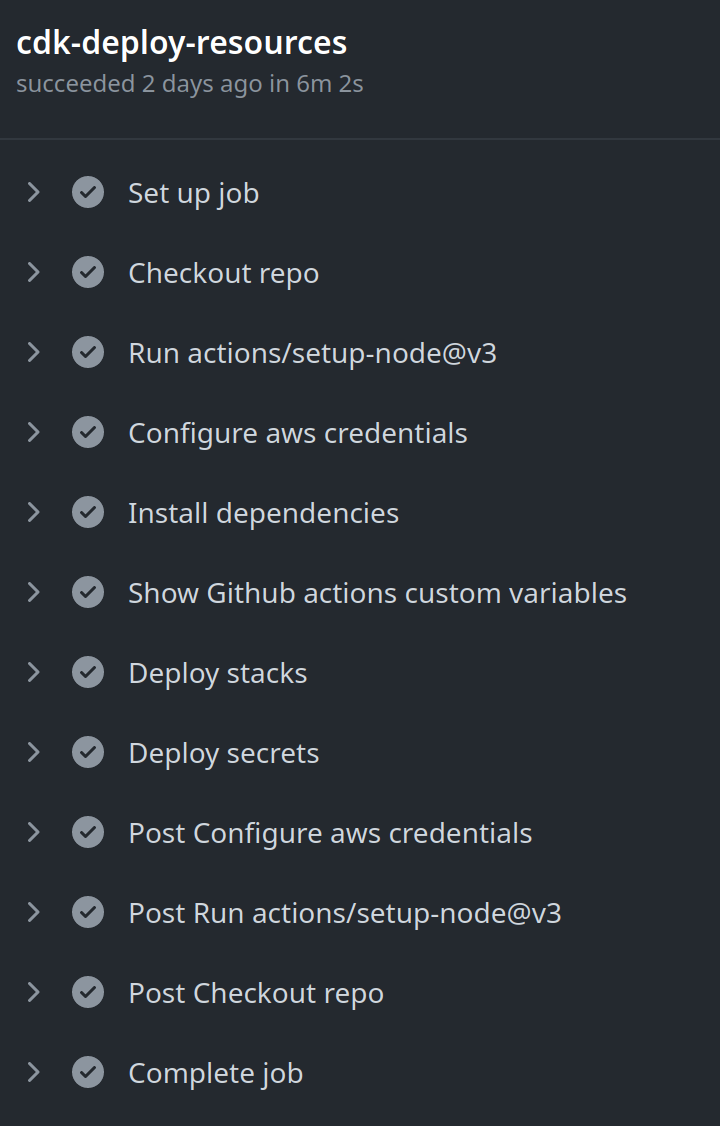
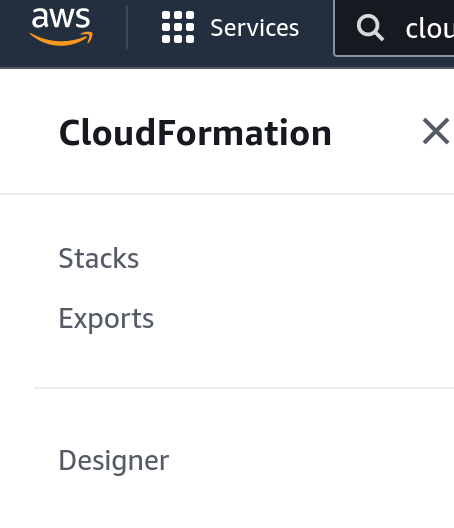
When the execution has completed successfully, we can verify that the resources have been deployed correctly. In this way, you have to enter AWS and access the Cloudformation service:
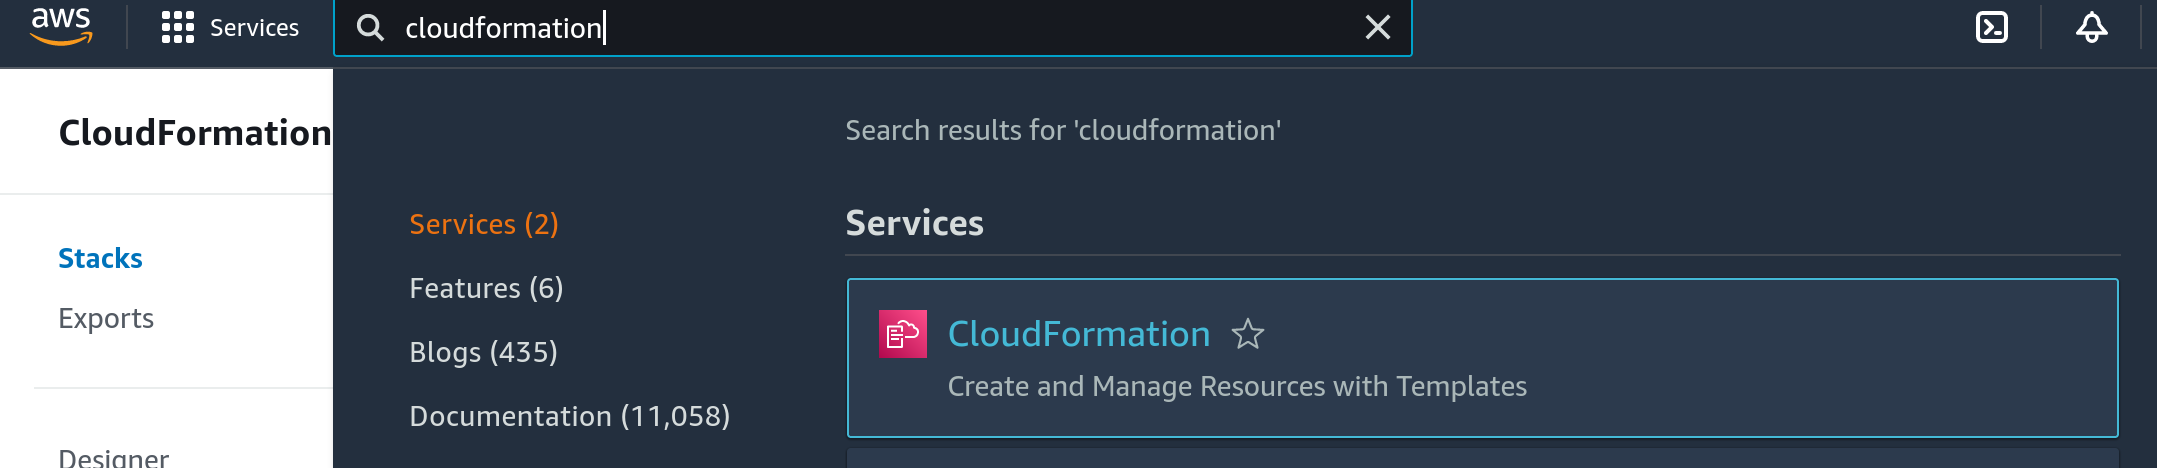
Click on "Stacks":
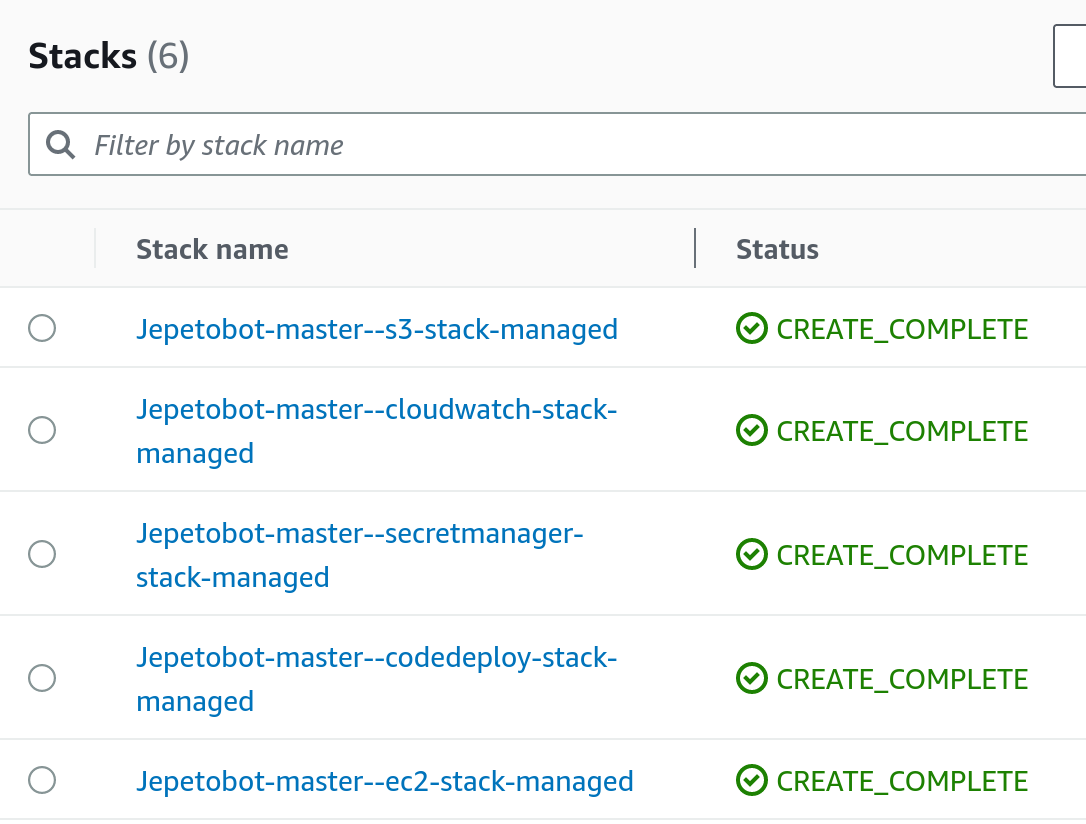
And you should see something similar to the following:
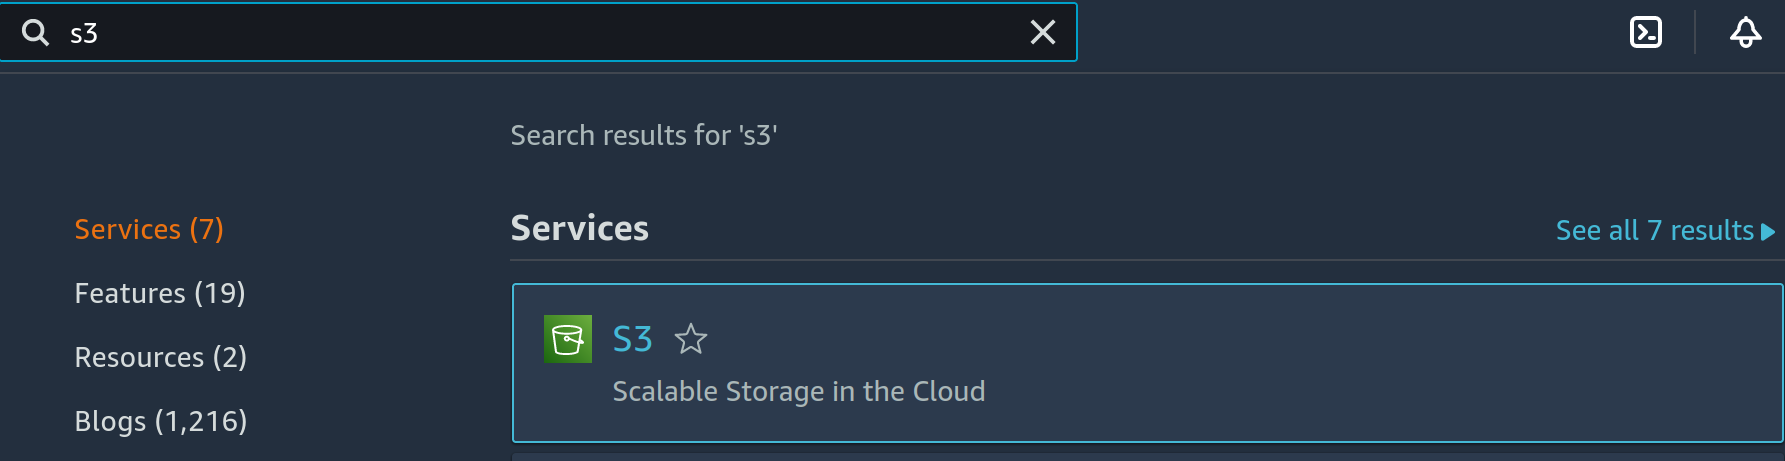
As an additional check, we will verify that the S3 bucket has been created correctly. Therefore, it will go to the S3 service in AWS:
And you should see a bucket with the name similar to the following:

As the last step in the github setup, you should copy the name of the s3 bucket that you have in your AWS account and region, go back to the "Action Secrets" that were introduced at the beginning of the guide and insert the bucket name in "AWS_BUCKET_NAME":

With the s3 bucket name correctly set, Jepetobot can be deployed on the infrastructure that is already set up in the cloud. To do this, you have to go to the "Actions" section and locate "Deploy application":
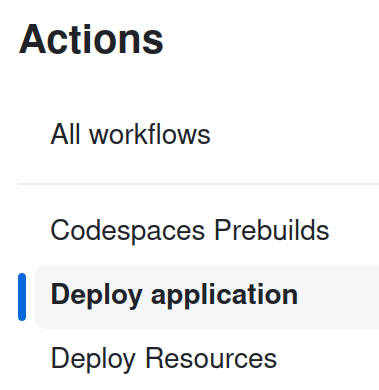
And click on "Run workflow" twice, the same as you did on previous steps:
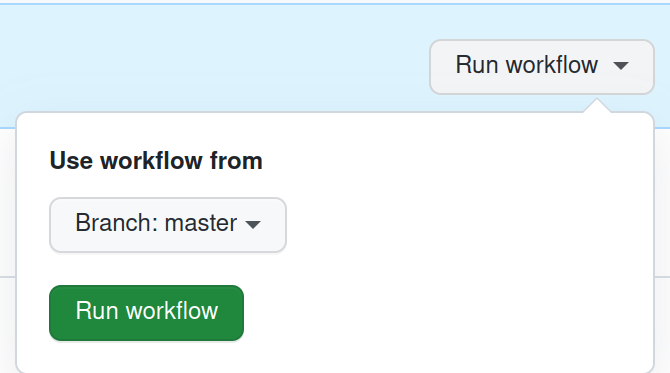
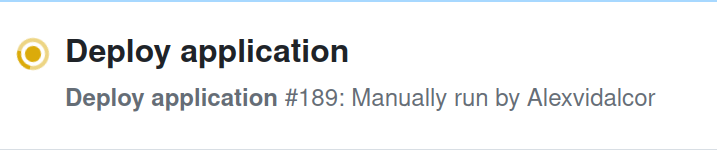
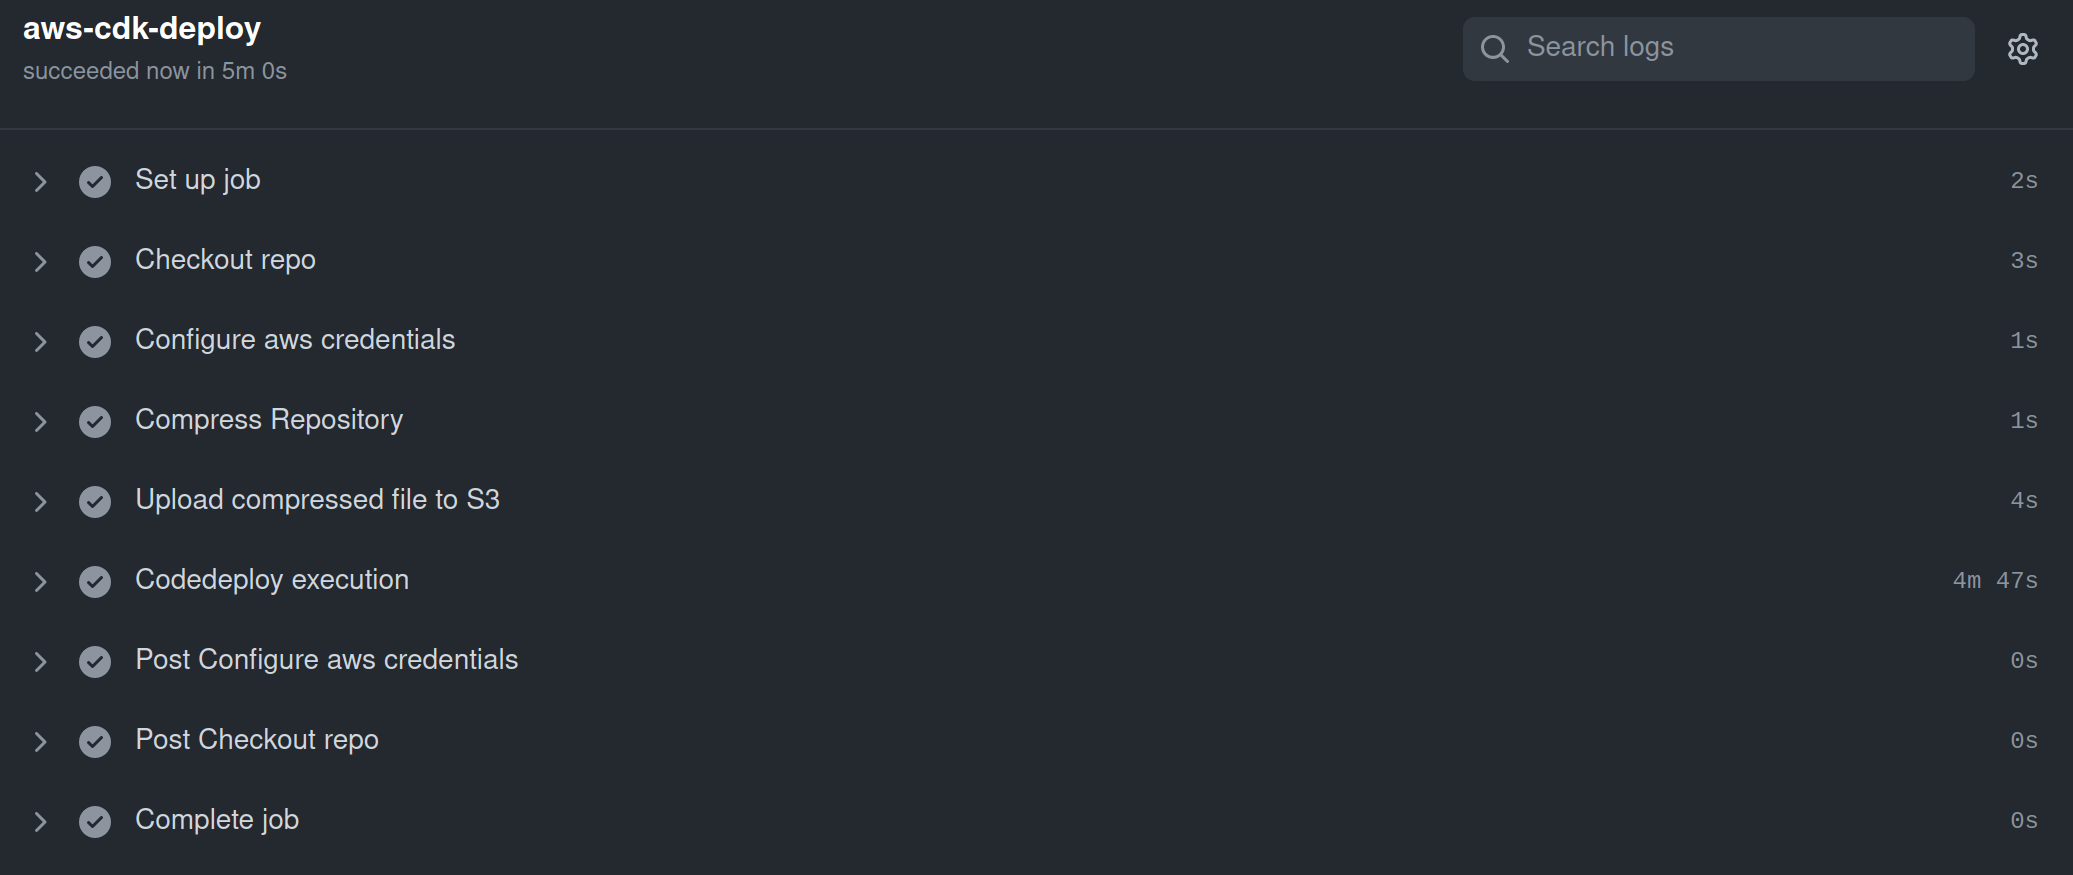
From that moment, jepetobot will be deployed, but it will need to be configured as you will see in later steps.
--- | --- |
|  |
|  |
|