python -m venv env
Windows : env\scripts\activate, MacOs or Linux : source env\bin\activate
pip install django
pip install django-bootstrap4
django-admin startproject learning_log .
python manage.py migrate
#you can directly clone & install to run this web
git clone https://github.com/AriJaya07/Learning_log.git
pip install -r requirements.txt

#then running this project
python manage.py runserver
python manage.py startapp learning_logs
python manage.py startapp users
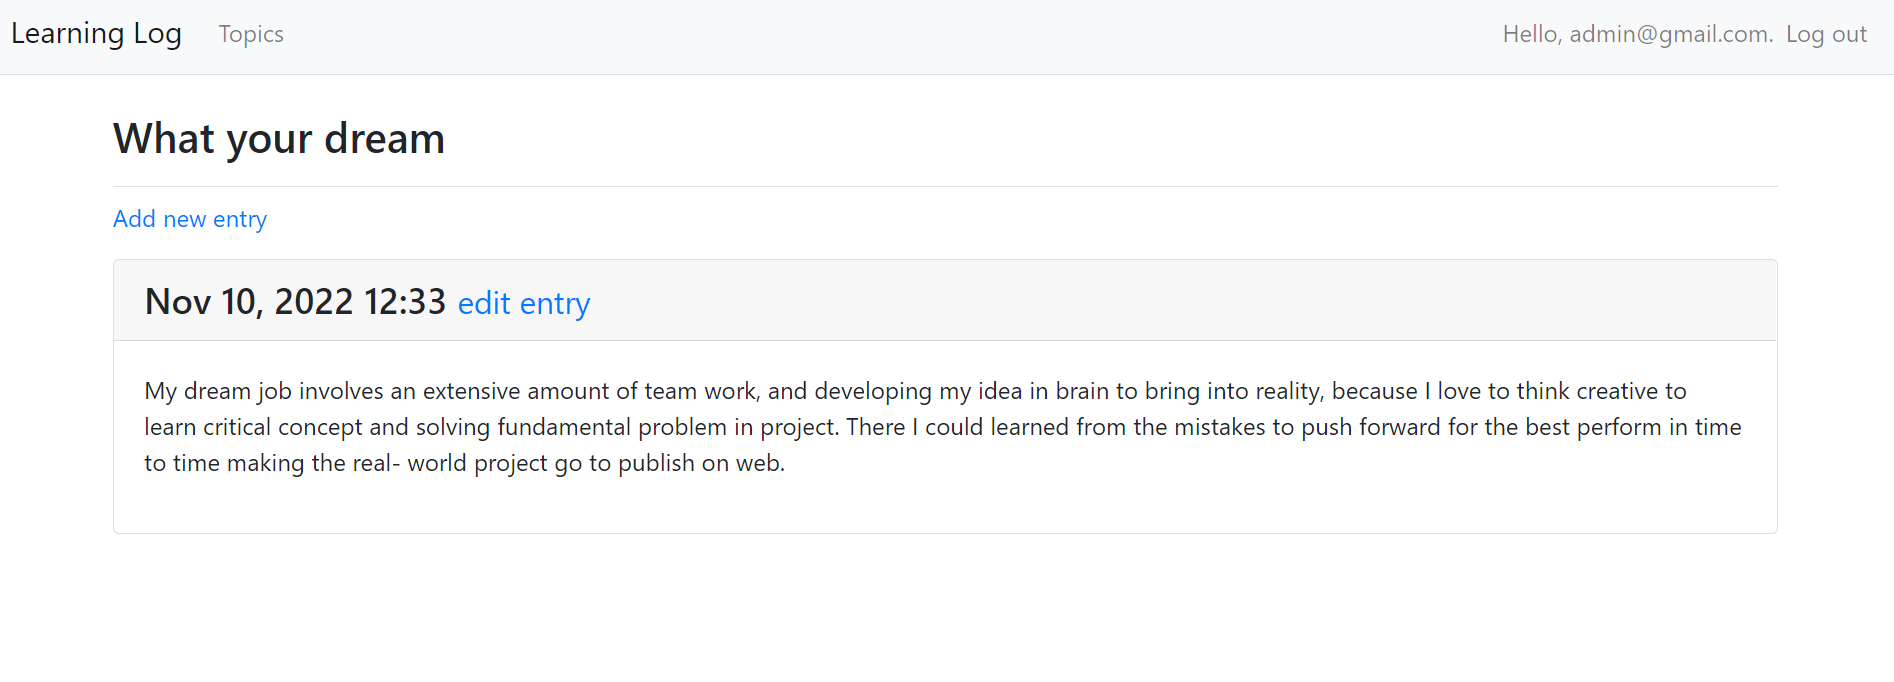
Lets think about data for a moment. Each user will need to create a number of topic in their learning log. Each entry they make will be tied to a topic, and these entries will be displayed as text. We'll also need to store the timestamp of each entry, so we can show user when they made each entry. Open the file models.py , and look at it existing content.
To use our models, we have to tell Django to include our app in overall project. Open settings.py in learning_log directory; you'll see a section that tells Django which apps are installed and work together in the project. Add our app to this list by modifying INSTALLED_APPS so it look like this:
 INSTALLED_APPS = [
    # My_apps
    'learning_logs',
    'users',

     # Third party apps.
     'bootstrap4',

     # Default_django
    'django.contrib.admin',
Next, we need to tell Django to modify the database so it can store information related to the model Topic. From the terminal, run the following command: python manage.py makemigrations learning_logs
python manage.py migrate
Setting Up a Superuser Django allows you to create a superuser, a user who has all privilages available on the site. A user's privileges control the action that user can take. python manage.py createsuperuser (You can enter any username, email,and password you want)
Open admin.py (learning_logs directory). and look at an its existing content.
# create super admin django
python manage.py createsuperuser
Now use the superuser account to access the admin site. Go to https:8000/admin/
With some data entered, we can examine that data programmatically through an interactive terminal session. This interactive environment is called the Django shell, and it's greate environment for testing and troubleshooting your project. python manage.py shell
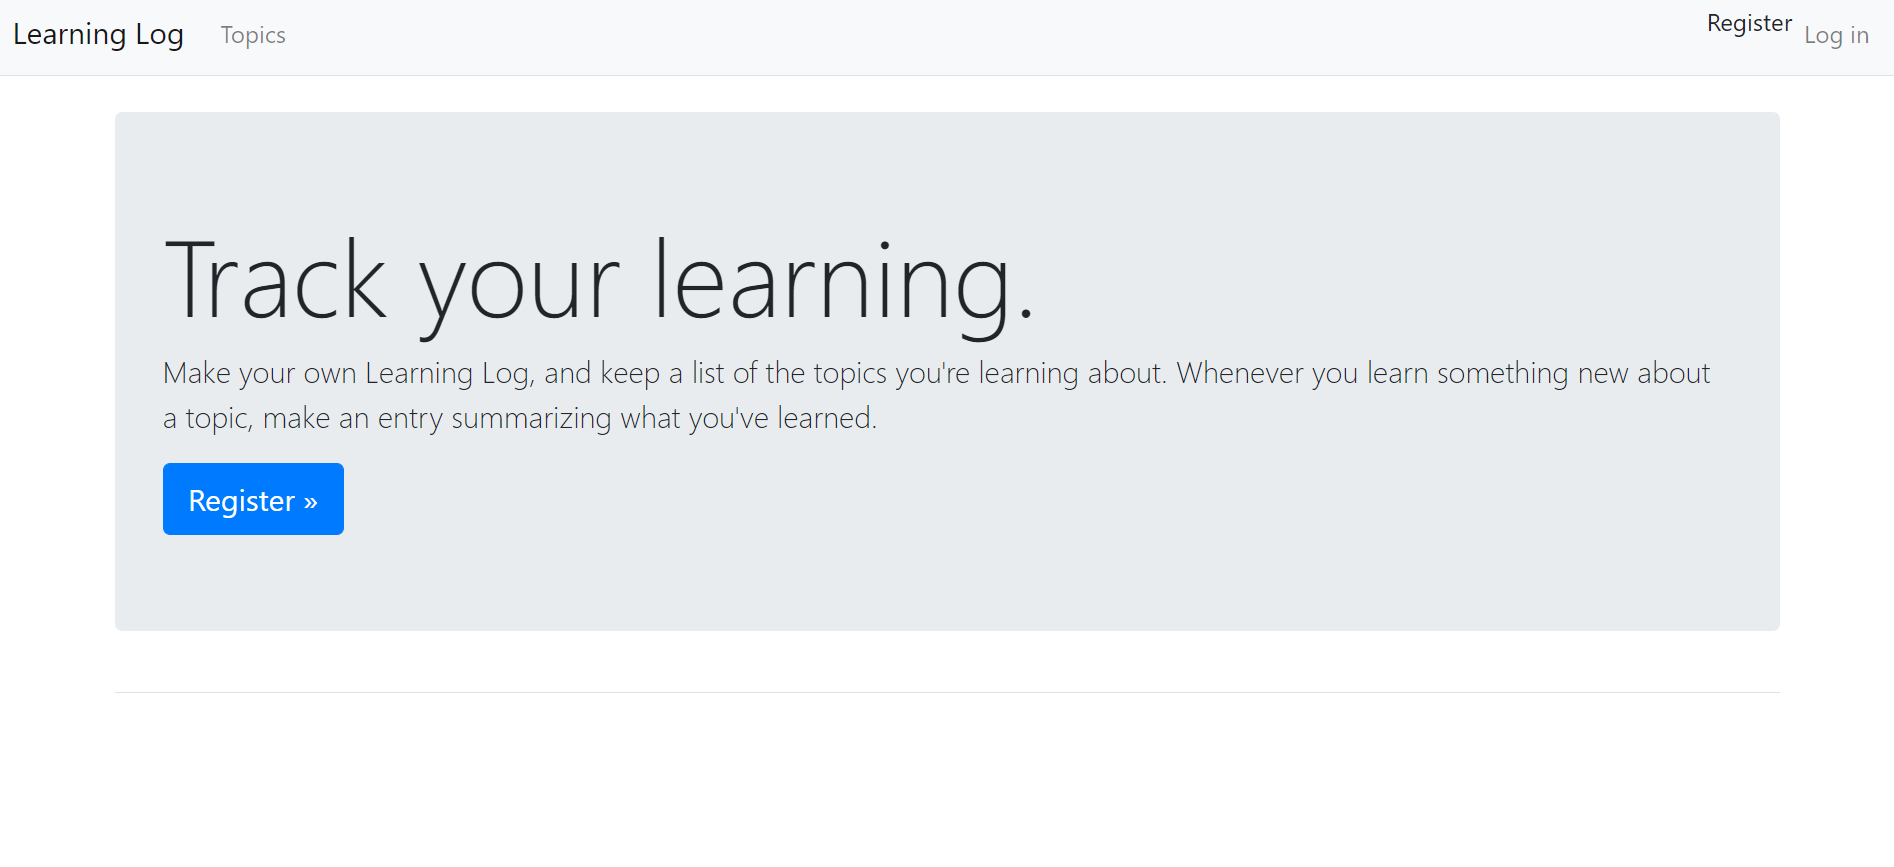
Mapping a URL Users request pages by entering URLs into a browser and clicked links, so we'll need to decide what URLs are needed. The home page URL is first: it's the base URL people use to access the project. At the moment the base URL, http://localhost:8000/, returns the dafault Django site that lets us know the project was set up correctly. we'll change this by mapping the base URL to Learning Log's home page In the main learning_log project folder, open the file urls.py, and looks at it existing content.
a view function takes in information from a request, prepares the data needed to generate a page, and then sends the data back to the browser, often by using template that defines what the page will look like. The file views.py in learning_logs. Adding the following codefor the home page:
from django.shortcuts import render

def index(request):
    """The home page for learning Log."""
    return render(request, 'learning_logs/index.html')
When a URL request matches the pattern we just defined, Django looks for a function called index() in the view.py Django then passes the request object to this function. In this case, we don't need to process any data for the page, so the only code in the function is a call to render(). The render() function here passes two arguments -- the original request object and a template it can to build the page. Let's write this template.
The template define what the page should look like, and Django files in the relevant data each time the page is requested. A template allows you to access any data provided no data, this template is fairly simple. Inside the learning_logs folder, make a new folder called templates. Inside the templates folder, make another folder called learning_logs. . Inside the inner learning_logs folder (templates folder), make a new file called index.html. The path to the file will be leaning_log/learning_logs/templates/learning_logs/index.html. Enter the following code into that file.
Deploying Learning Log
To make an account, go to https://heroku.com/ and Heroku has free tier that allows you test your projects in live deployment before properly deploying them.
To deploy and manage a project on Heroku's server, you'll need to the tools available in the Heroku Command Line Interface (CLI). To install the latest version of the Heroku CLI, visit https://devcenter.heroku.com/articles/heroku-cli/.
  pip install psycopg2
  pip install django-heroku
  pip install gunicorn
The psycopg2 package is required to manage the database that Heroku uses. The django-heroku package handles almost the entire configuration our app needs to run properly on Heroku servers. This inculdes managing the databse and storing static file in a place where they can be served properly. Static file contain style rules and JavaScript files. The gunicorn package provides a server capable of serving apps in a live environment.
pip freeze > requirements.txt
The freeze command tells pip to write the names of all the packages currently installed in the project into the file requirements.txt. Open this file to see the packages and version number installed in your project
python --version
python-3.10.6