Basic Scripting in CSharp
Back to Getting Started
In this article, we'll be using C# to move a node at runtime when a key is pressed on the keyboard.
Before we dive in, make sure you've got what is needed to proceed with C#:
1) A copy of Visual Studio 2015 or 2017 RC (with C# features installed)
2) A project in the Atomic Game Engine (read more here)
When working with code, you're either working with Scripts or Logic Components. Where you'd usually use Scripts with the back-end of your project, Logic Components are used as attachments to nodes. You can read more about components in general here.
In this article, we will create a Logic Component and attach it to a node. In that Logic Component, we will instruct the node to move position when a key is pressed on the keyboard.
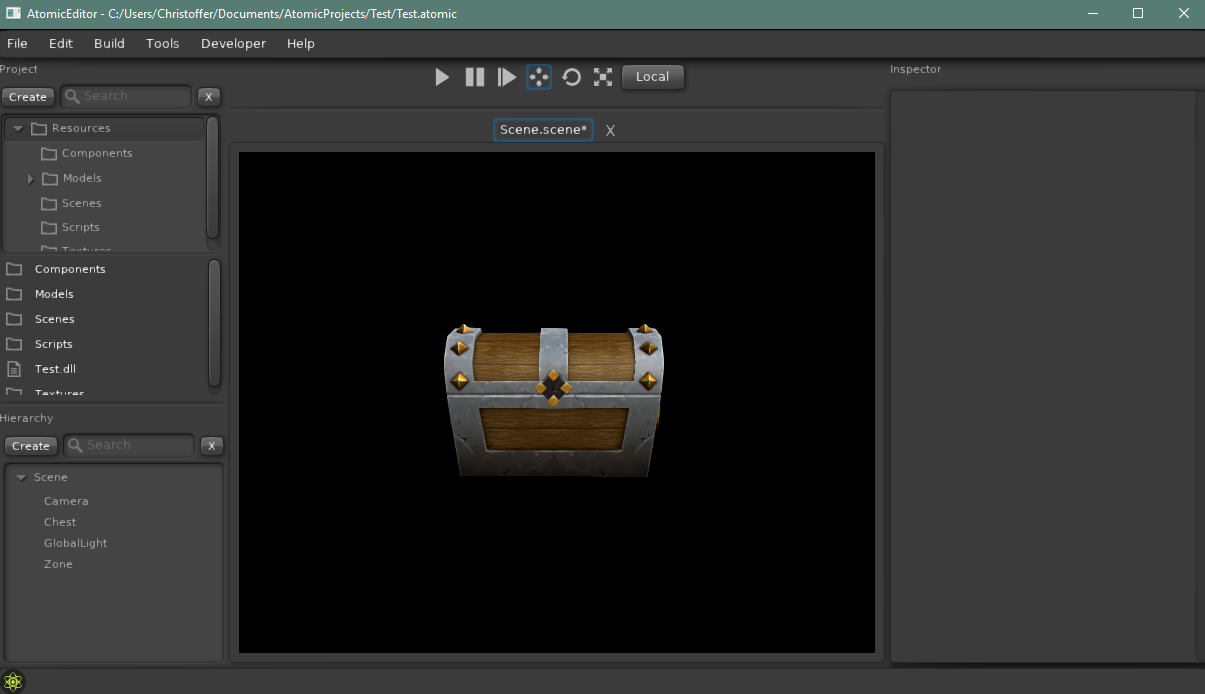
I created a project in the Atomic Game Engine using the Basic3D example. You may do so also, but you can use any other project as well.
<img src="https://raw.githubusercontent.com/wiki/AtomicGameEngine/AtomicGameEngine/images/repo/scripting/basics-scripting-in-csharp/createComponent.PNG" align="left" width="312" vspace"10">Creating a new component
Now, in the Project Section, right click on Resources > Components and click Create Component. You will be prompted to name this new component of yours. In this case I'll name mine "moveChest", but you may call it whatever you like. Where it says Component Template, make sure to pick Basic - C#, as that'll be the language we'll be working with.
 **Opening it in Visual Studio**
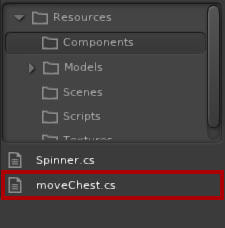
The Project Section should now list the newly created component in the folder you created it in (in my case, it is the `Components` folder). Visual Studio might also have opened your new component up automatically since this type of component is a `.cs` file. If not, click on the component in the Project Section, and Visual Studio will boot it up for ya.
Now that our component is ready to use, let's start coding. Since we chose the Basic - C# template, the code should currently look like this:
using System;
using AtomicEngine;

public class Component : CSComponent
{

    void Update(float timeStep)
    {

    }

}
If you're just a bit familiar with programming, you'll have an idea of what's up here. But if you do not, fear not, it's not as bad as it looks. Don't worry too much about what is going on here, we'll be focusing mostly on what happens here:
void Update(float timeStep)
    {

    }
Whatever goes inside these two curly braces "{ }" will be updated at every frame at runtime - which basically means all the time. So let's add instructions inside of here that, all the time, checks if a key is being pressed - and if so, then moves the node that this component is attached to (we will attach this component to a node later on).
But first of all, we need to tell Atomic what keyboard input is. And this doesn't have to happen every frame, so let's add that line of code just above where it says void Update(float timeStep).
Input input = AtomicNET.GetSubsystem<Input>();
So your code should look something like this now:
using System;
using AtomicEngine;

public class Component : CSComponent
{
    Input input = AtomicNET.GetSubsystem<Input>();
    void Update(float timeStep)
    {

    }

}
Input is a type of variable, just like an integer or a float. Then we name that variable input, and that variable is equal to an internal subsystem called Input. When we access this variable, it will allow us to access that subsystem, and then use its functions - checking whether a key is down or not, for example.
Now, inside of the void Update(float timeStep) curly braces, let's make magic happen. First, we need to check whether or not a key is being held down on the keyboard:
if ( input.GetKeyDown(Constants.KEY_D) )
        {

        }
Here, we access the variable named input we just created, and access one of its functions called GetKeyDown. This function checks whether a key is being held down or not - there is also another function called GetKeyPress, but that only returns true once, while GetKeyDown keeps returning true while a key is being held down.
Then we access something called Constants and specify the keyboard key we would like to monitor - in this case, the "D" key.
Now, inside of these newly created curly braces in the if statement, we'll tell Atomic to move the node. We do it like this:
Node.Translate(new Vector3(0.1f, 0f, 0f));
We access the Node that this component is attached to (we haven't attached it yet, but will do so later), and then tells it to translate. The translate method requires a Vector3, so we're making a new one and giving it some values.
Now your code should look similar to this:
using System;
using AtomicEngine;

public class Component : CSComponent
{
    Input input = AtomicNET.GetSubsystem<Input>();
    void Update(float timeStep)
    {
        if ( input.GetKeyDown(Constants.KEY_D) )
        {
            Node.Translate(new Vector3(0.1f, 0f, 0f));
        }
    }

}
And that's it.
To test our new code, you can either run it directly from within Visual Studio by clicking "Start" in the upper toolbar or by running it from inside of Atomic. You may have to compile it inside of Atomic first however, by using Developer > Plugins > AtomicNET > Compile Project.
(!) If Visual Studio tells you that "A Project with an Output Type of Class Library cannot be started directly", right click on
ProjectName.Desktopin the Solution Explorer and selectSet as StartUp project.
But it doesn't work!
And that's because of a few things that we haven't done yet. First of all, inside your component script, change public class Component : CSComponent to public class moveChest : CSComponent or whatever you named the component. Second of all, we need to attach the component to a node - otherwise the component isn't used by anything.
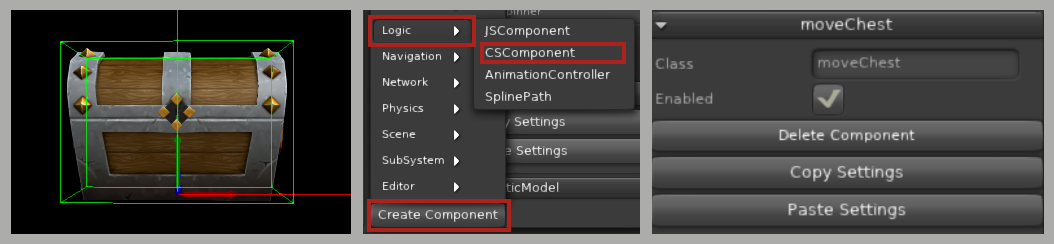
In the Atomic Editor, select the desired node, create a CSComponent and type in the name of the component in the "class" field.
And now, when running the project, you should be able to press "D" to make the node move. Notice that this chest also has the default "Spinner" component attached, so it's also spinning.

Home | Copyright (c) 2014 - 2017 THUNDERBEAST GAMES LLC