Using HantaNet
-
Navigate to https://cdcgov.github.io/HantaNet/
-
Select the segment for the new sequences (Small, Medium or Large) in order to load the reference gene module

- The reference network is loaded
- On the main menu, click File and Add Data

- Download the reference metadata .csv and aligned FASTA .fas files

-
Add the new sequence information to the reference metadata .csv file and save with a new filename (Requires the addition of the new sequence identifier under the Accession_ID field but adding information to the other fields is optional; recommended to add additional features to the new sequences in the network visualizations)
-
Use a multiple sequence alignment tool like MAFFT to align the new sequences against the aligned reference FASTA (Currently, HantaNet doesn't include a multiple sequence alignment tool; new sequences must be aligned against the HantaNet's reference alignment before loading them onto HantaNet for classification)
Refer to Sequence Alignment Protocols for instructions on how to use MAFFT to align your sequences against the HantaNet's reference alignment
-
If needed, repeat steps 1-4 to load the new aligned FASTA .fas and metadata .csv files (New metadata files are recommended to add additional features to the new sequences in the network visualizations but not required for classification)
-
Once loaded, click Launch
-
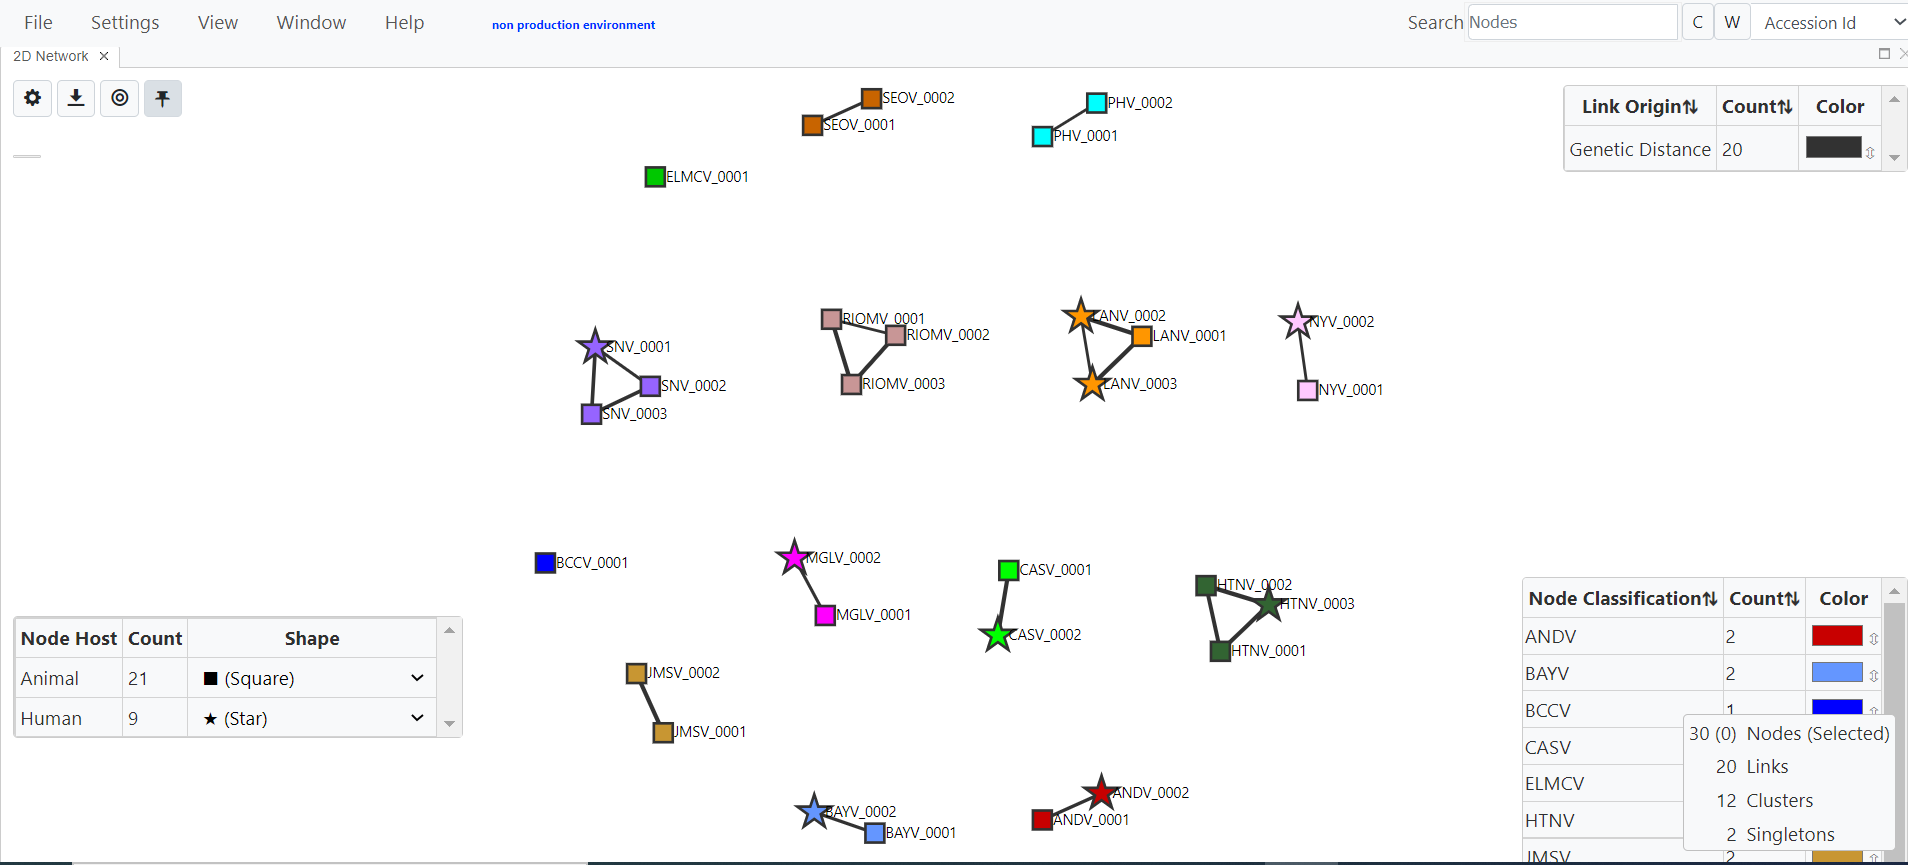
The reference network is loaded with the new sequences; unpin nodes, re-scale the 2D network and pin nodes again

- On the main menu, click Settings and adjust Filtering Threshold (genetic distance) and additional parameters as needed

- Modify the 2D Network Settings (Nodes, Links, Network, Polygons) as needed
