

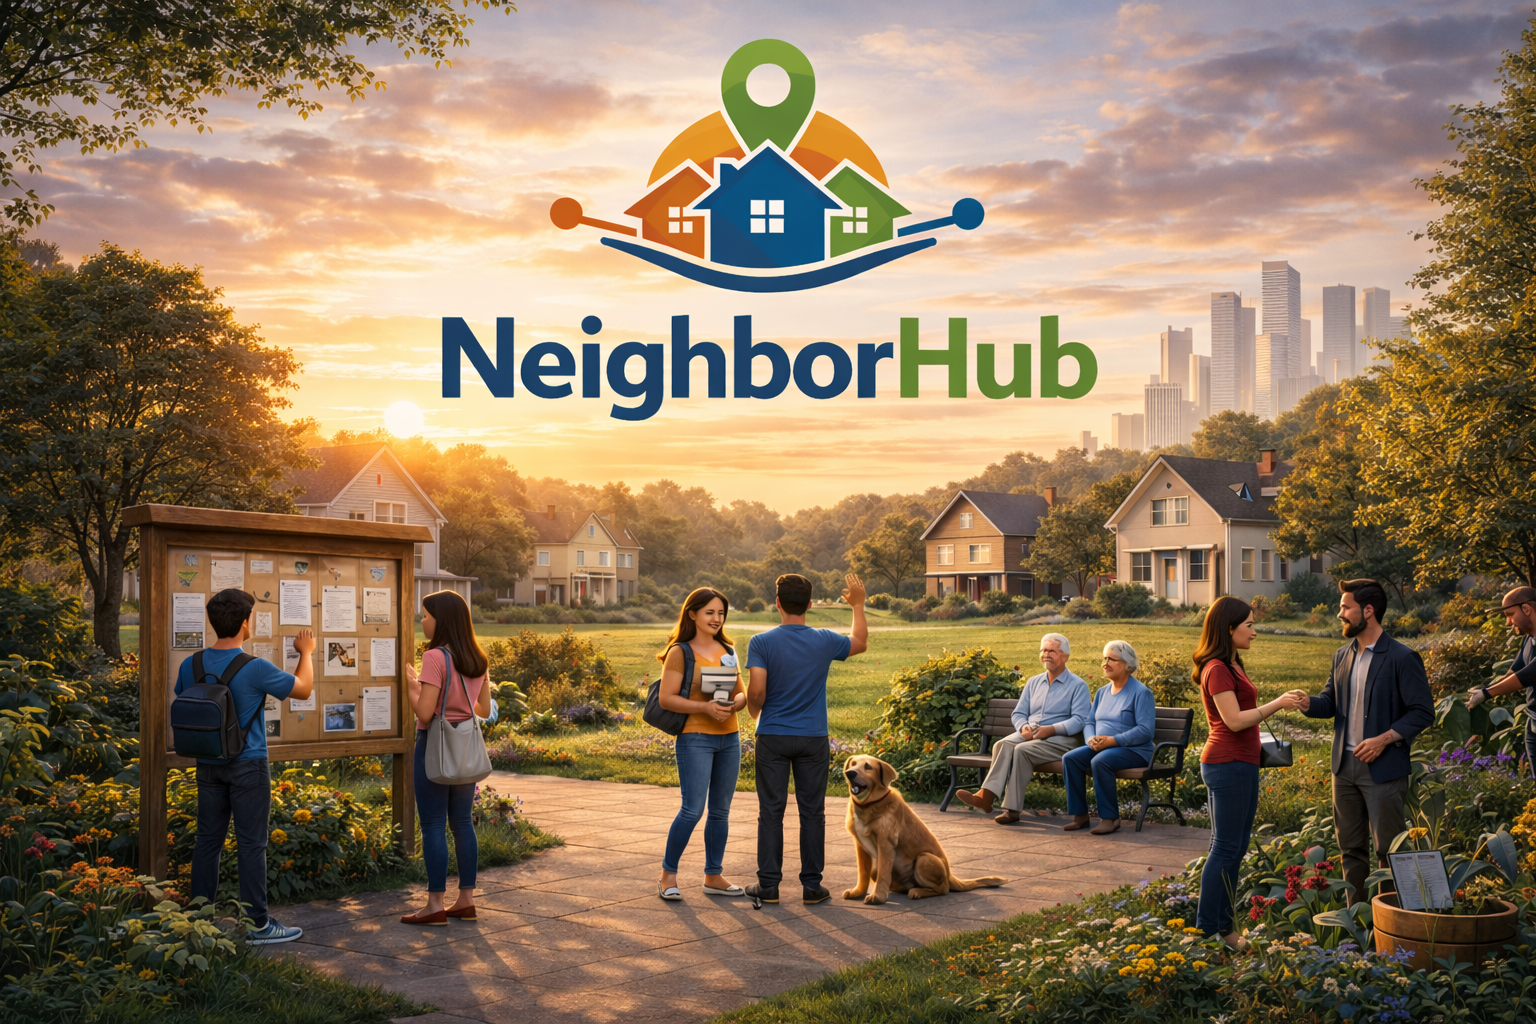
A simple community application built for neighbors to share events and posts. This project was designed to meet the prompt criteria for a weekend build:
- Value Proposition: Helps neighbors coordinate events and stay connected with community posts.
- Creativity: A single‑page community dashboard with a polished UI and interactive features like posts, events, tool sharing, and mutual aid.
- Technical Execution: Express backend serving a static SPA; data persisted in
data/db.jsonusinglowdb. Client scripts fetch and mutate data over REST endpoints. - Writing Quality: This README explains how to run and extend the application.
- Node.js 18+ installed on your system (available in this workspace)
cd NeighborHub
npm install
npm startBefore deploying to Vercel you should put the project under Git and push it to a remote repository. A typical sequence is:
cd NeighborHub
# if you haven't already initialized a repo
git init
git add .
git commit -m "Initial commit"
git branch -M main                      # ensure branch is named 'main'
git remote add origin https://github.com/<you>/<repo>.git
git push -u origin main
Replace <you>/<repo> with your GitHub user and repository name. Once the code lives on GitHub, you can connect that repository to Vercel (see Deploying below) and every push to the watched branch will trigger a new build.
Then open http://localhost:3000 in your browser.
- Rich community board with live posts, reactions, and tag support
- Upcoming events dashboard with RSVP tracking
- Tool lending library with search and borrow requests
- Mutual aid section for requesting or offering help
- Neighborhood directory with search filters
- Responsive UI, modal dialogs, and toast notifications
- Backend REST API with persistent JSON storage
- Replace
lowdbwith a proper database (SQLite, Postgres, etc.) - Implement user authentication and profiles
- Add server-side validation and tests
- Package and deploy to a hosting platform (Azure, Heroku, Vercel)
This version of NeighborHub is a static single‑page app that uses Firebase for authentication and data storage. Before running, make sure you've completed the following steps in the Firebase console:
- Create or open a project and register a Web App (</> icon). Copy the
configuration snippet; it contains
apiKey,authDomain,projectId, etc. Paste that object intopublic/firebase-config.js(the file already exists with placeholders). - In Authentication → Sign-in method enable Google as a provider.
- Under Authentication → Authorized domains add
localhost(for local testing) and any production host (e.g.your-app.vercel.app). - (Optional) Enable Firestore in the console.
- Add/update
firebase.jsonandfirestore.rulesas shown below, or runfirebase initif you're using the CLI.
rules_version = '2';
service cloud.firestore {
  match /databases/{database}/documents {
    // reads are public; writes require sign-in
    match /{document=**} {
      allow read: if true;
      allow write: if request.auth != null;
    }
  }
}- Install dependencies and start the static server:
npm install npm start # serves http://localhost:3000 - Open the page, click the avatar to sign in with Google. You should see a toast confirming your name and an entry appear under Authentication → Users in the Firebase console.
- Create a post, event, or lost‑and‑found item. Check Firestore in the console
or run
firebase emulators:startwith the Firestore emulator enabled.
- Firebase Hosting (optional): run
firebase deployonce you havefirebase.jsonandfirestore.rulesconfigured. This publishes thepublic/folder.
To avoid leaking your Firebase API key the repo no longer contains a real configuration file. Instead, set the following variables locally or in your hosting provider and run the helper script before each deployment:
# PowerShell example
$env:FIREBASE_API_KEY = '<your api key>'
$env:FIREBASE_AUTH_DOMAIN = 'yourproj.firebaseapp.com'
$env:FIREBASE_PROJECT_ID = 'yourproj'
# ..._set other vars as needed...
node scripts/write-config.js
When using Vercel, add these variables in the Dashboard (Settings → Environment Variables) or via CLI:
vercel env add FIREBASE_API_KEY production
vercel env add FIREBASE_AUTH_DOMAIN production
# etc.
During a deploy the CLI (or Vercel build) should run node scripts/write-config.js
first (you can configure this as a build command or just call it manually).
The script will emit public/firebase-config.js which is included in the static
bundle.
If you want to deploy directly from the folder without GitHub you can simply run:
npx vercel --prodand ensure scripts/write-config.js has been run beforehand (either manually
or by setting the Vercel project’s Build Command to node scripts/write-config.js).
- **Vercel**: the app is purely static, so Vercel can serve the contents of the
  `public/` directory directly. You can push to GitHub and import the repo, or
  deploy directly from your local workspace with the CLI (`npx vercel`).
  The Firebase configuration file is generated at build time from environment
  variables, so you never have to commit secrets. See the **Environment
  variables** section below.

  (If you prefer manual configuration, simply create `public/firebase-config.js`
  locally before deploying and keep it out of source control.)

  ```json
  {
    "rewrites": [ { "source": "/(.*)", "destination": "/index.html" } ],
    "builds": [ { "src": "public/**/*", "use": "@vercel/static" } ]
  }
- If you haven't already installed the CLI, run
npm install -g vercelor usenpx vercel. - Authenticate:
npx vercel login # follow prompts, or set VEREL_TOKEN env var - Deploy the current folder:
npx vercel --prod --yes # or simply `vercel` and answer the interactive questions - After deployment, copy the generated URL (e.g.
your-app.vercel.app) and add it to Authentication → Authorized domains in the Firebase console so Google sign-in works from production.
The --yes flag skips confirmation prompts. If you prefer a GUI workflow,
you can push the repository to GitHub and import it via the Vercel web
dashboard; the same vercel.json configuration will be respected.
You can redeploy anytime by re-running the CLI command or via the dashboard.
• If you need environment variables (e.g. a separate Firebase config for
staging), add them through vercel env add or the dashboard settings.
Make sure to add your Vercel domain to Firebase's authorized domains before users try to sign in.
This app now serves as a fully functional prototype for a neighborhood hub. Feel free to extend and customize it for your community.
Tip: replace
public/screenshot.pngwith a real screenshot of the running app, and update the badge URLs above with your repo details (e.g.github.com/you/NeighborHubfor the stars or version badge).