This app is a walk through of the basics you can do with geocoding. Essentially the purpose of this app is to show you have you can translate an address like this:
120 Spencer Street, Melbourne
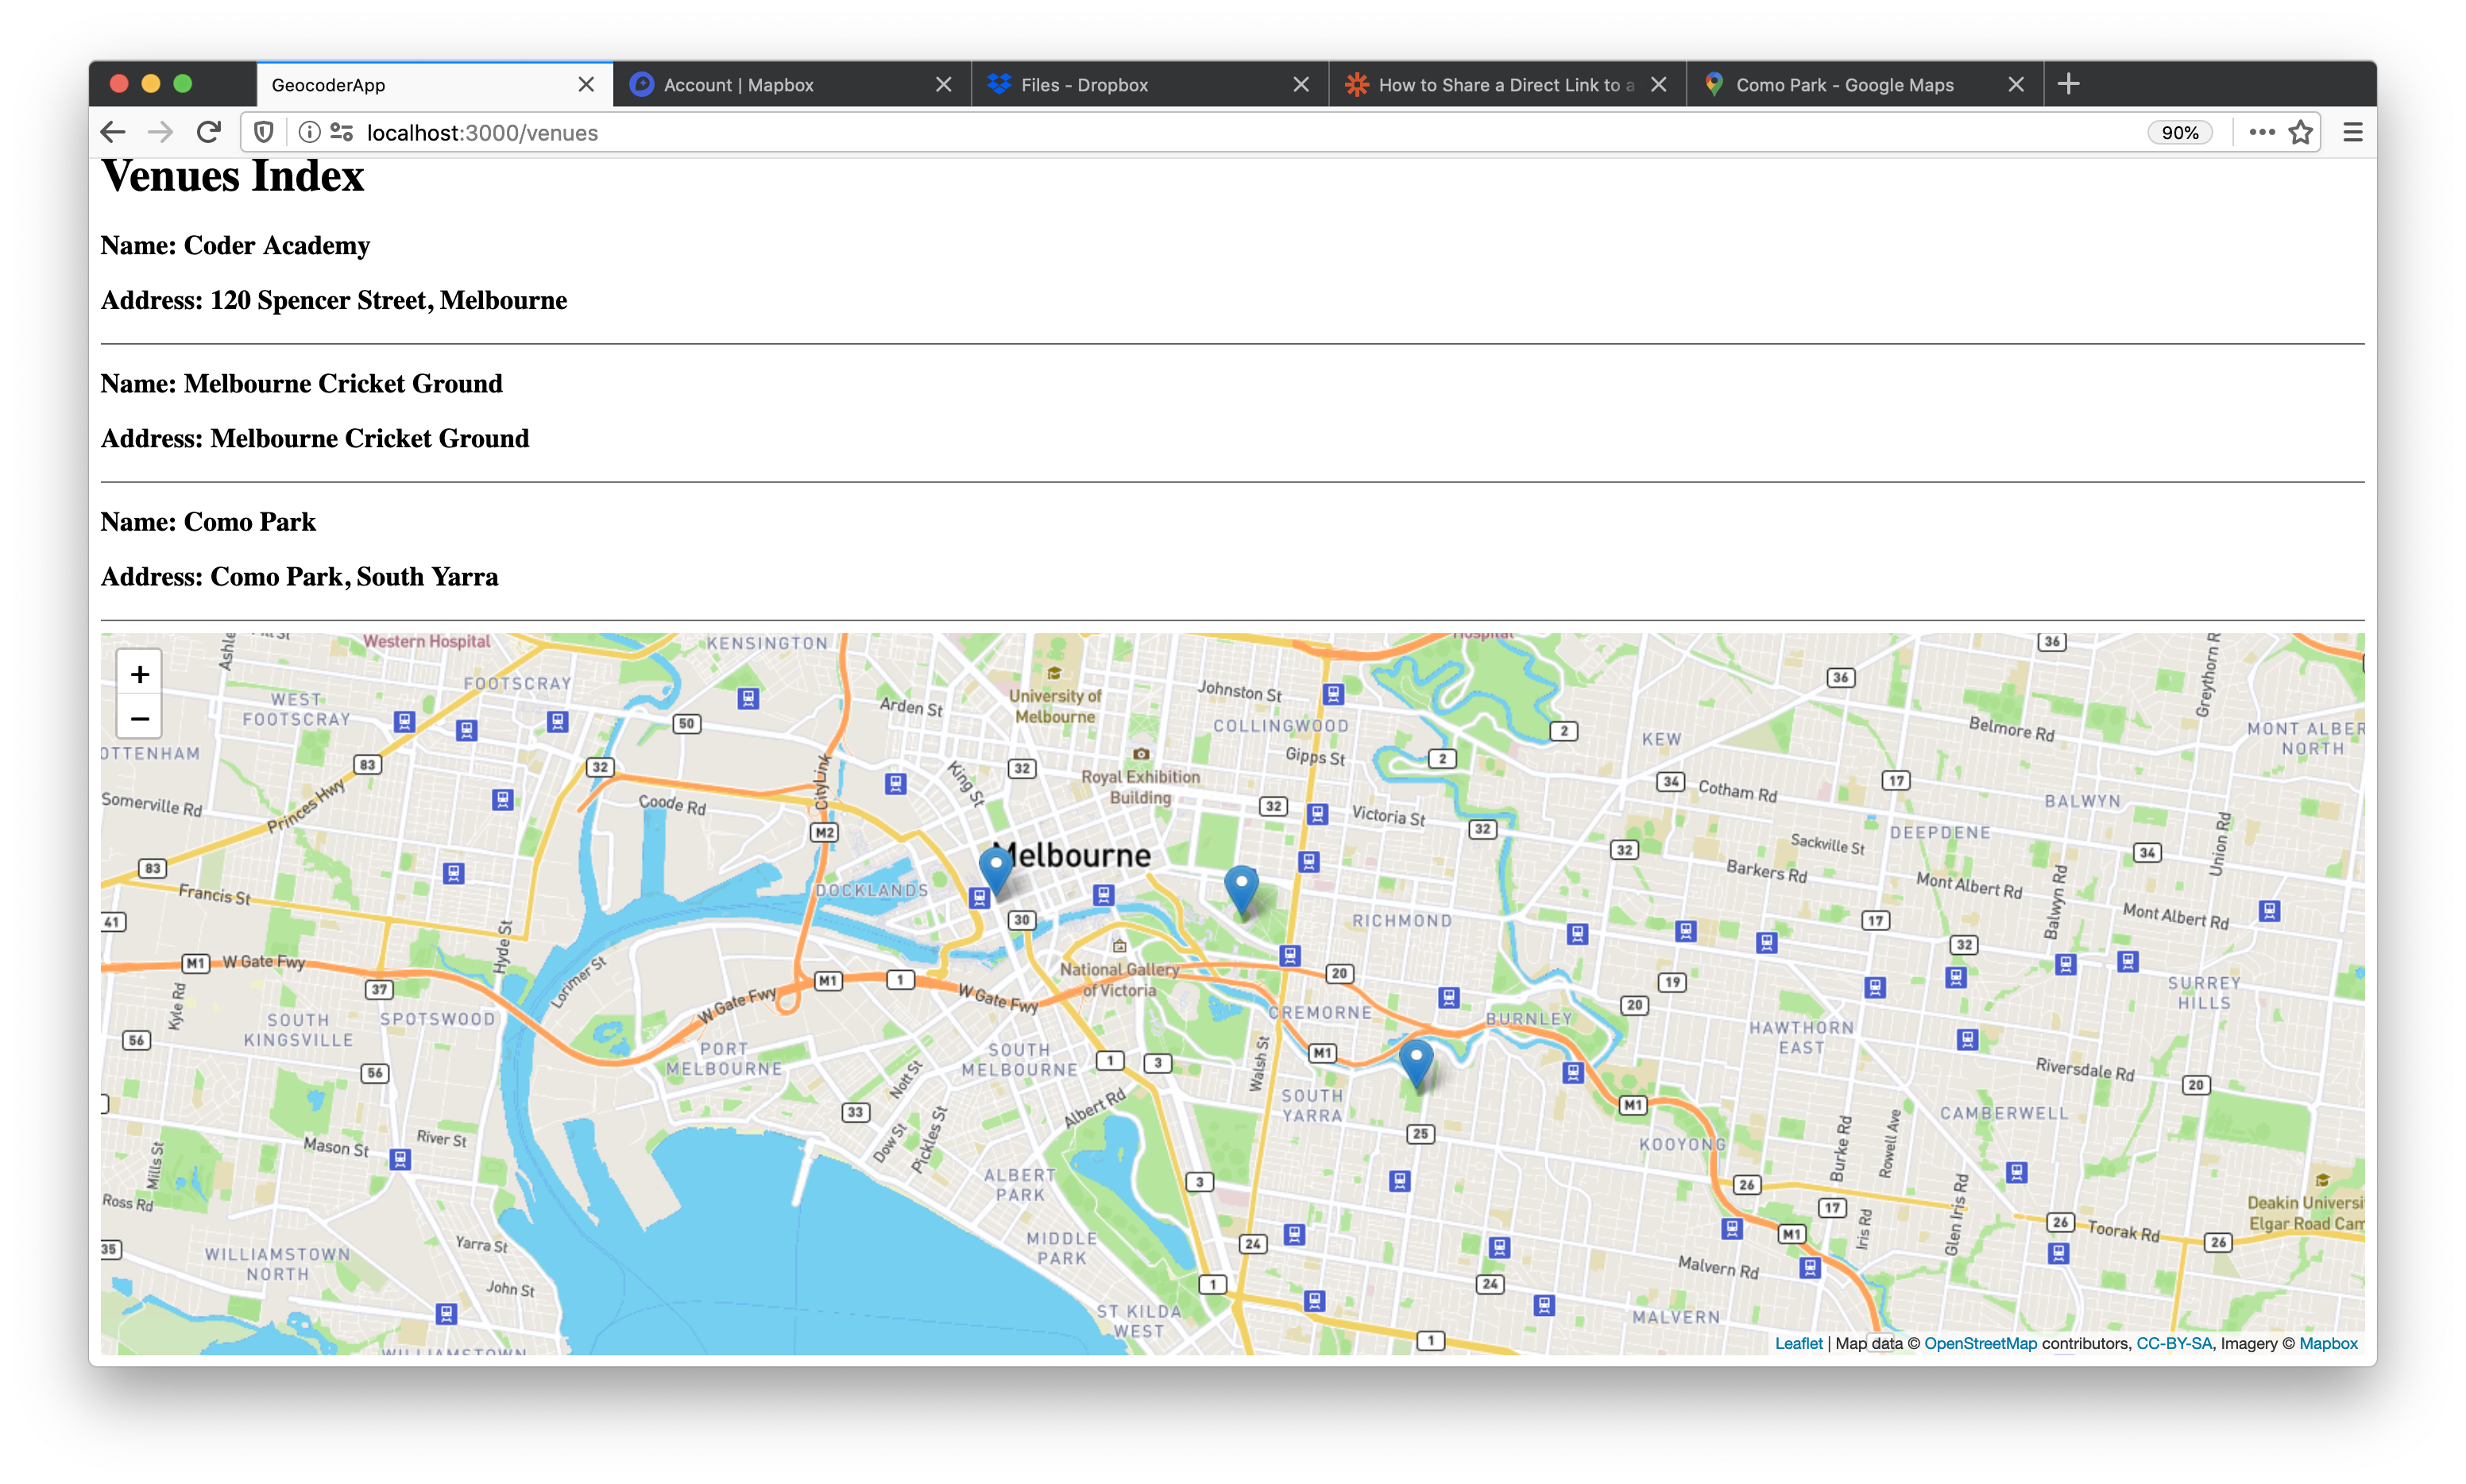
into longitude and latitude coordinates which we can use to plot locations on a map like the below.
You can find the code for this project here.
There are a a few things we need to setup.
-
We'll need to install the geocoder gem:
bundle add geocoder -
We'll need to install the Leaflet library for displaying a map, it's a Javascript client side library:
yarn add leaflet -
We'll need a Google project and API key, this takes a few steps:
a. Make a Google Developer account https://console.developers.google.com/
b. Make a new project, it's the dropdown at the top left
c. Click on enable APIs
d. Enable the geocoding API
e. Go back to the homepage of the project and go to credentials, copy the API key
f. Save it in a text file or somewhere safe for now
-
We're using the Google Maps geocoding API because it's the best but it does cost $, if you're signing up to a Google cloud account for the first time it should be free BUT once you're off the free plan you're charged $5 per 1000 requests
-
Open your credentials file
EDITOR="code --wait" rails credentials:edit -
Enter your api key:
google:
  api_key: <key>
-
Now we'll need to setup Geocoder so it talks to Google, by default Geocoder uses OpenStreetMaps (free service) for geocoding but I've found this to be often inaccurate when compared to Google, we need to run the following command:
rails generate geocoder:config -
Go to
config/initializers/geocoder.rband enter this config:Geocoder.configure( timeout: 3, lookup: :google, ip_lookup: :ipinfo_io, language: :en, use_https: false, http_proxy: nil, https_proxy: nil, api_key: Rails.application.credentials.dig(:google, :api_key), cache: nil, cache_prefix: 'geocoder:', units: :km, distances: :linear )
-
Now we need to setup some kind of model that will actually store an address, in this example i'll use a simple venue with name and address as attributes:
rails g model Venue name:string address:string rails db:migrate -
Your model must have a way to store latitude/longitude coordinates, we'll need to add two attributes (of type float) called latitude and longitude to Venue:
rails g migration AddDetailsToVenues longitude:float latitude:float rails db:migrate -
We'll then need to add some logic to our Venue model so that when a new venue is created Google will execute the geocoding for us on the fly:
/models/venue.rbclass Venue < ApplicationRecord geocoded_by :address after_validation :geocode end
-
At this point I'd usually setup a controller, CRUD and forms but we'll use rails c for this example:
Venue.create(name: "Coder Academy", address: "120 Spencer Street, Melbourne")
# => <Venue id: 1, name: "Coder Academy", address: "120 Spencer Street, Melbourne", created_at: "2020-05-13 01:11:43", updated_at: "2020-05-13 01:11:43", longitude: 144.9543325, latitude: -37.8182119>
-
Note that it's automatically providing the longitude and latitude attributes, awesome! We'll add one more:
Venue.create(name: "Melbourne Cricket Ground", address: "Melbourne Cricket Ground")
-
There's a few other cool things you can do with the geocoder gem, read the docs
-
At this point we'll need to make some basic views and a controller to display the information about our venues:
rails g controller venues index showclass VenuesController < ApplicationController def index @venues = Venue.all end def show @venue = Venue.find(params[:id]) end end
Rails.application.routes.draw do
  resources :venues, only: [:index, :show]
end
<h1>Venues Show</h1>
<h3>Name: <%= @venue.name %></h3>
<h3>Address: <%= @venue.address %></h3>
<h1>Venues Index</h1>
<% @venues.each do |venue| %>
  <h3>Name: <%= venue.name %></h3>
  <h3>Address: <%= venue.address %></h3>
  <hr>
<% end %>
-
Everything is working okay! Now we'll need to use the Leaflet library to add a map with markers. I'm going to use a bunch of JavaScript here, you will learn how all of this works later in the course. You'll need to add all the
.jsfiles in/app/javascript/packs/leafletto your own projects -
You'll then need to change your controller actions slightly:
class VenuesController < ApplicationController
  def index
    @venues = Venue.all
    if params[:type] == "json"
      data = @venues.map do |venue|
        [venue.latitude, venue.longitude]
      end
      render json: {data: data, center: [data[0][0], data[0][1]]}
    end
  end

  def show
    @venue = Venue.find(params[:id])
    if params[:type] == "json"
      render json: {data: [@venue.latitude, @venue.longitude], center: [@venue.latitude, @venue.longitude]}
    end
  end
end
-
You'll need to login to MapBox which is the map we're using in our JavaScript and get a public access token, this access token needs to be pasted into the
tileLayer.json line 12 -
You'll need to add this to the bottom of your pages:
<!-- index.html.erb -->
<div style="height: 500px" id="map"></div>
<%= javascript_pack_tag "leaflet/index" %>
<!-- show.html.erb -->
<div style="height: 500px" id="map"></div>
<%= javascript_pack_tag "leaflet/show" %>
-
You should now see a map!
-
It should all now work locally but in production you'll need to make another couple of changes.
a. Add this line of code to
/app/javascript/packs/application.jsimport "leaflet/dist/leaflet.css"
b. In
/app/views/layouts/application.html.erbadd this to the head.<%= stylesheet_pack_tag 'application' %>