STL file and surrounding documentation for spacer
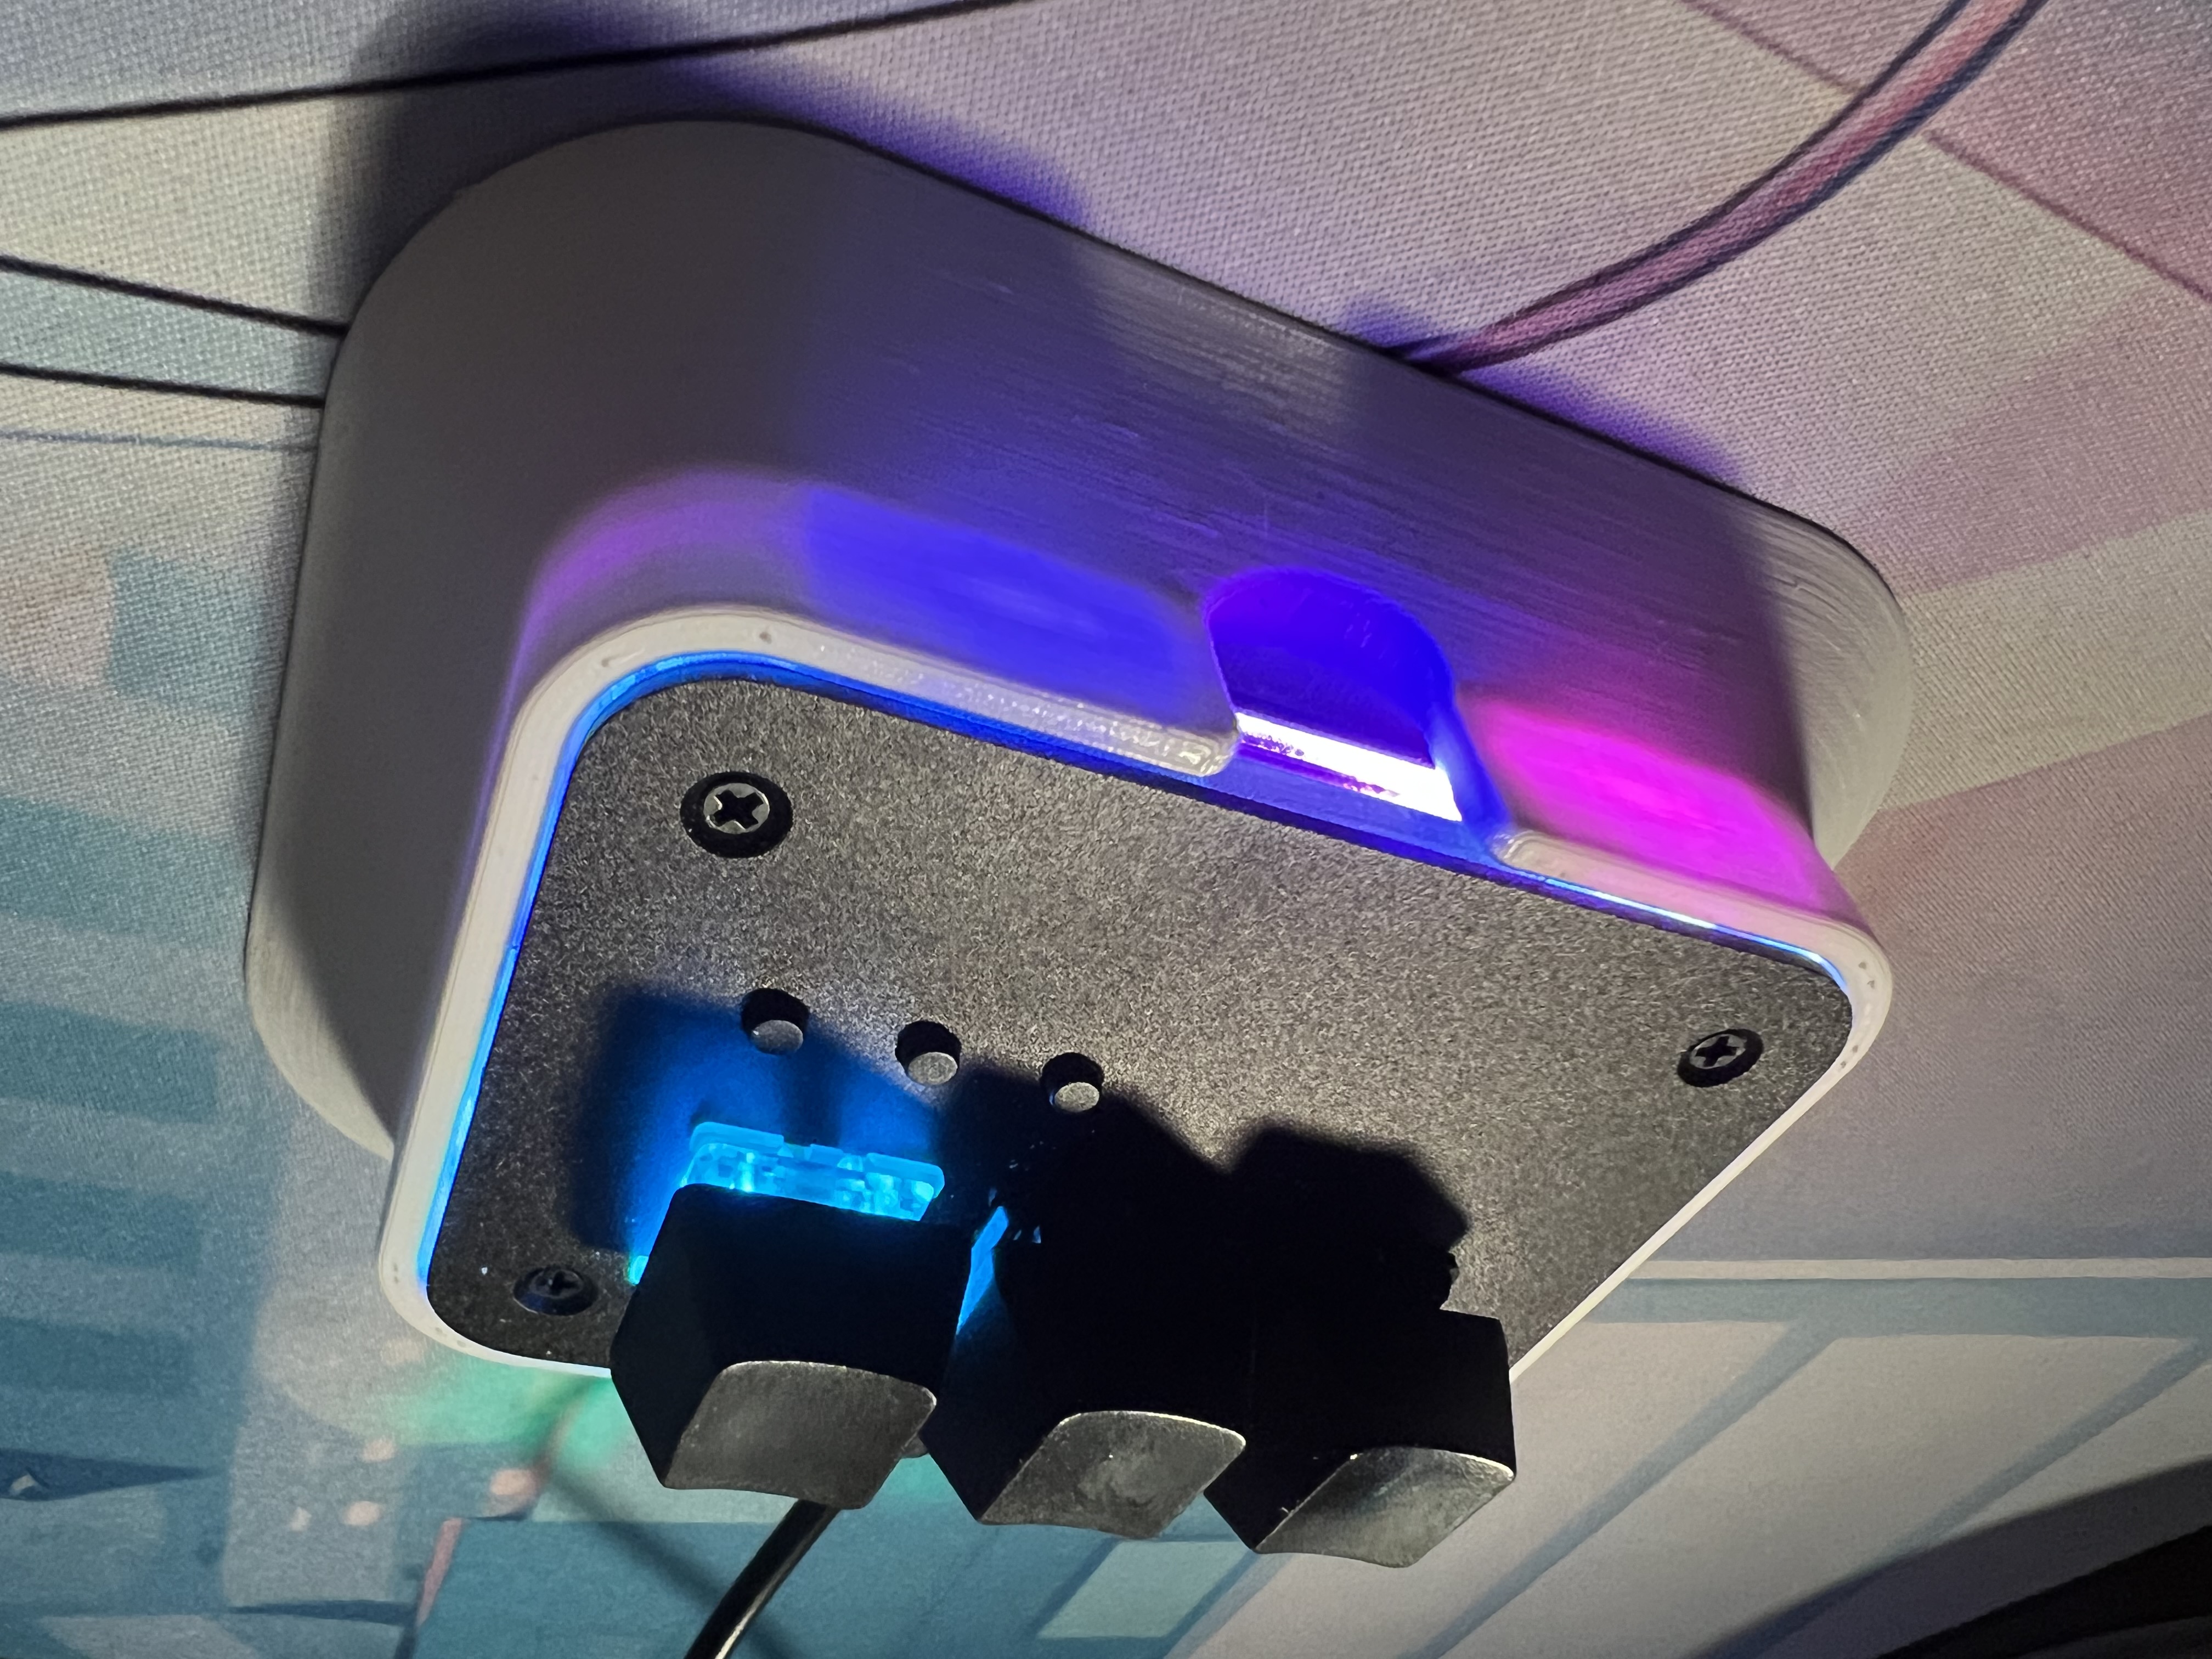
The Keypad Spacer is designed to hold a keypad at a customized height and tilt, as well as increasing stability during use, especially when using on a deskmat. The drafted grip pattern on the bottom surface improves lateral friction on a deskmat, especially when additional weights are used. The storage cavity accomodates the extra stabilizing weight while reducing print time and material. A symmetrical design mitigates orientation errors during installation while providing leverage during uninstallation and improving press-fit compliance for installation.
- Printing orientation should be keypad-side-up. This means the part should be rotated 90 degrees on the x-axis from its orientation in the .stl for printing.
- Prints tested with a Prusa i3 MK3S+ 3D using 1.75mm PLA, using a 0.1mm detail setting in PrusaSlicer.
- Turn on all supports.
- No brim or raft needed.
- Slice and print with supports.
- Sand bottom surface with rough sandpaper to improve adhesive capabilities against deskmat (OPTIONAL).
- If the keypad is noticeably difficult to install, sand the interior walls of the corral.
- Install a weight into the cavity (OPTIONAL).
- Install the keypad into the top corral
- Plug in the usb cord into the keypad.
- Unplug the keypad.
- Insert thumb and index fingers into corral cutouts.
- Grip bottom edge of keypad and pull upwards.
- If you are having trouble, insert a thin object into the bottom hole and push on the keypad in a number of locations.
- When keypad begins to move, repeat steps 2-3.
You must slice and print the spacer yourself. The print has only been tested with PLA for the 1st version of the Momokai Tap Trio Keypad. Some sanding may be required to achieve proper fitment and grip. See Instructions -> Postprocessing
- Change grip surface for Momokai version to hexagonal