
In this notebook I will showcase a convoluted neural network model that achieves 99.6% accuracy on the MNIST Handwritten Digit problem. This model is built using Pytorch Lightning. This package is great for beginners and experts alike as it offers simple yet powerful APIs.
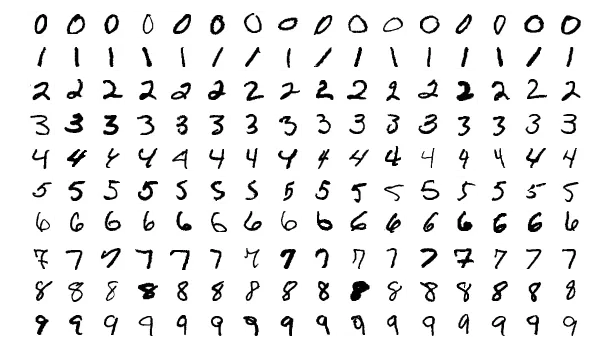
MNIST Image from Wikipedia
This project is based on Mnist dataset, and the architecture used in this project can be find through the link. Although the article was implemented mentioned architecture on Keras, I re-wrote it on Pytorch lightning. Pytorch is considered as an academic tool in AI so it is so much better to learn Pytorch from skratch.
This project does not need any specific requirements. The dataset, Mnist, also is available in torchvision.datasets.
Data augmentation is extremely important. For image data, it means we can artificially increase the number of images our model sees.This is achieved by Rotating the Image, Flipping the Image, Zooming the Image, Changing light conditions, Cropping it etc.
In order to build a strong Deep neural network, we should go through the following steps:
- Add Convolutional Layers — Building blocks of ConvNets and what do the heavy computation
- Add Pooling Layers — Steps along image — reduces params and decreases likelihood of overfitting
- Add Batch Normalization Layer — Scales down outliers, and forces NN to not relying too much on a Particular Weight
- Add Dropout Layer — Regularization Technique that randomly drops a percentage of neurons to avoid overfitting (usually 20% — 50%)
- Add Flatten Layer — Flattens the input as a 1D vector
- Add Output Layer — Units equals number of classes. Sigmoid for Binary Classification, Softmax in case of Multi-Class Classification.
- Add Dense Layer — Fully connected layer which performs a linear operation on the layer’s input
model.add(Conv2D(filters=32, kernel_size=(3, 3), activation='relu', strides=1, padding='same', data_format='channels_last',
                 input_shape=(28,28,1)))
model.add(BatchNormalization())
model.add(Conv2D(filters=32, kernel_size=(3, 3), activation='relu', strides=1, padding='same', data_format='channels_last'))
model.add(BatchNormalization())
model.add(MaxPooling2D(pool_size=(2, 2), strides=2, padding='valid' ))
model.add(Dropout(0.25))

model.add(Conv2D(filters=64, kernel_size=(3, 3), activation='relu', strides=1, padding='same', data_format='channels_last'))
model.add(BatchNormalization())
model.add(Conv2D(filters=64, kernel_size=(3, 3), strides=1, padding='same', activation='relu', data_format='channels_last'))
model.add(BatchNormalization())
model.add(MaxPooling2D(pool_size=(2, 2), padding='valid', strides=2))
model.add(Dropout(0.25))

model.add(Flatten())
model.add(Dense(512, activation='relu'))
model.add(BatchNormalization())
model.add(Dropout(0.25))
model.add(Dense(1024, activation='relu'))
model.add(BatchNormalization())
model.add(Dropout(0.5))
model.add(Dense(10, activation='softmax'))
The Second way to train and test RFC is to use the .ipynb file in the main directory. It is very informative and builds up your intuition of the process of pre-processing and makes you more knowledgeable about the dataset. In addition, you don't even need to clone the repository, because it can be executed by Google Colaboratory Online.
The following list contains several links to every resource that helped us implement this project.
- The article published by Brendan Artley MNIST: Keras Simple CNN (99.6%)
- Pytorch website QUICKSTART
- Maths-ML developed by Farzad Yousefi
- House Price Prediction developed by Farzad Yousefi
- Machine Learning course published by Coursera