this project will use terraform to install EKS cluster of two nodes,ec2 instance and ecr to push new build of Flask app.
using ansible script to configure ec2 instance and install all pre-req. check installation steps below for how to install and configure
Project Files:
- Terraform Files for provisioning infrastructure
- ansible script to configure ec2 instance
- DockerFile for flask web app and mysqldb
- docker-compose for local run
- jenkins file for CI/CD
- bash Script for terraform and ansible automation
-
Terraform installed check installation guide here https://developer.hashicorp.com/terraform/tutorials/aws-get-started/install-cli
-
ansible https://docs.ansible.com/ansible/latest/installation_guide/intro_installation.html
-
[Optional] Docker to run docker-compose up and test app local https://docs.docker.com/engine/install/
-
Aws cli
    curl "https://awscli.amazonaws.com/awscli-exe-linux-x86_64.zip" -o "awscliv2.zip"
    unzip awscliv2.zip
sudo ./aws/install- set up authentication credentials for your AWS account (important)
aws configurethen edit
    [default]
    aws_access_key_id = YOUR_ACCESS_KEY
aws_secret_access_key = YOUR_SECRET_KEYClone the project first
git clone https://github.com/Hawila/MySQL-and-Python.gitwe have two installation process
- using bash script
- Manually
run this command to make bash exec
chmod u+x bash.shexecute the script
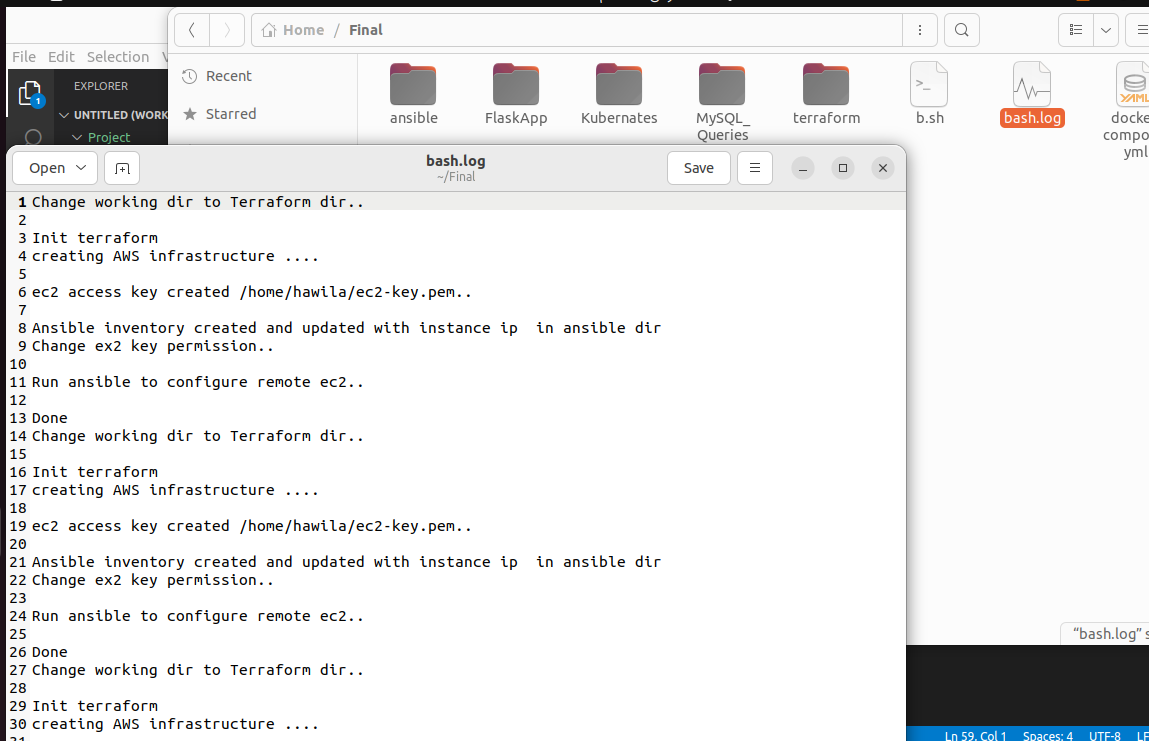
./bash.shscript will run everything in terraform and ansible to create the infrastructure and will create a log file in project dir consist of all steps done
Skip Manual installation
cd into terraform
cd terraform/run terraform init the terraform apply
    terraform init
    terraform apply
Through terraform apply process 2 local-execute occured into shell
- first local-exec create ec2-key.pem in Home Dir ~/ec2-key
- Second local-exec create inventory.txt in ansible dir

cd into ansible and change ec2-key permission for successful connection
    cd ../ansible
    chmod 400 ~/ec2-key.pem
next run ansible-playbook
ansible-playbook -i inventory.txt install-jenkins.yml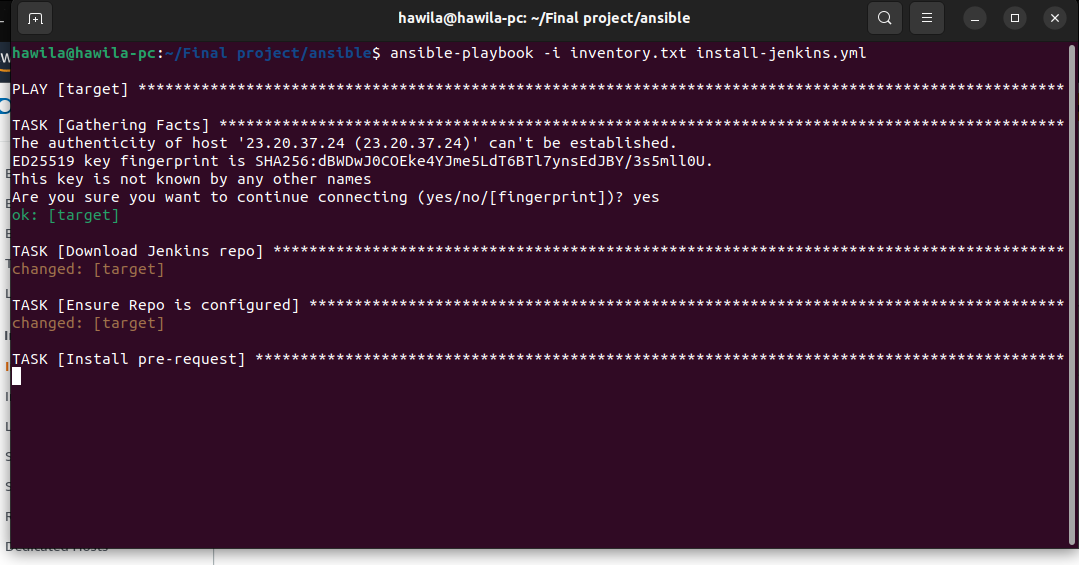
after complation of ansible script cd into home dir and connect to ec2 by ssh
    cd ~
    ssh -i ec2-key.pem ubuntu@<instance-ip-address>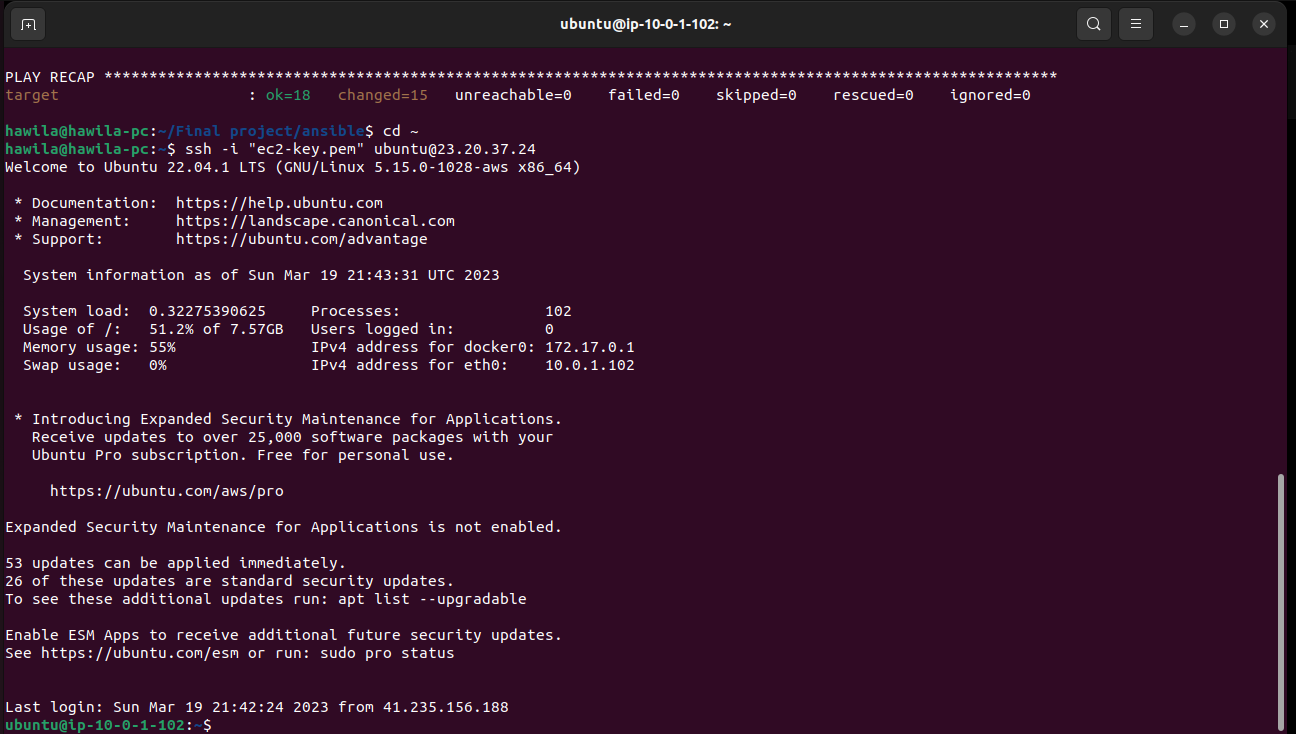
configure aws credintial first
aws configure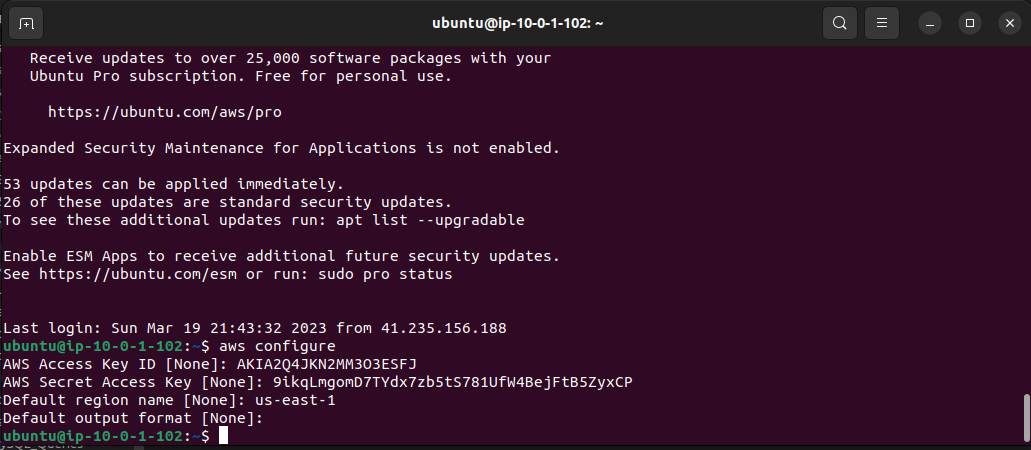 cat the following then copy the result
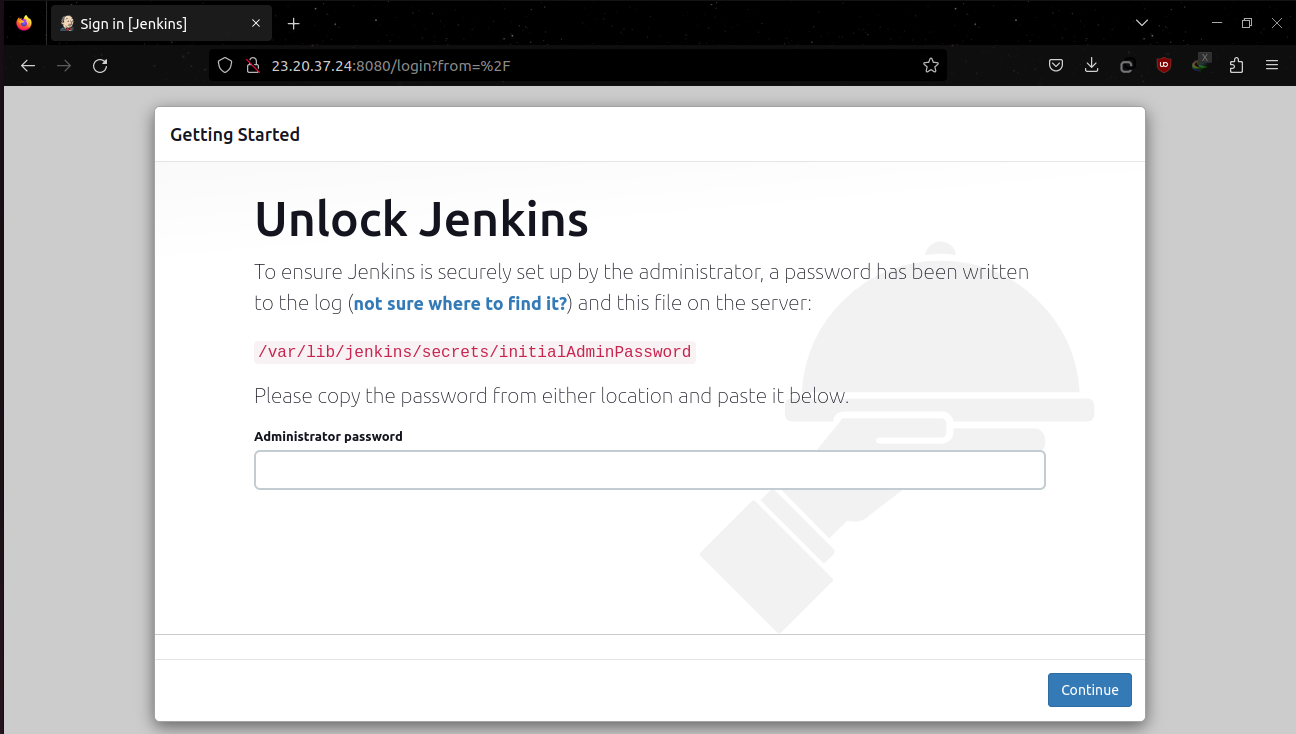
cat /var/lib/jenkins/secret/initialAdminPasswordnow open browser and navigate to this url ec2-instance-public-ip:8080
- paste the value here
-
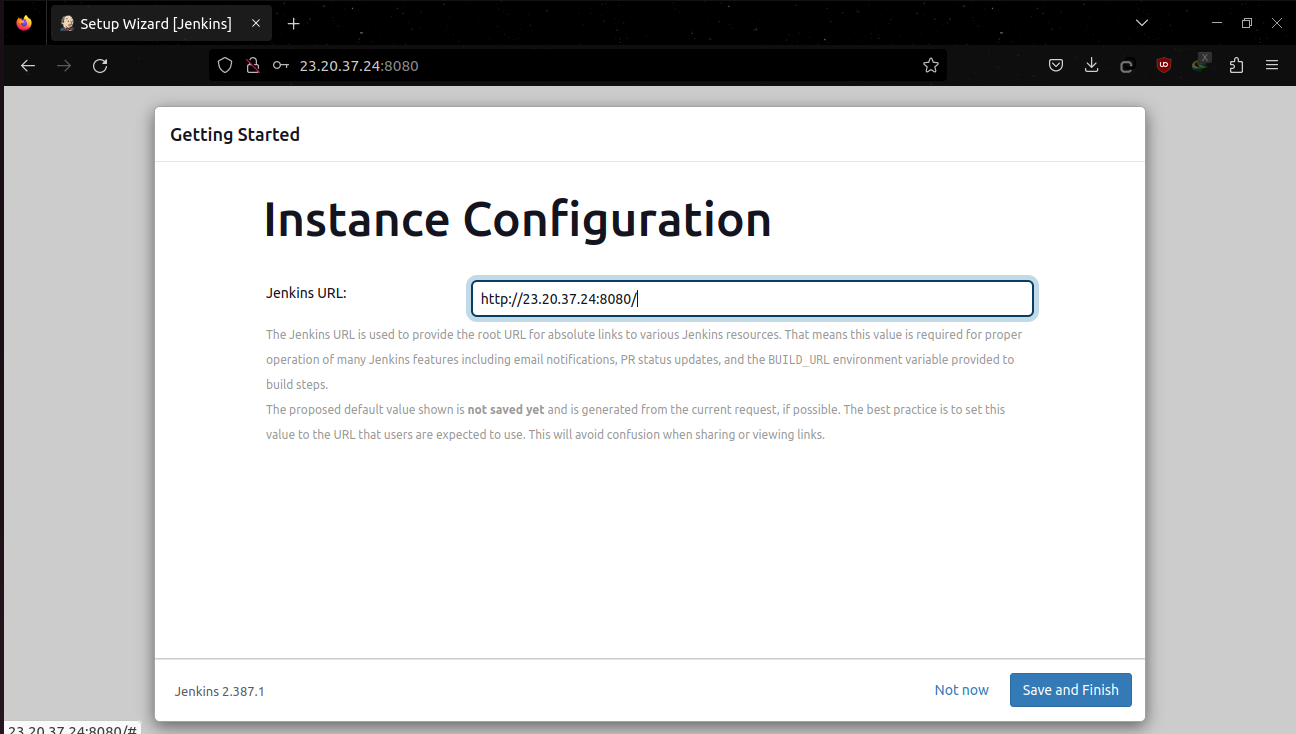
install suggested plugins

-
click save and finish (save this url for later we will use it in github webhook payload)
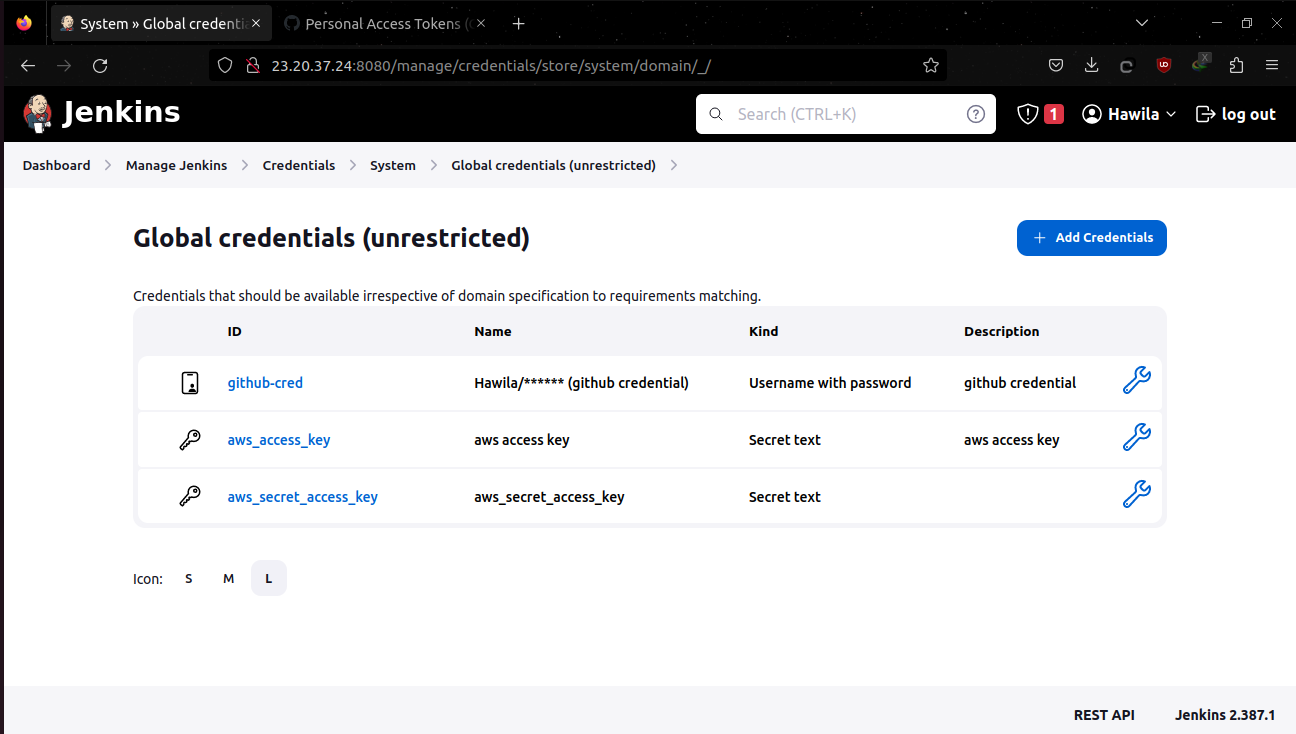
Next go to Manage jenkins Credintials and add the following
- github Credintial As username with password
- aws_access_key as secret text
- aws_secret_access_key as secret text
-
create new item
-
choose pipeline or multibranch pipeline
-
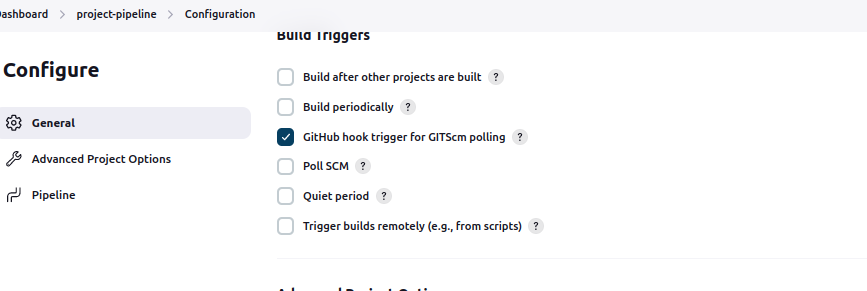
check github hook trigger in build triggers
-
choose pipeline from scm
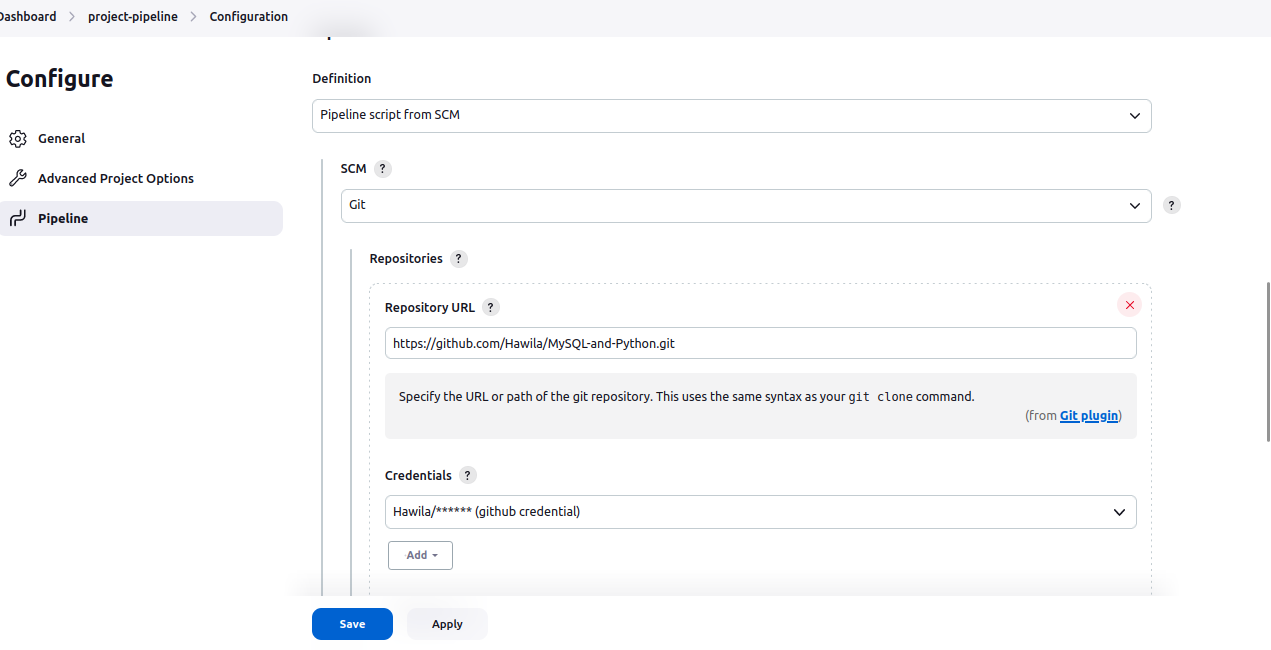
- in github repo go to repo setting click on webhook and configure as following

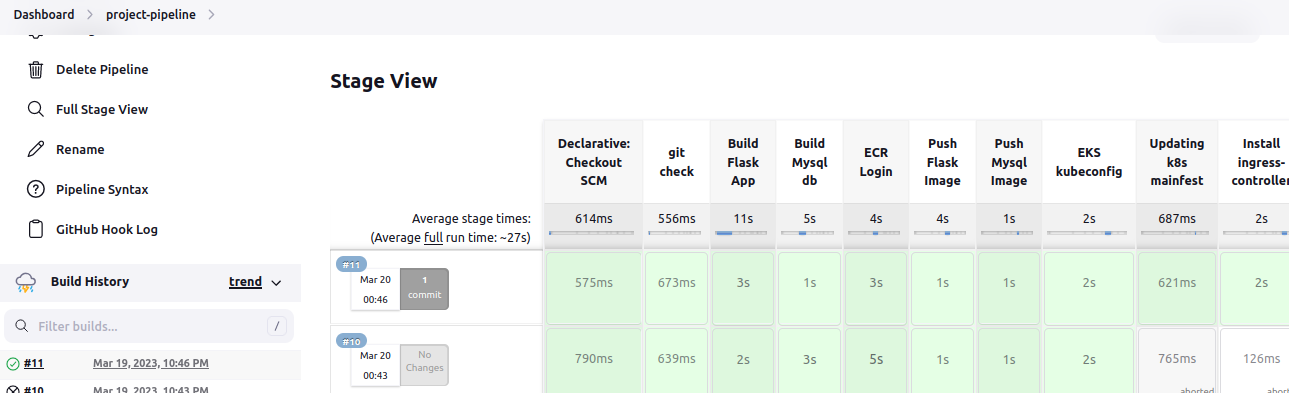
- clone repo
- build flask web image - mysql db image
- login to ecr and push the new flask and db images to ecr
- EKS kubeconfig
- update deployment and statefulset yaml file with the new built images
- install ingress controller
- deploy all kubernates filles
- (BONUS) Last stage getting ingress service controller description as json format and use a jq to extract value of LoadBalancer ingress url the applying sed command  in place to add http to url to make it hyperlink then cat the result to the console log
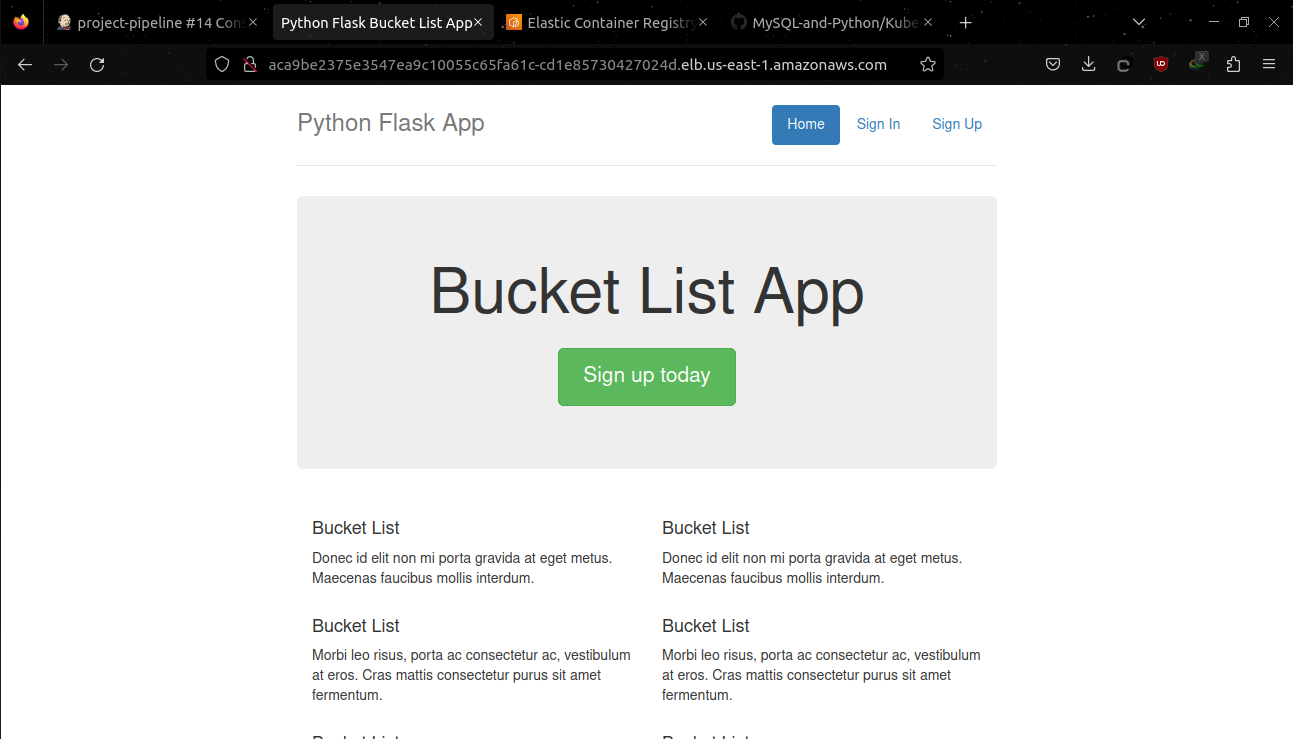
- pipeline will echo url of loadbalancer in logs

- open url in browser will navigate to flask web app frontend
-
click sign up (email must be like this format (anystring @ anystring.com)
-
now login with your credintials and add wish
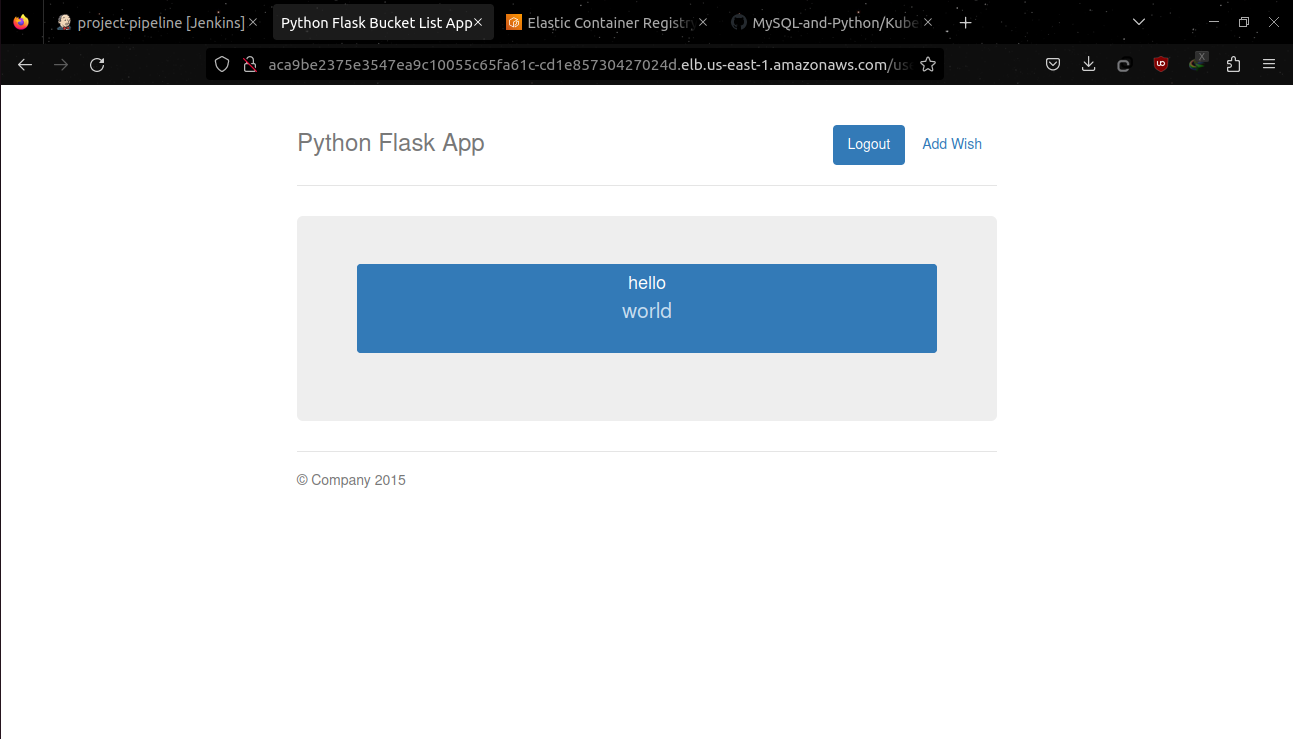
-
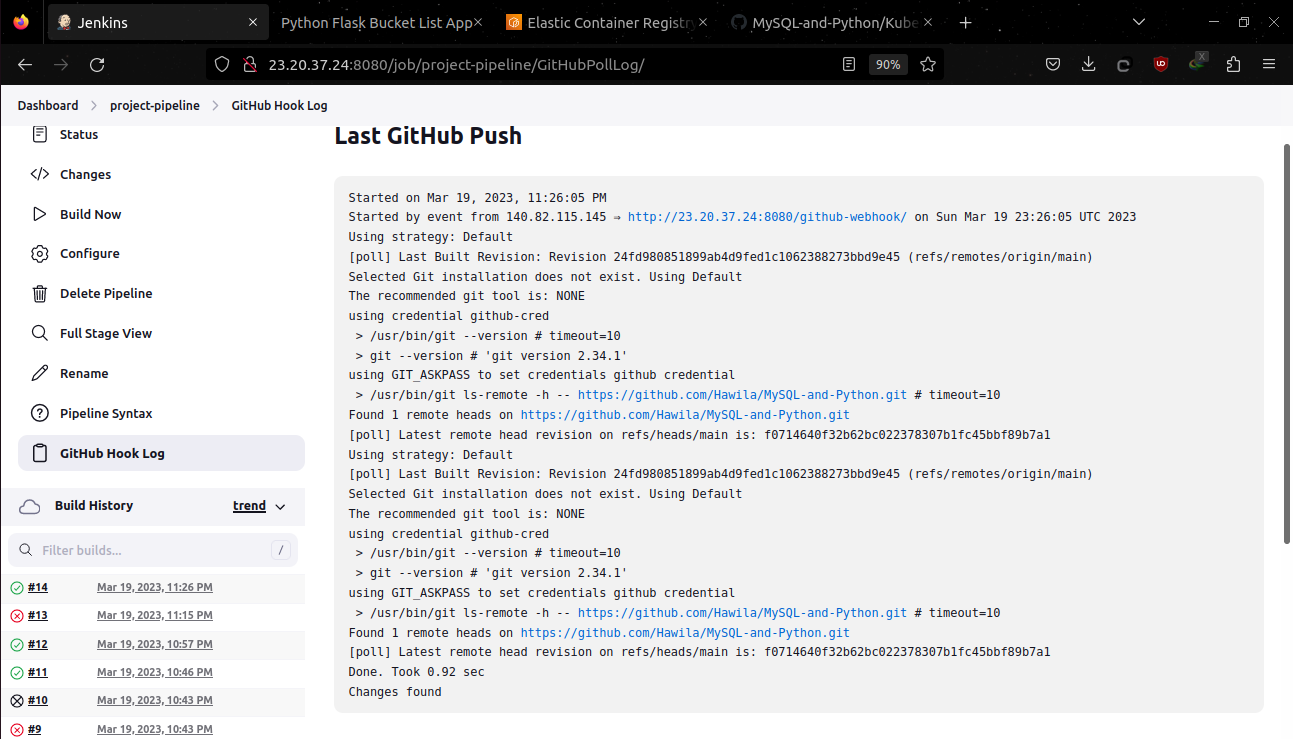
github hook log
-
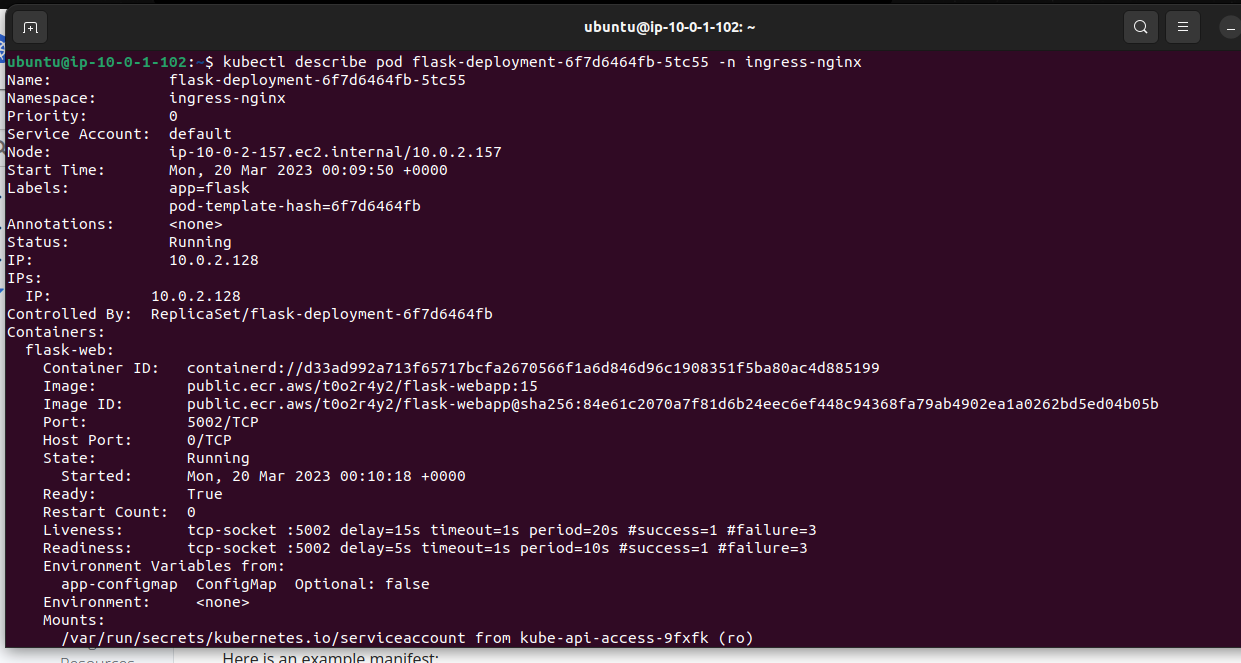
(BONUS)liveness and readiness using tcp socket configured in deployment.yml file