A project to teach basic html and css directly in browser.
You can see a live demo here: https://marmiz.github.io/code-tutorial/
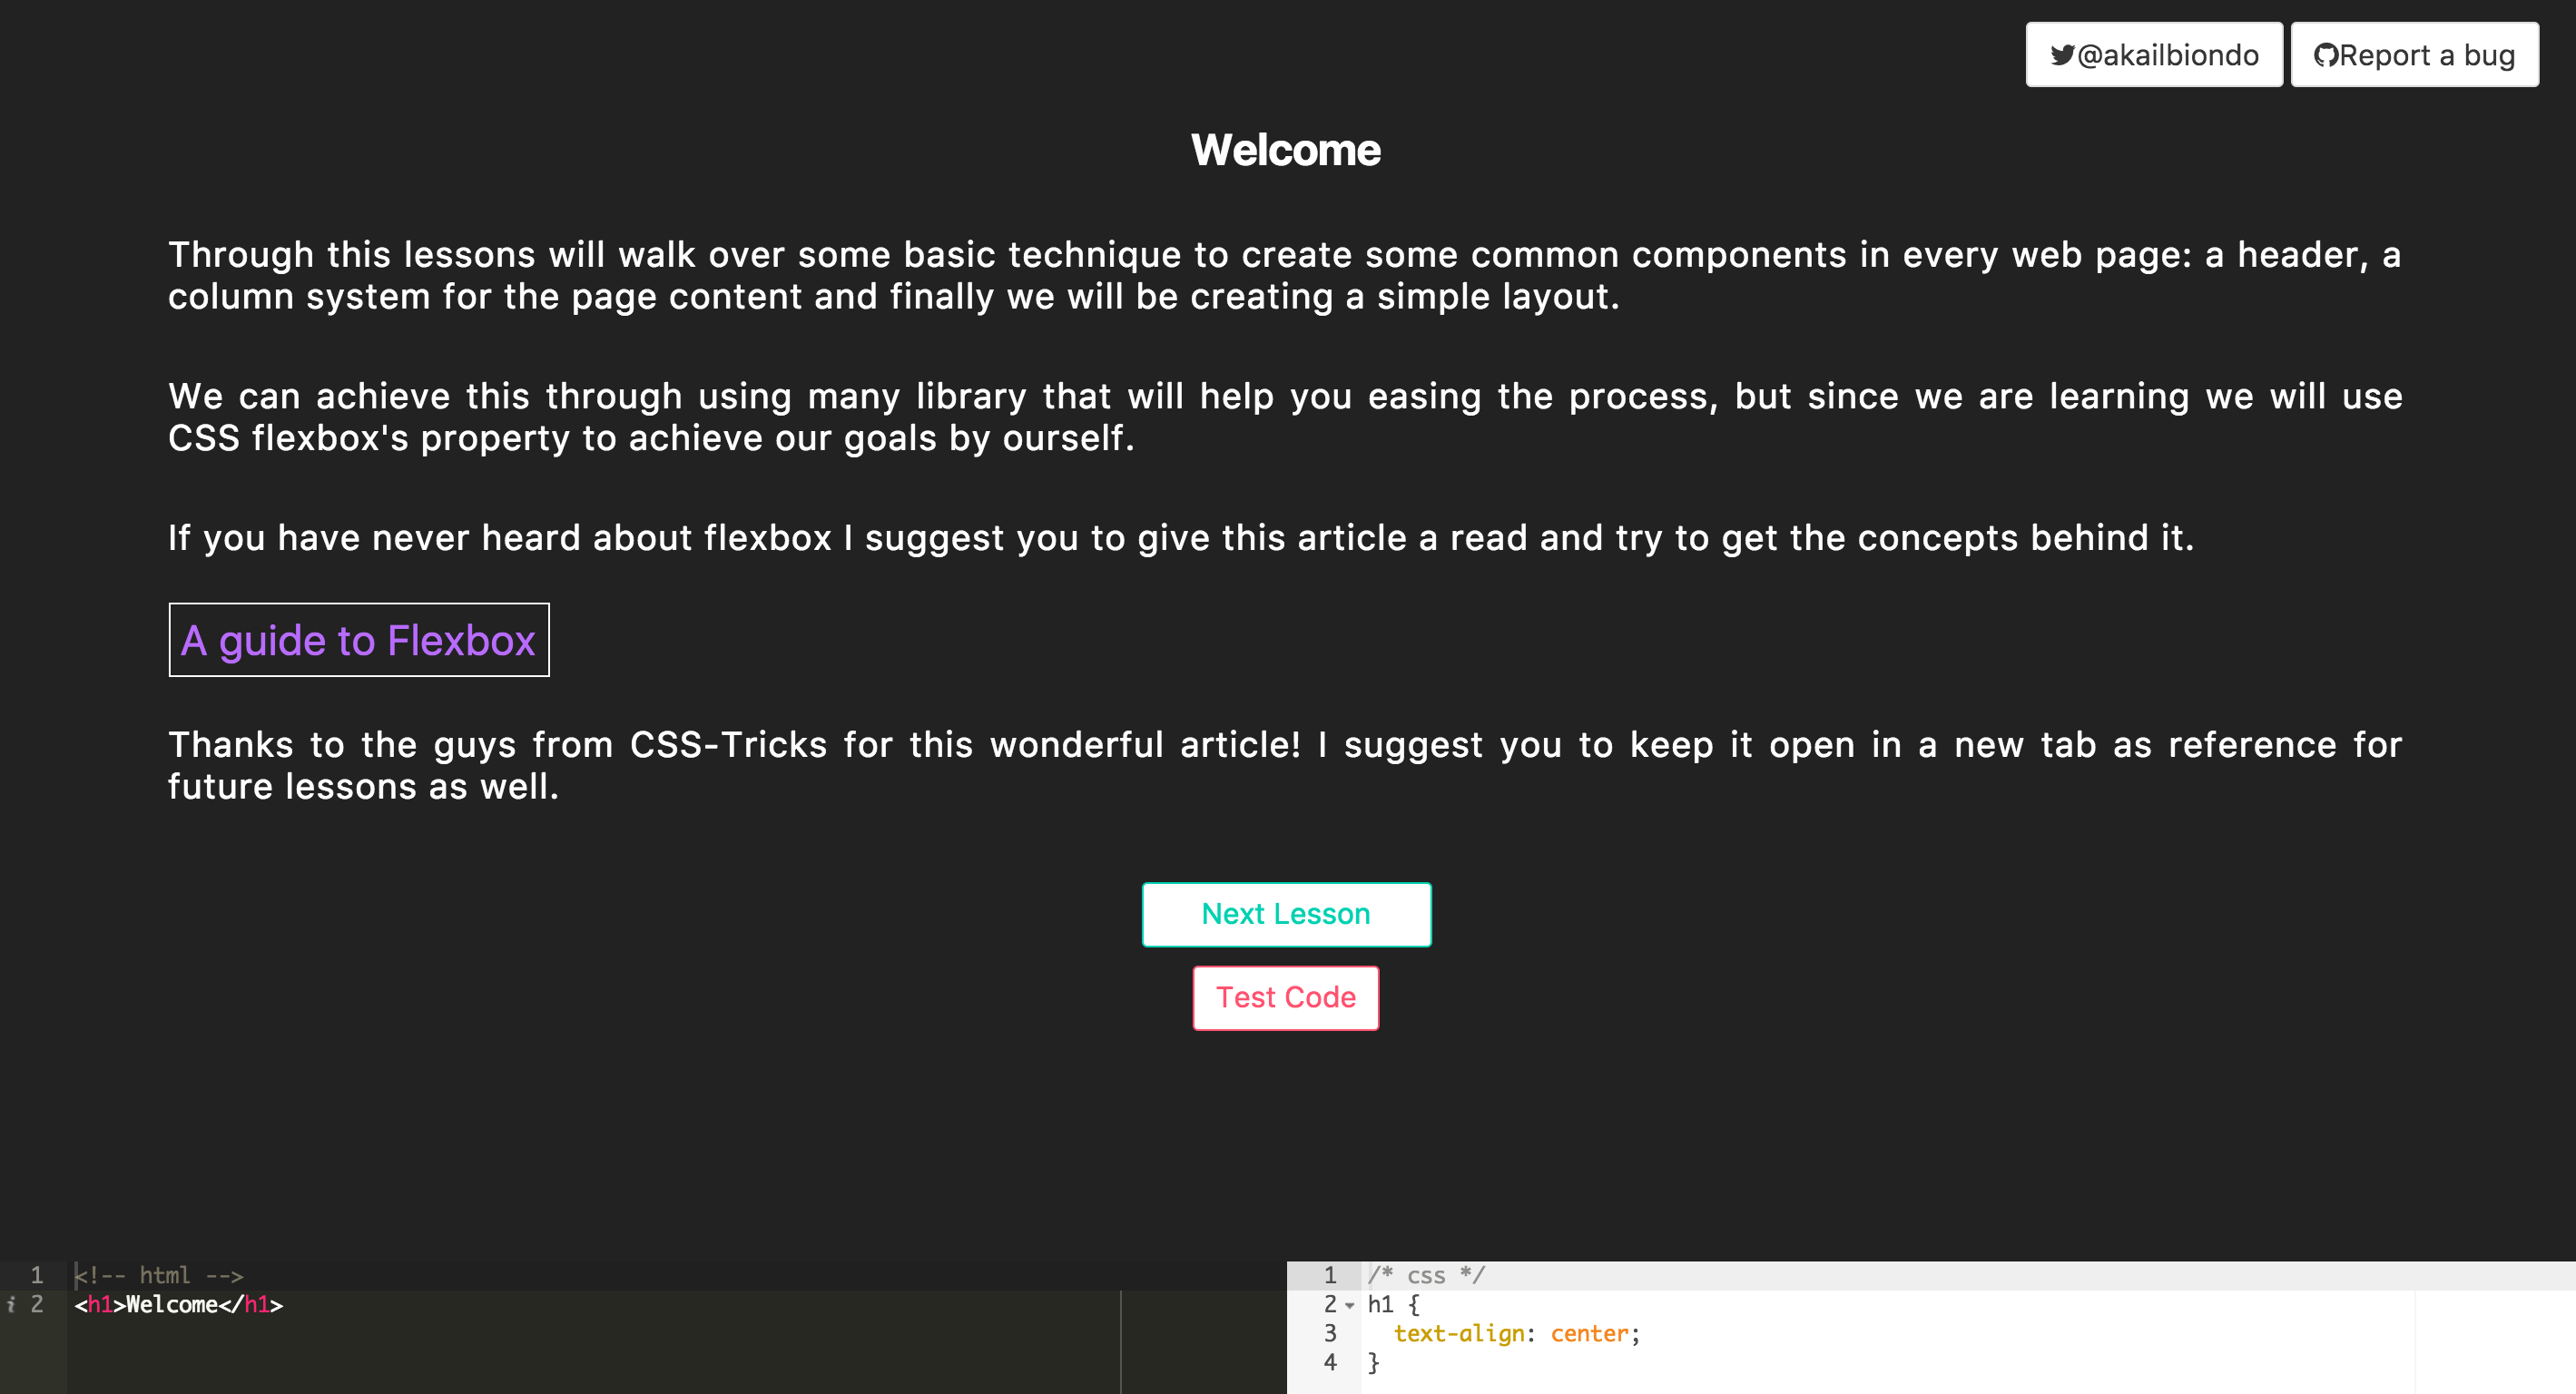
This is a step by step simple tutorial that aims to show a few basic concepts about creating your own html elements, focusing mainly on CSS's Flexbox and layout in general.
The goal here is not to make you a master, but provide you with easy step-by-step examples that, hopefully, should let you feel less frightened when you'll start with a text editor, a blank screen and a head full of ideas waiting to become alive.
Simply follow along the lessons and execute the test to be sure you are on track with the exercise requirements.
If you want to make your own challenges you are welcome to grab one of the templates branches and develop your ideas.
If you have found this tutorial useful, fun, or you have some feedback to share you can always reach me on twitter at @akailbiondo
lessThanThree
A slightly opinionated template using Redux and Chai for in browser testing.
Use this as a starting point to develop your own challenge if you like how I've designed the lessons and test.
So far it's a basic implementation of React-Redux.
It's mainly used to brig the lessons state across the app and use the two navigation buttons to fire INCREMENT and DECREMENT actions.
- LessonWrapper.js
This is the wrapper to import all the lesson and collect them inside a Data array to be passed and used from the app:
import * as Lesson_1 from './Lesson_1'

const Data = [
  {
    id: 1,
    title: Lesson_1.challengeTitle,
    description: Lesson_1.challengeDescription,
    seedHtml: Lesson_1.seedHtml,
    seedCss: Lesson_1.seedCss
  }
]

export default Data- Lesson_1
This is where we export the text to be displayed.
challengeTitle is the title that will be displayed
challengeDescription will be treated as markdown so you can use that syntax to write the challenges easier
seedHtml ans seedCss are the initial code to be displayed in their respective editor
export const challengeTitle = `Lesson 1`

export const challengeDescription = `This is some default description with some code formatted.

For example you can start by adding \`myClass\` to the header
\`\`\`html
<h1>The Result</h1>
\`\`\`
and see if the test passes. `

export const seedHtml=`<!-- html -->
<h1>The result</h1>`

export const seedCss=`/* css */
.myClass {
 text-align: center;
 color: red
}`- test-code.js
Pulls in the individual test lessons for each challenge, and execute the test thanks to the state lesson parameter passed from redux.
import testLesson1 from './Test_Lesson_1'

const testCode = (id) => {

  let message = ''

  switch(id) {
    case 1:
      message = testLesson1()
    break;
    default:
      message ='something went wrong'
  }

  return message
}


export default testCode- Test_Lesson_
Use Chai assertion library to test directly in the browser the correctness of the code by verifying that some elements are present in the result iframe and return a message that will be passed from test-code to the application to be displayed.
import chai, {expect} from 'chai'
chai.use(require('chai-dom'))

const testLesson1 = () => {
  // select the iframe content
  let iframe = document.getElementById('if')
  let content = iframe.contentDocument || iframe.contentWindow.document
  let body = content.getElementsByTagName('body')[0]

  // message to return --> success by default unless will be overwritten by an error
  let message = 'All tests passed'

  // actual test
  try {
    expect(body.querySelector('h1')).to.have.class('myClass')
  }
  catch (err) {
    return message = `Your html should have an h1 with class 'myClass'`
  }
  return message
}

export default testLesson1
This project was bootstrapped with Create React App.
Below you will find some information on how to perform common tasks.
You can find the most recent version of this guide here.
In the project directory, you can run:
Runs the app in the development mode.
Open http://localhost:3000 to view it in the browser.
The page will reload if you make edits.
You will also see any lint errors in the console.
Launches the test runner in the interactive watch mode.
See the section about running tests for more information.
Builds the app for production to the build folder.
It correctly bundles React in production mode and optimizes the build for the best performance.
The build is minified and the filenames include the hashes.
Your app is ready to be deployed!
Note: this is a one-way operation. Once you eject, you can’t go back!
If you aren’t satisfied with the build tool and configuration choices, you can eject at any time. This command will remove the single build dependency from your project.
Instead, it will copy all the configuration files and the transitive dependencies (Webpack, Babel, ESLint, etc) right into your project so you have full control over them. All of the commands except eject will still work, but they will point to the copied scripts so you can tweak them. At this point you’re on your own.
You don’t have to ever use eject. The curated feature set is suitable for small and middle deployments, and you shouldn’t feel obligated to use this feature. However we understand that this tool wouldn’t be useful if you couldn’t customize it when you are ready for it.