Using Myra in Stride Engine Tutorial
-
Start Stride Game Studio.
-
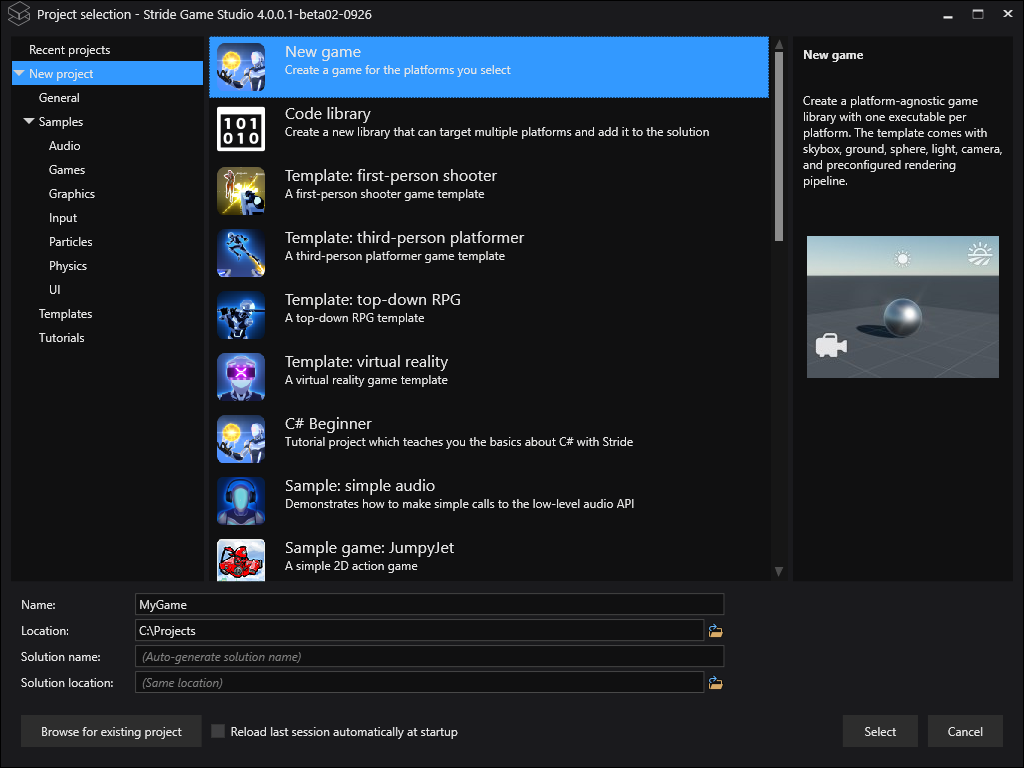
Create new Stride Engine project and save it.
-
Open the new solution in the Visual Studio.

-
Add latest Myra.Stride package reference from nuget:

-
Create new code file MyraRenderer.cs in the MyGame's root folder with following contents:
using Stride.Rendering;
using Stride.Graphics;
using Stride.Engine;
using Stride.Rendering.Compositing;
using Stride.Games;
using Stride.Core;
using Stride.Core.Mathematics;
using RenderContext = Stride.Rendering.RenderContext;

using Myra;
using Myra.Graphics2D.UI;

namespace MyGame
{
    public class MyraRenderer : SceneRendererBase, IIdentifiable
    {
        private Desktop _desktop;

        // Declared public member fields and properties will show in the game studio
        protected override void InitializeCore()
        {
            base.InitializeCore();
            // Initialization of the script.
            MyraEnvironment.Game = (Game)this.Services.GetService<IGame>();

            var grid = new Grid
            {
              RowSpacing = 8,
              ColumnSpacing = 8
            };

            grid.ColumnsProportions.Add(new Proportion(ProportionType.Auto));
            grid.ColumnsProportions.Add(new Proportion(ProportionType.Auto));
            grid.RowsProportions.Add(new Proportion(ProportionType.Auto));
            grid.RowsProportions.Add(new Proportion(ProportionType.Auto));

            var helloWorld = new Label
            {
              Id = "label",
              Text = "Hello, World!"
            };
            grid.Widgets.Add(helloWorld);

            // ComboBox
            var combo = new ComboBox();
            Grid.SetColumn(combo, 1);

            combo.Items.Add(new ListItem("Red", Color.Red));
            combo.Items.Add(new ListItem("Green", Color.Green));
            combo.Items.Add(new ListItem("Blue", Color.Blue));
            grid.Widgets.Add(combo);

            // Button
            var button = new Button
            {
                Content = new Label
                {
                    Text = "Show"
                }
            };
            Grid.SetRow(button, 1);

            button.Click += (s, a) =>
            {
              var messageBox = Dialog.CreateMessageBox("Message", "Some message!");
              messageBox.ShowModal(_desktop);
            };

            grid.Widgets.Add(button);

            // Spin button
            var spinButton = new SpinButton
            {
              Width = 100,
              Nullable = true
            };
            Grid.SetColumn(spinButton, 1);
            Grid.SetRow(spinButton, 1);
            grid.Widgets.Add(spinButton);

            // Add it to the desktop
            _desktop = new Desktop
            {
                Root = grid
            };
        }

        protected override void DrawCore(RenderContext context, RenderDrawContext drawContext)
        {
            // Clear depth buffer
            drawContext.CommandList.Clear(GraphicsDevice.Presenter.DepthStencilBuffer, DepthStencilClearOptions.DepthBuffer);

            // Render UI
            _desktop.Render();
        }
    }
}
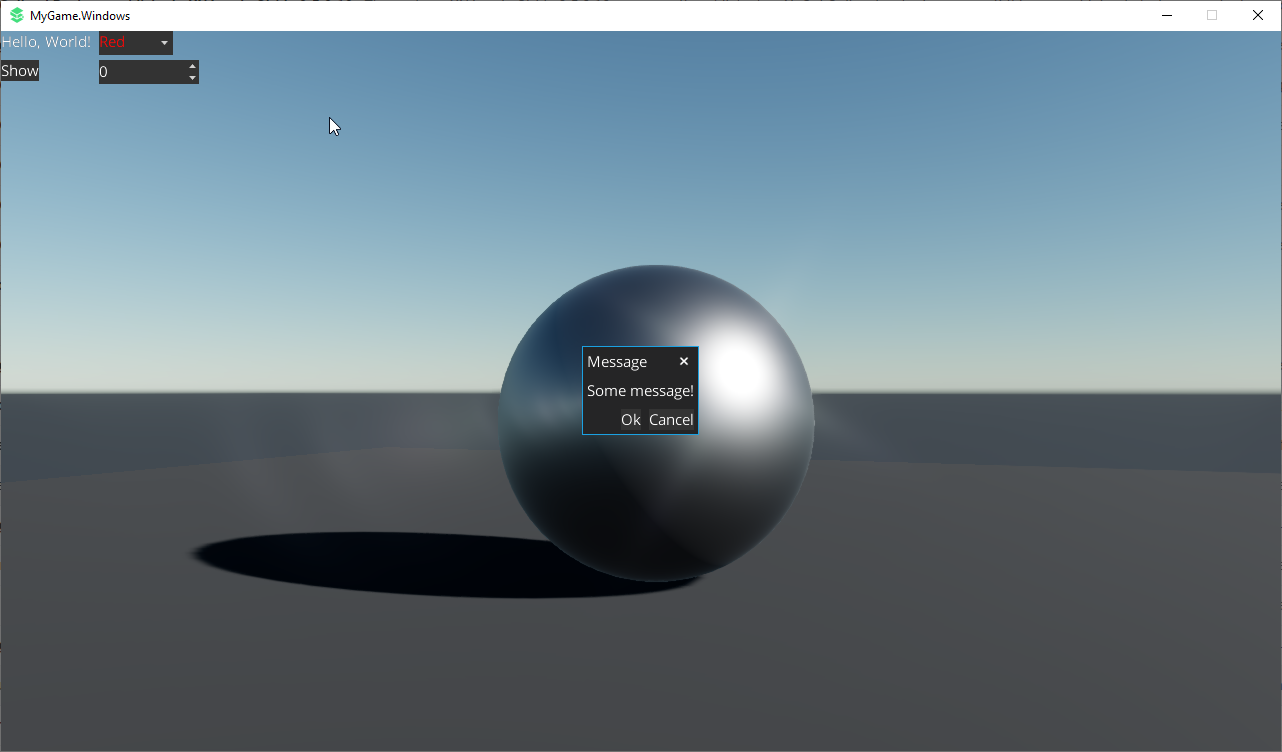
It would initialize Myra and create basic 2x2 grid with some widgets.
-
Save the solution(Ctrl+Shift+S).
-
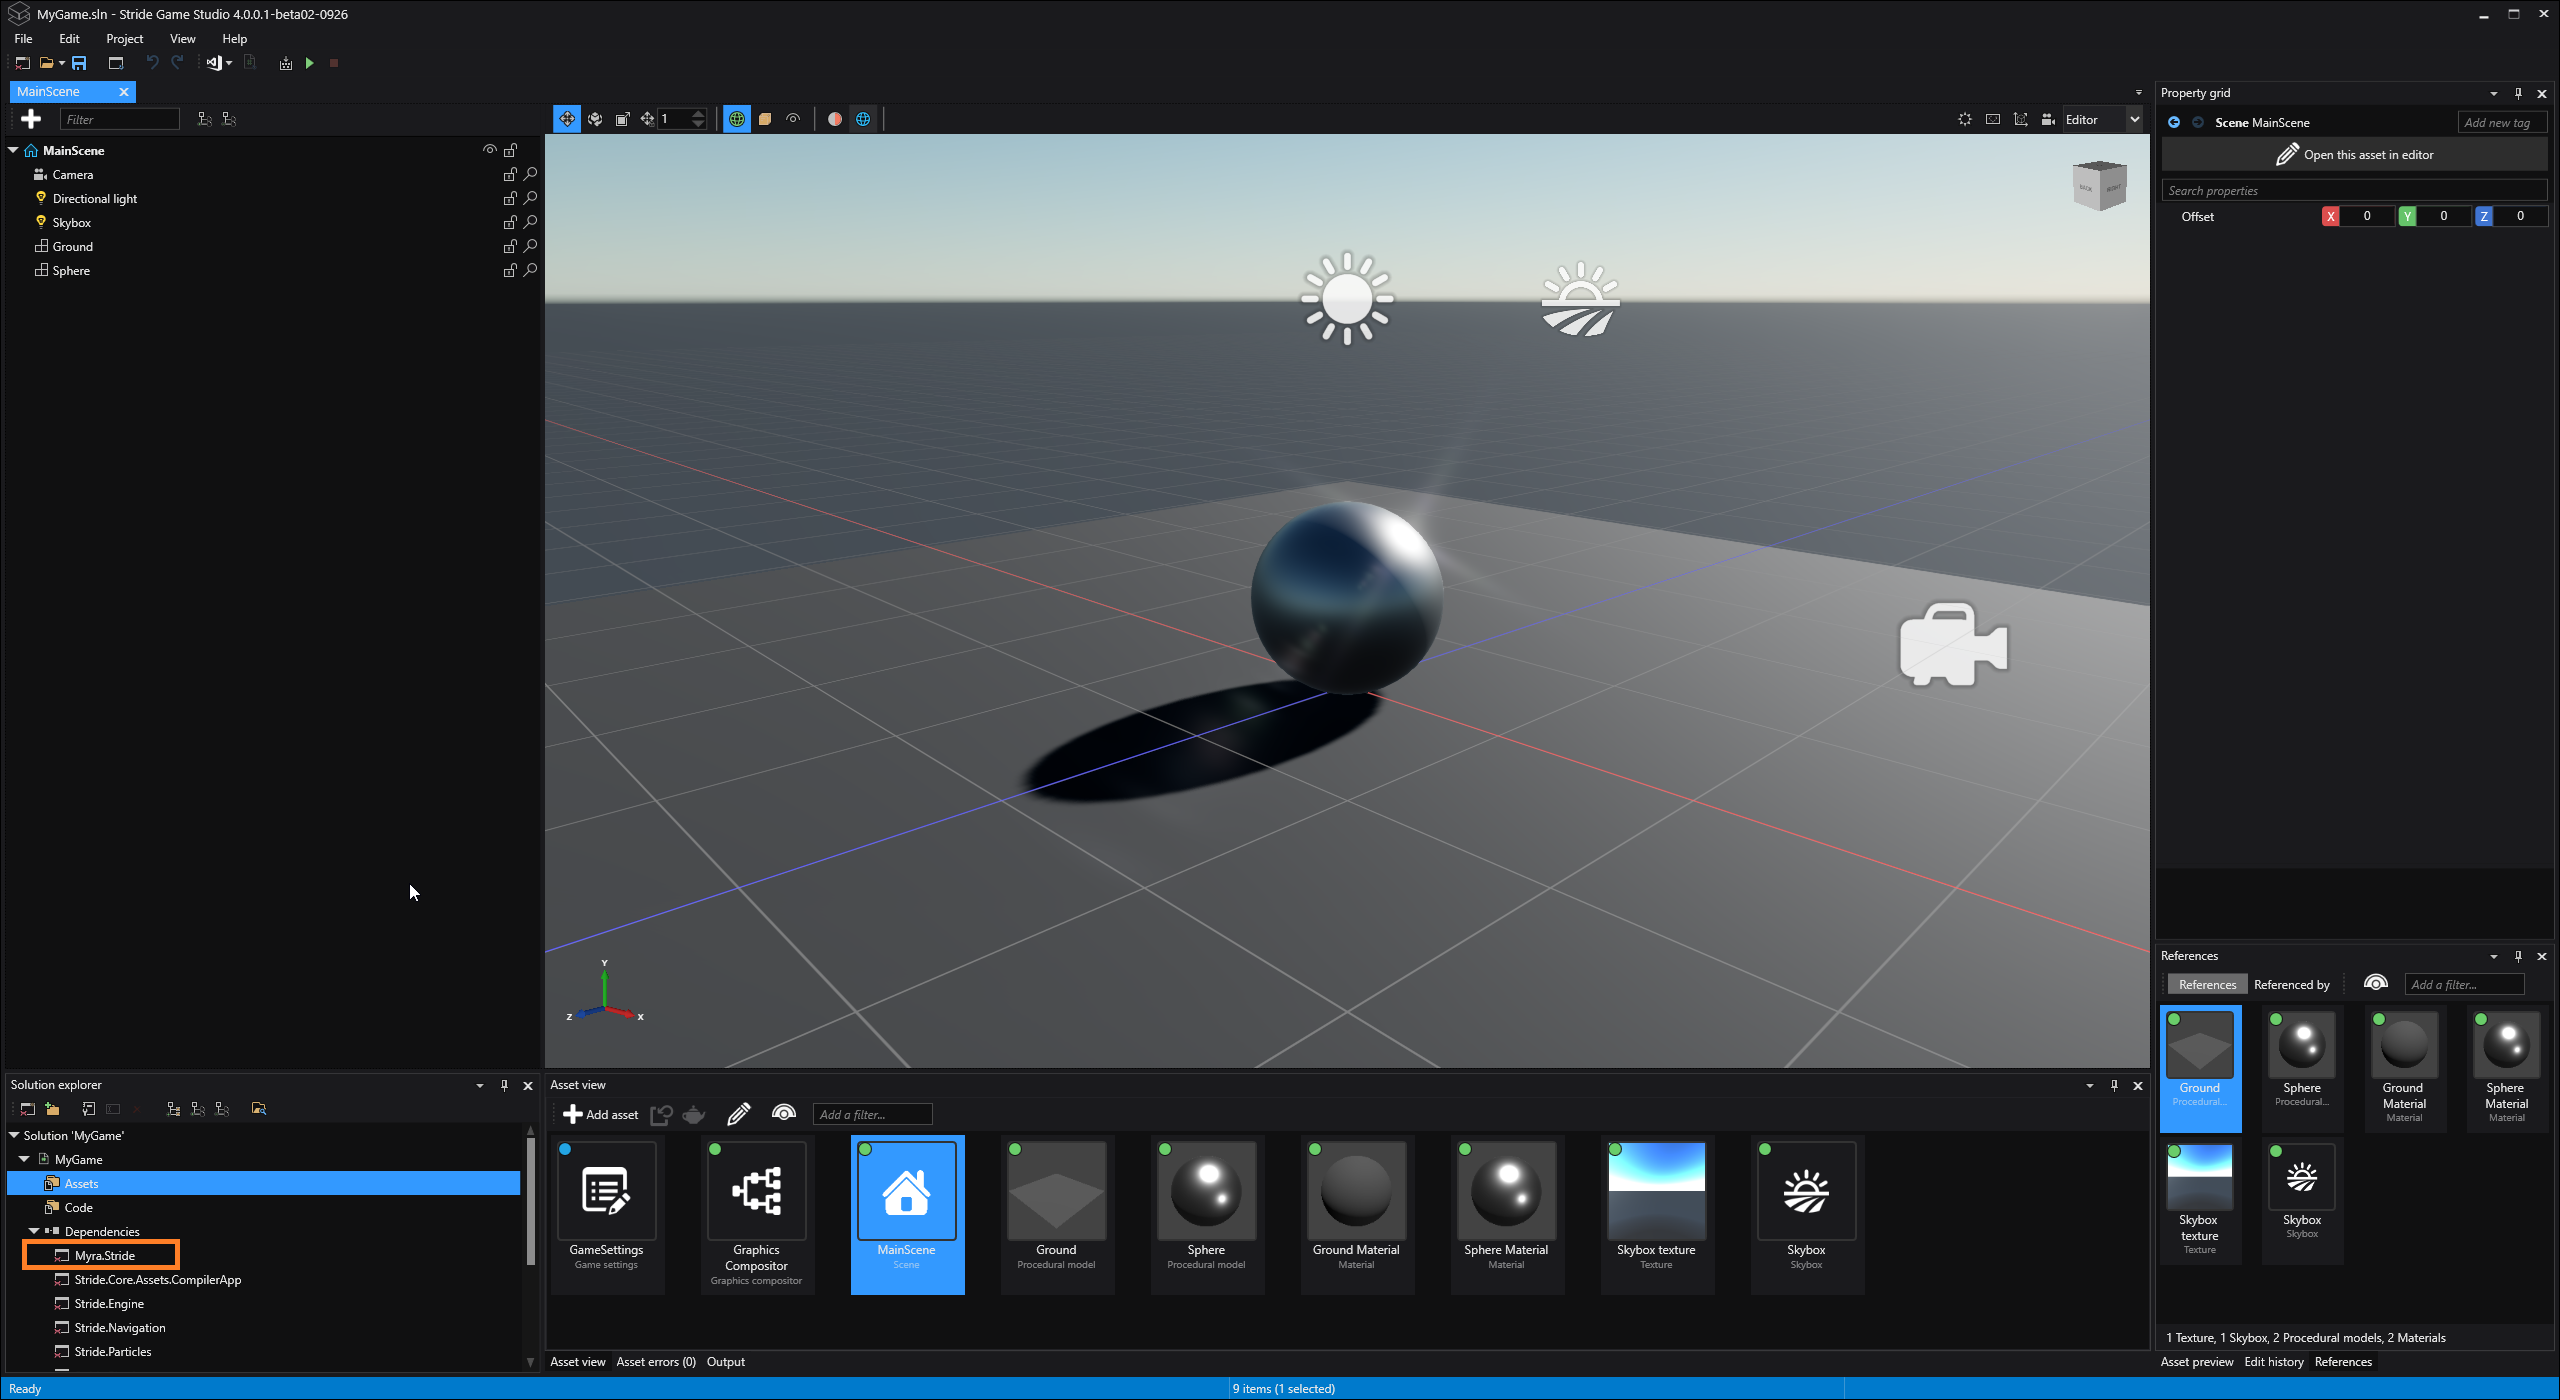
Now return to the Stride Game Studio. Reload the project and make sure the Myra dependency is there:
-
Add new Startup Script and call it MyraStartup:

- Paste following code to the new script:
using Stride.Engine;
using Stride.Rendering.Compositing;
using Stride.Games;

namespace MyGame
{
	public class MyraStartup : StartupScript
	{
		/// <summary>
		/// This method code had been borrowed from here: https://github.com/stride3d/stride-community-toolkit
		/// Adds a new scene renderer to the given GraphicsCompositor's game. If the game is already a collection of scene renderers,
		/// the new scene renderer is added to that collection. Otherwise, a new scene renderer collection is created to house both
		/// the existing game and the new scene renderer.
		/// </summary>
		/// <param name="graphicsCompositor">The GraphicsCompositor to which the scene renderer will be added.</param>
		/// <param name="sceneRenderer">The new <see cref="SceneRendererBase"/> instance that will be added to the GraphicsCompositor's game.</param>
		/// <remarks>
		/// This method will either add the scene renderer to an existing SceneRendererCollection or create a new one to house both
		/// the existing game and the new scene renderer. In either case, the GraphicsCompositor's game will end up with the new scene renderer added.
		/// </remarks>
		/// <returns>Returns the modified GraphicsCompositor instance, allowing for method chaining.</returns>
		private static GraphicsCompositor AddSceneRenderer(GraphicsCompositor graphicsCompositor, SceneRendererBase sceneRenderer)
		{
			if (graphicsCompositor.Game is SceneRendererCollection sceneRendererCollection)
			{
				sceneRendererCollection.Children.Add(sceneRenderer);
			}
			else
			{
				var newSceneRendererCollection = new SceneRendererCollection();

				newSceneRendererCollection.Children.Add(graphicsCompositor.Game);
				newSceneRendererCollection.Children.Add(sceneRenderer);

				graphicsCompositor.Game = newSceneRendererCollection;
			}

			return graphicsCompositor;
		}

		public override void Start()
		{
			// Initialization of the script.
			var game = (Game)Services.GetService<IGame>();

			AddSceneRenderer(game.SceneSystem.GraphicsCompositor, new MyraRenderer());
		}
	}
}
It would add the MyraRenderer to the Game's GraphicsCompositor
-
Drag the new script to the MainScene root:

-
Run the project.
-
Myra UI should appear on top of the scene:
Full Sample Source Code: MyGame.zip