🧪 An open-source, up-to-date toolkit for building decentralized applications (dapps) on the Ethereum blockchain. It's designed to make it easier for developers to create and deploy smart contracts and build user interfaces that interact with those contracts.
⚙️ Built using NextJS, RainbowKit, Hardhat, Wagmi, Viem, and Typescript.
- ✅ Contract Hot Reload: Your frontend auto-adapts to your smart contract as you edit it.
- 🪝 Custom hooks: Collection of React hooks wrapper around wagmi to simplify interactions with smart contracts with typescript autocompletion.
- 🧱 Components: Collection of common web3 components to quickly build your frontend.
- 🔥 Burner Wallet & Local Faucet: Quickly test your application with a burner wallet and local faucet.
- 🔐 Integration with Wallet Providers: Connect to different wallet providers and interact with the Ethereum network.

Before you begin, you need to install the following tools:
- Node (>= v20.18.3)
- Yarn (v1 or v2+)
- Git
To get started with Scaffold-ETH 2, follow the steps below:
- Install dependencies if it was skipped in CLI:
cd my-dapp-example
yarn install
- Run a local network in the first terminal:
yarn chain
This command starts a local Ethereum network using Hardhat. The network runs on your local machine and can be used for testing and development. You can customize the network configuration in packages/hardhat/hardhat.config.ts.
- On a second terminal, deploy the test contract:
yarn deploy
This command deploys a test smart contract to the local network. The contract is located in packages/hardhat/contracts and can be modified to suit your needs. The yarn deploy command uses the deploy script located in packages/hardhat/deploy to deploy the contract to the network. You can also customize the deploy script.
- On a third terminal, start your NextJS app:
yarn start
Visit your app on: http://localhost:3000. You can interact with your smart contract using the Debug Contracts page. You can tweak the app config in packages/nextjs/scaffold.config.ts.
Run smart contract test with yarn hardhat:test
- Edit your smart contracts in
packages/hardhat/contracts - Edit your frontend homepage at
packages/nextjs/app/page.tsx. For guidance on routing and configuring pages/layouts checkout the Next.js documentation. - Edit your deployment scripts in
packages/hardhat/deploy
Miniapp extension adds functionality to easily create a Farcaster/Base MiniApp. It will take care of manifest file generation at .well-known/farcatser.json as well as generation of the metatags required for miniapp rendering in Farcaster/Base feed.
According to MiniApp SDK documentation:
- Node.js 22.11.0 or higher (LTS version recommended)
- Check your version:
node --version - Download from nodejs.org
- Copy packages/nextjs/.env.example to packages/nextjs/.env
- Run ngrok (or other) externally available tunnel
ngrok http http://localhost:3000 --url https://yoursubdomian.ngrok.dev- Update
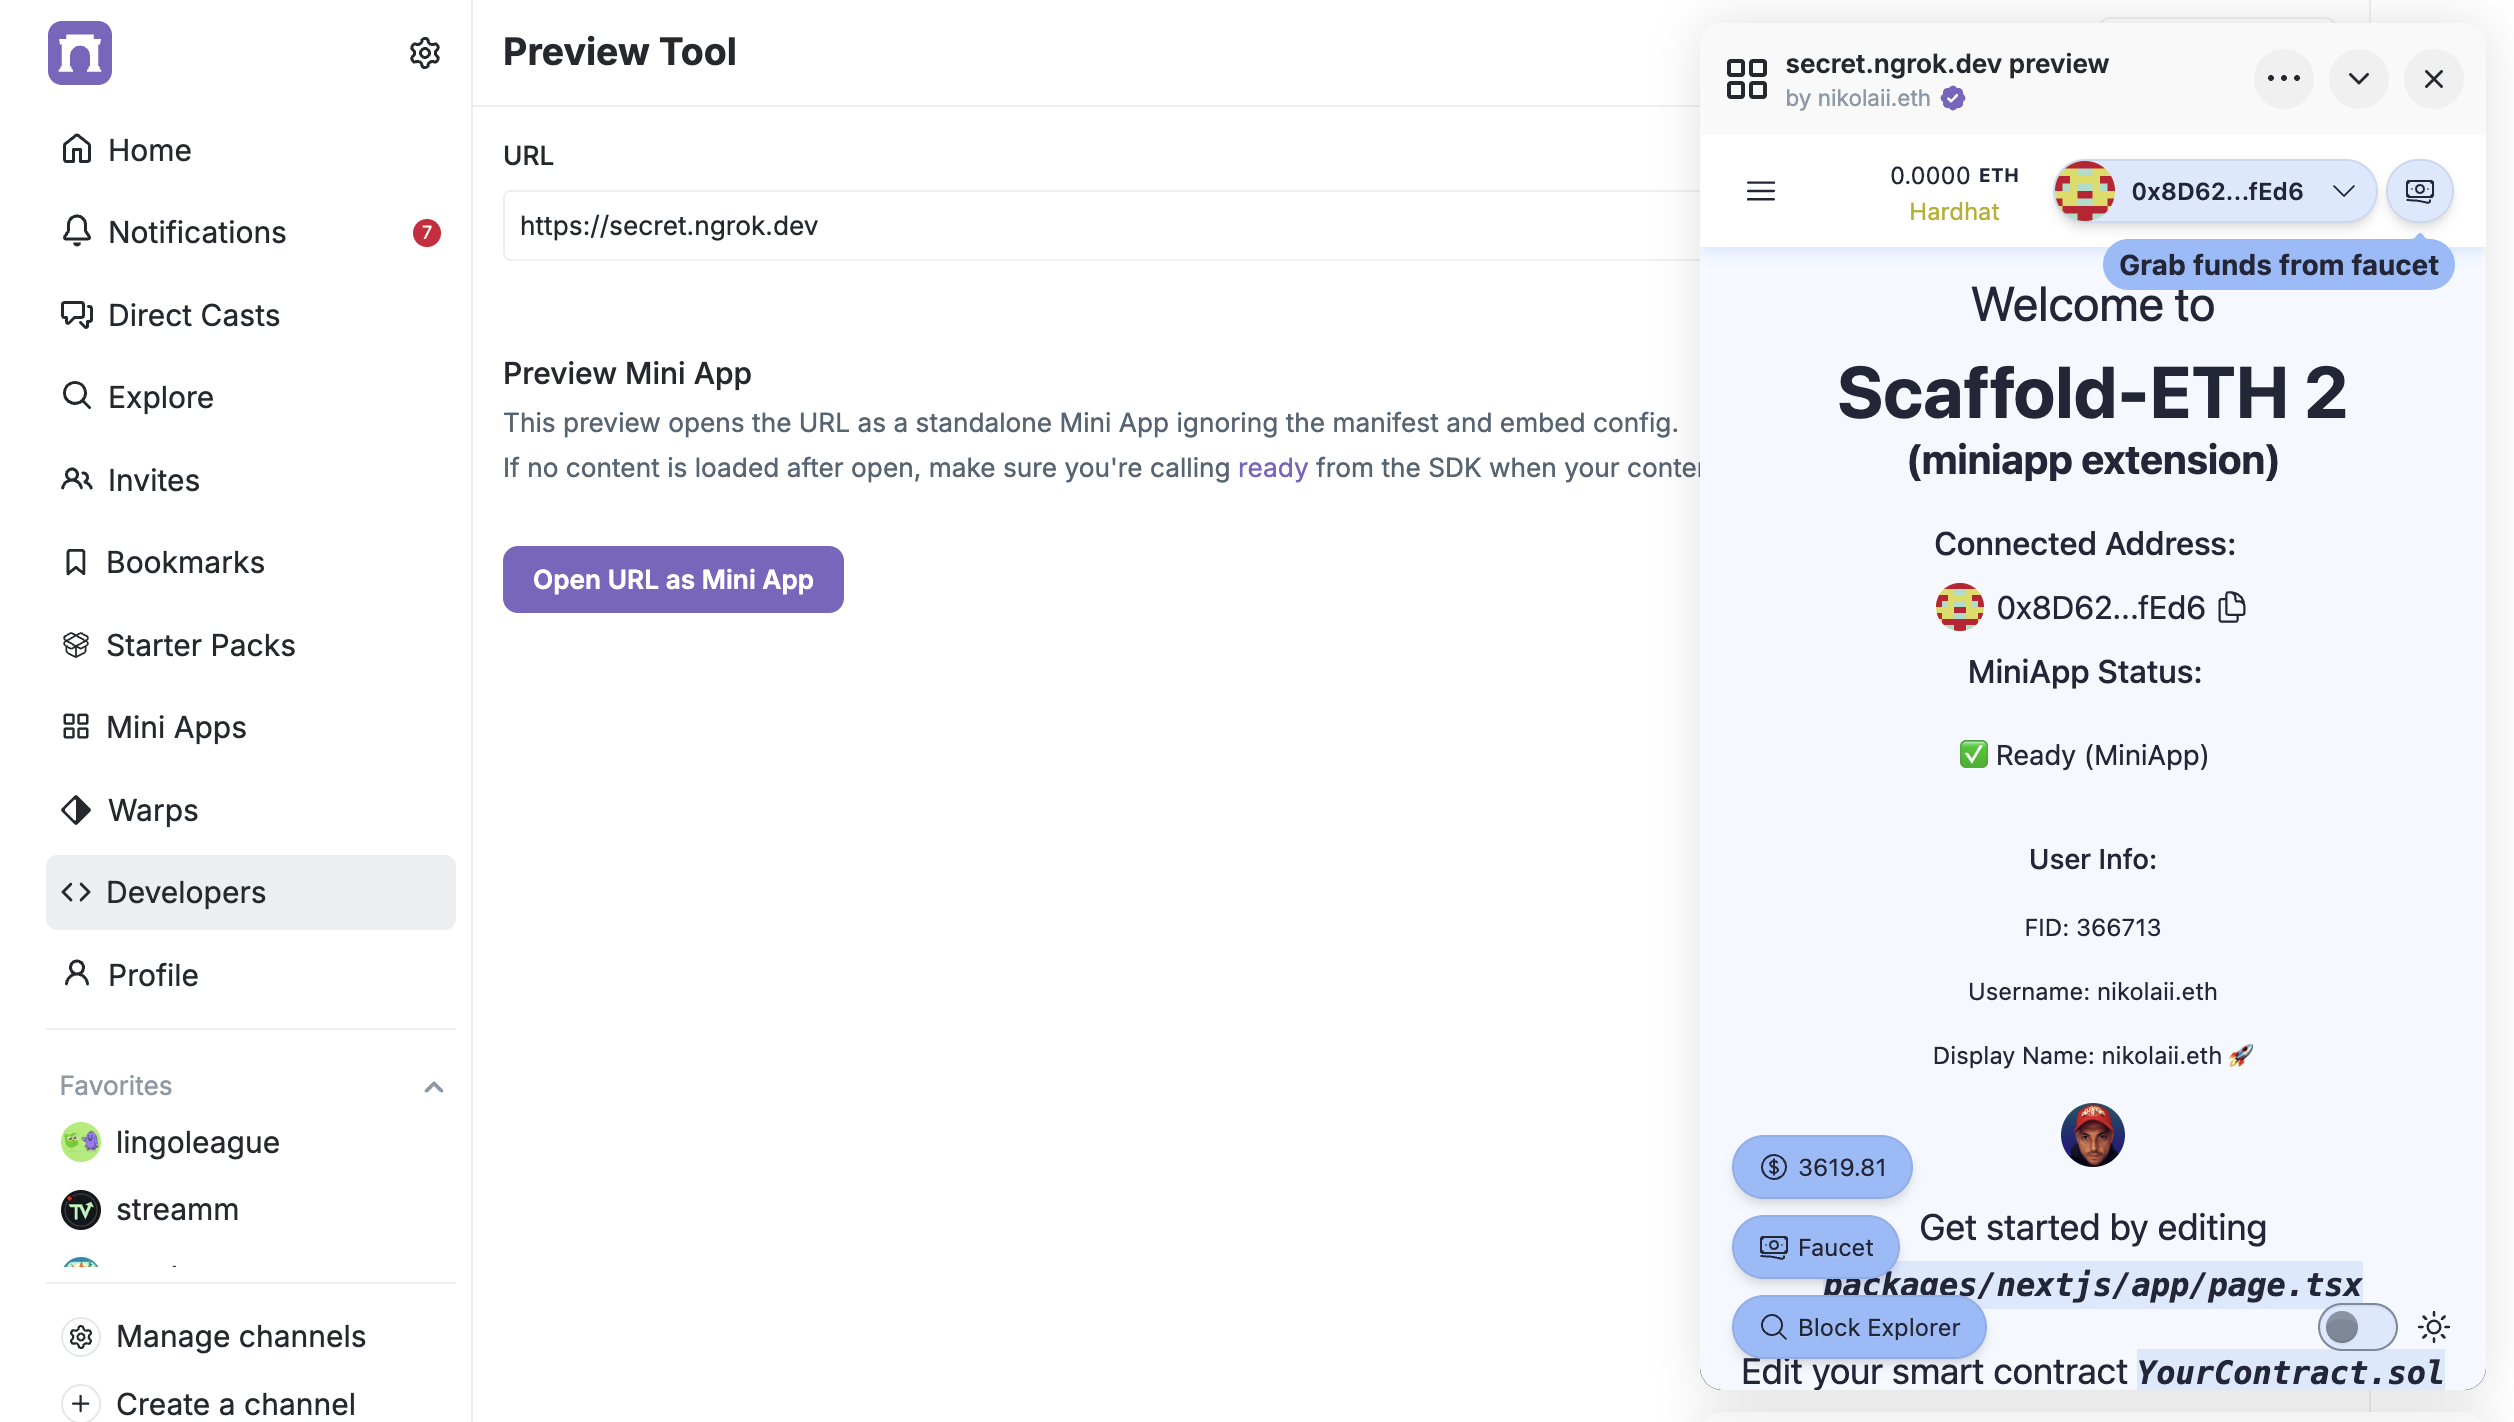
NEXT_PUBLIC_URLin packages/nextjs/.env for your domain - Go to https://farcaster.xyz/~/developers/mini-apps/preview , enter your app domain and click "Open URL as Mini App"
Your miniapp should render as a MiniApp in Farcaster Preview
For production you will need to generate the manifest accountAssociation values for your production domain and add them to the .env file (FARCASTER_HEADER, FARCASTER_PAYLOAD, FARCASTER_SIGNATURE). You can generate them using Farcaster Manifest Tools.
This extension also allows to use Ponder (https://ponder.sh/) for event indexing on an SE-2 dapp.
Ponder is an open-source framework for blockchain application backends. With Ponder, you can rapidly build & deploy an API that serves custom data from smart contracts on any EVM blockchain.
Ponder config (packages/ponder/ponder.config.ts) is set automatically from the deployed contracts and using the first blockchain network setup at packages/nextjs/scaffold.config.ts.
You can define your Ponder data schema on the file at packages/ponder/ponder.schema.ts following the Ponder documentation (https://ponder.sh/docs/schema).
You can index events by adding files to packages/ponder/src/ (https://ponder.sh/docs/indexing/write-to-the-database)
Run yarn ponder:dev to start the Ponder development server, for indexing and serving the GraphQL API endpoint at http://localhost:42069
With the dev server running, open http://localhost:42069 in your browser to use the GraphiQL interface. GraphiQL is a useful tool for exploring your schema and testing queries during development. (https://ponder.sh/docs/query/graphql)
You can query data on a page using @tanstack/react-query. Check the code at packages/nextjs/app/greetings/page.ts to get the greetings updates data and show it.
To deploy the Ponder indexer please refer to the Ponder Deploy documentation https://ponder.sh/docs/production/deploy
At Settings -> Deploy -> you must set Custom Start Command to yarn ponder:start.
And then you have to set up the NEXT_PUBLIC_PONDER_URL env variable on your SE-2 dapp to use the deployed ponder indexer.
Visit our docs to learn how to start building with Scaffold-ETH 2.
To know more about its features, check out our website.
We welcome contributions to Scaffold-ETH 2!
Please see CONTRIBUTING.MD for more information and guidelines for contributing to Scaffold-ETH 2.