Events Only is a fullstack web application for creating, viewing, and commenting on upcoming events. It uses React and NodeJS/Express to accomplsh this goal. The live site is hosted here: https://events-only.herokuapp.com/
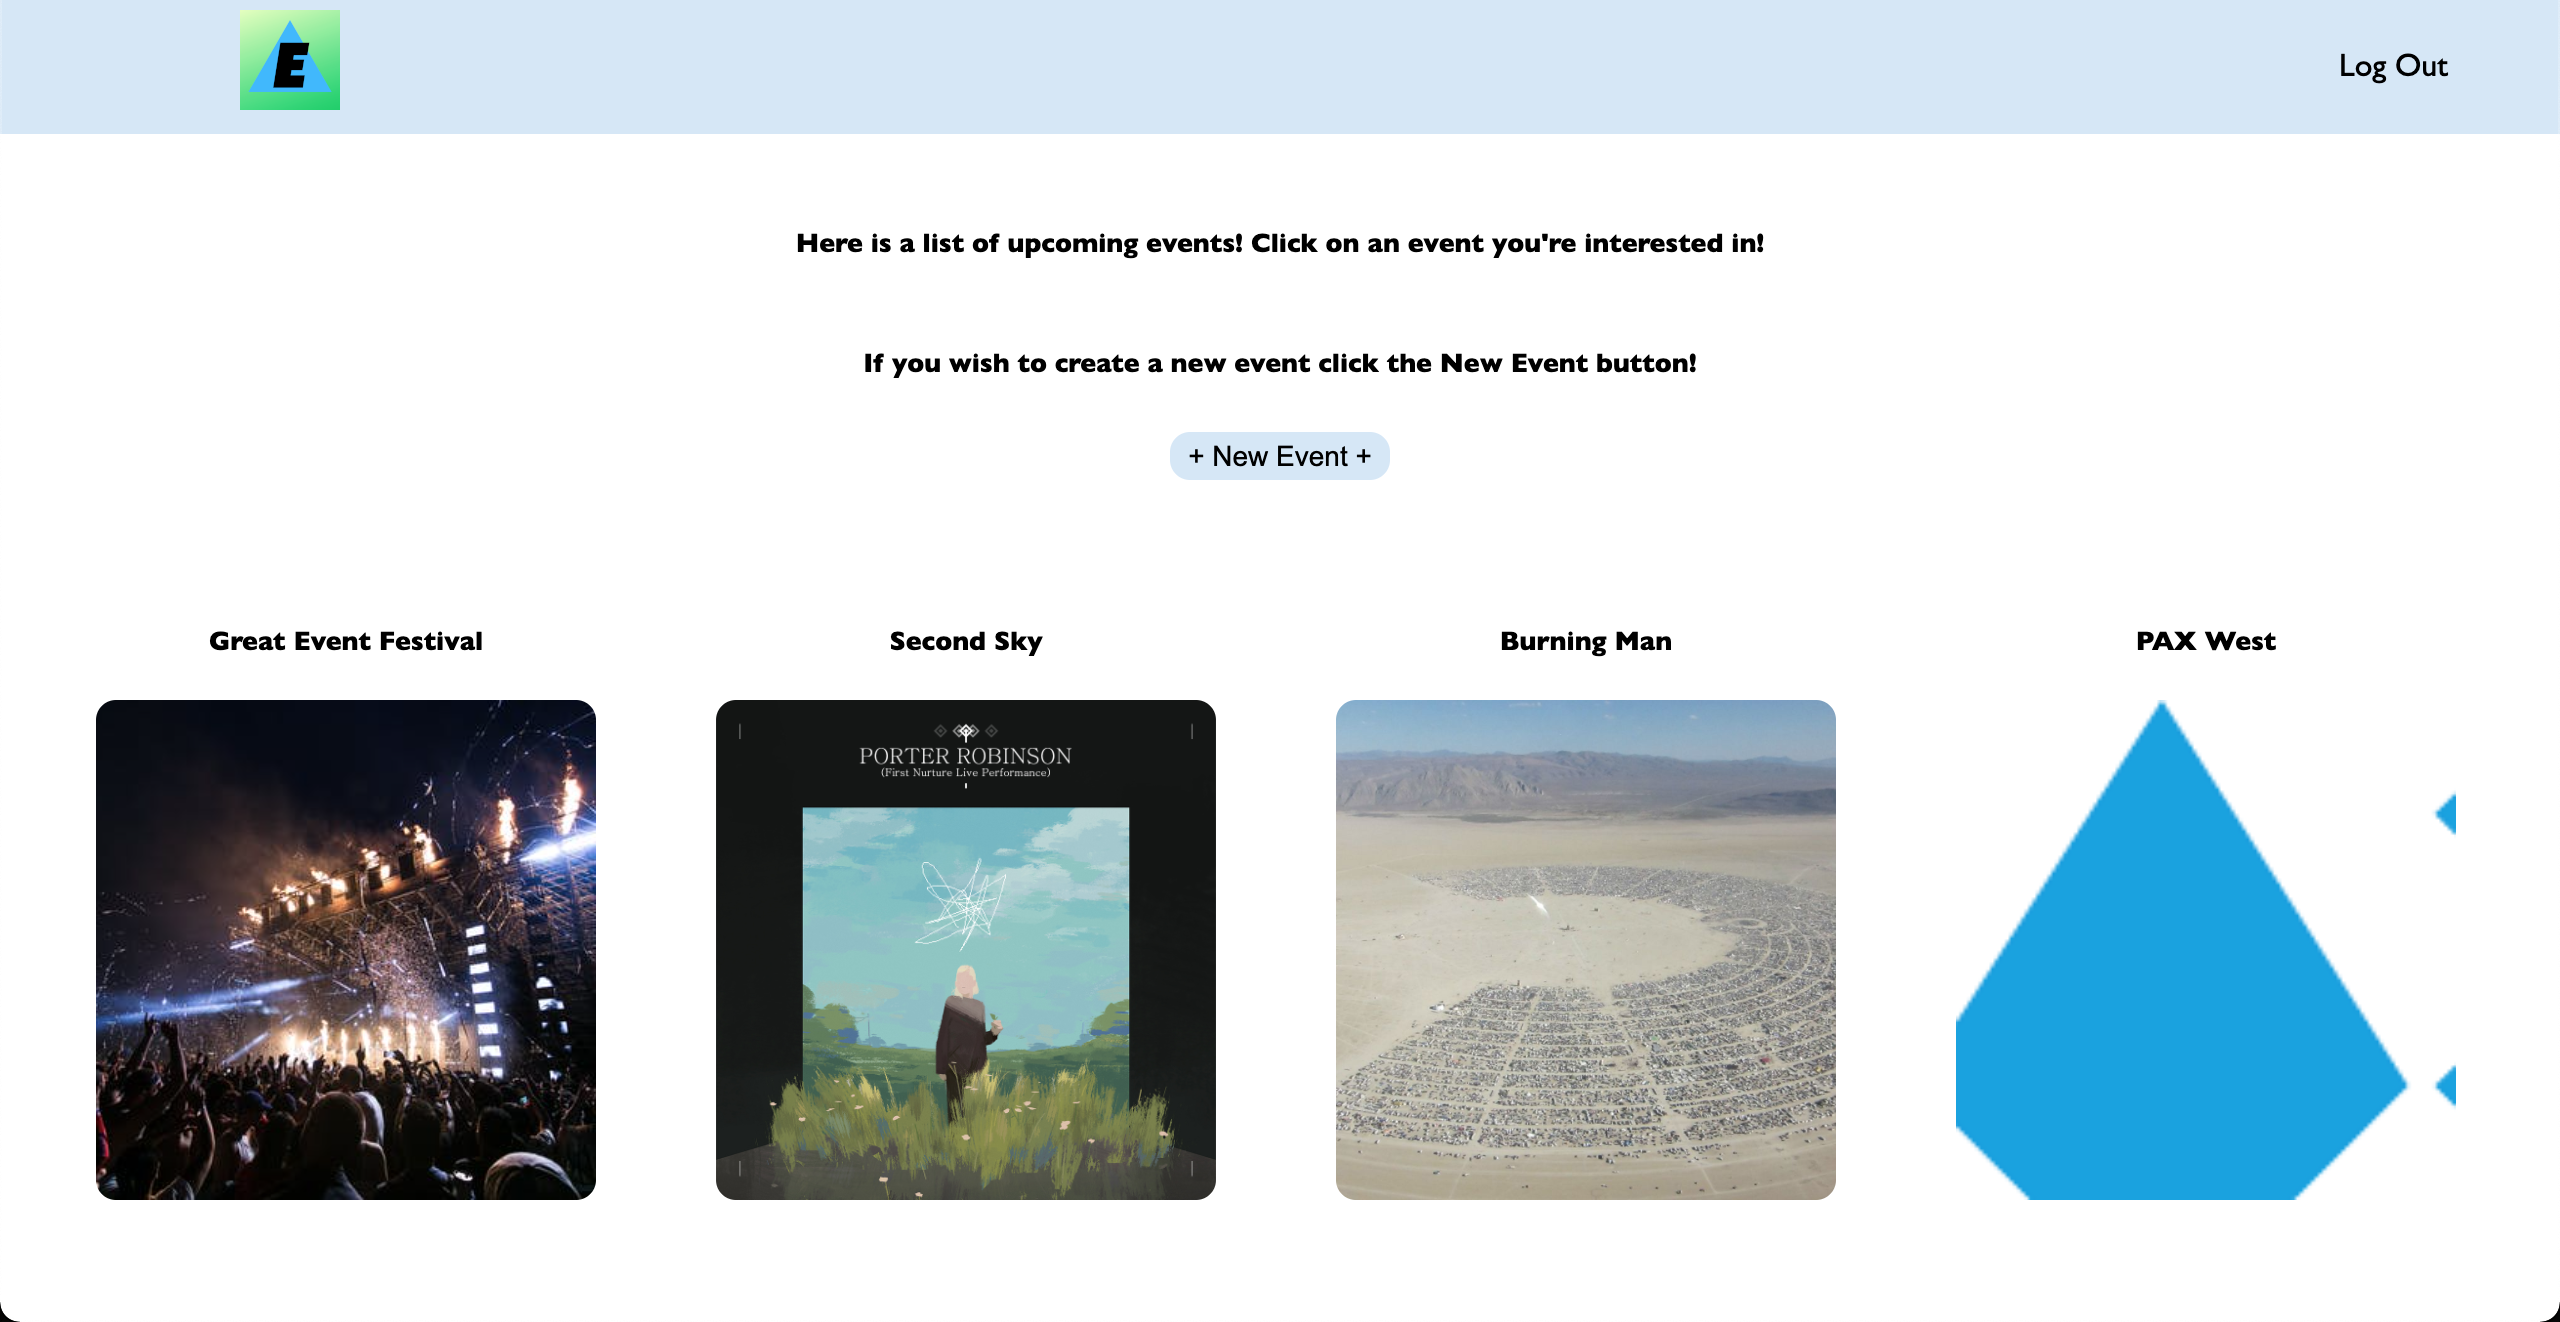
Users can see here a list of current and upcoming events posted to the app on the /events route and create new events.
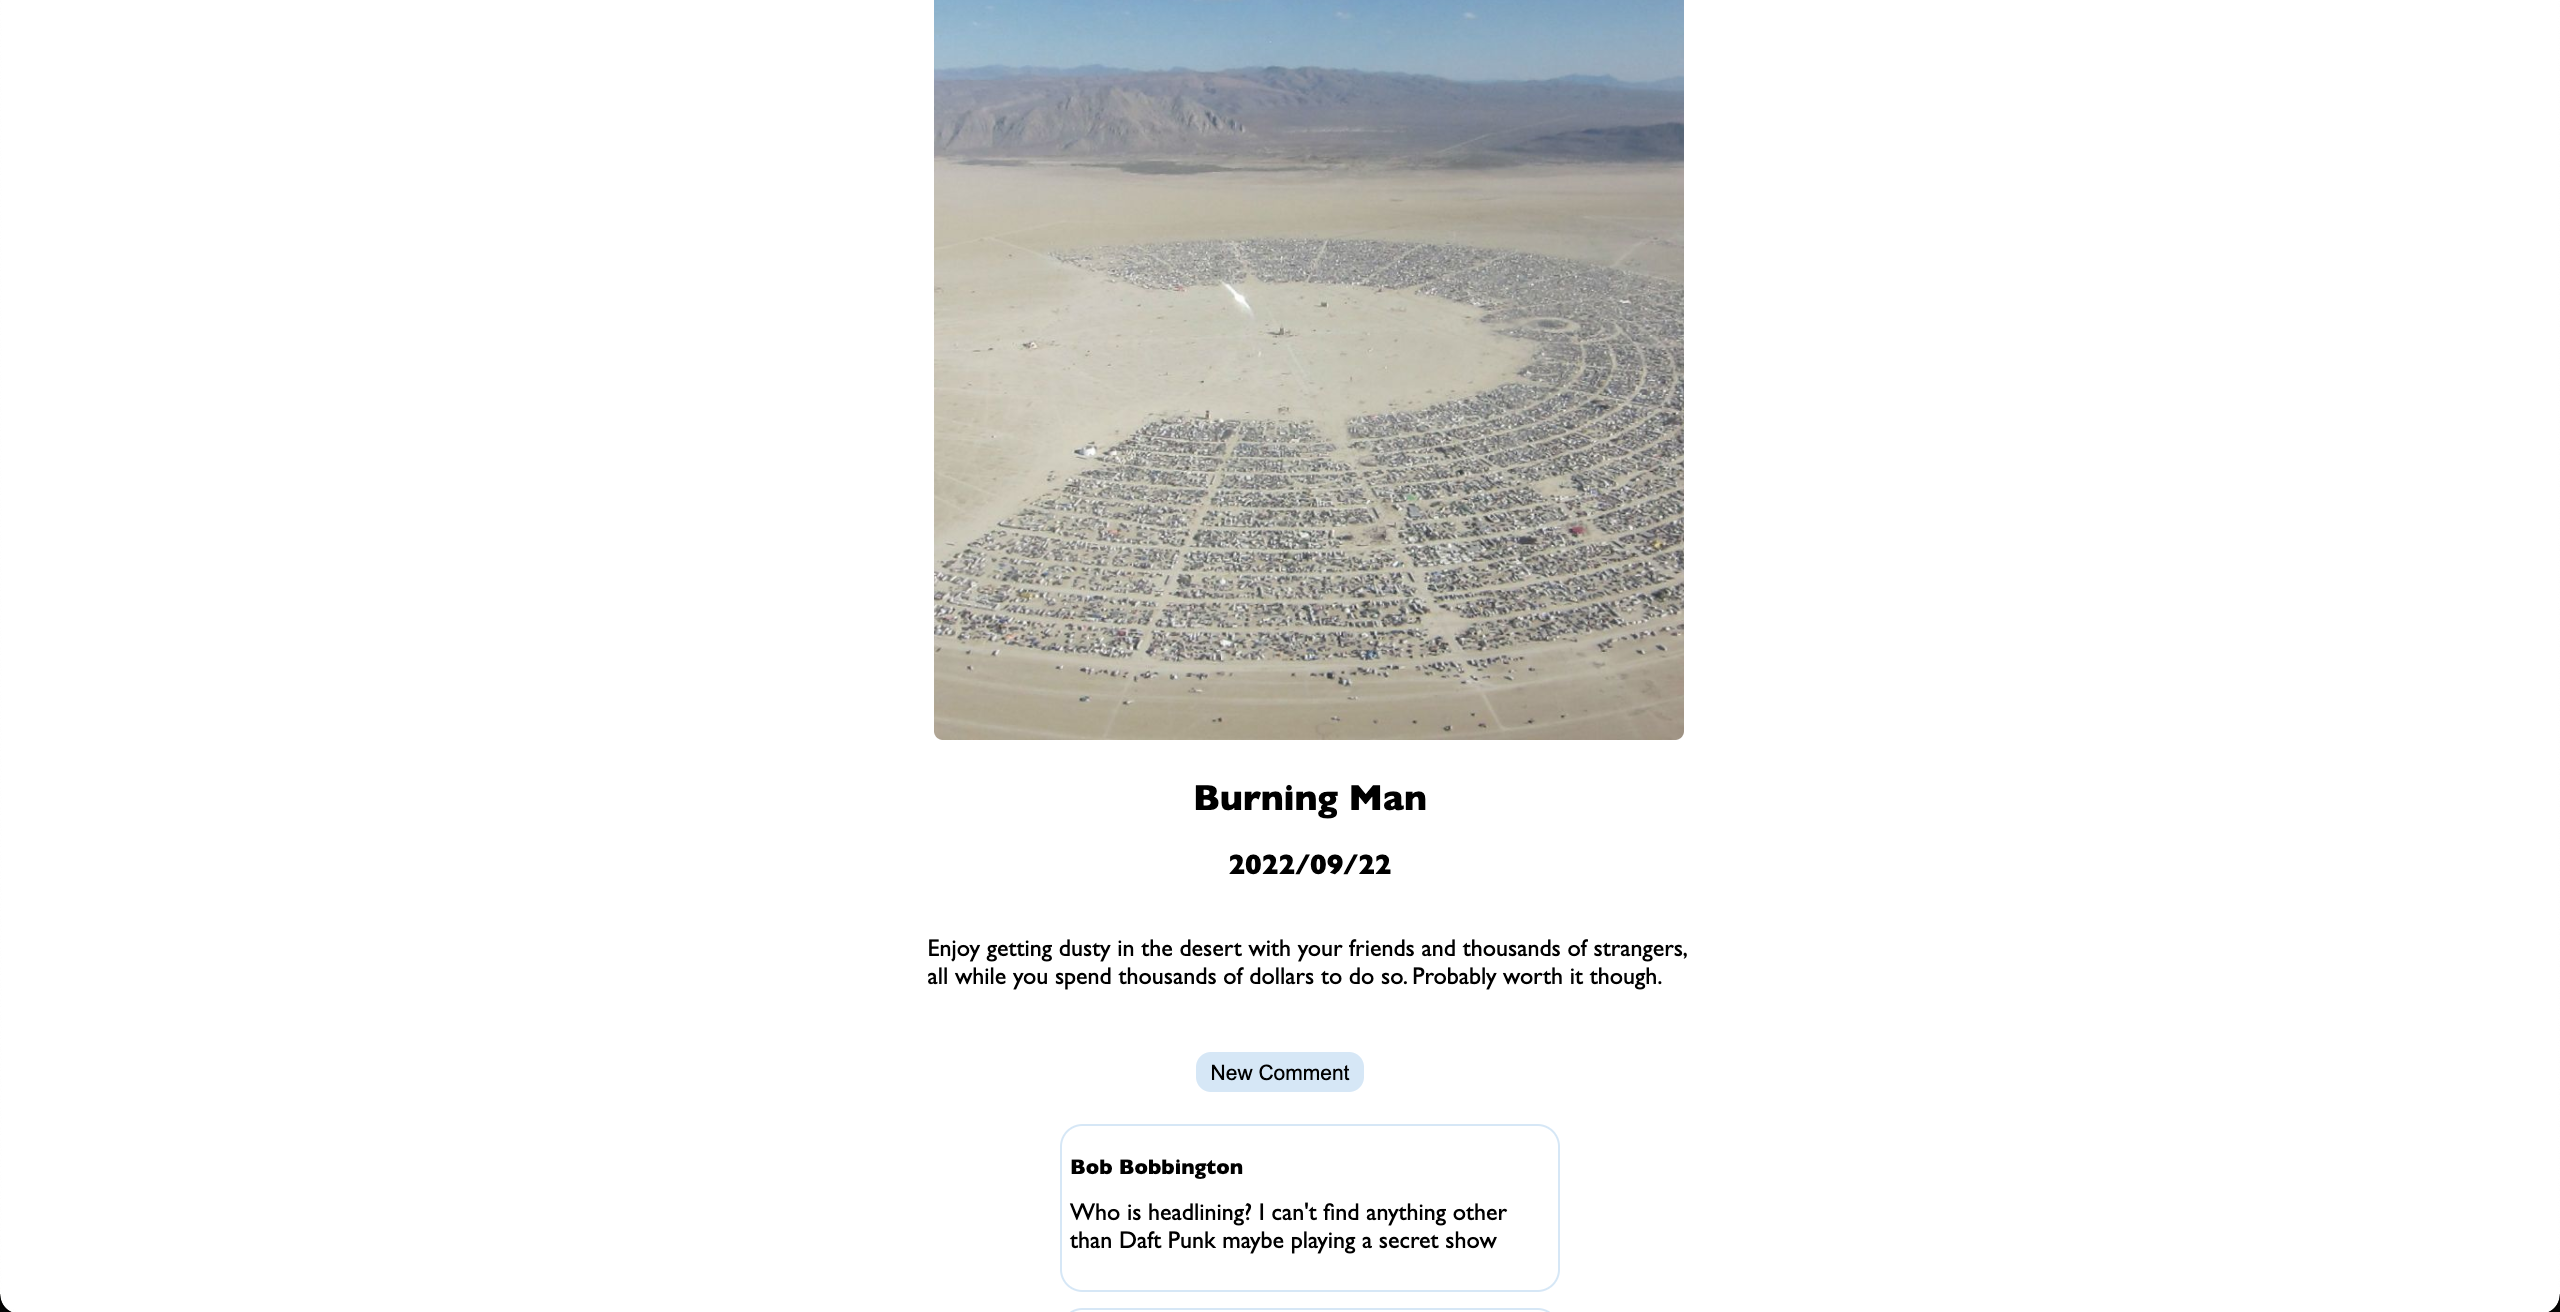
On an event page displayed on /events/:id users can see the event info and its comments, they can comment on the event.
As noted, Events Only is a full stack application.
React Front End ----> Express BackEnd ----> PostgresSQL Database
- The React front end uses a Redux store for state management and API calls. It uses JSX and CSS to display the UI to the user.
- The Express back end fetches data from the PostgresSQL database using express router.
- The PostgresSQL Database is four tables Users, Events, Comments, and RSVP's.
- React
- Express
- PostgresSQL
- JavaScript
This was my first completed solo full stack application using my own ideas. It was a very rewarding experience and I learned a lot from it. My next steps are likely going to be to refactor a lot of code to make it more optimal, though it works for a project and use case of this scale. I'm probably going to change the images from having the user put in a url to instead just upload an image from their computer (or both). Also will add the ability to RSVP and to have User Profiles.
To get this on your local machine, do the following:
git pull https://github.com/NoahNim/eventsonly.git
In the /EventsOnly/ directory, run the following command:
npm install
Then in the /backend/ directory run:
npm install
Then in the /frontend/ directory run:
npm install
In the /backend/ directory create a file named .env, then put the following in (you can name your database whatever you want and give it whatever password and token you want):
DB_USERNAME = dbownerhere
DB_PASSWORD = putpasswordhere
DB_DATABASE = databasenamehere
DB_HOST = localhost
JWT_SECRET = jwtsecrethere
JWT_EXPIRES_IN = 604500
Then in the /backend/ directory run the following command (note you may or may not need to use dotenv) to migrate the database tables:
npx dotenv sequelize-cli db:migrate
Then in the /backend/ directory run the following command to seed your database with information.
npx sequelize-cli db:seed:all
To get the machine hosted on do the following:
In the /backend directory run the following command:
npm start
In the /frontend/ directory run the following command:
npm start
The website should then be on http://localhost:3000/