Tutorial Creating Custom Robes
This tutorial covers creating a new, custom-textured robe and adding it to the game. The steps use KotOR 1 but are very similar for TSL.
Extract the necessary files into a folder for editing.
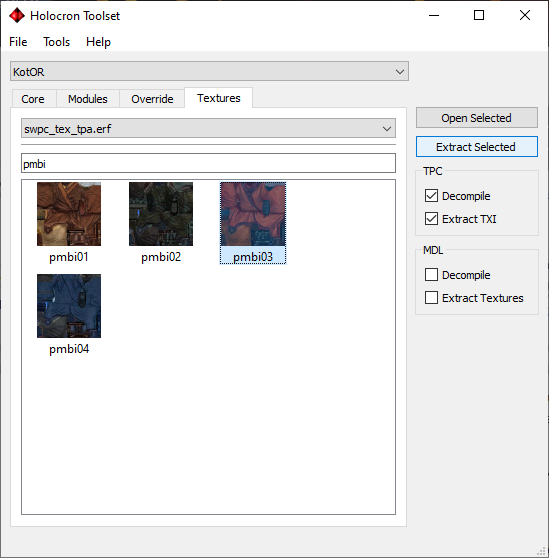
- Get the player model textures (male and female). Use the existing red robes: pmbi03 and pfbi03. In the Textures tab, tick Decompile and Extract TXI options. Find them under the "tpa" texture packs in the dropdown.
- Get the icon: ia_jedirobe_003 from the "gui" option in the texture pack dropdown.
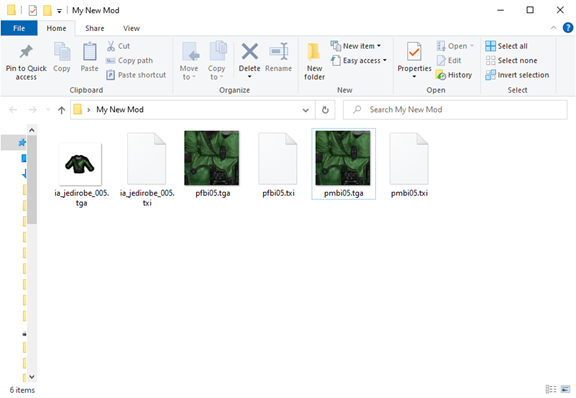
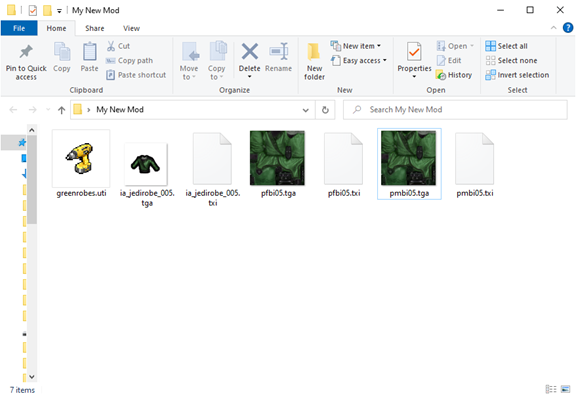
You should have 6 files. Rename the numbers from 03/003 to 05/005 (we are making a fifth robe variant).
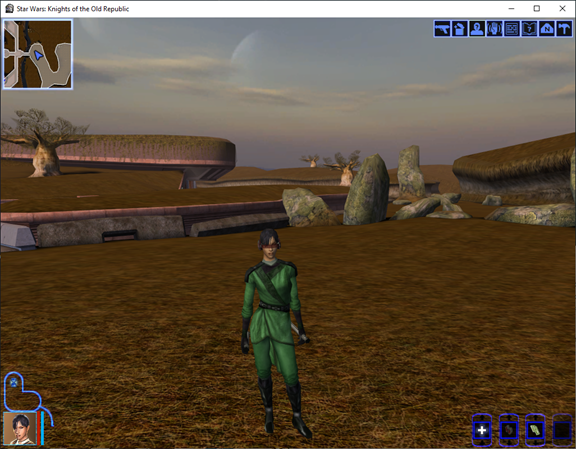
Edit the images in an editor that supports transparency (e.g. Paint.NET on Windows; avoid MS Paint). For this example the robes are retextured to a greenish colour.
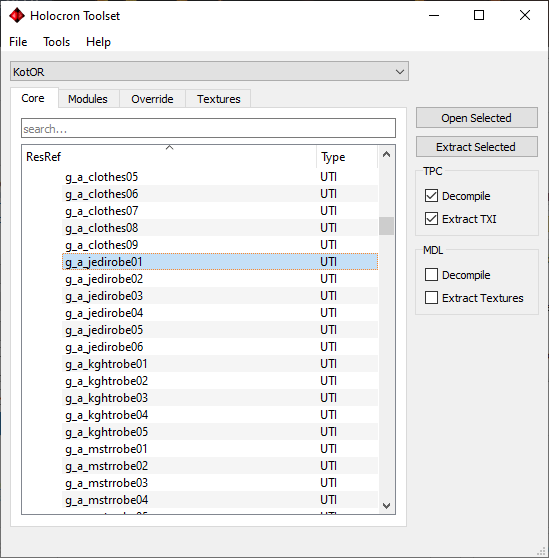
Under Core -> Items, open g_a_jedirobe01.
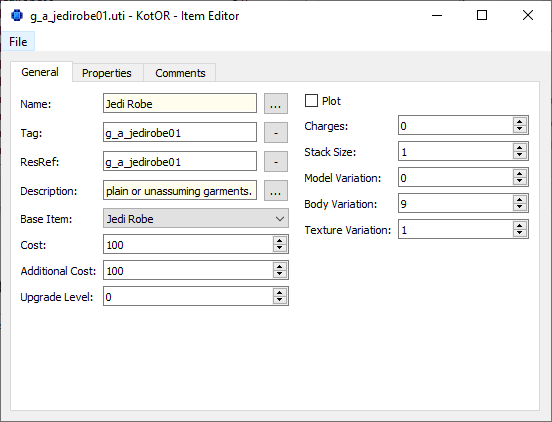
Change:
- Tag and ResRef to something unique (e.g. greenrobes).
- Texture Variation to 5 (matching the renamed texture files).
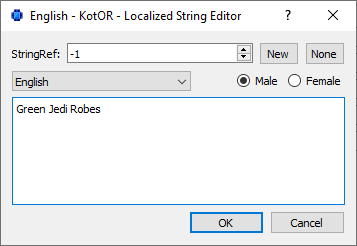
- Name and Description if desired: click the ellipsis (...) next to the text field -> None -> enter your text.
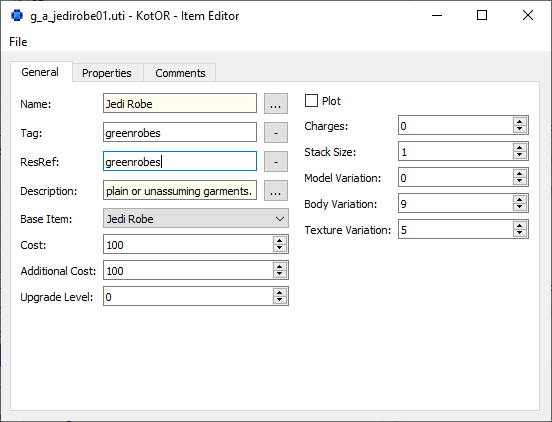
Save the file with the same name as the ResRef (e.g. greenrobes). You should have 7 files.
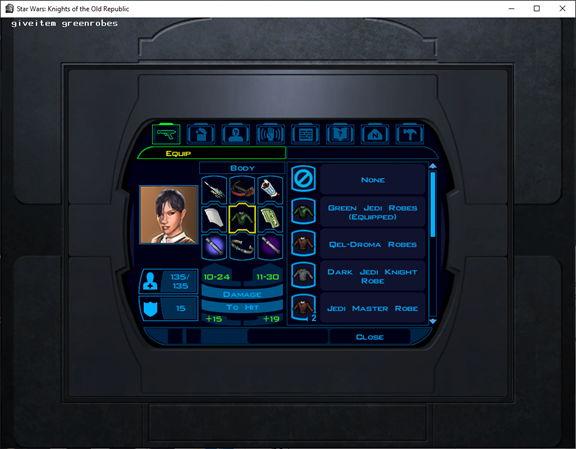
Copy all files into your game's override folder. In-game, use the cheat giveitem greenrobes and equip from inventory.
- Tutorial: Creating a new store -- Store and dialogue workflow
- Tutorial: Area transitions -- Connecting areas with doors and triggers
- Tutorial: Creating static cameras -- Camera placement in modules
- GFF-UTI -- Item (UTI) format
- TPC-File-Format -- Textures
- Mod Creation Best Practices -- Override and compatibility
- Concepts -- Override folder