Instance Launching Guide
The launch command allows you to quickly spin up an OpenStack instance with a single command. It automatically handles keypair generation, floating IP allocation and attachment — so the instance is ready to use as soon as the command completes.
deploystack launch --name <instance-name>To see the syntax of the launch command, review DeployStack — CLI Reference - launch
ℹ️ Remember to always authenticate your shell with
source admin-openrc.shorsource demo-openrc.shbefore using thelaunchcommand as it relies on the system shell.
If --keypair is not specified, the tool automatically:
- Generates a new RSA 2048-bit SSH key at
~/.ssh/id_<name> - Registers the public key in OpenStack as
<name>-keypair
If the key already exists locally or the keypair is already registered in OpenStack, it will be reused without regeneration.
If you provide an existing keypair via --keypair, no key is generated and SSH access depends on you having the corresponding private key.
The --password argument sets the administrator password on the instance via cloud-init. This is supported only on compatible images that expose OS metadata (os_type, os_distro, os_admin_user) in Glance.
| Image type | Password support | Notes |
|---|---|---|
| Linux (with metadata) | ✅ | Password set via cloud-init user-data |
| Windows (with metadata) | ✅ | Password set via PowerShell on config drive |
| CirrOS | ❌ | Unsupported — password configuration is skipped automatically |
| Unknown (missing metadata) | ❌ | Skipped automatically for safety |
⚠️ Note: If the image is missingos_typeoros_distrooros_admin_usermetadata, password configuration is skipped automatically even if--passwordis provided.
A floating IP is automatically allocated and attached to every instance launched with this command. No manual steps are required.
⚠️ Note: If an instance is launched on a network other than the internal/private tenant network (e.g., a public/provider network), floating IP allocation will be skipped. The instance already has a directly routable IP, and assigning a floating IP is unnecessary and may be restricted for security reasons.
The --timeout argument sets the maximum time (in seconds) to wait for the instance to become active.
ℹ️ Note: Large or resource-intensive images may take longer to boot on the first launch because the disk image must be copied from Glance to the compute node. Subsequent launches are usually faster due to caching of the image.
Example:
deploystack launch --name my-vm --image windows-server-2016 --timeout 5000Once the instance is running, the tool prints a summary with everything needed to connect:
Instance '<name>' successfully started

Attached Floating IP : <floating-ip>

You can connect to the instance with:
  ssh -i ~/.ssh/id_<name> <user>@<floating-ip>
If a password was configured:
You can log in with credentials:
  username: <user>
  password: <password>
Instance '<name>' successfully started

Attached Floating IP : <floating-ip>

You can connect via RDP to: <floating-ip>

IMPORTANT: ensure that a security group rule is configured to allow
inbound TCP port 3389 (RDP) from your public IP or network.

You can log in with credentials:
  username: <user>
  password: <password>
deploystack launch --name test-instanceLaunches a CirrOS instance with auto-generated keypair and floating IP. Connect via SSH:
ssh -i ~/.ssh/id_test-instance cirros@<floating-ip>deploystack launch --name my-linux-vm --image ubuntu --password MySecret123deploystack launch --name my-win-vm --image windows-server-2022 --password MySecret123
⚠️ After launching a Windows instance, make sure a security group rule allows inbound TCP port 3389 (RDP) from your IP.
deploystack launch --name my-vm --image ubuntu --flavor m1.medium --keypair my-existing-keypairYou can point any browser to: http://<HOST_IP>/dashboard and reach the Login page
Log in with the credentials we can find in the openrc files in the /root folder
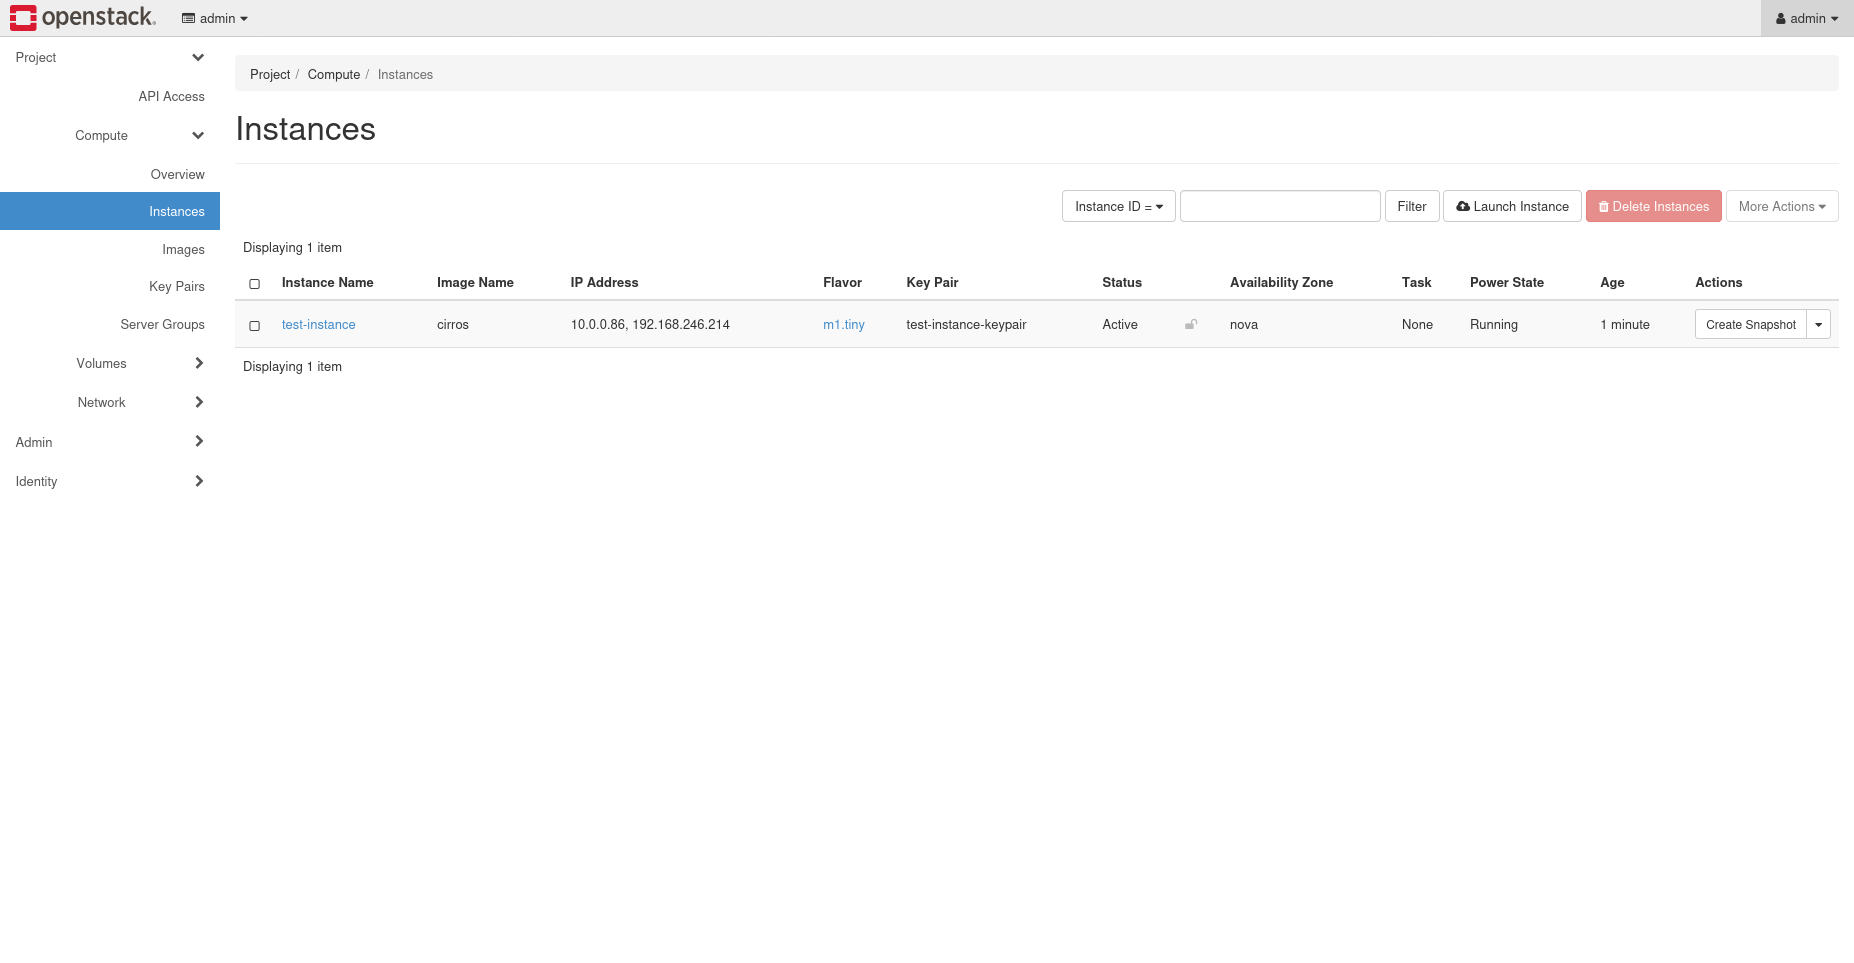
From the "Instances" tab you will be able to see the newly created test-instance
For issues or contributions, visit the project repository.