Home
Cyborg Elements was created as a simple tool to make sci-fi filmmaking more accessible. I designed and animated over 52 components in Adobe After Effects (AE) which can be dragged and dropped as composition templates, or used individually. There are thousands of different combinations to use creatively! I even used a combinations calculator (nCr) to make sure. Hopefully, I did that right. 😅
There are no plug-ins required for this kit, as it was made fully within AE using their built-in tools and controllers. It would be a dream to "pluginize" this kit someday but, for now, it's here as-is to hopefully help scrappy filmmakers and even seasoned professionals save time in post-production for sci-fi storytelling.
Let's get to the basics.
- FX Controllers
- Pre-Animated Elements
- Futuristic UI Presets
- Animated HUD Presets
- Transition FX
- Tutorials
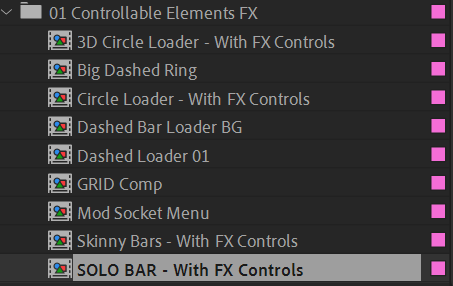
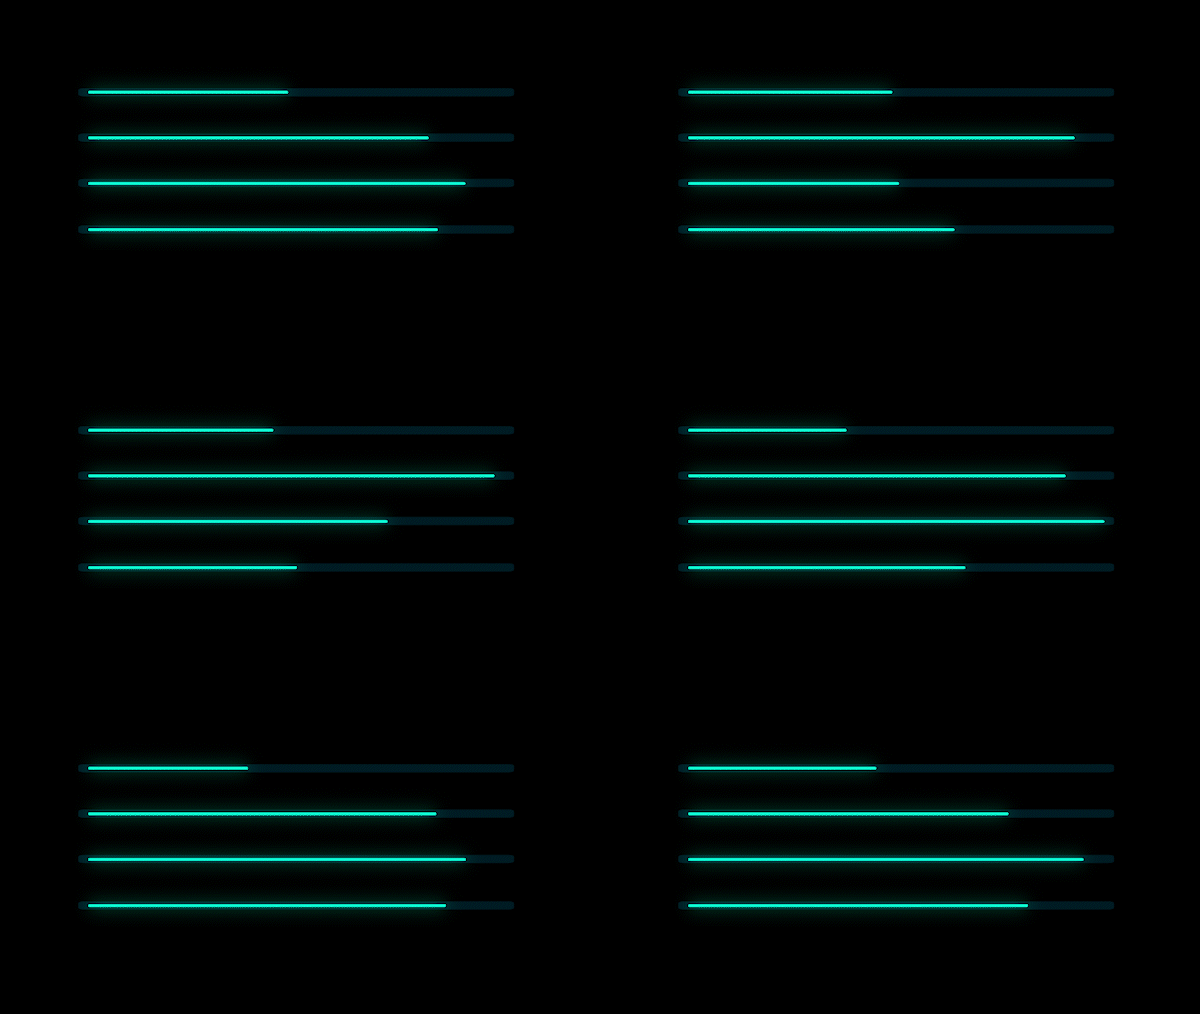
There's a folder within the project window of the AE file called 01 Controllable Elements FX. This folder has the essentials for anyone looking to create their own lines and shapes using starter elements such as the Solo Bar (pictured below).
This is a SOLO BAR, which is an element that has been made using AE’s built-in shape masking tools and trim paths. I’ve added effects to them in the AE file to help you customize them more easily.
If you can't see your Effect Controls window, which should typically be a tab next to your Project window on the left in AE, you can access the Effect Controls by selecting Window > Effect Controls.

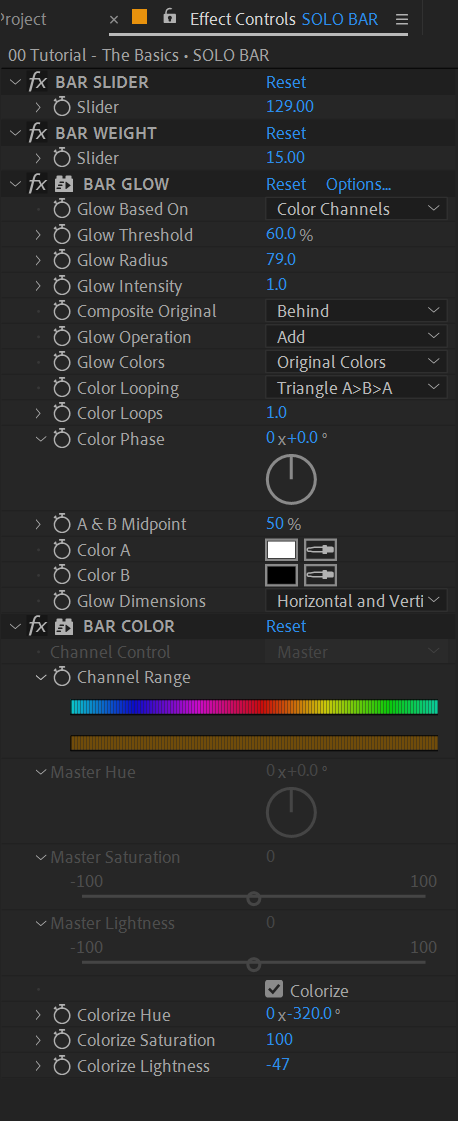
BAR SLIDER - Changes the stroke length of the bar
BAR WEIGHT - Changes the stroke weight of the bar
BAR GLOW - Toggle the glow effect ON/OFF or adjust it
BAR COLOR - Change the hue or saturation of the stroke
When you use these preset effect controls and a little knowledge of keyframes together, you can make your first element, like this:
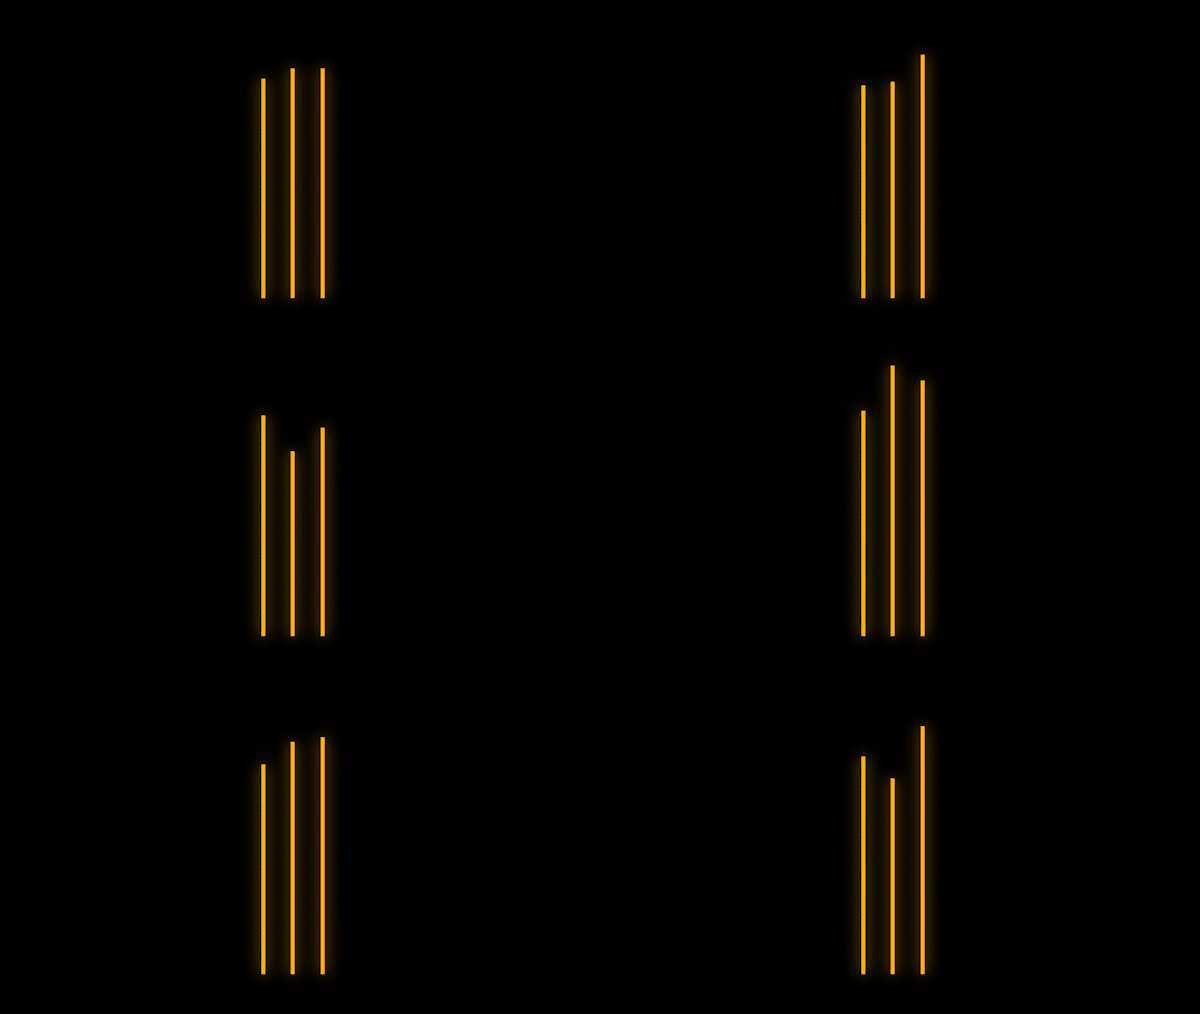
These were animated using a simple wiggle expression.
Don't want to spend time using keyframes to animate? Cool.
If you don’t have the time/knowledge to animate the components within the comps in the Project window, simply drag them into a new comp of your own and render them. You can also add additional effects to change the color or even further stylize what's already there. Double-click on any of the comps to customize them.
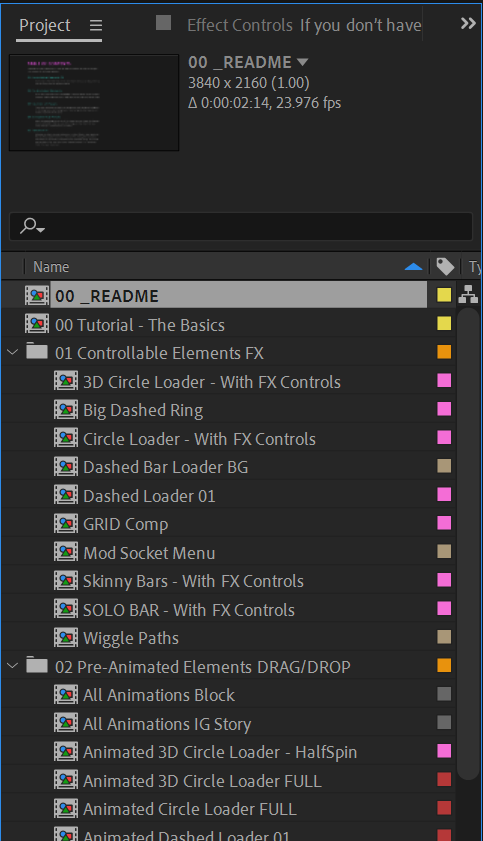
Project window showing just a few of the customizable and pre-animated comps available in the file.
Here's what another pre-animated component looks like. Note: This gif cuts off before the loop.
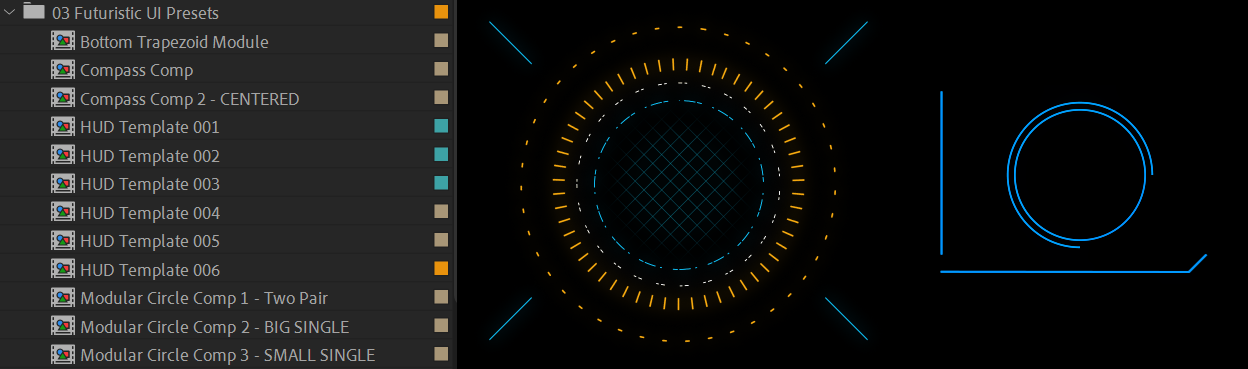
These user interfaces are ideal for saving time by laying out holograms in the foreground and/or background. They're mostly static/non-animated to allow you to customize them as you please and save them as your own experimental comps. I'd highly recommend duplicating them first before doing any destructive editing. I figured that maybe someone would make use of these components as wireframes for mapping out fully-animated comps.
To speed up your workflow on any type of elements that will be in backgrounds, or even front and center, I've animated a set of comps in AE for you to be able to simply drag and drop into other comps. I do want to note that it's best to duplicate (Project Window > Select comp to duplicate > Cmd+D for Mac or Ctrl+D for PC) any of these comps you plan to use and drop them into the project window folder called Custom 001 - Your Experiments here. That way, you can change whatever you want and not worry about destructive editing. These compositions were animated at 4K so that they could be scaled down (if needed) as comps within other comps.
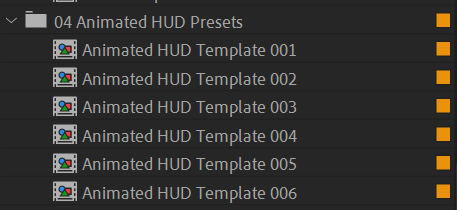
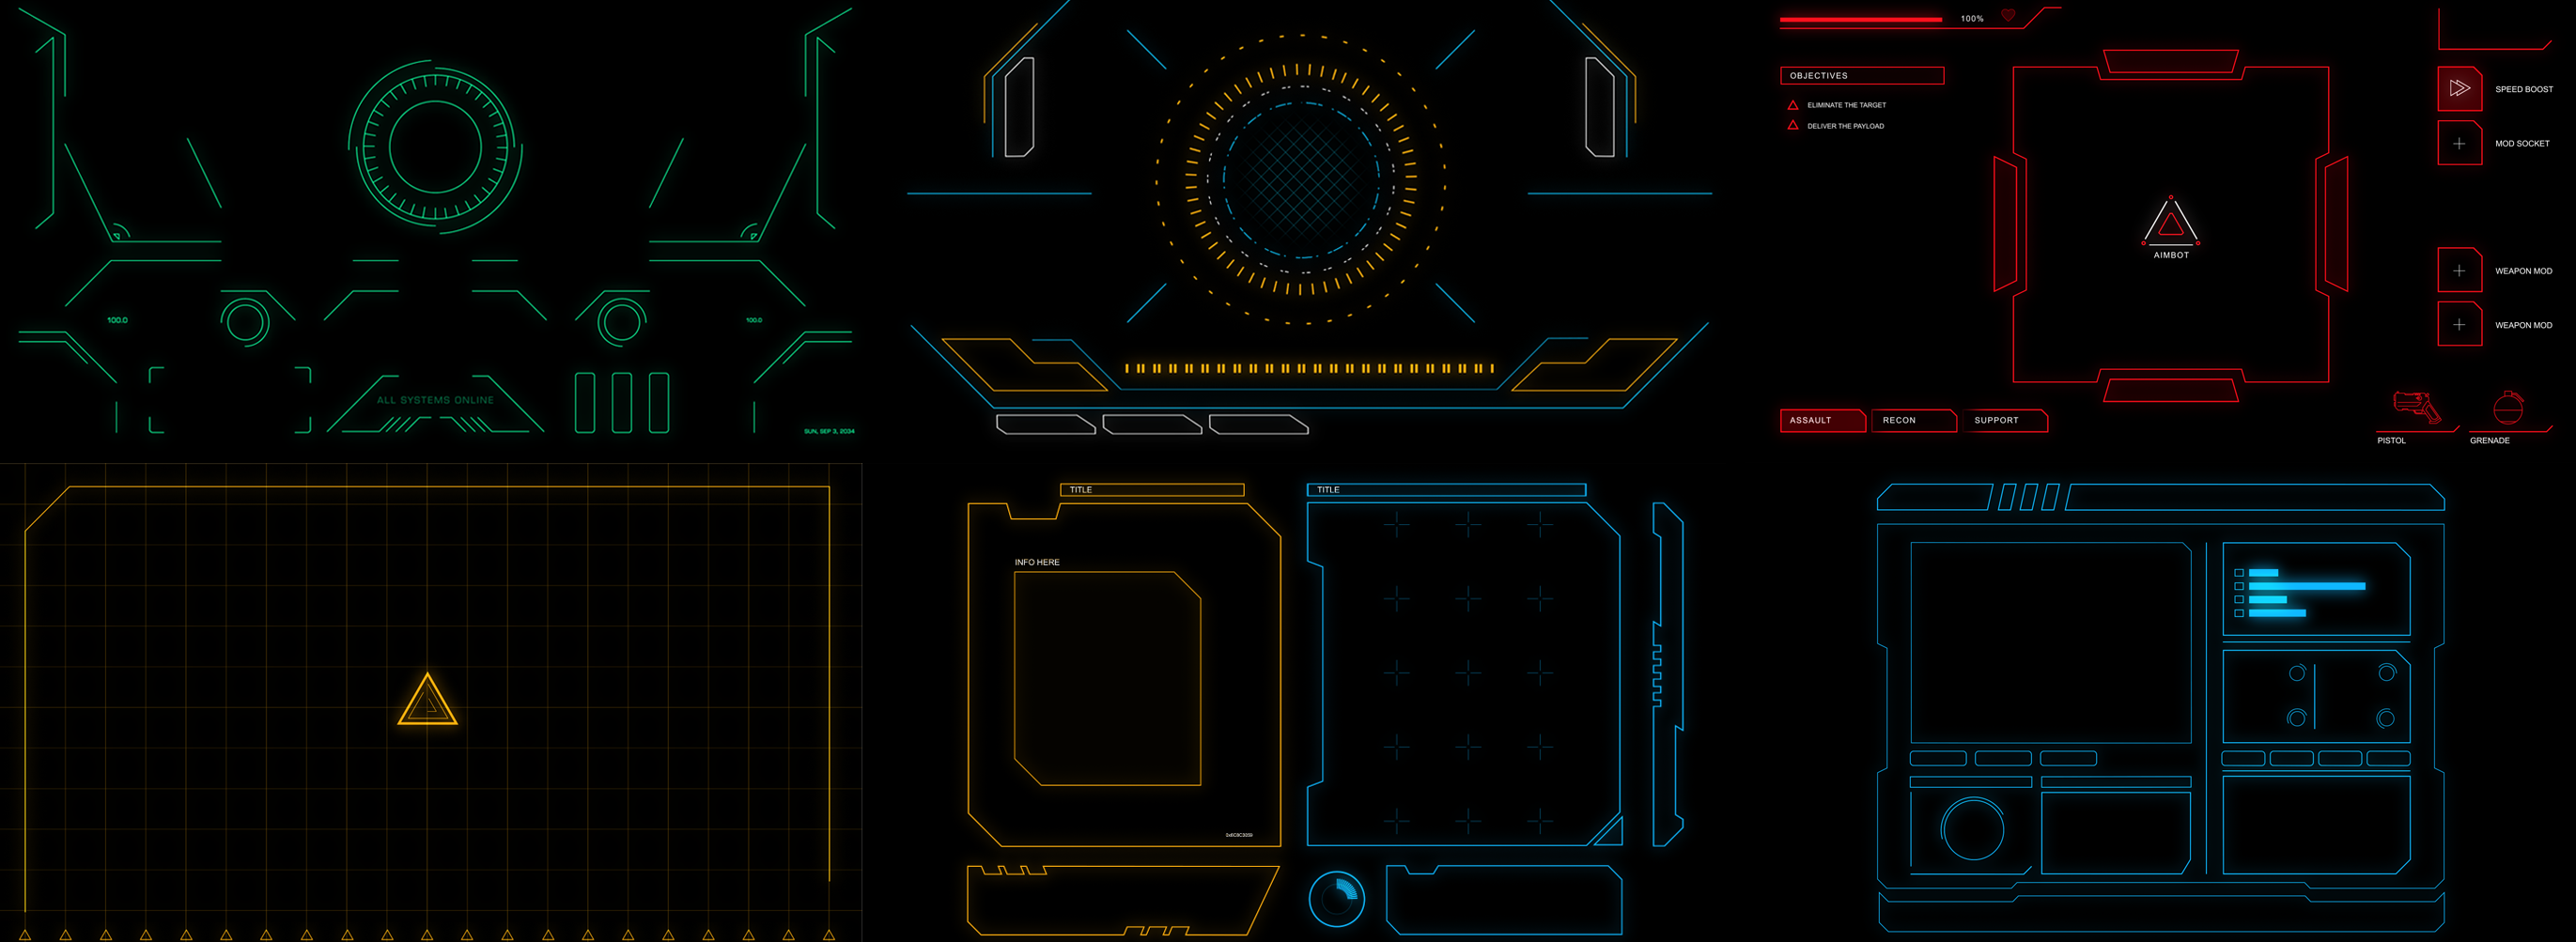
As pictured below, there are six static and pre-animated templates to get you started if you don't have time to put one together from scratch. While building Cyborg Elements, I've realized that these come in handy during scenes where they're background objects (with a nice camera blur effect applied for added realism). Use them however you want. Your imagination is the only limit.
These days, transition effects are getting much more sophisticated and stylistic. While I'm no glitch-warp-twist-zoom-transition-making wizard, I figured that it wouldn't hurt to throw in a few potentially useful effects that I've composed and utilized within my own projects.
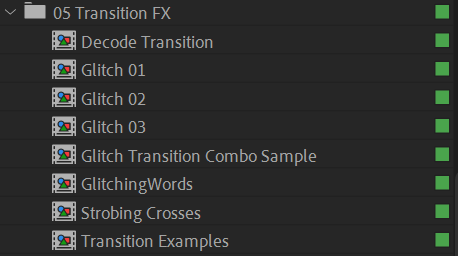
Here are a few examples combining two or more of the transition effects together:
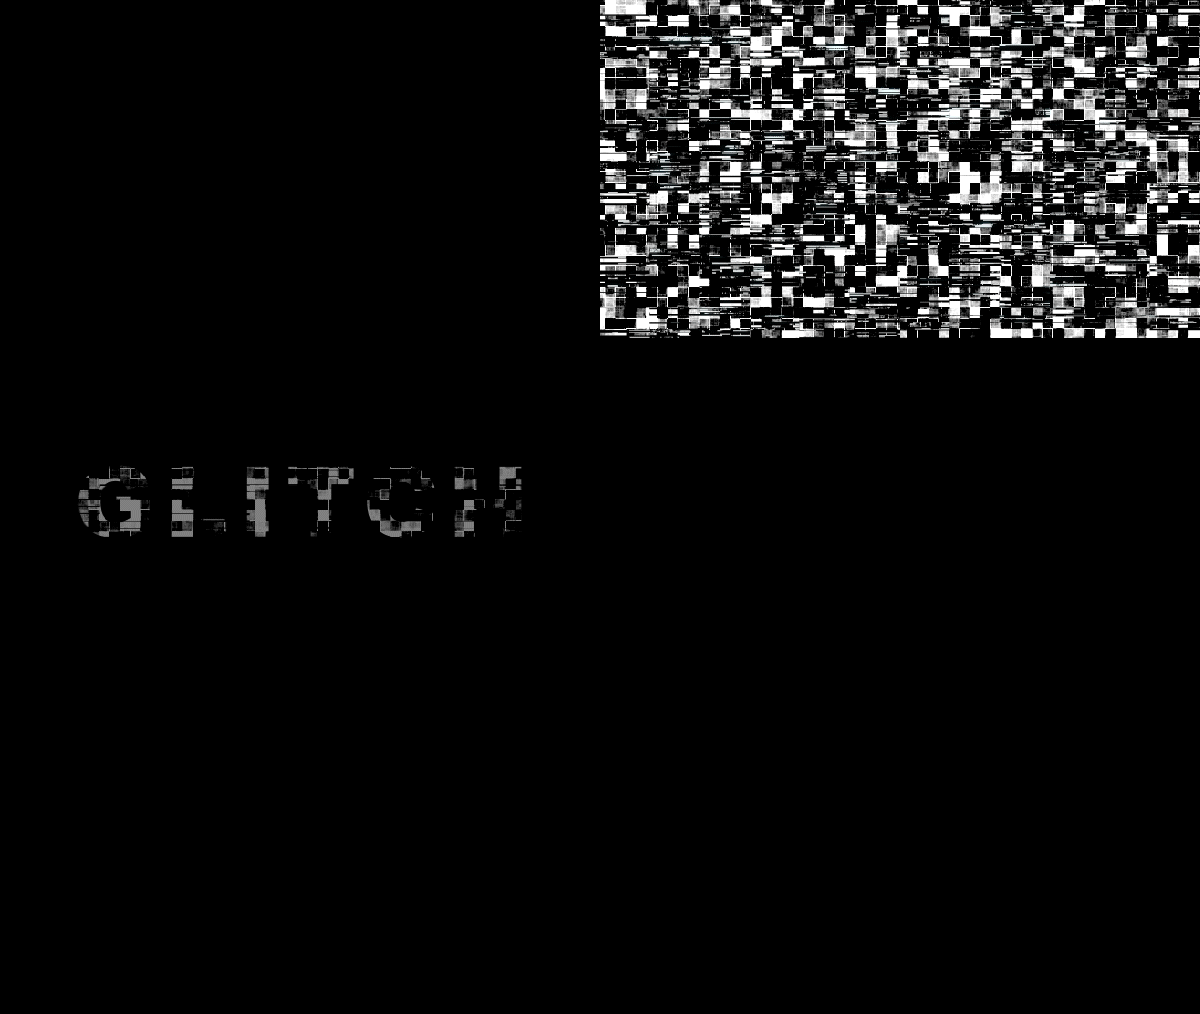
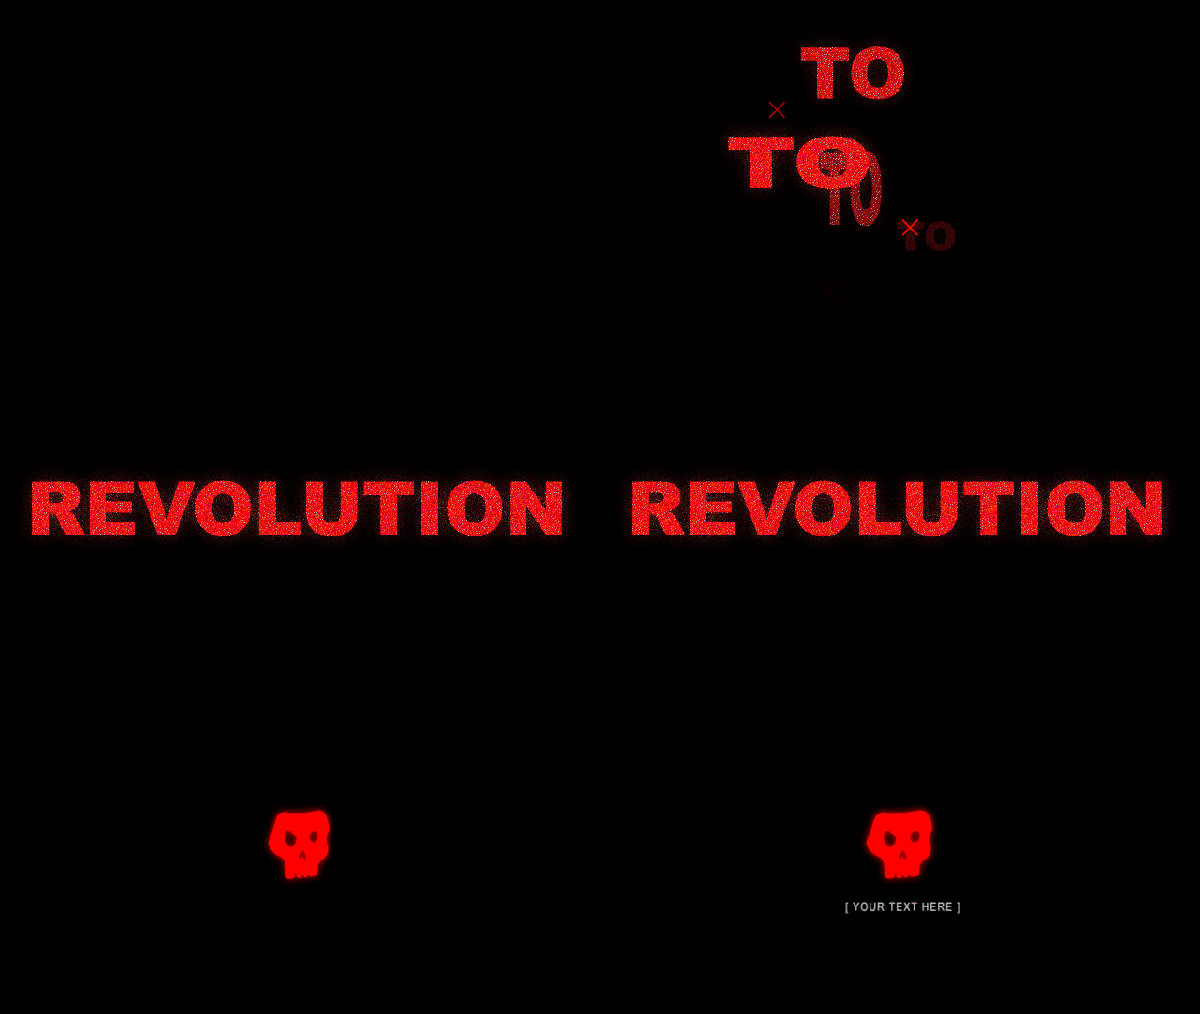
Stacking these transition overlays is highly recommended for that punkish, grunge effect we commonly see in films and other cyberpunk-related advertisements. In my humble opinion, the messier they look, the better.
Don't feel like reading? That's alright! I've taken the time to record some easy-to-follow walkthroughs for using the assets in Adobe After Effects as well as Adobe Premiere:
Using Cyborg Elements 1.0 - Intro
Cyborg Elements 1.0 - How to Drag N' Drop for Editors
Cyborg Elements 1.0 - After Effects Walkthrough
That sums up Cyborg Elements 1.0. I'll do my best to keep this document updated with any new features, changes, or annotations.
Thank you for reading, and thank you for using Cyborg Elements!