Dialogflow
Dialogflow is a natural language understanding platform that enables easy design and integration of interactive user interfaces into mobile apps, web applications, devices, bots, and interactive voice response systems. Dialogflow can provide users with new and exciting ways to interact with their products.
After accessing the official website, click the console in the upper right corner.
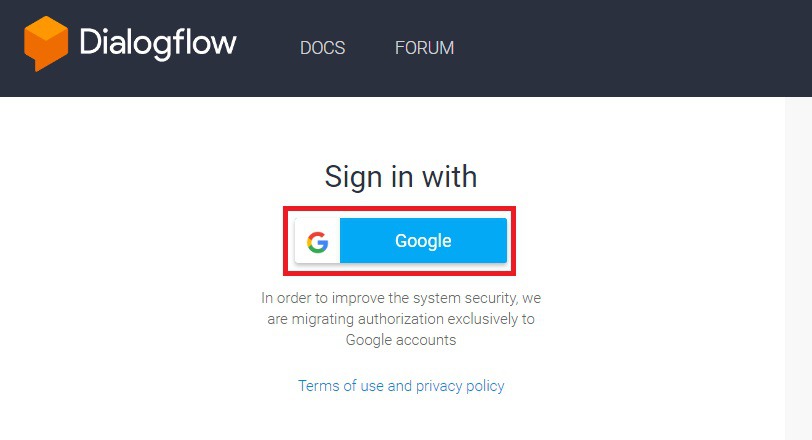
The service is available after logging in, and we recommend logging in with your Google account.
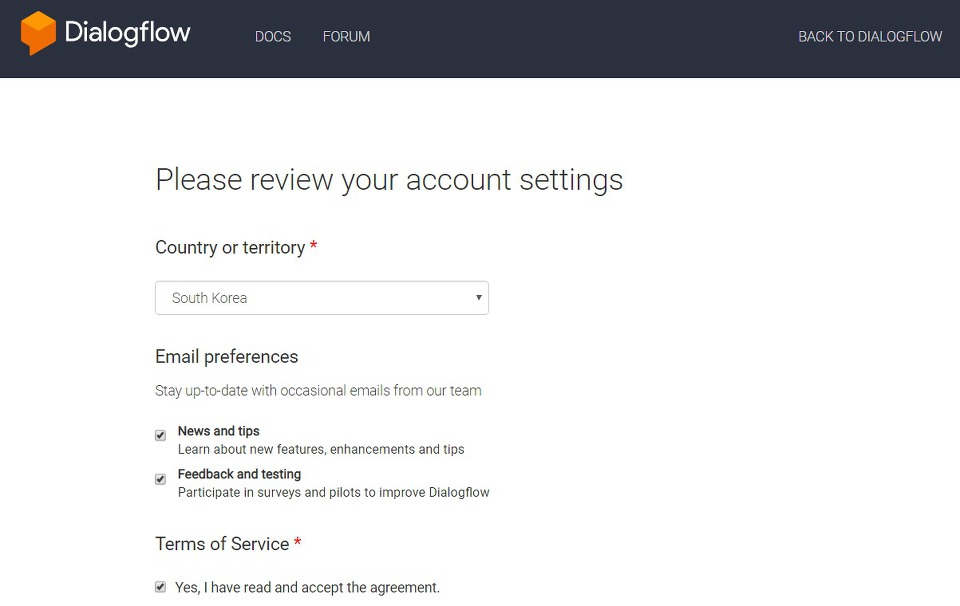
If you are new to the dialog flow, you should set up your account as follows.
You can create an agent by pressing the button. Agents can be seen as the concept of 'one artificial intelligence project'.

And then sets the project name, default language, and default time.
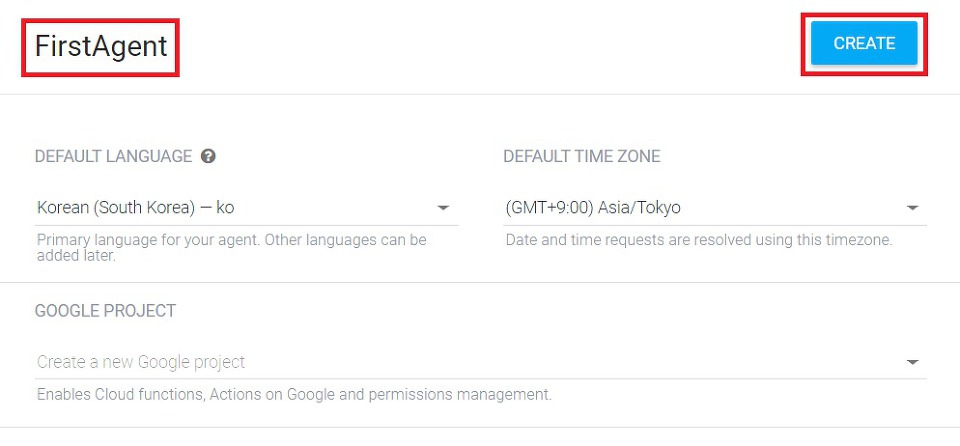
- DEFAULT LANGUAGE: Default language to use with chatbot
- DEFAULT TIME ZONE: Default time zone for chatbots
Pressing the 'CREATE' button on the top right completes the project creation and goes to the main screen of the project.
Click the 'CREATE INTENT' button.

Write down the name of the intent and add a training phrase.
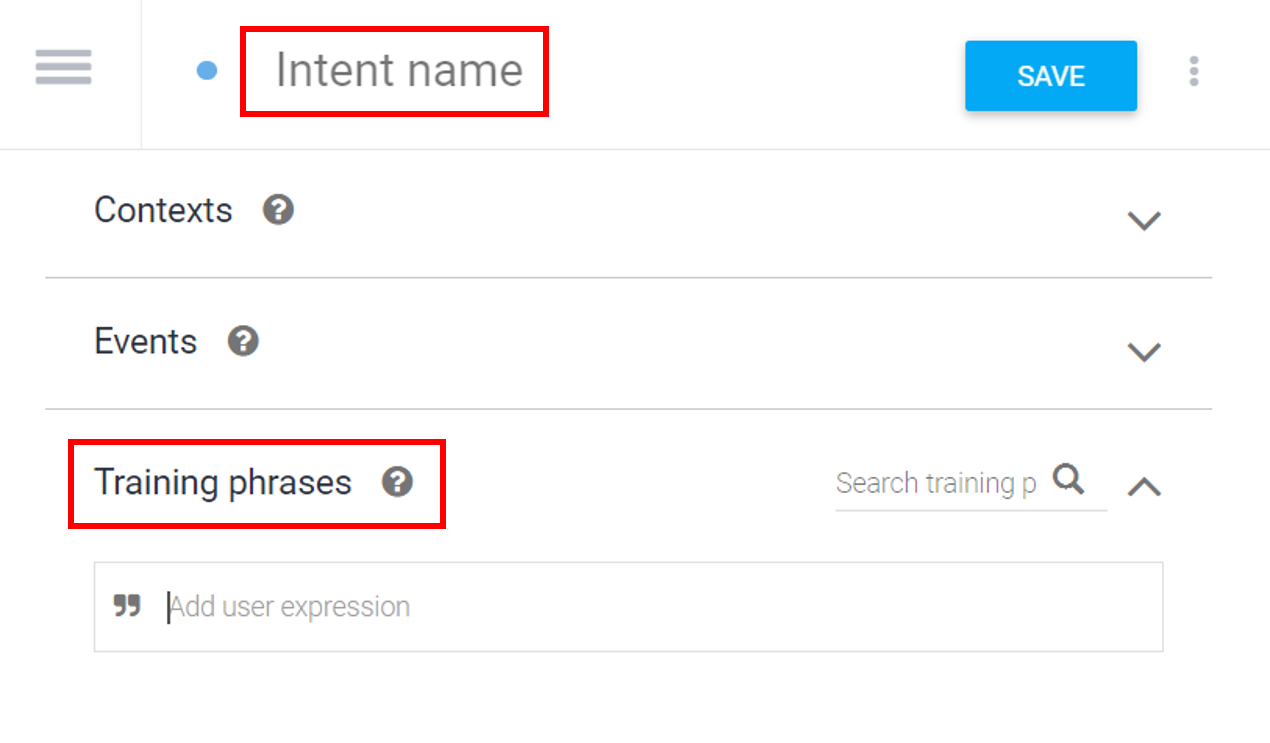
Training phrases are practically examples of sentences to be entered by users. The more data we put in, the more the dialogue learns the sentences, allowing us to better understand the user's intentions even if the input is not accurate.
It should also include example data for responses to users' inputs.
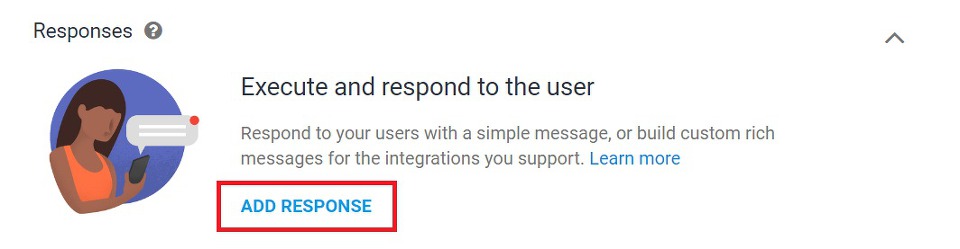
Press the Save button in the upper right corner after all inputs are completed. And then, This creates a simple question-and-answer chatbot.
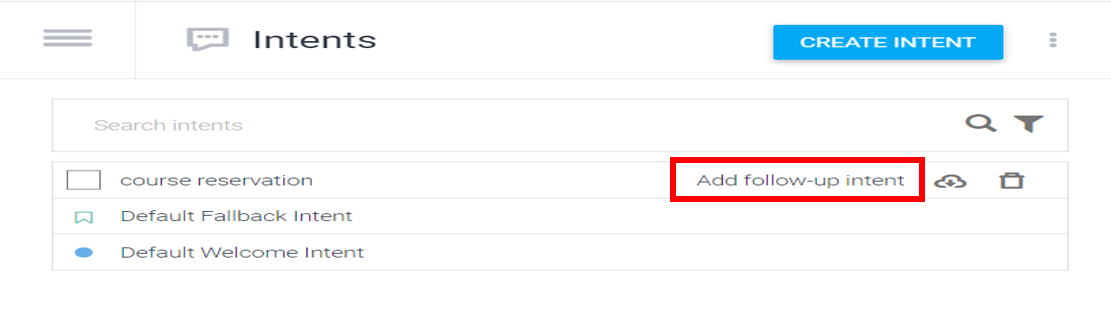
We add follow-up intents to perform continuous query responses in context.
Click the 'Add follow-up intent' link.
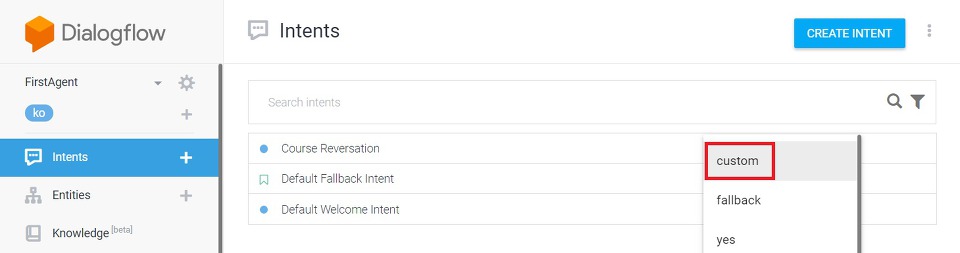
The follow-up intent is created in custom mode.
Subsequently, create the training phrase and response, as in previous 'create intent' stage.
Drag the key words in the training phrases.
Then the following UI is created. A new entity can be created by pressing the button at the bottom. Of course, it is okay to use the entity defined by default in the system.

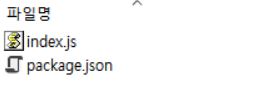
Distribute the following two files to Firebase Firefunctions.
These help Dialog Flow communicate with Android Studio.
Then the user sends a query from the Android studio and it goes into Cloud Function.
Cloud Function will communicate with Dialogue Flow again.
Dialogue flow responds to Cloud Function, and Cloud Function responds to Android Studio again.
This method is repeated, and communication between the dialogue flow and the Android studio is achieved.
