重写的tableview继承自UIView,其中有UIScrollView属性、reuseCell属性,并且我们还要实现UIScrollView的有用的协议。
它的cell也是继承自UIView,其中就随便写写,当我们给view添加子视图的时候就会调用view的layoutSubviews方法!!!
主要就是Cell的复用,这里使用一个set来存储可复用的cell,当自定义的cell不在屏幕中的时候就加入复用池set中,要出现的时候进行row比对,然后返回一个cell,没有就新创建一个。
大体讲解:
声明一个类继承自UIView,名字为ZJQTableView,在该类用声明一个UIScrollView,初始化该类中的属性,记得frame是全屏,最后addSubview:
@property (nonatomic, strong) UIScrollView *scrollView; // tableView框架
@property (nonatomic, strong) NSMutableSet *reuseCells; // 复用池
@property (nonatomic, strong) id datasource; // 数据代理

// 初始化
- (id)initWithFrame:(CGRect)frame {
    self = [super initWithFrame:frame];

    if (self) {
        self.scrollView = [[UIScrollView alloc] initWithFrame:frame];
        [self addSubview:self.scrollView];
        self.scrollView.delegate = self;

        self.backgroundColor = [UIColor whiteColor];

        self.reuseCells = [[NSMutableSet alloc] init];
    }
    return self;
}
再为cell注册个类:
@property (nonatomic, strong) Class cellClass; // cell所属类

// 获取类信息
- (void)registerClassForCells:(Class)cellClass {
    self.cellClass = cellClass;
}
当然,tableView最重要的就是协议了,我们这里定义两个协议,一个用来返回tableview中的行数,一个用来设置每行中展示的内容:
@protocol ZJQTableViewDelegate <NSObject>
// tableView的行数
- (NSInteger)numberOfRows;
// 展示行
- (ZJQTableViewCell *_Nullable)cellForRow:(NSInteger)row;
@end
tableview的大体构架好了,现在还差一个cell的构架:
@interface ZJQTableViewCell : UIView

@property (nonatomic, strong) UILabel *label; // 展示的label

@end


@implementation ZJQTableViewCell

- (id)init {
    self = [super init];
    if (self) {
        self.label = [[UILabel alloc] init];
        self.label.textColor = [UIColor blackColor];
        [self addSubview:self.label];
    }
    return self;
}

- (void)layoutSubviews {
    self.label.frame = CGRectMake(15, 15, 200, 50);
    self.layer.borderWidth = 0.2;
}

@end
OK,现在就齐活了,就差tableview中具体的细节实现了,我们先实现从复用池中获取cell:
// 从复用池中获取cell
- (ZJQTableViewCell *)dequeueReusableCell {
    // 从set列表中获取可重用cell View
    ZJQTableViewCell* cell = [self.reuseCells anyObject];
    if (cell) {
        NSLog(@"add cell");
        [self.reuseCells removeObject:cell];
    }

    // 创建新的
    if (!cell) {
        NSLog(@"new cell");
        cell = [[ZJQTableViewCell alloc] init];
    }
    return cell;
}之后就是tableview中数据的更新了,需要更新的情况主要就是:滚动的时候还有添加新的cell的时候,这里我们定义一个更新的函数refreshView:
// 每次添加子视图(即添加cell)时会调用
- (void)layoutSubviews {
    [super layoutSubviews];
    [self refreshView];
}

// 滚动scrollView时调用,刷新数据
- (void)scrollViewDidScroll:(UIScrollView *)scrollView {
    [self refreshView];
}
接下来就是重头戏了,实现数据的更新:
// 刷新数据
- (void)refreshView {
    // 为Null直接返回就行了
    if (CGRectIsNull(self.scrollView.frame)) {
        return;
    }

    // 根据row数量,设置scrollview的高度
    self.scrollView.contentSize = CGSizeMake(self.scrollView.bounds.size.width, [self.datasource numberOfRows] * ZJQ_ROW_HEIGHT);

    // 循环得出scrollView中子视图并去掉所用不可用的cell
    for (ZJQTableViewCell *cellView in [self cellSubView]) {
        // 超过scrollView的frame上边界的cell视图
        if (cellView.frame.origin.y + cellView.frame.size.height < self.scrollView.contentOffset.y) {
            [self recycelCell:cellView];
        }
        // 超过scrollView的frame下边界的cell视图
        if (cellView.frame.origin.y > self.scrollView.contentOffset.y + self.frame.size.height) {
            [self recycelCell:cellView];
        }
    }

    // 展示可见的cell的范围
    int firstVisibleIndex = MAX(0, (float)(self.scrollView.contentOffset.y / ZJQ_ROW_HEIGHT));
    int lastVisibleIndex =  MIN([self.datasource numberOfRows], firstVisibleIndex + 1 + ceil(self.scrollView.frame.size.height / ZJQ_ROW_HEIGHT)); // ceil用于取整

    // 循环展示数据
    for (int row = firstVisibleIndex; row < lastVisibleIndex; row++) {
        // 从委托方法中获取cell,从数据源获取不到的时候就会新建
        ZJQTableViewCell *cell = [self cellForRow:row];
        if (!cell) {
            ZJQTableViewCell *cell = [self.datasource cellForRow:row];
            float topEdgeFowRow = row * ZJQ_ROW_HEIGHT;
            cell.frame = CGRectMake(0, topEdgeFowRow, self.scrollView.frame.size.width, ZJQ_ROW_HEIGHT);
            [self.scrollView insertSubview:cell atIndex:0];
        }
    }
}其中包含了cellSubView和recycelCell私有方法以及两个协议方法numberOfRows和cellForRow
// 回收cell,存到复用池中且从父视图(scrollView)展示中删除
- (void)recycelCell:(UIView *)cell {
    [self.reuseCells addObject:cell];
    [cell removeFromSuperview];
}
// 循环出scrollView中所有的subview(SHCTableViewCell类型)
- (NSArray *)cellSubView {
    NSMutableArray *cells = [[NSMutableArray alloc] init];
    for (UIView *subView in self.scrollView.subviews) {
        if ([subView isKindOfClass:[ZJQTableViewCell class]]) {
            [cells addObject:subView];
        }
    }
    return [cells copy];
}
// 返回给定行的cell视图
- (ZJQTableViewCell *)cellForRow:(NSInteger)row {
    float topEdgeForRow = row * ZJQ_ROW_HEIGHT;
    for (ZJQTableViewCell *cellView in [self cellSubView]) {
        if (cellView.frame.origin.y == topEdgeForRow) {
            return cellView;
        }
    }
    return nil;
}
好了,一个自定义的tableView就完成了,下面我们就来试试:
    self.array = [[NSMutableArray alloc] init];
    [self.array addObject:@"00000"];
    [self.array addObject:@"11111"];
    [self.array addObject:@"22222"];
    [self.array addObject:@"33333"];
    [self.array addObject:@"44444"];
    [self.array addObject:@"55555"];
    [self.array addObject:@"66666"];
    [self.array addObject:@"77777"];
    [self.array addObject:@"88888"];
    [self.array addObject:@"99999"];
    [self.array addObject:@"`````"];
    [self.array addObject:@"-----"];
    [self.array addObject:@"====="];

    self.tableView = [[ZJQTableView alloc] initWithFrame:self.view.frame];
    [self.tableView registerClassForCells:[ZJQTableView class]];
    self.tableView.datasource = self;
    [self.view addSubview:self.tableView];

// 协议中的方法
// 数据展示
- (ZJQTableViewCell *)cellForRow:(NSInteger)row {
    ZJQTableViewCell *cell = [self.tableView dequeueReusableCell];
    cell.label.text = self.array[row];
    return cell;
}

// 返回行
- (NSInteger)numberOfRows {
    return self.array.count;
}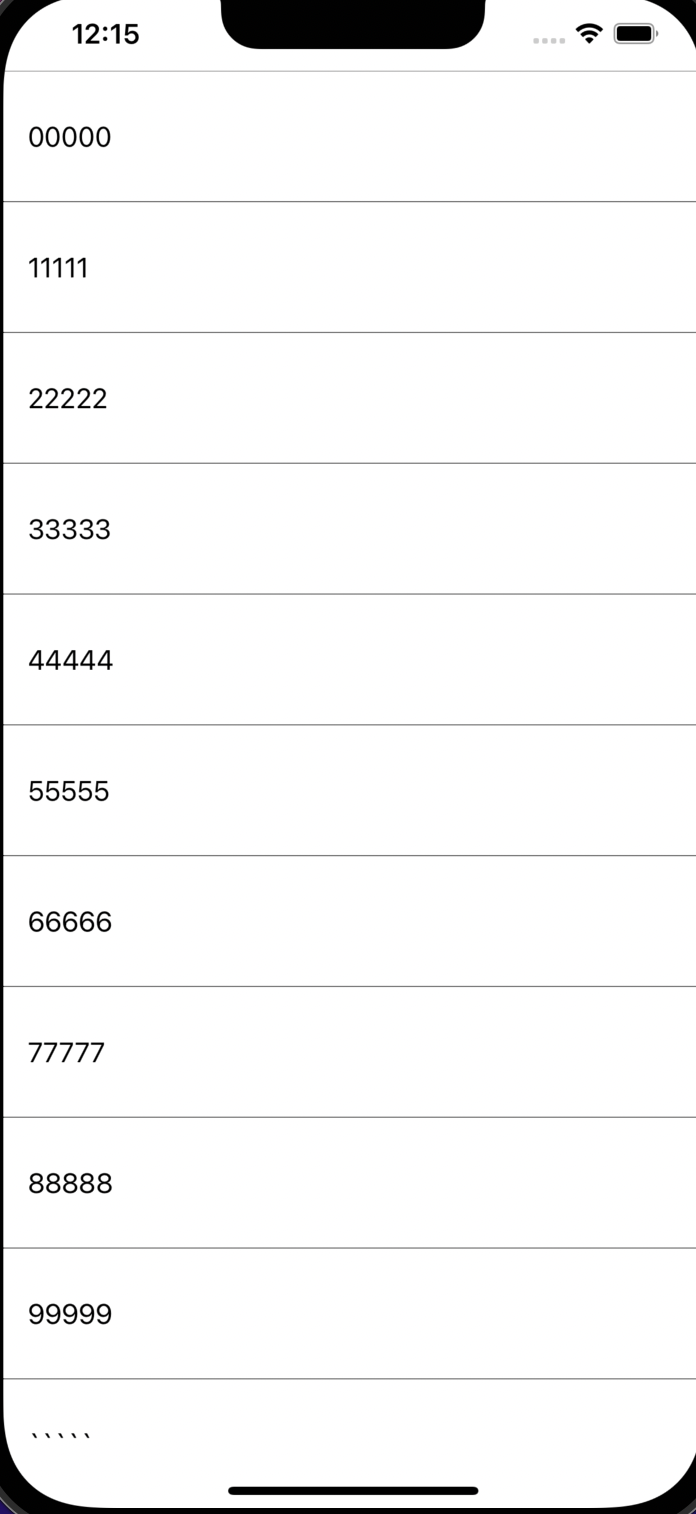
很完美!!!