This is my side project which helped me learn how to use Raspberry Pi. I used it to create some kind of meteo station with two sensors connected via I2C interface. With Python scripts Raspberry execute measurements and save them to the PostgreSQL database. All data are presented by Django application. This project was also a good opportunity to remaind how write Ansible playbooks for automatic deployment.
- Ubuntu
- Python
- Libs: SQLalchemy, smbus2, celery
- Django
- HTML
- Ansible
- Raspberry Pi with I2C interface
- Raspberry Pi 4 model B with Ubuntu server 20.04
- GY-68 BMP180 sensor
- GY-30 H1750 sensor
- 1 Host with SSH access to Raspberry for Ansible (pref. Linux)
First of all you need to create user that will be running application on Raspberry Pi. In my case it will be "meteo" (this user is already related to ansible inventory). You can create user with this command:
# sudo useradd -m <username>
This command will create system user with given username and home directory. Next, you have to add this user to two groups: 'sudo' and 'i2c'.
# sudo usermod -a -G sudo <username>
# sudo usermod -a -G i2c <username>
To be able to log in with this user, change the password with command:
# sudo passwd <username>
This user will be running our MeteoApp. Also we will use it as ansible user to deploy application.
Now it is very important to allow ansible execute some commands with sudo. If you use sudo, you have to provide user password for authentication. But we want deploy application full automaticly without waiting for password prompt. In this case we need to change one line in sudo group settings. Execute command:
# sudo visudo
And find line:
%sudo ALL=(ALL:ALL) ALL:ALL
Change it to:
%sudo ALL=(ALL:ALL) NOPASSWD:ALL
Now if you relog, you can use sudo without providing password.
Last thing we have to do with Raspberry is setting environment variables for our installation. Application and scripts have following ENVs:
export DB_PASSWORD=
export DB_HOST=
export DB_USER=
export DB_NAME=
export DB_PORT=
export WEB_INTERFACE_SECRET=
export APP_PATH=
### Don't forget to fill this variables with values ###
I hope that everyone knows what fist 5 variable means :) . However WEB_INTERFACE_SECRET stores secret key for Django application and APP_PATH should be filled with path to directory for application's source code. Put this variables in environment script such as a:
/home/<username>/.profile
It is quite simple. Just take protoboard and connect wires as shown below.

Connect SDA bus to GPIO 2 and SCL bus to GPIO 3. Next connect GND and Vcc to Raspberry
Now go to your system with Ansible installed. We need to create SSH keys for your user and send public key to Raspberry. To create pair of keys use command:
# ssh-keygen
Now to send public key to new user on Raspberry execute ssh-copy-id command:
# ssh-copy-id <raspberry_username>@<raspberry_ip>
After that If you try to log in with SSH to raspberry you won't be asked about password.
Firstly clone this repository and go to the 'ansible' directory.
There is some values that you have to change in inventory. All of them are listed below:
ansible_host=<raspberry_ip>
ansible_user=<raspberry_username>
ansible_ssh_private_key_file=<path to private key that we generated moment ago. (Path on ansible host ofc.)>
env_path=<path to script where you put environment variables>
We need two modules (community.postgresql.postgresql_db and community.postgresql.postgresql_user) to manage PostgreSQL database. You can install them with following command:
ansible-galaxy collection install community.postgresql
To start installation process you have to execute following command in 'ansible' directory:
ansible-playbook -i inventory.yaml main.yaml
This command will start installation and you have to wait until end.
This playbook will update apt packages and install python3 with all required libraries
This playbook will clone repository and will put source code in APP_PATH. At the end it will install all python requirements with pip.
This playbook will install redis server for message broker. It will also install PostgreSQL where measurements data will be stored. There is additional libreries with 'i2c-tools' in case you need to debug sensors connection.
This playbook will create user and database in PostgreSQL. This user will be used to connect application with database through SQLalchemy.
This playbook will add cron task that run your appliction (WebApp with gunicorn, redis, celery worker) on every system reboot.
This playbook just restart your system. This is required to apply all new configuration and let cron run application.
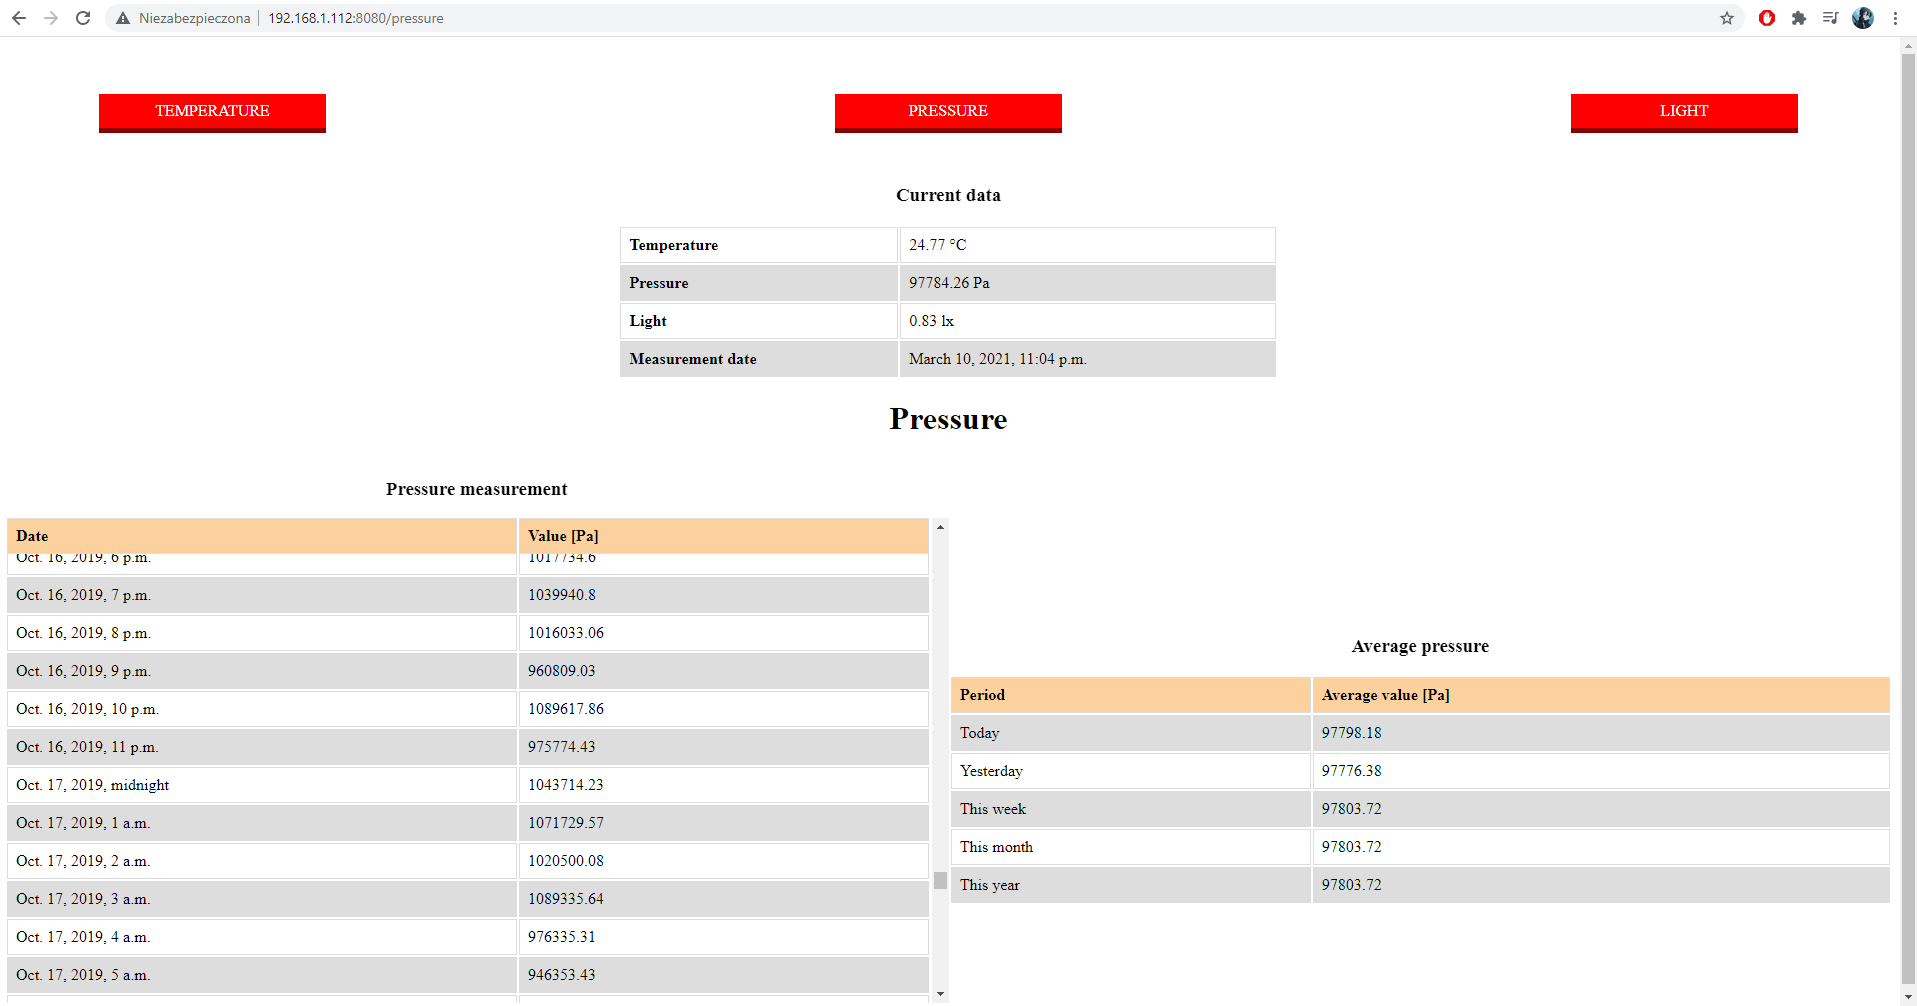
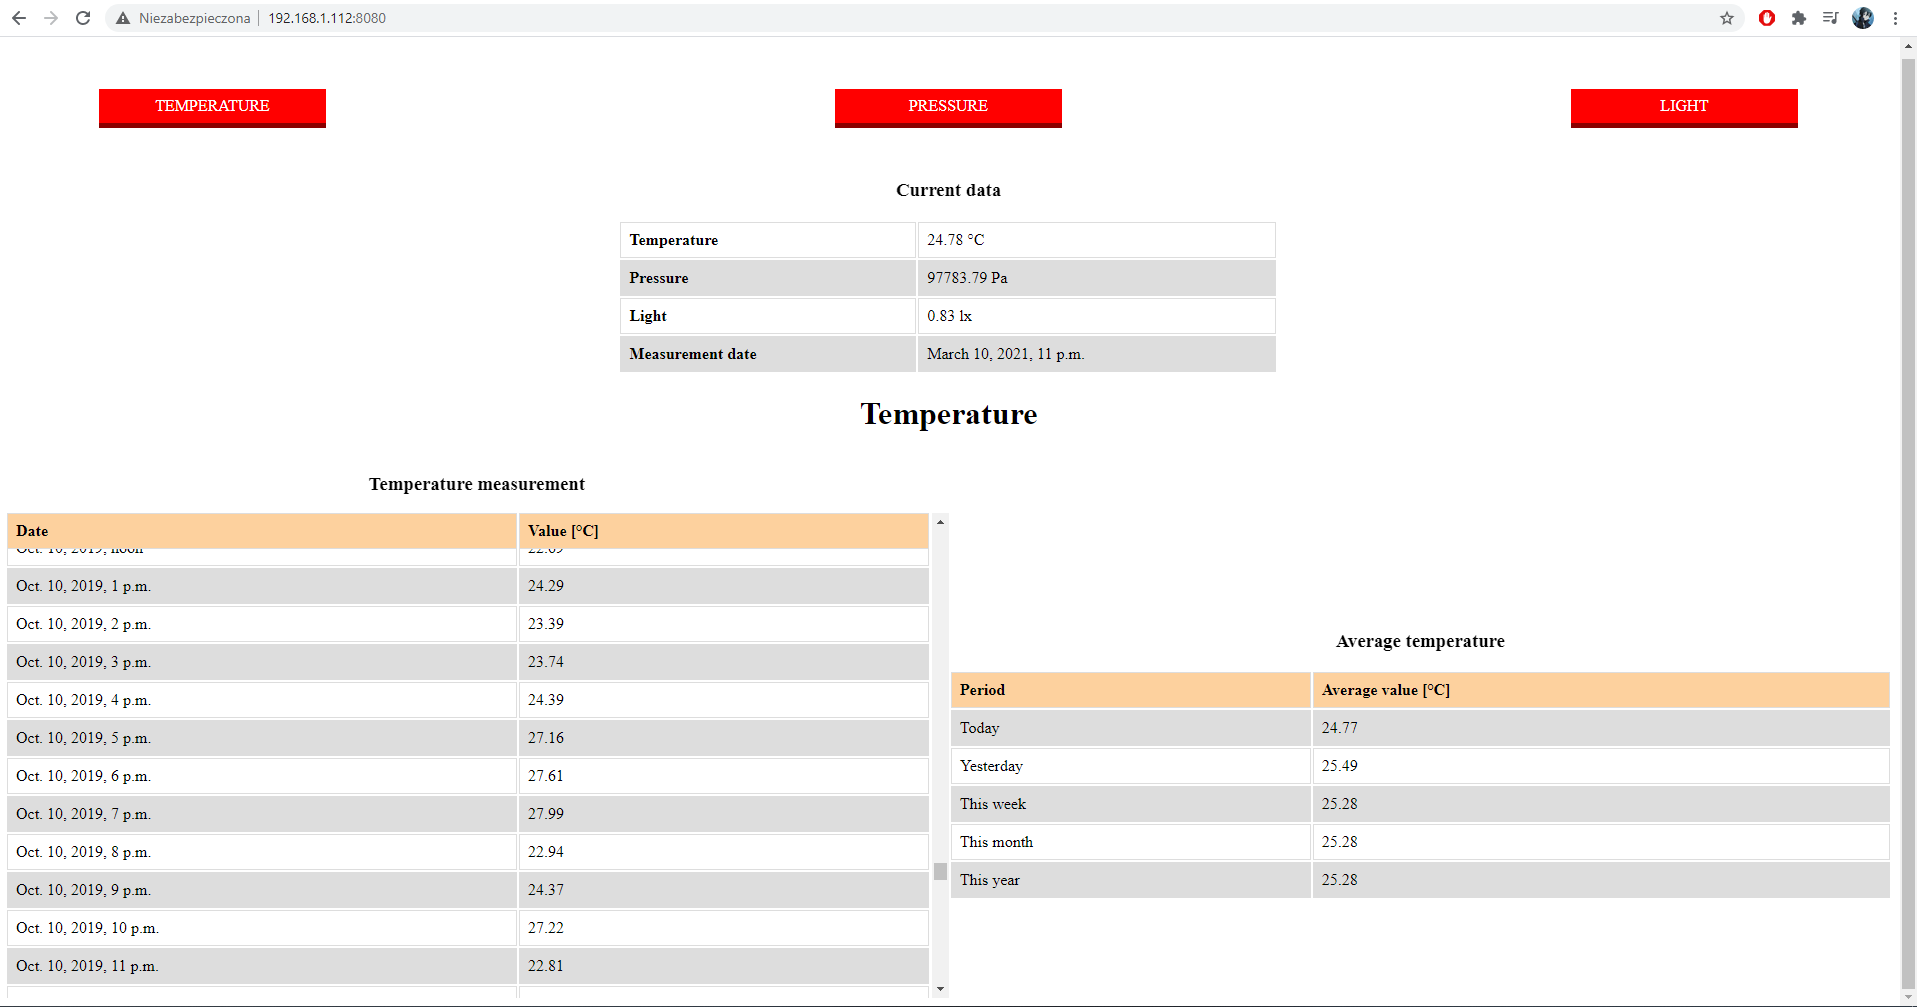
All measurements are presented with Django application. There are three URI adresses:
/temperature (also '/')
/light
/pressure
Each page has three tables. First table shows current measurement. If you refresh website, Django will execute measurement and show current fresh data. Second table shows all measurements with date. Last table shows avarage values for given periods of time.

There is defined one task for celery in meteo_web_interface/tasks.py. If this task is executed, sensors are activated and measurement data are saved to database. This task is executed once per hour by default. It is configured in settings.py via crontab module.
It is package with classes used to create this app. You can find there classes to controll sensors, or class which is used to connect with database.
- Create plot with database data and print it on websites