Backend Configuration Settings
Update ubuntu on your EC2
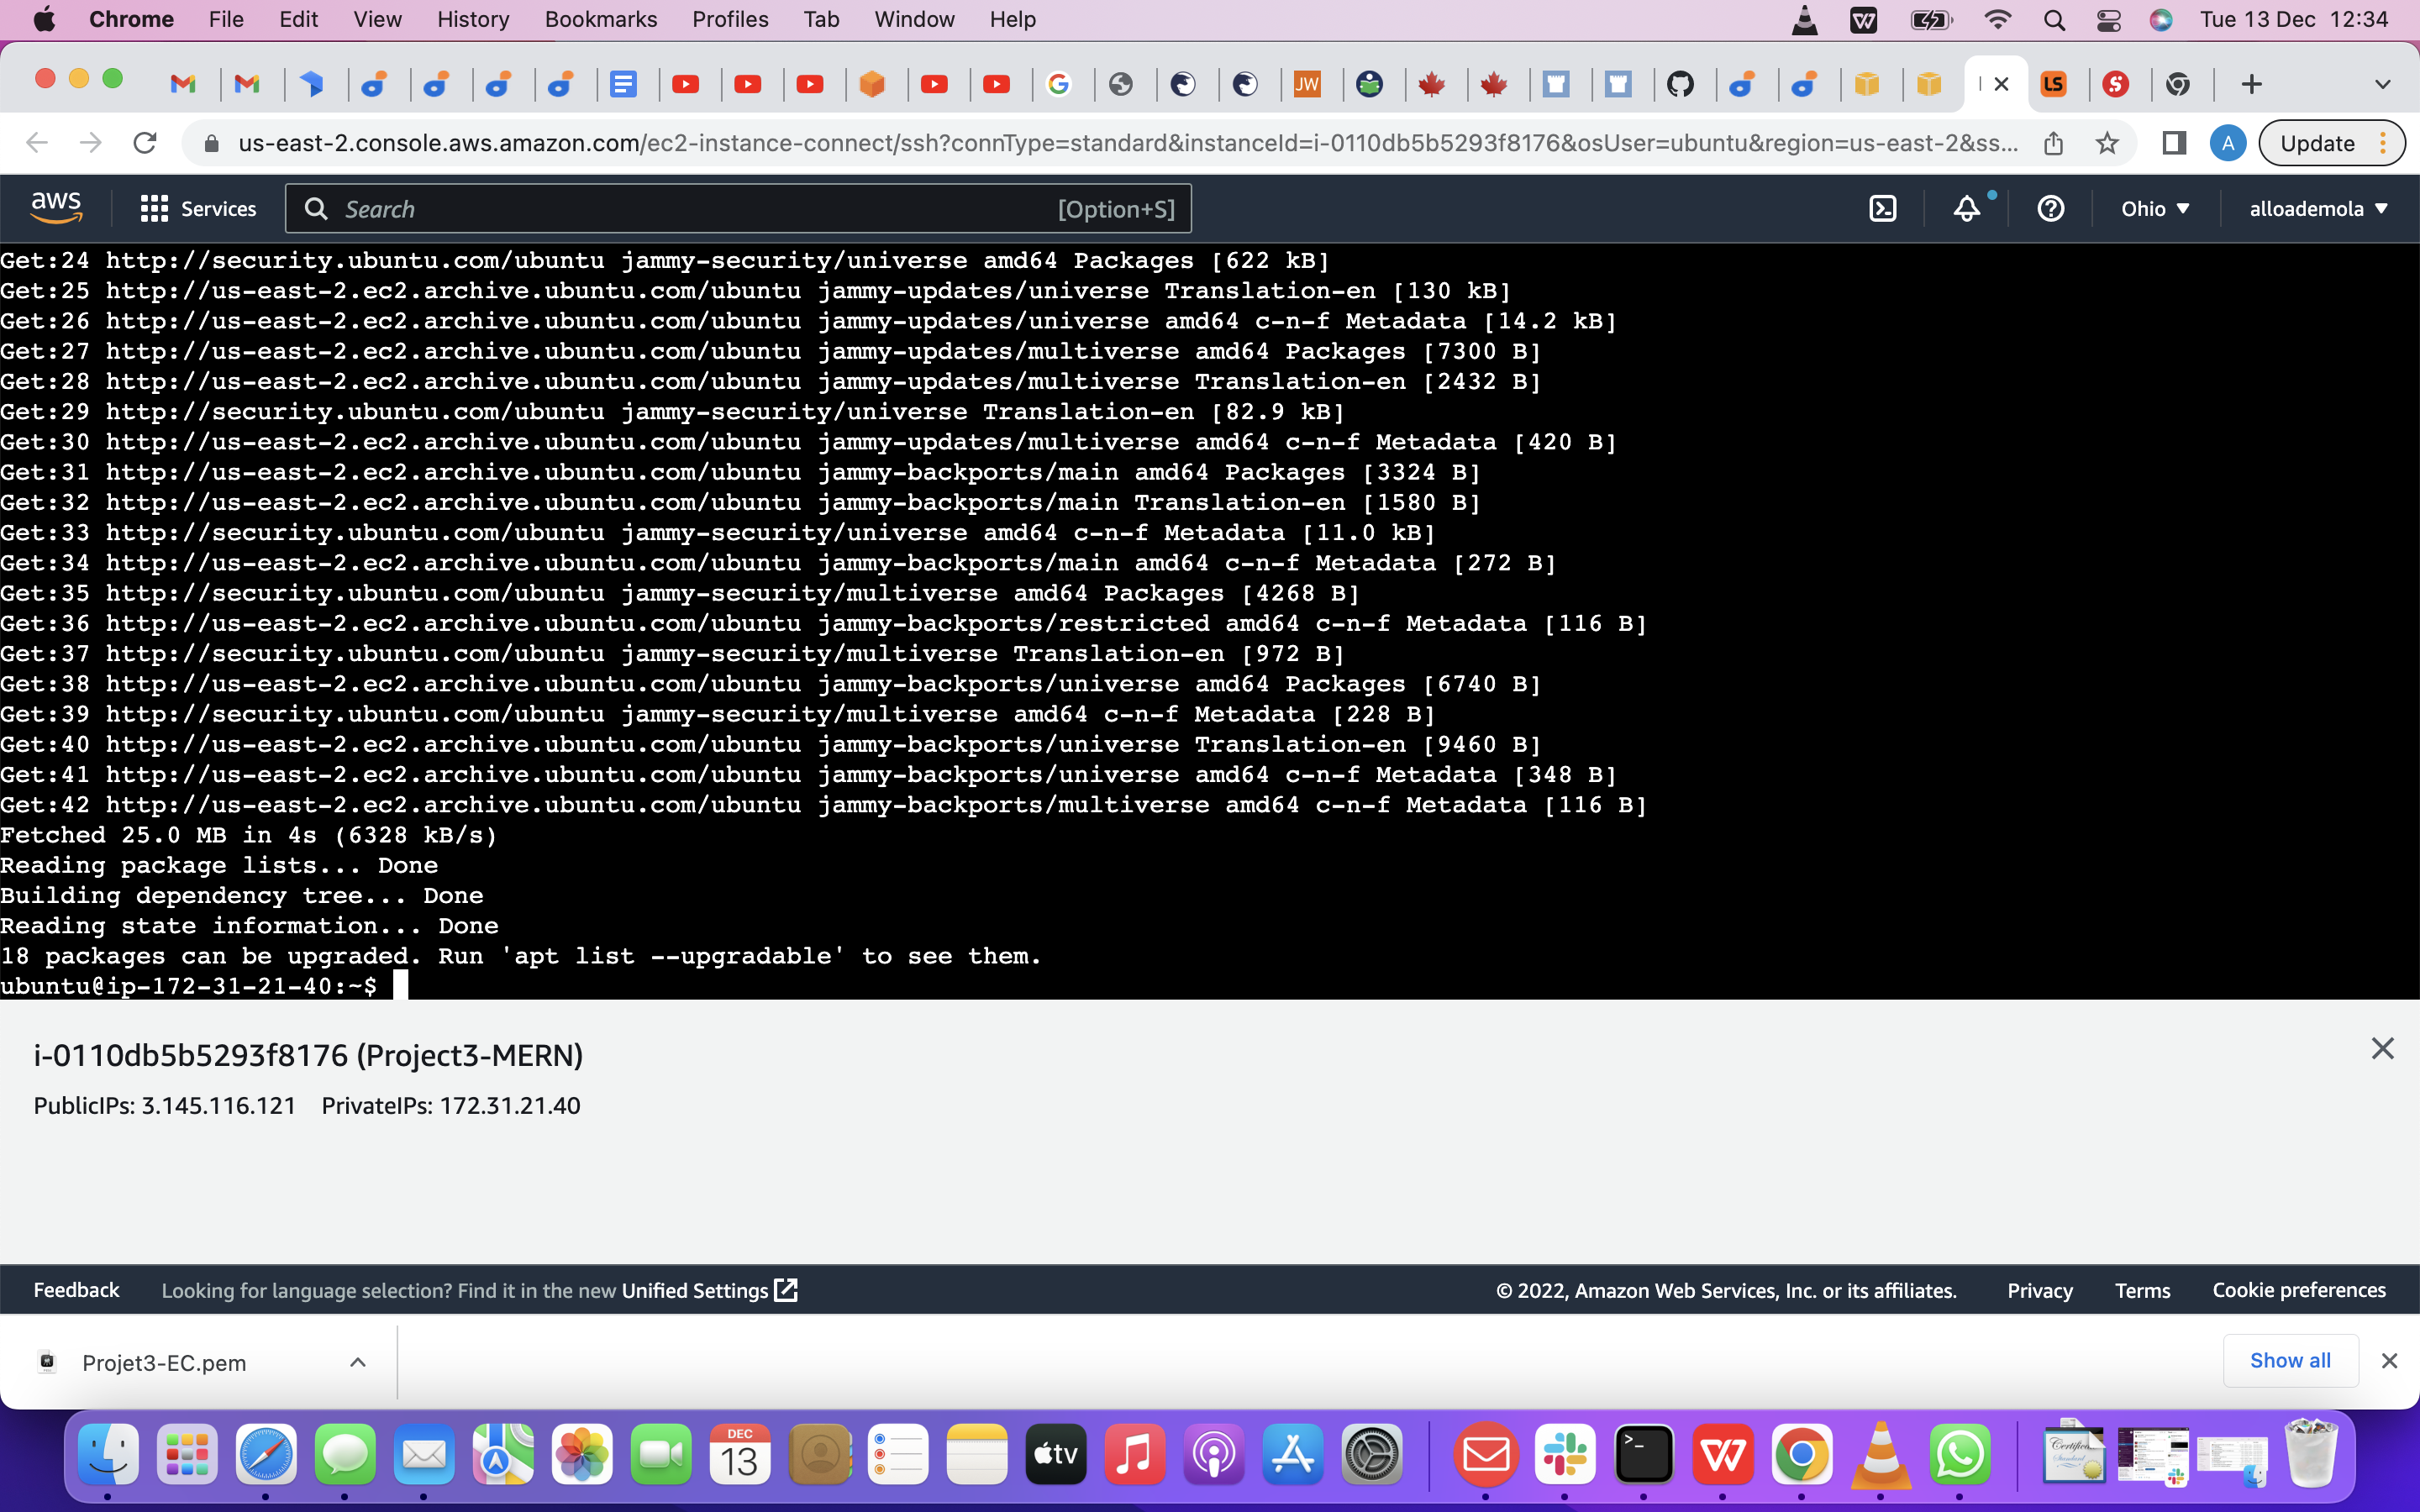
sudo apt update
 how it looks like after updating
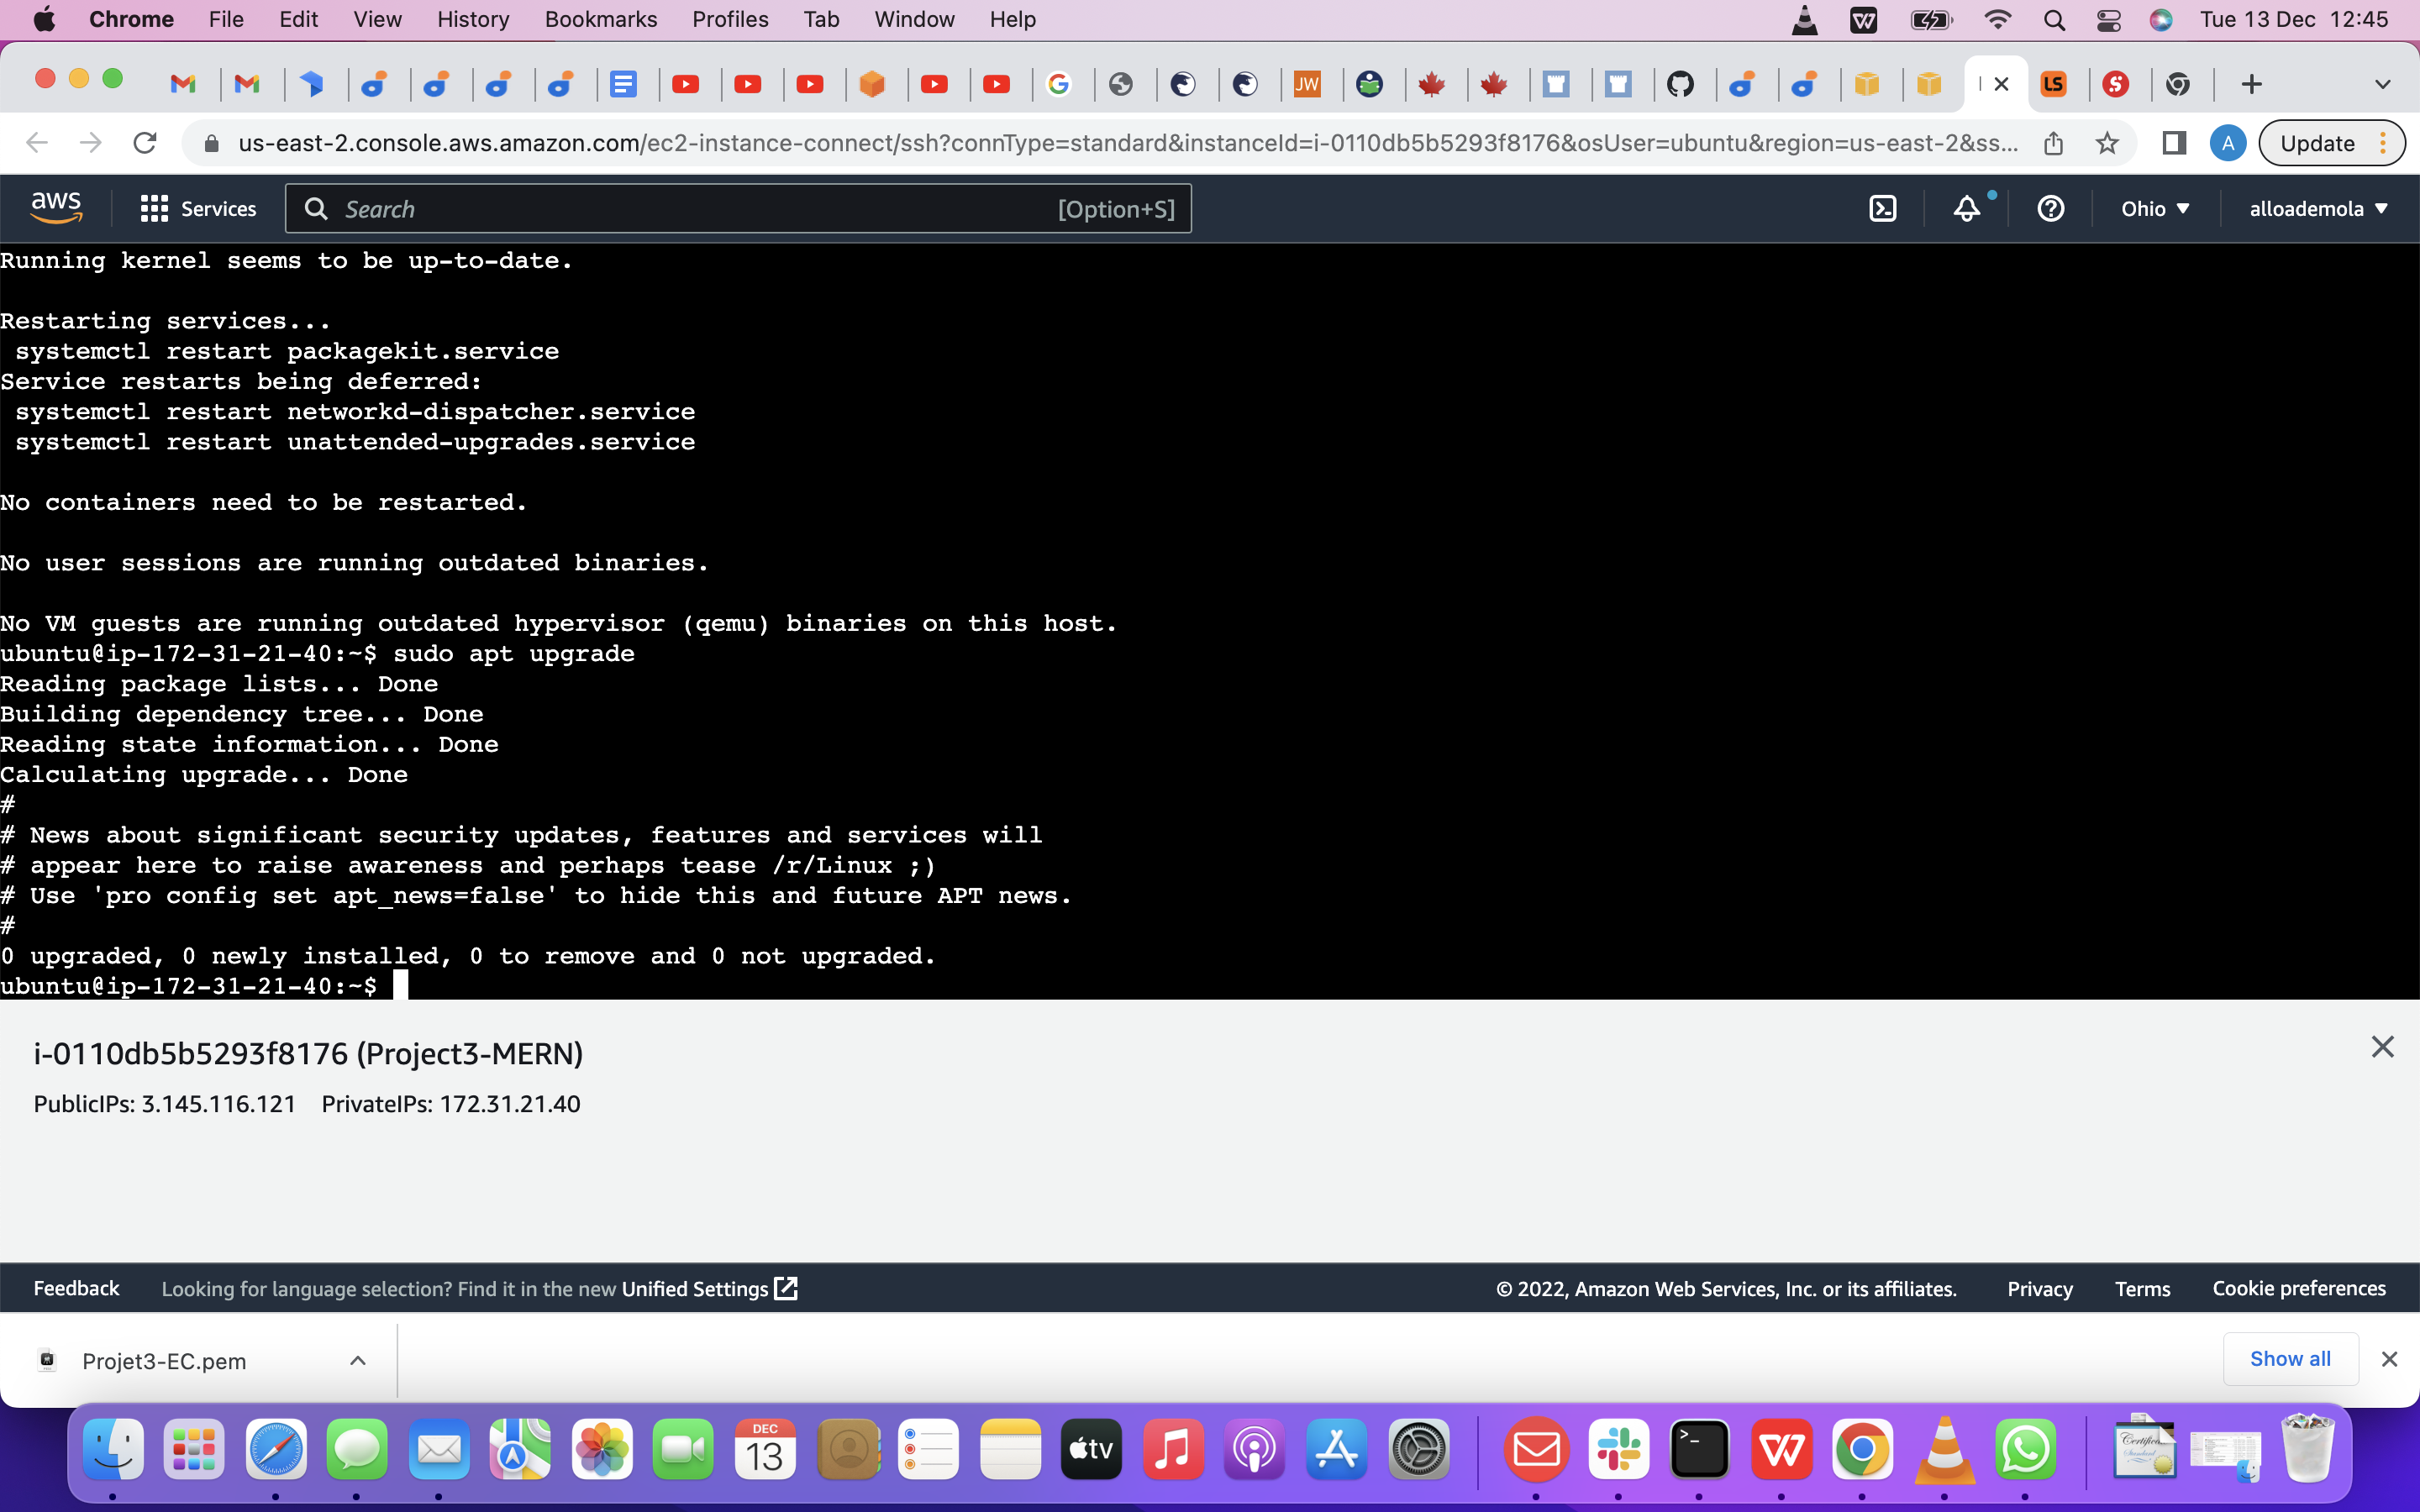
Upgrade ubuntu
sudo apt upgrade
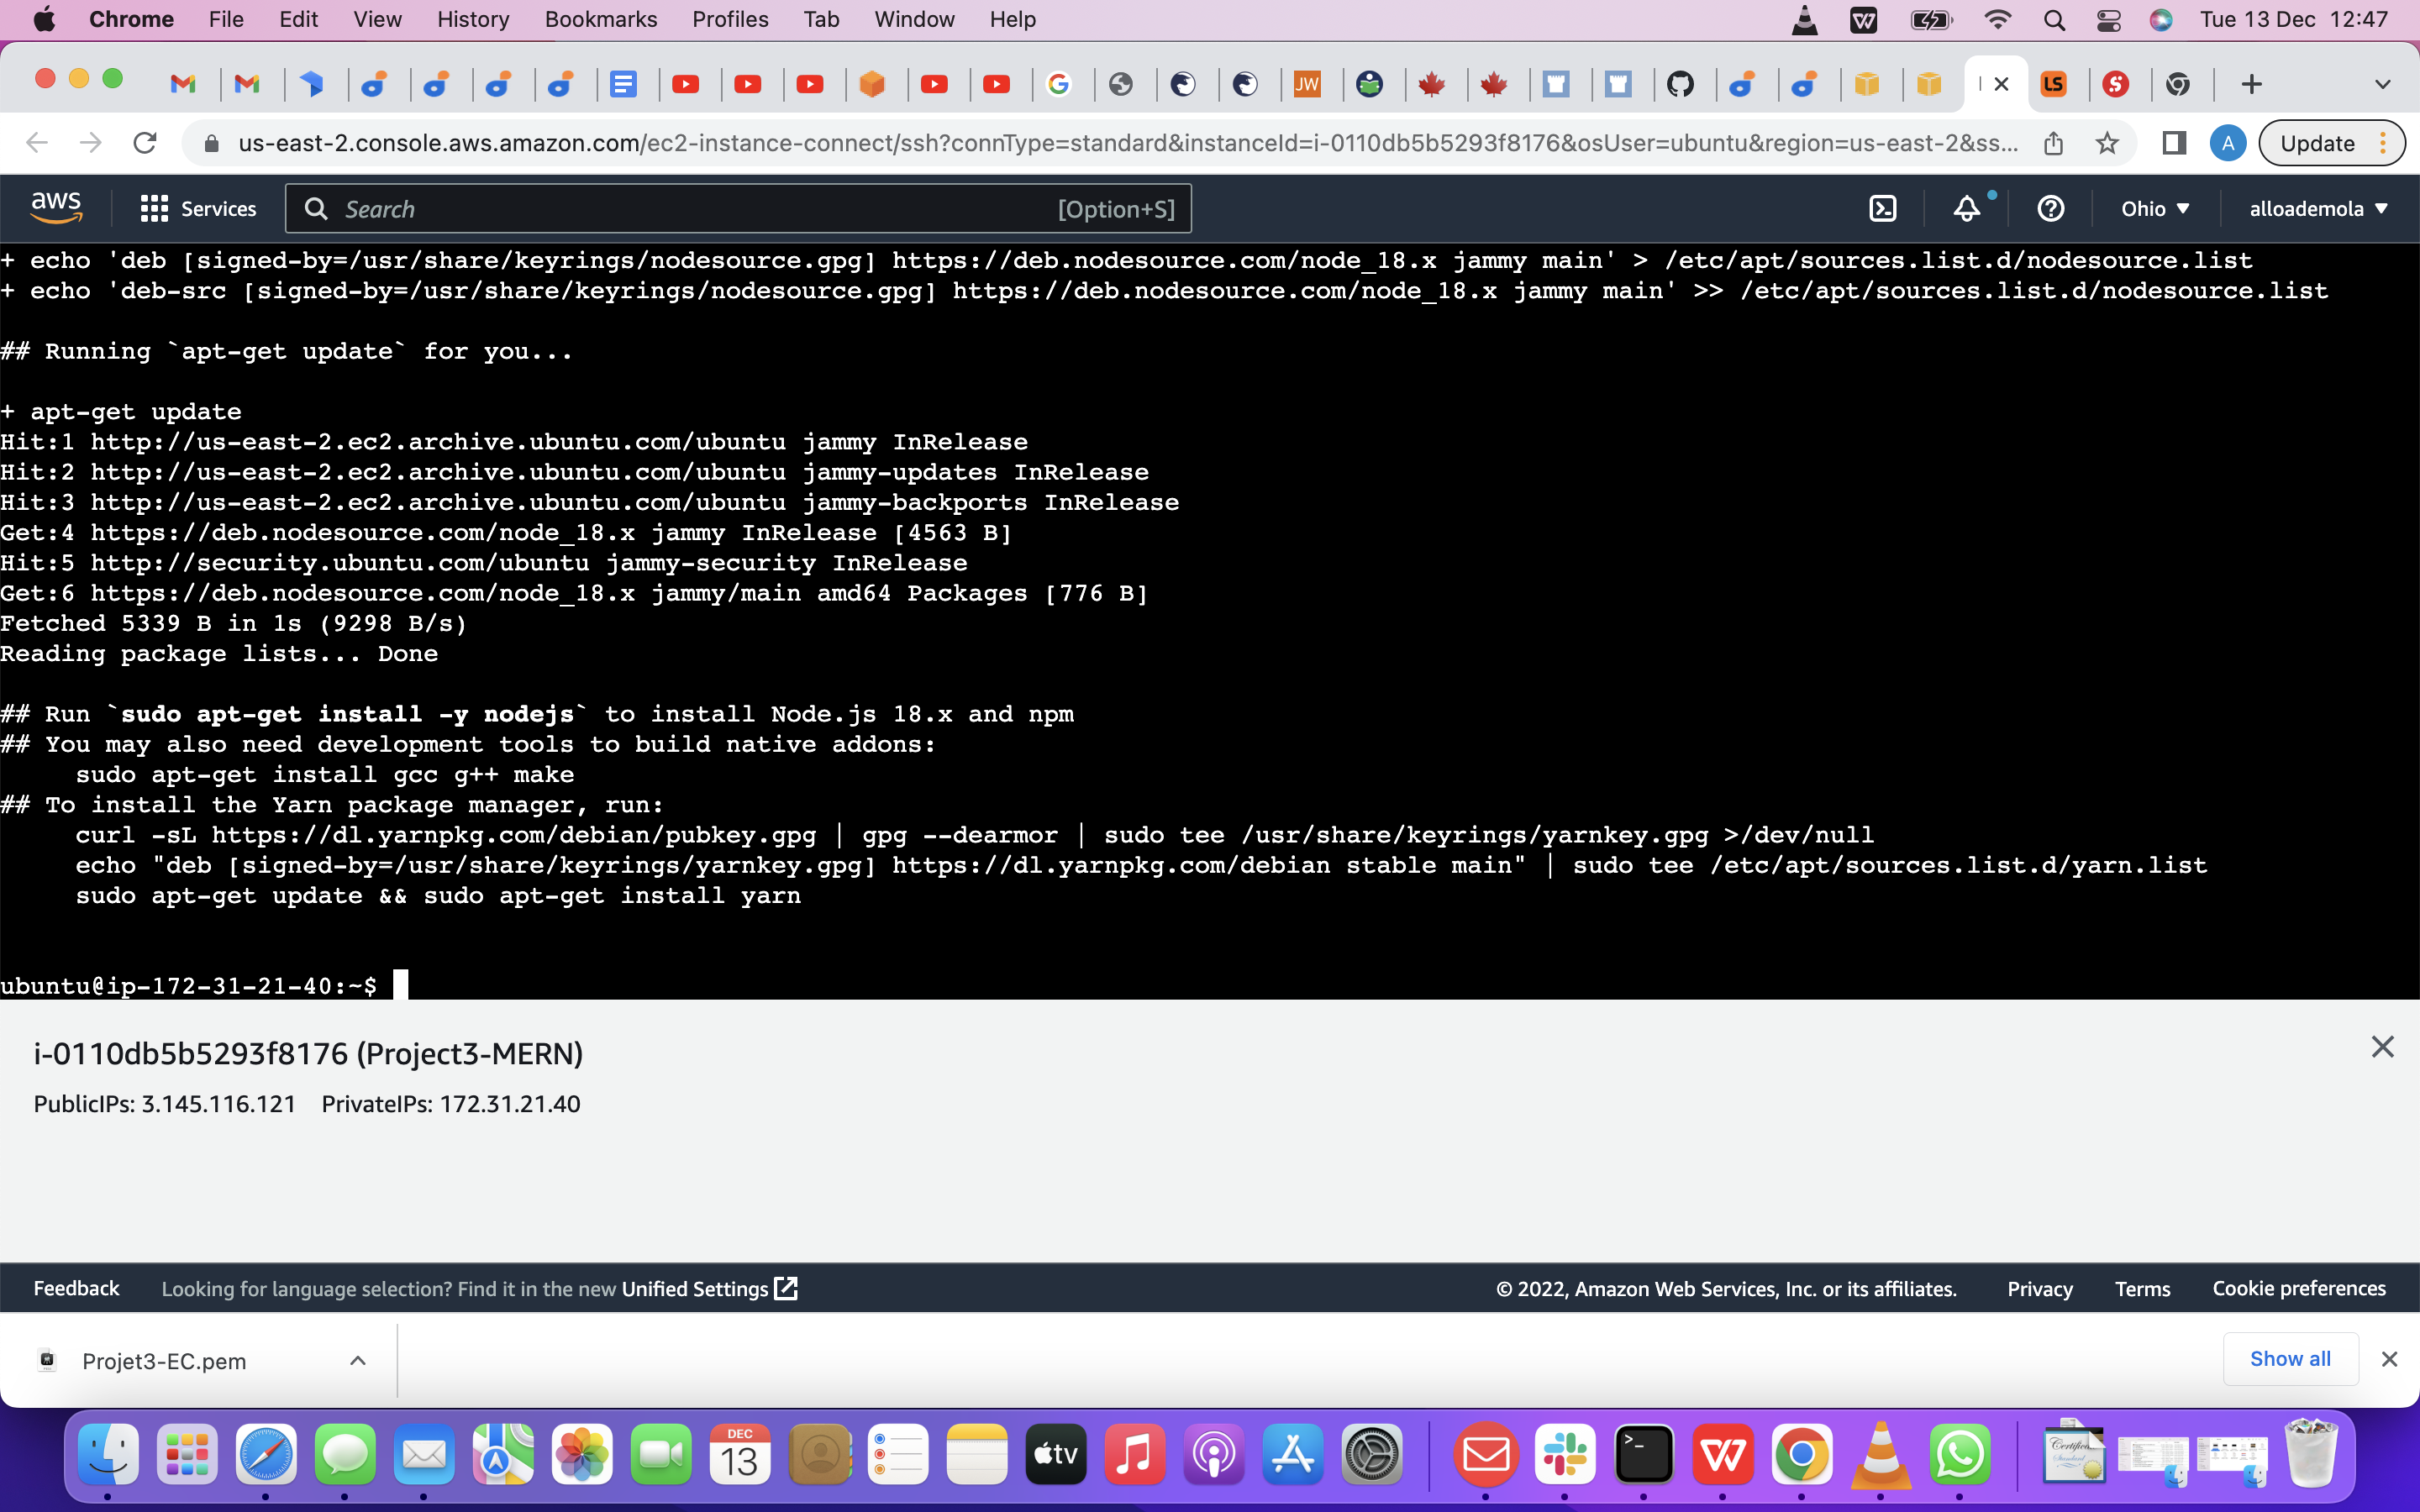
getting the location of Node.js software from Ubuntu repositories.
using. curl -fsSL https://deb.nodesource.com/setup_18.x | sudo -E bash -
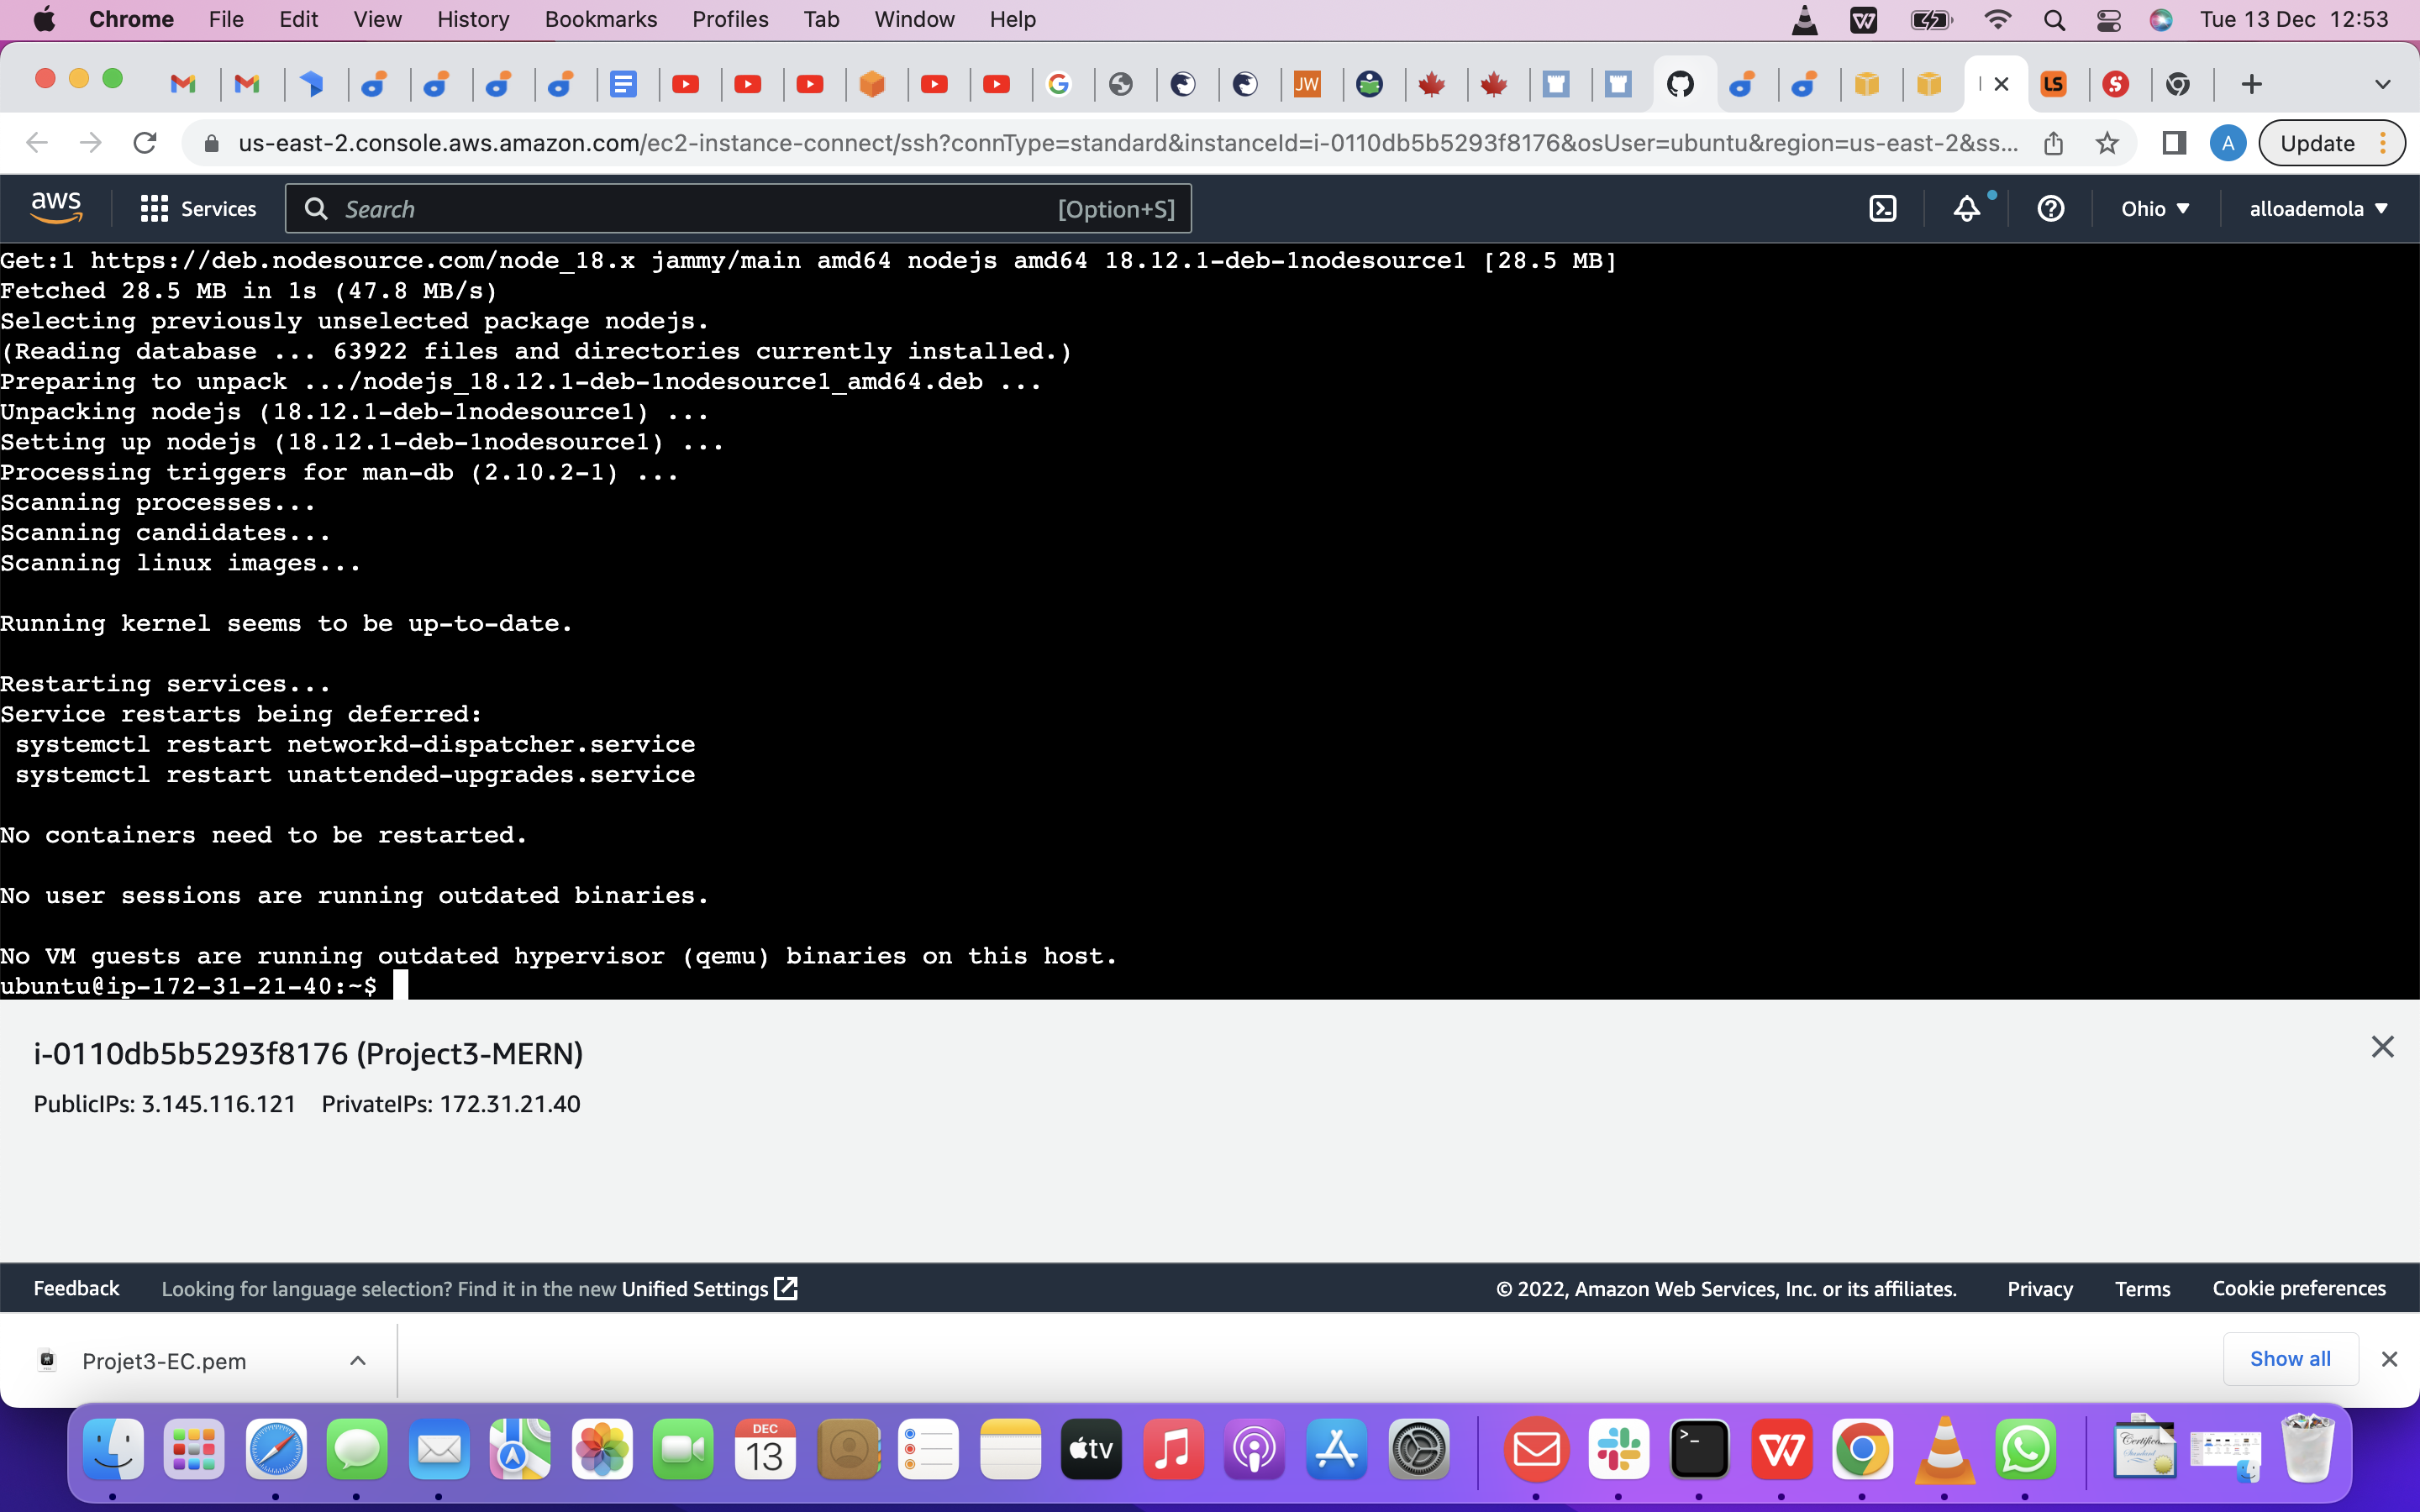
 To Install Node.js on the server
We are going to use this command below
To Install Node.js on the server
We are going to use this command below
sudo apt-get install -y nodejs
Note: The command above installs both nodejs and npm. NPM is a package manager for Node like apt for Ubuntu, it is used to install Node modules & packages and to manage dependency conflicts.
So to Verify the node installation we are going to use this command below node -v npm -v
Application Code Setup So now , we are going to Create a new directory for our To-Do project: using this command below mkdir Todo
Run the command below to verify that the Todo directory is created with ls command
Note: In order to see some more useful information about files and directories, you can use the following combination of keys, ls -lih – it will show you different properties and size in human readable format. You can learn more about different useful keys for ls command with ls --help.
Now change your current directory to the newly created one:using cd Todo
Next, we are going to use the command npm init to initialise our project, so that a new file named package.json will be created. This file will normally contain information about your application and the dependencies that it needs to run. Follow the prompts after running the command. You can press Enter several times to accept default values, then accept to write out the package.json file by typing yes.
using this command below npm init
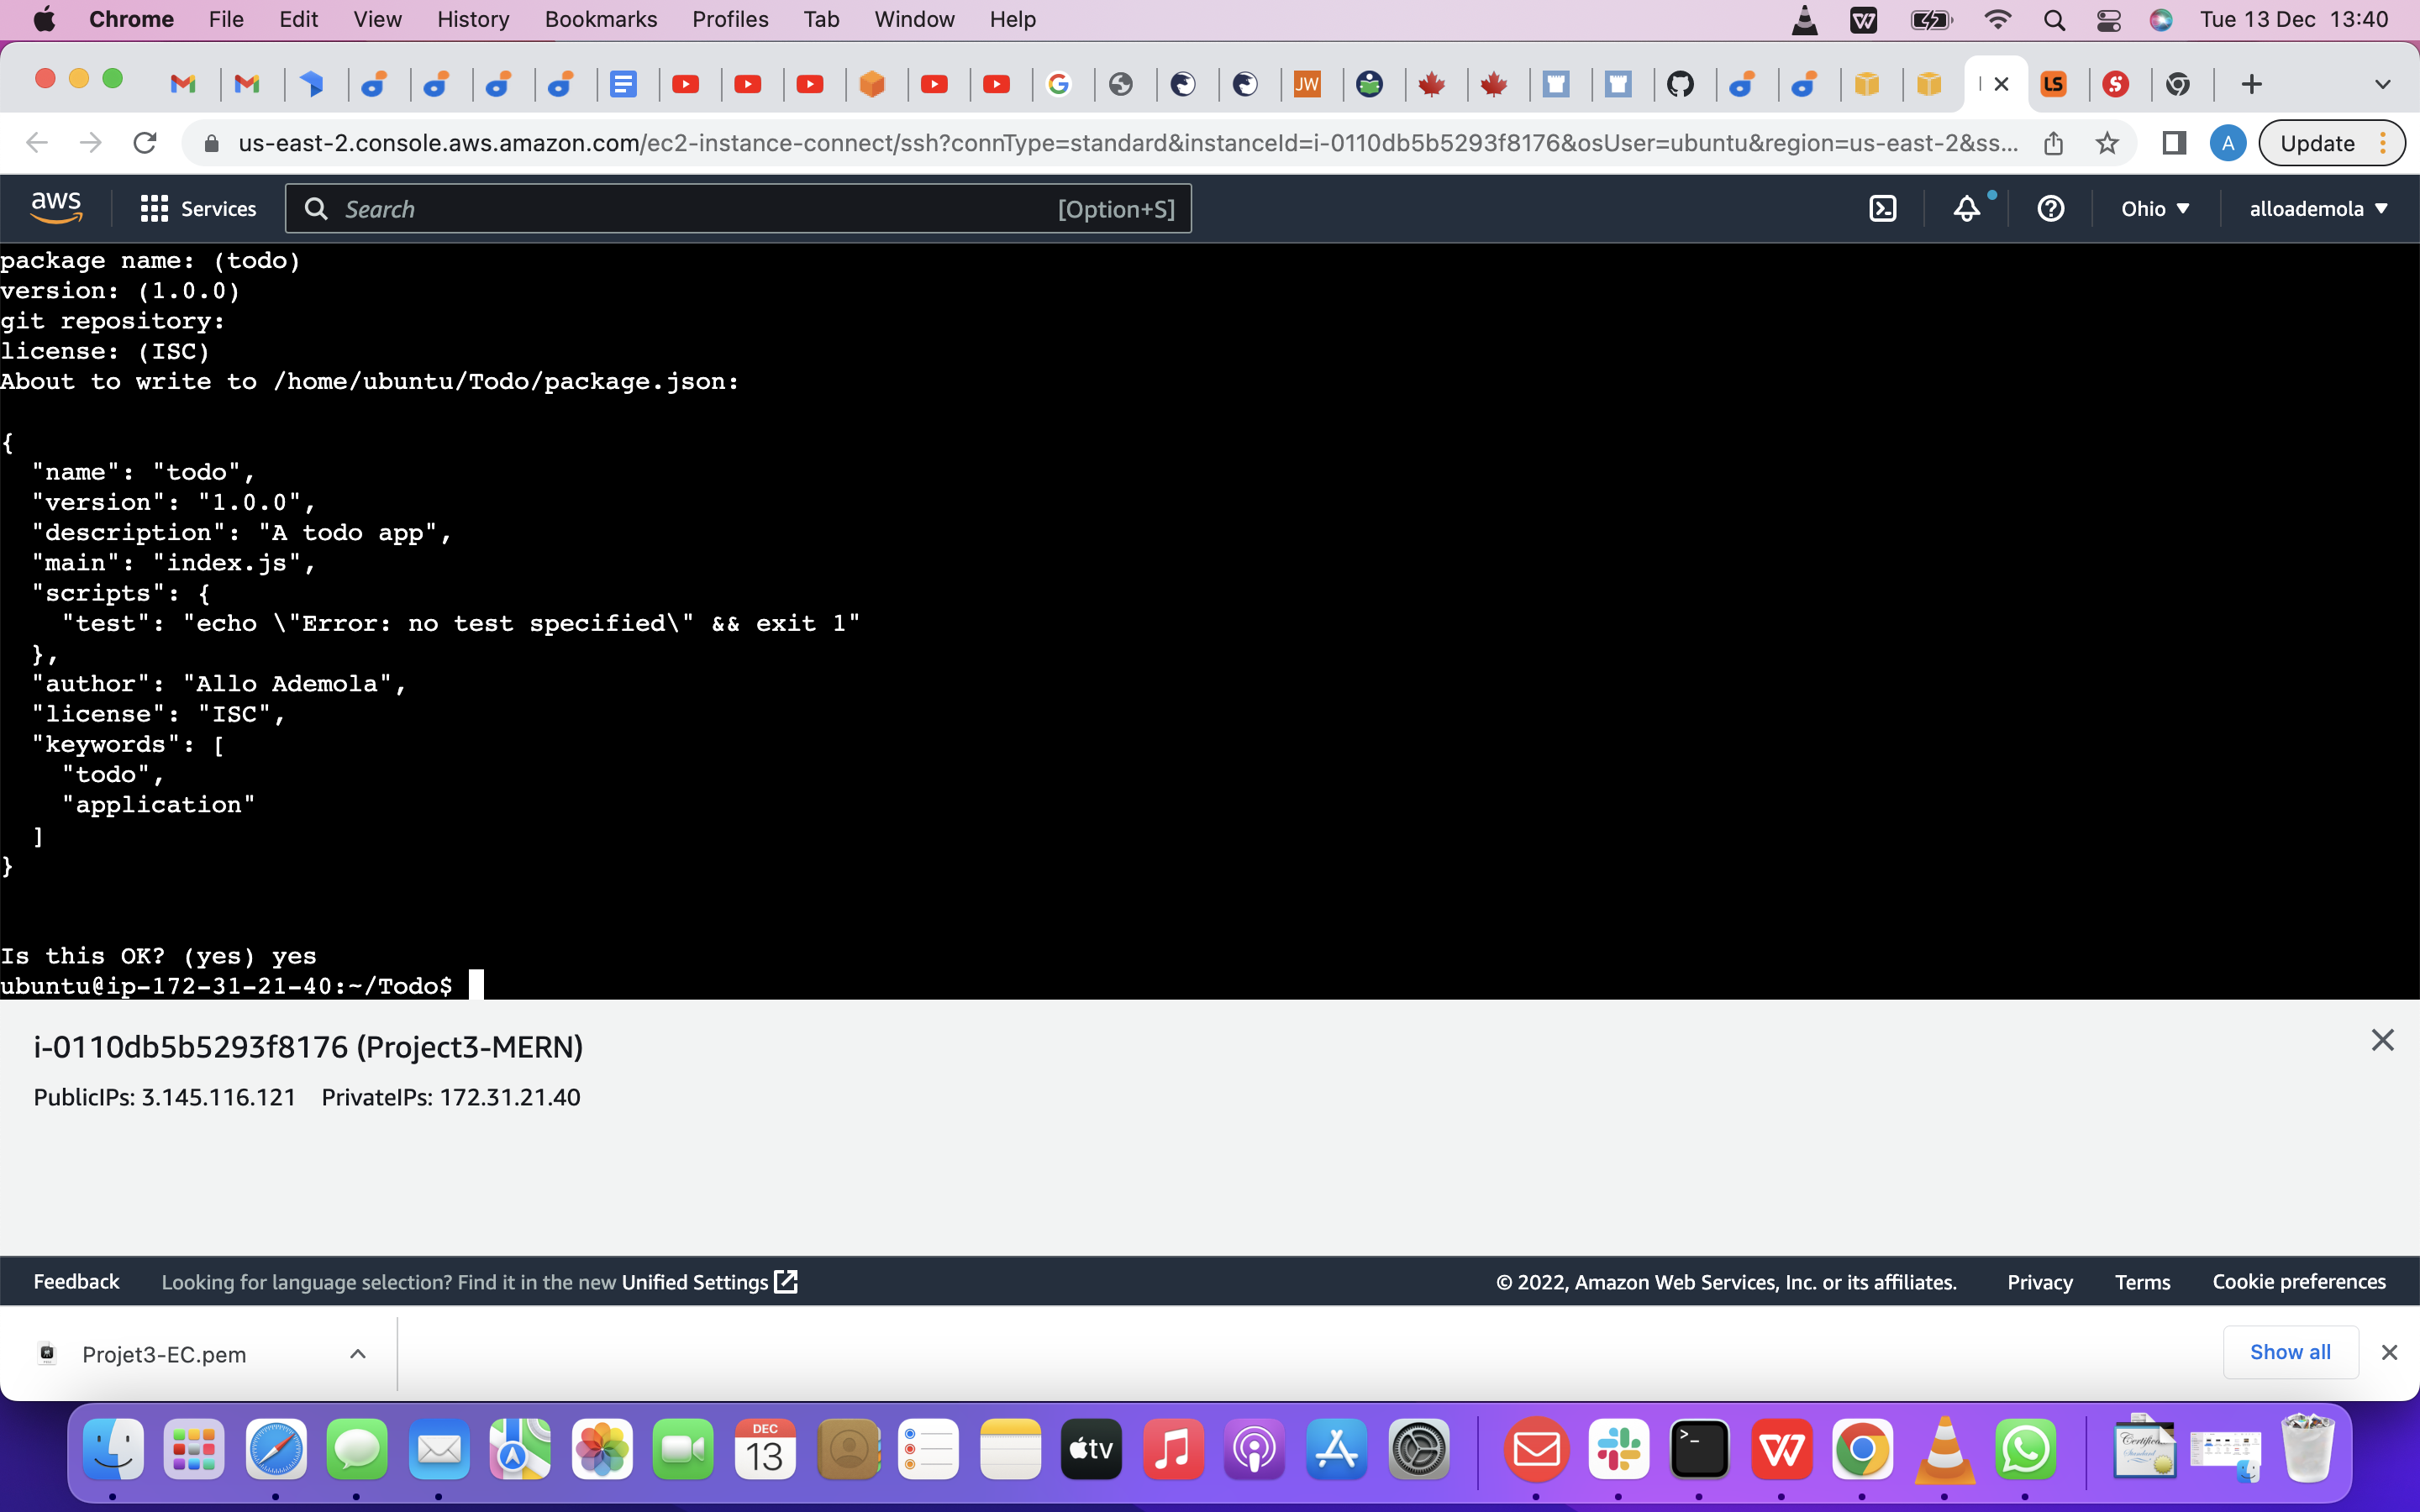
so we need to run command ls to confirm that we have package.json file created.
 done.
done.
Next step is to Install ExpressJs and create the Routes directory.
To Install ExpressJS We need to Remember that, Express is a framework for Node.js, therefore a lot of things developers would have programmed is already taken care of out of the box. In that case, it simplifies development, and abstracts a lot of low level details. For example, Express helps us, to define routes of your application based on HTTP methods and URLs.
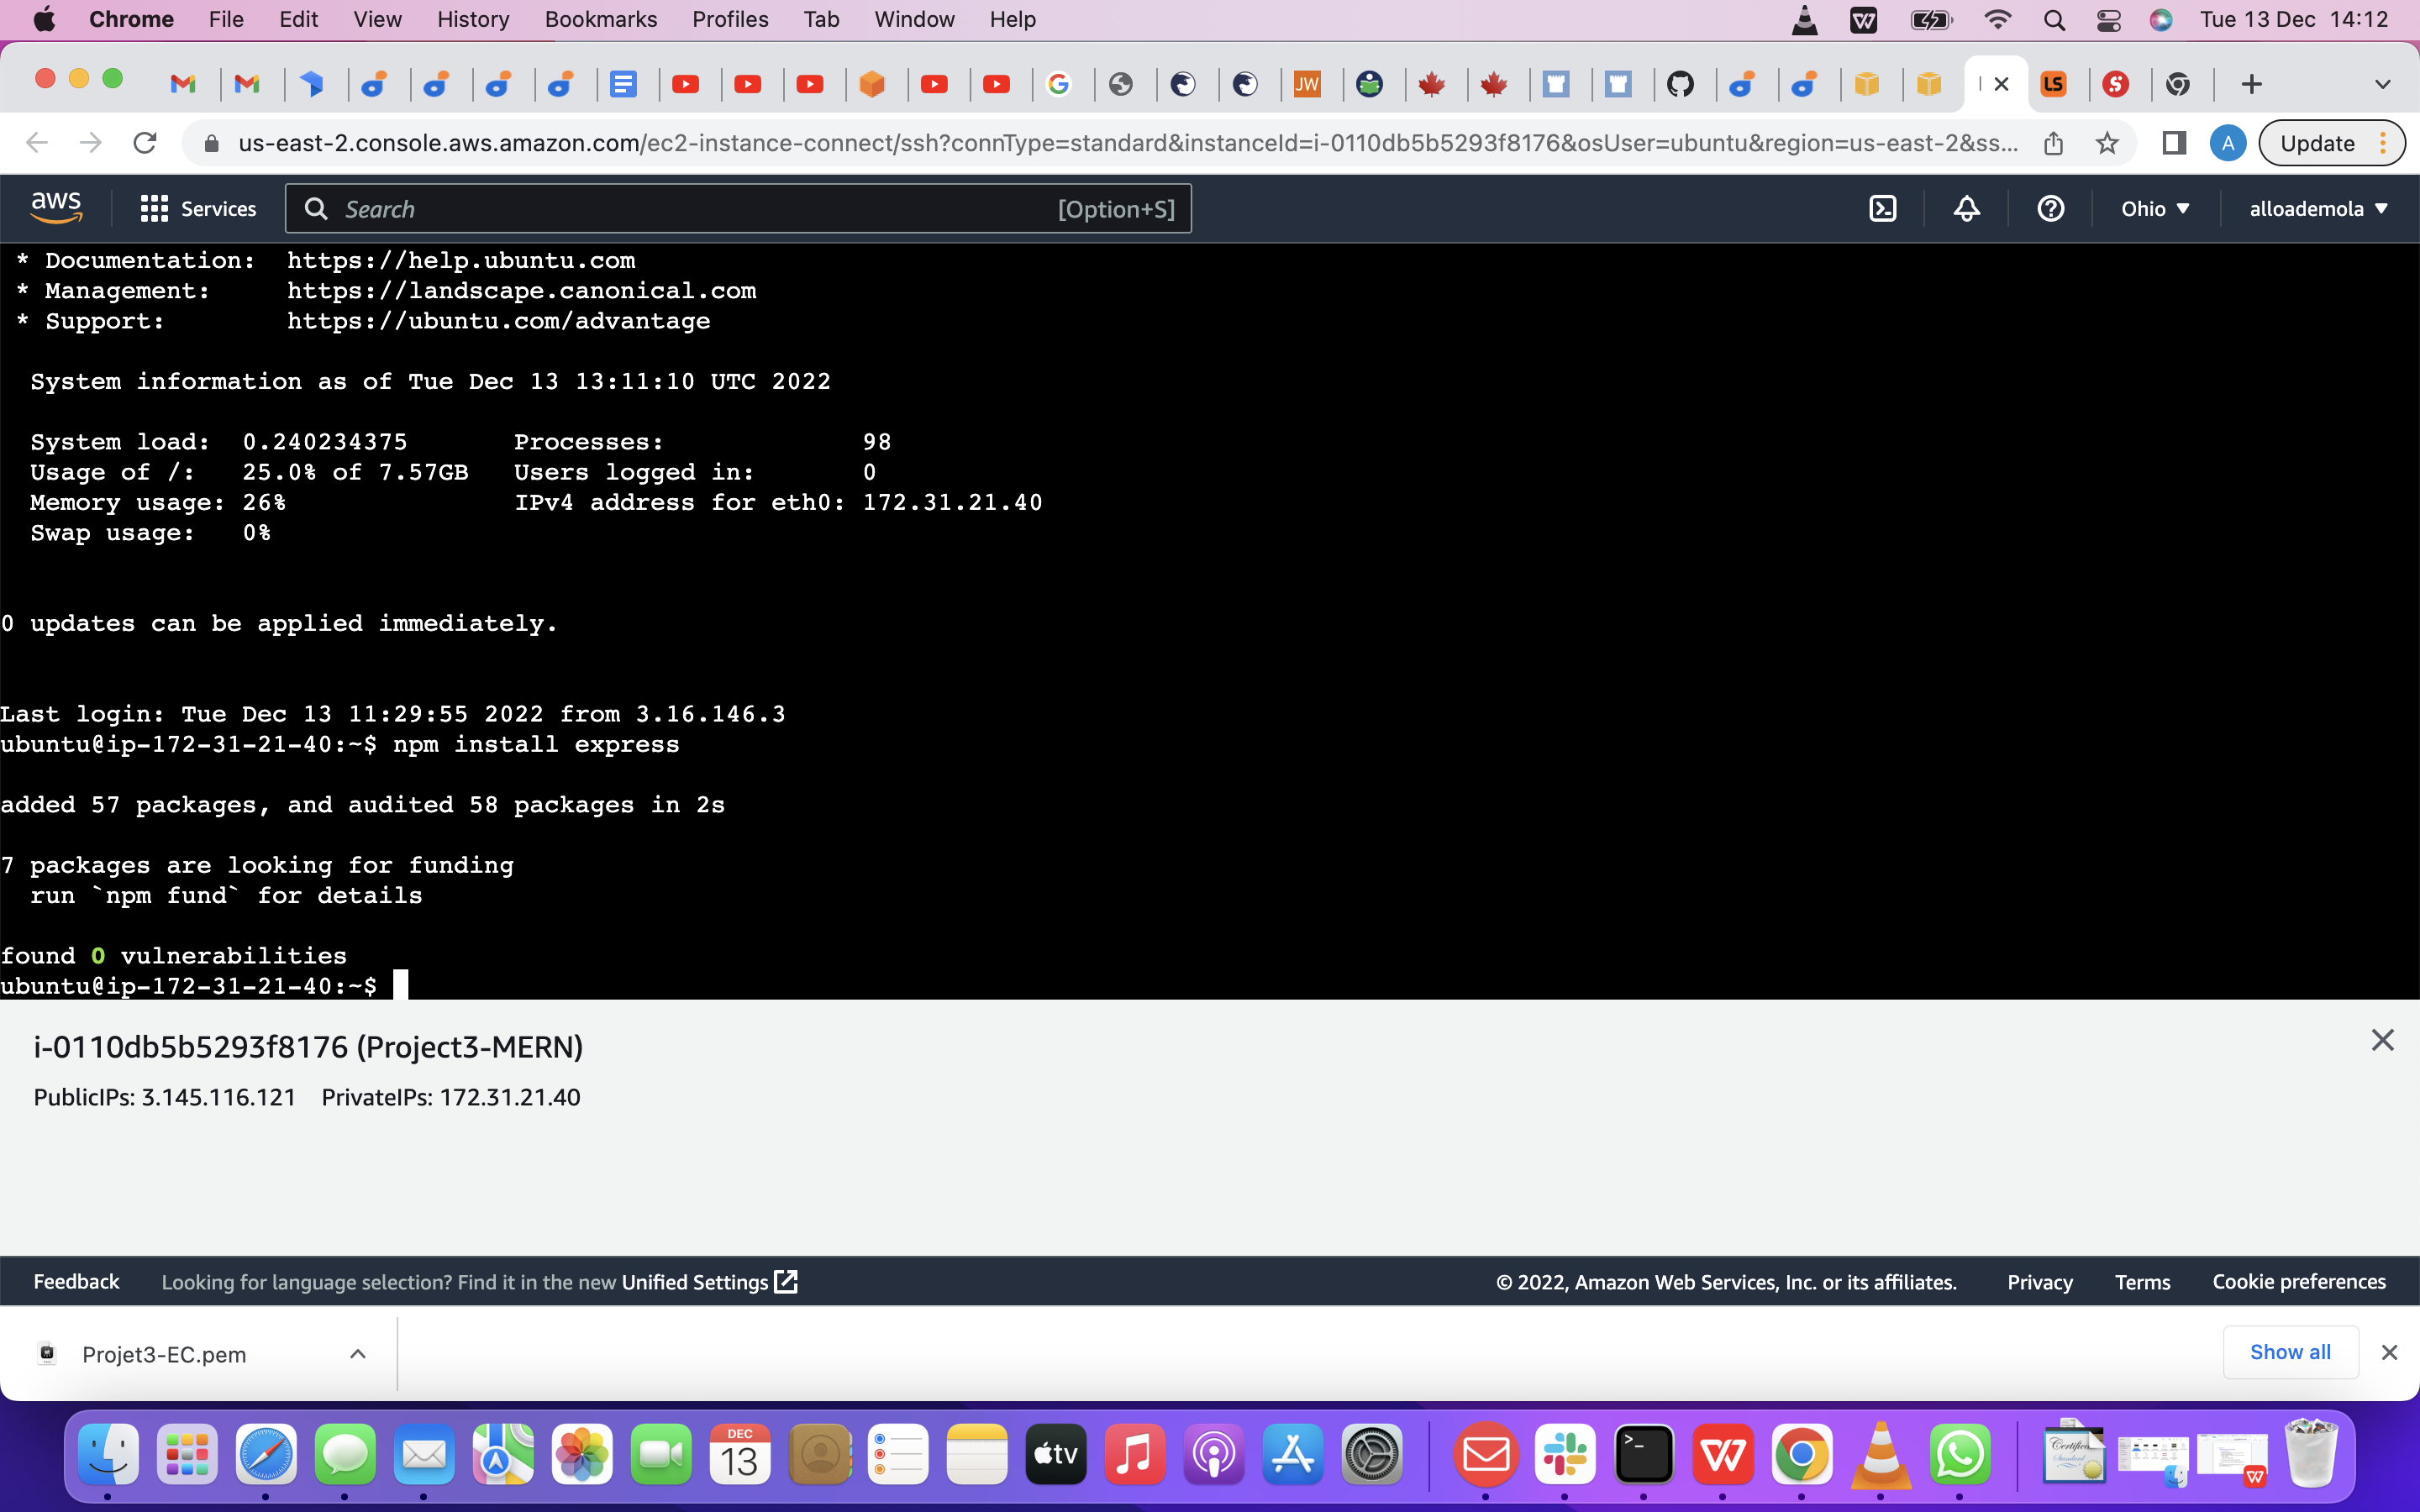
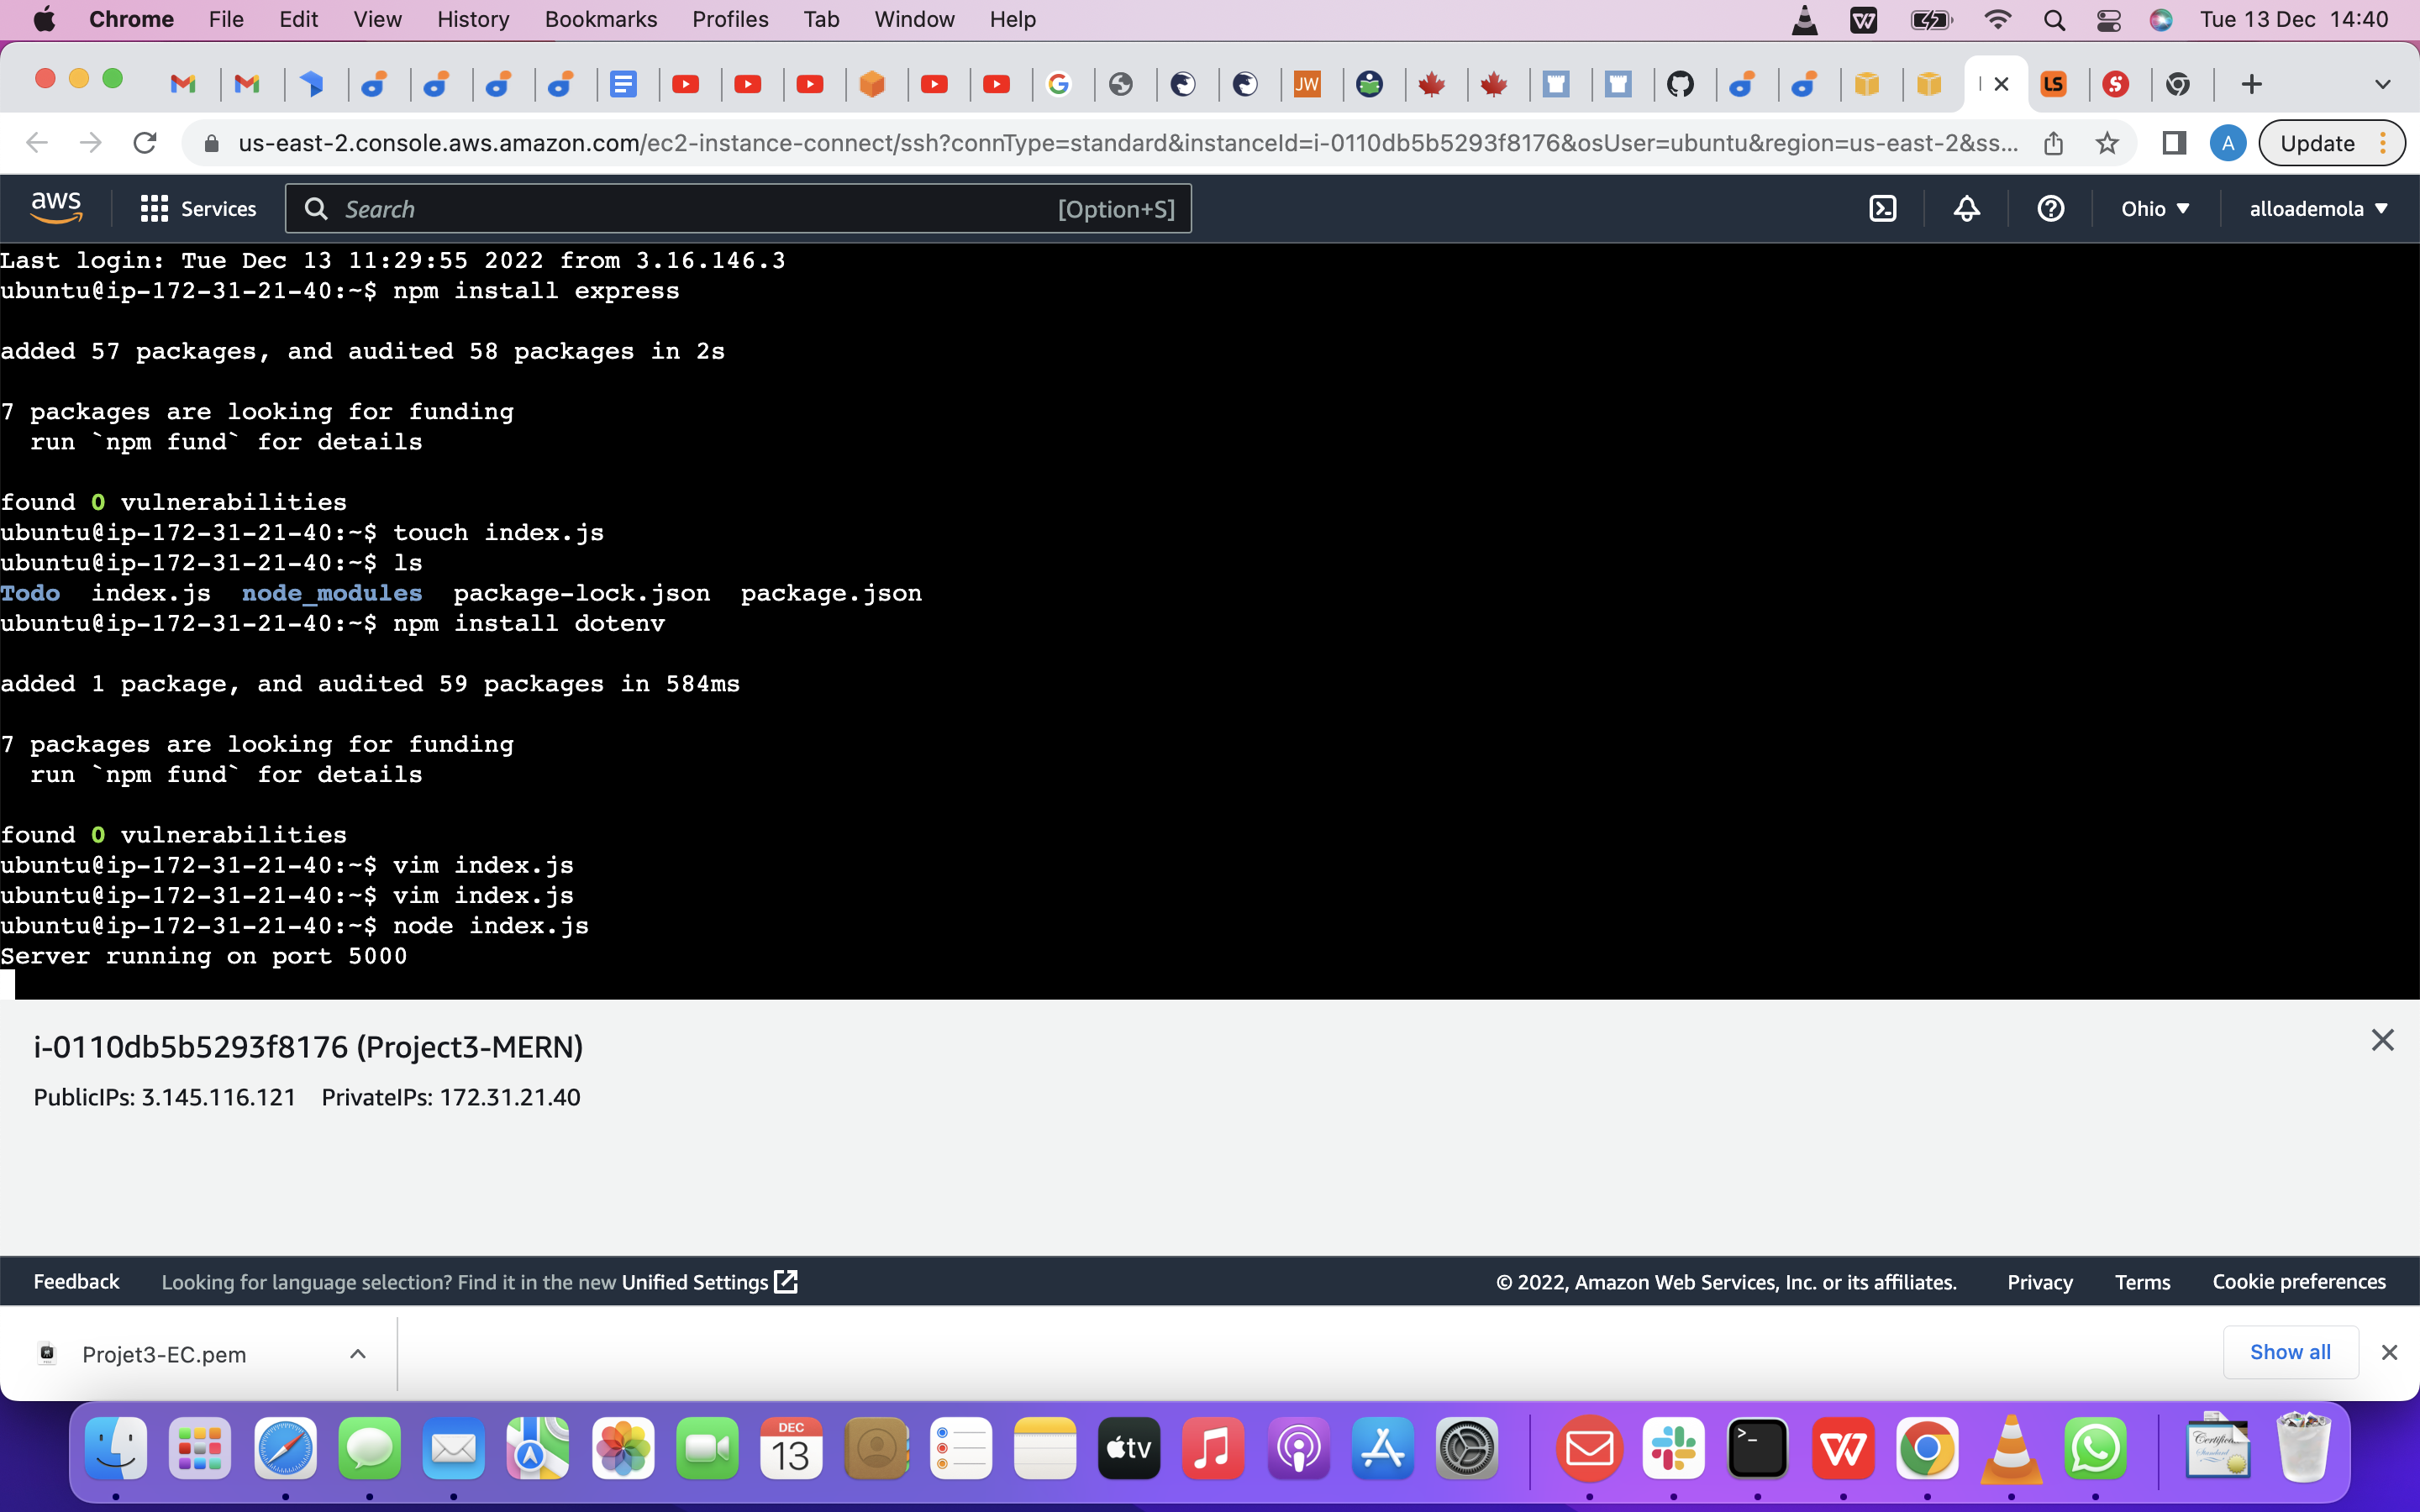
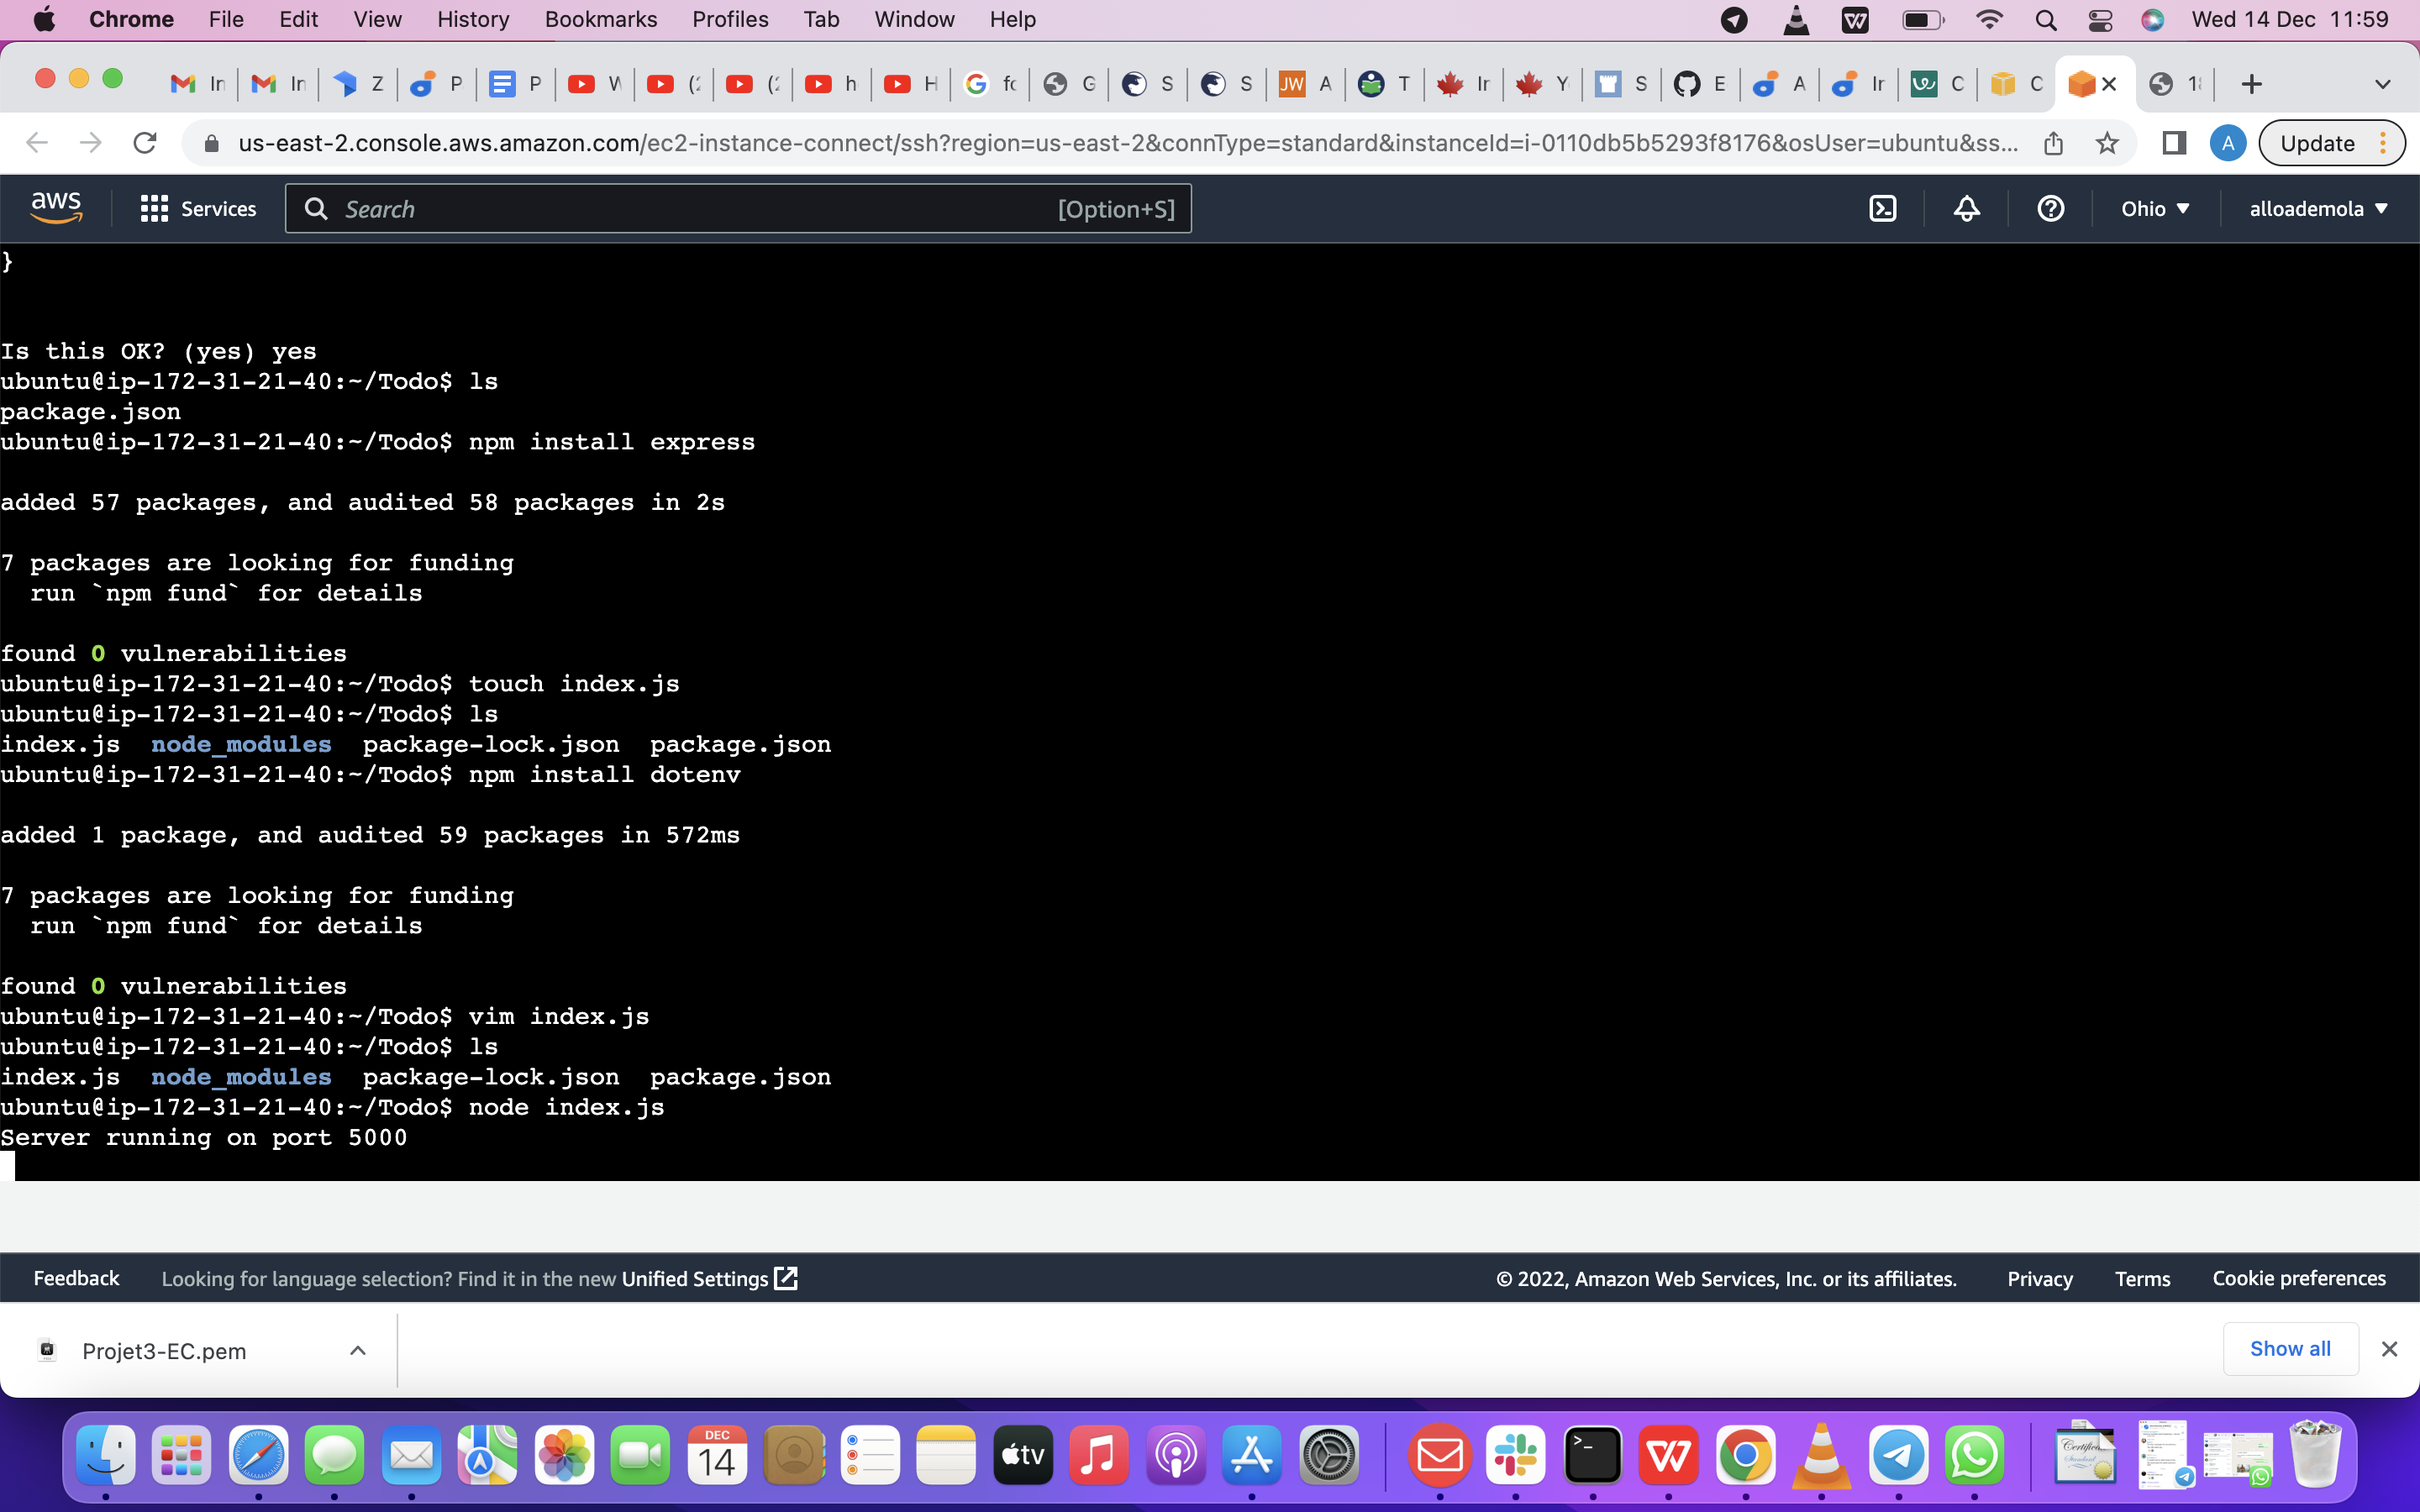
To use express, we need to install it, using npm
npm install express
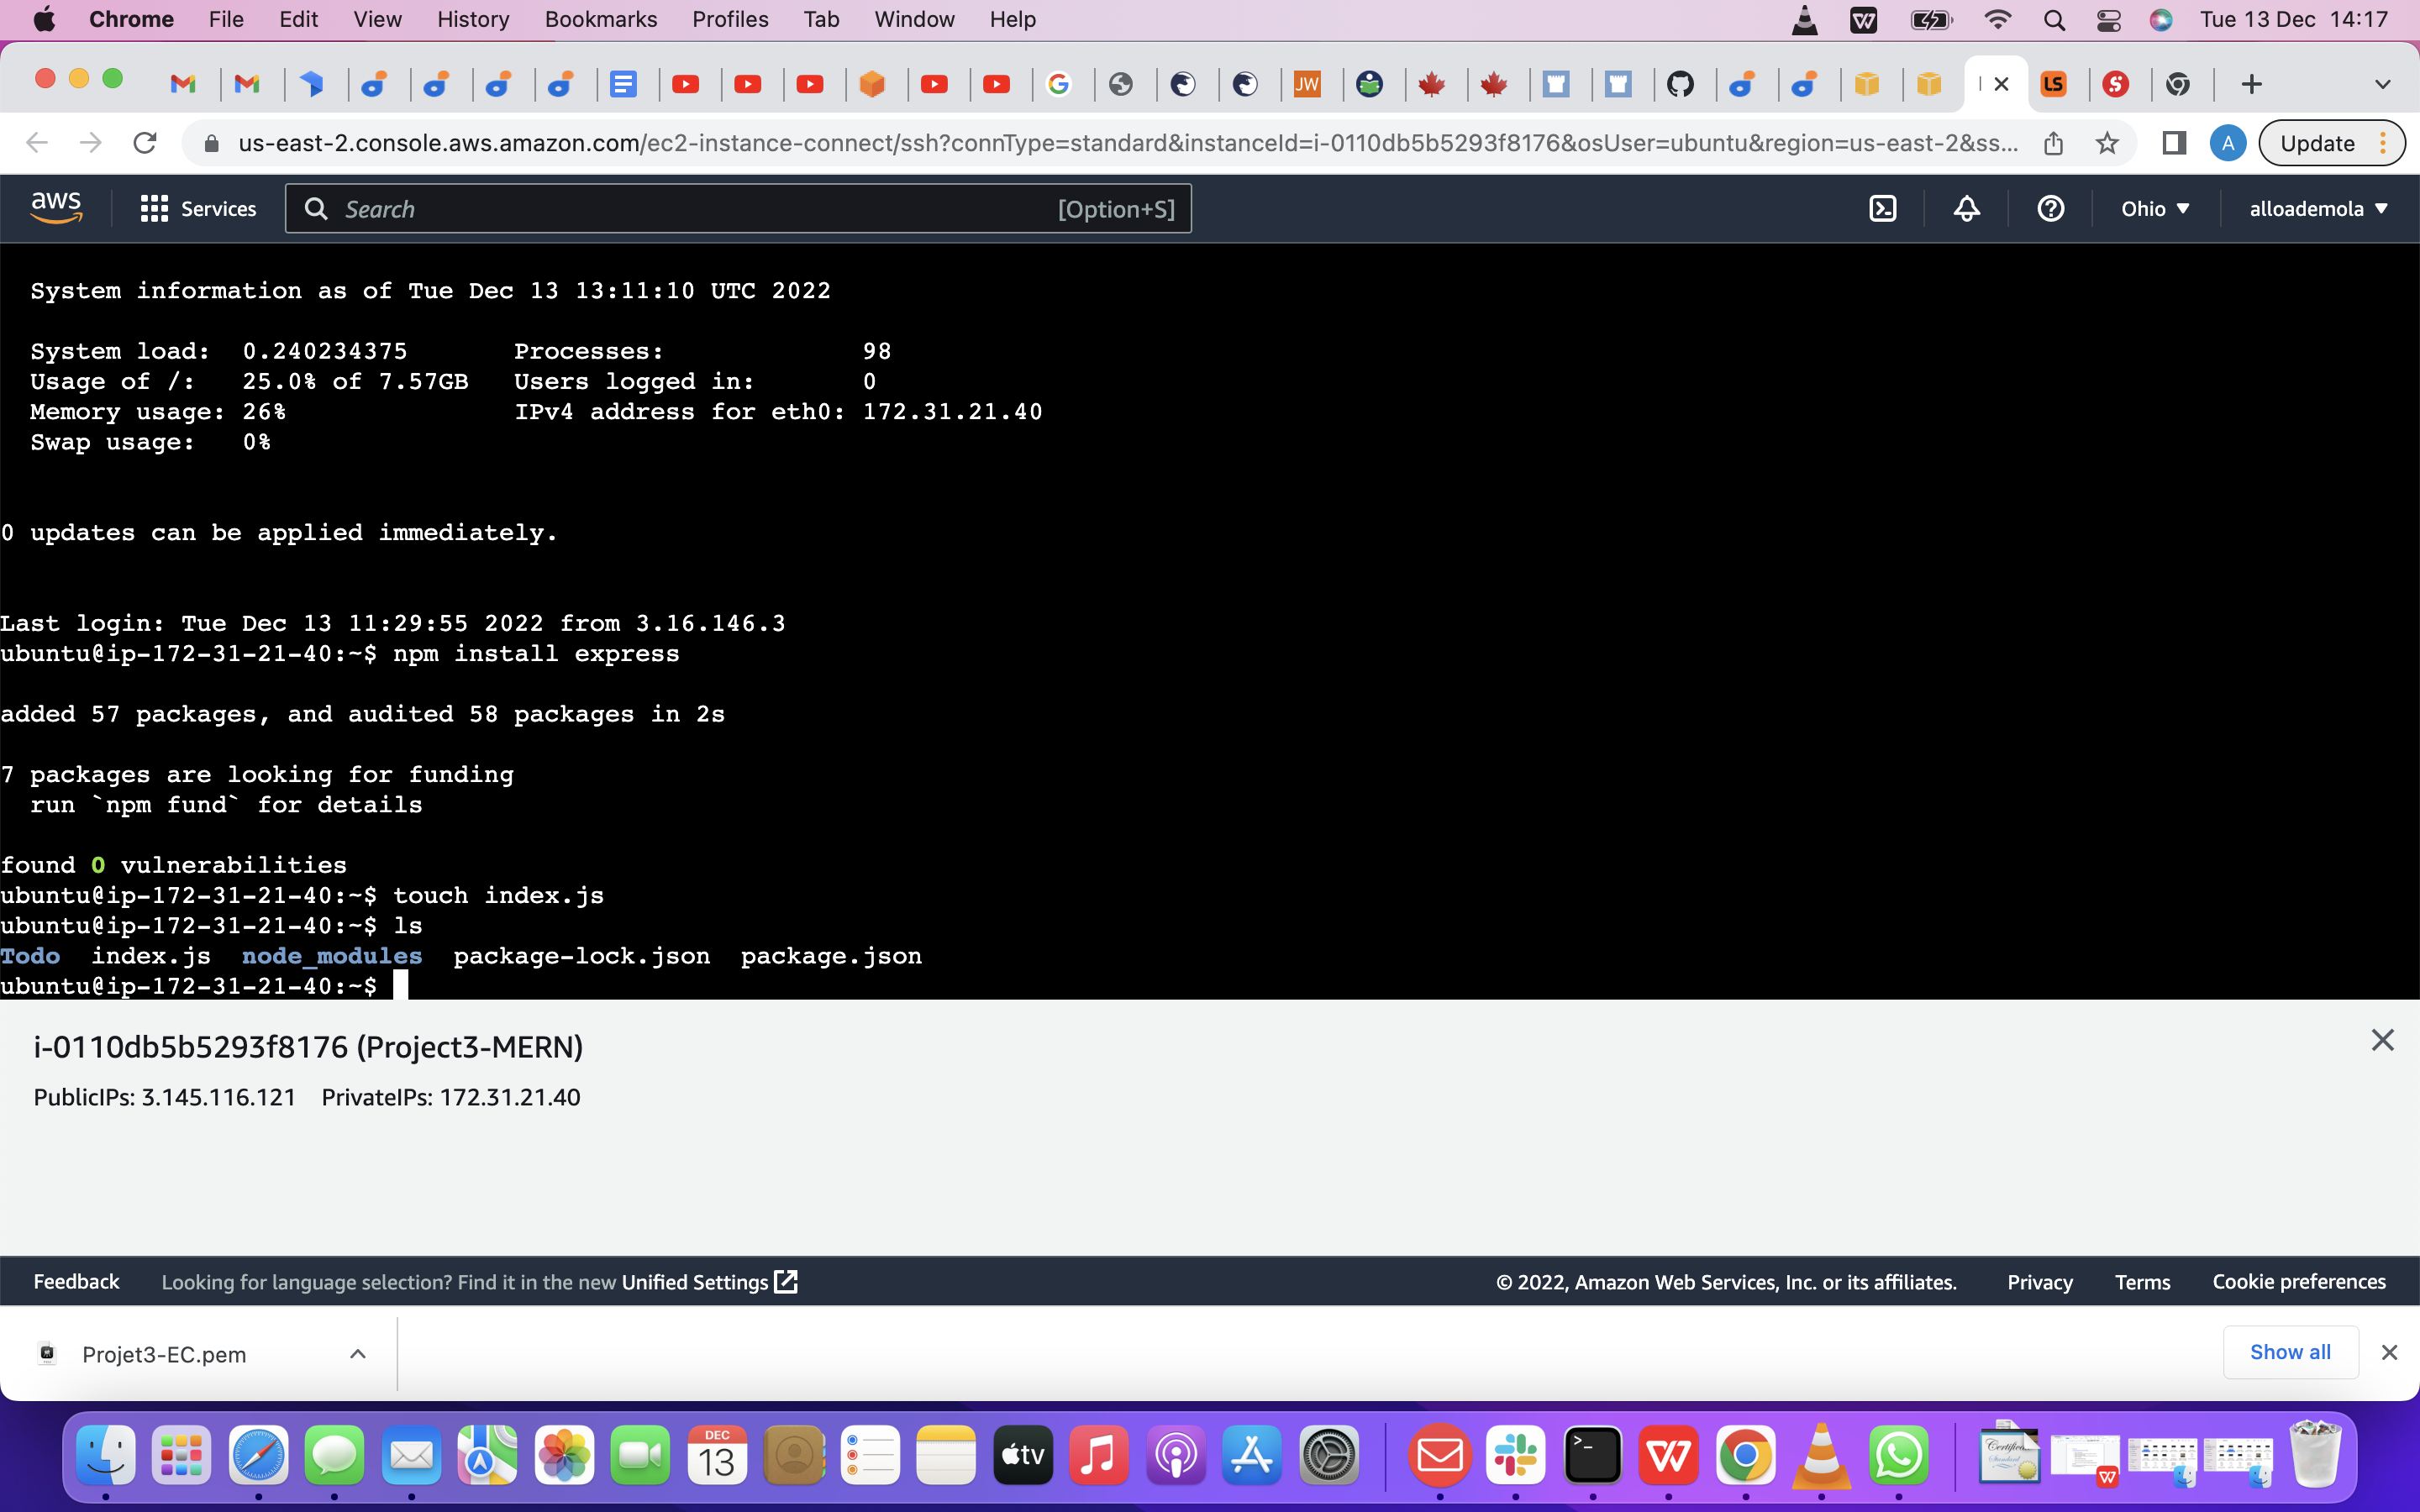
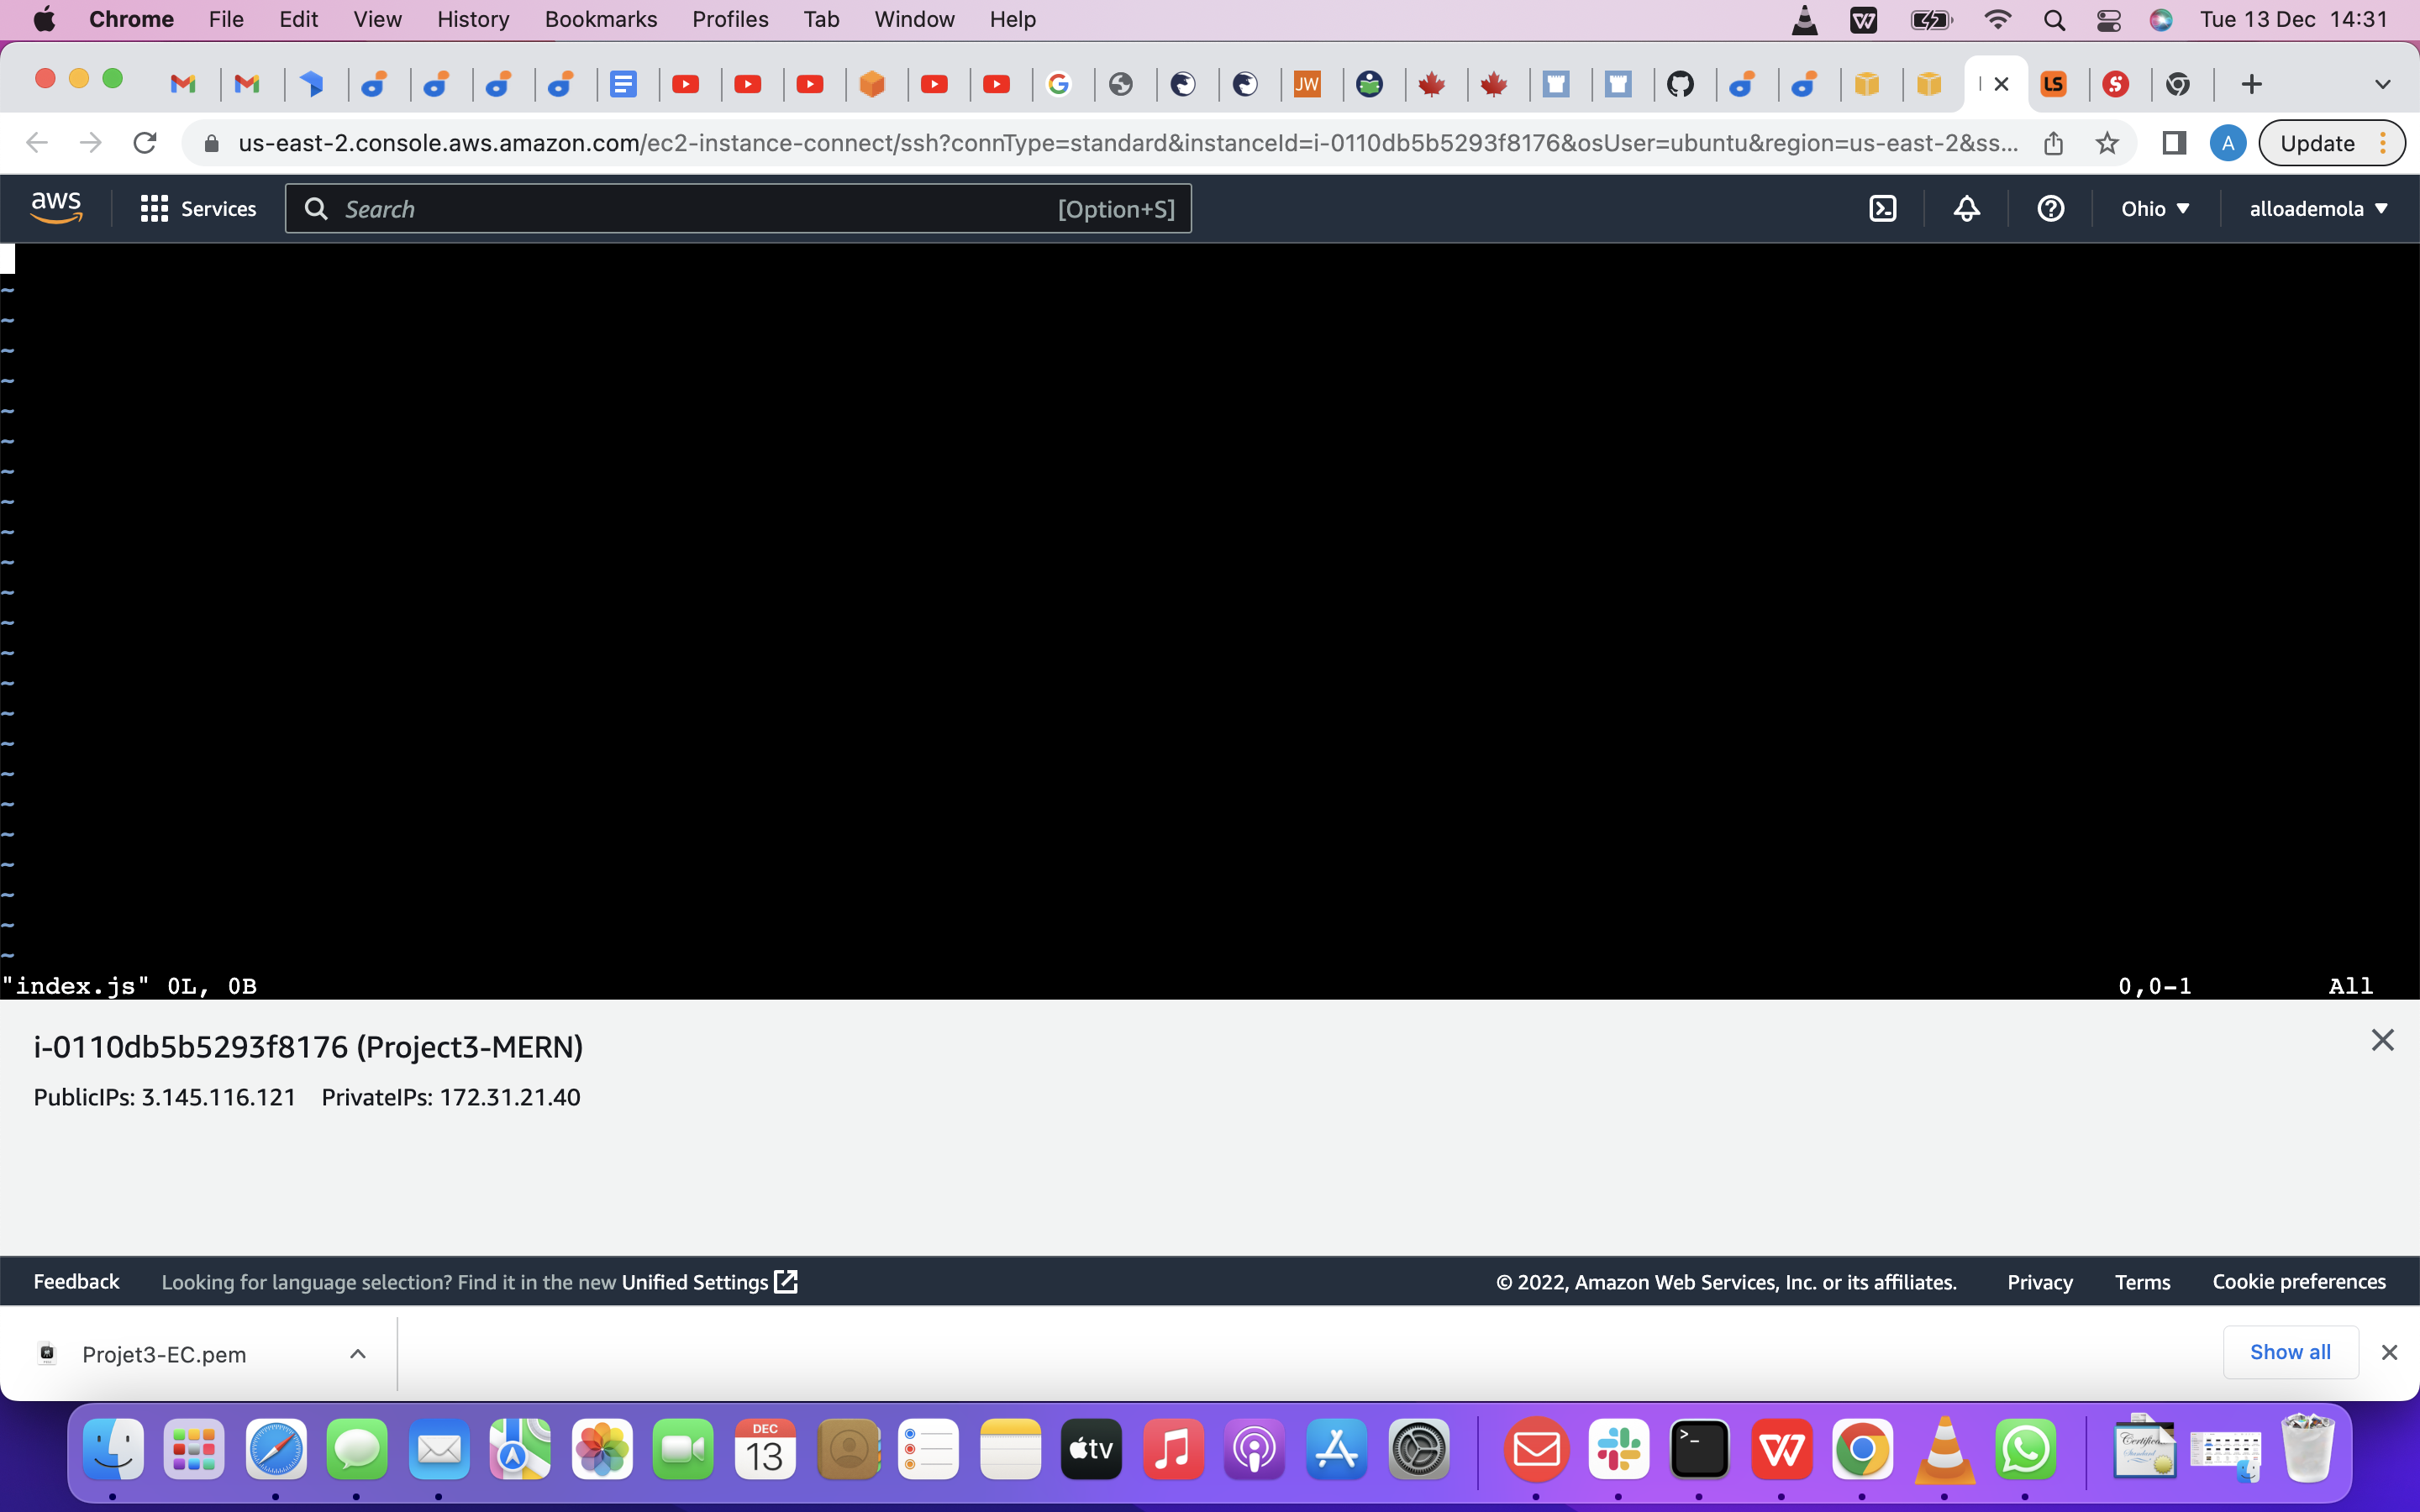
Now we are going to Now create a file called index.js with the command below
touch index.js and after that, we need Run ls to confirm that our index.js file is successfully created
now we are going to Open the index.js file with the command below vim index.js
const express = require('express'); require('dotenv').config();
const app = express();
const port = process.env.PORT || 5000;
app.use((req, res, next) => { res.header("Access-Control-Allow-Origin", "*"); res.header("Access-Control-Allow-Headers", "Origin, X-Requested-With, Content-Type, Accept"); next(); });
app.use((req, res, next) => { res.send('Welcome to Express'); });
app.listen(port, () => {
console.log(Server running on port ${port})
});
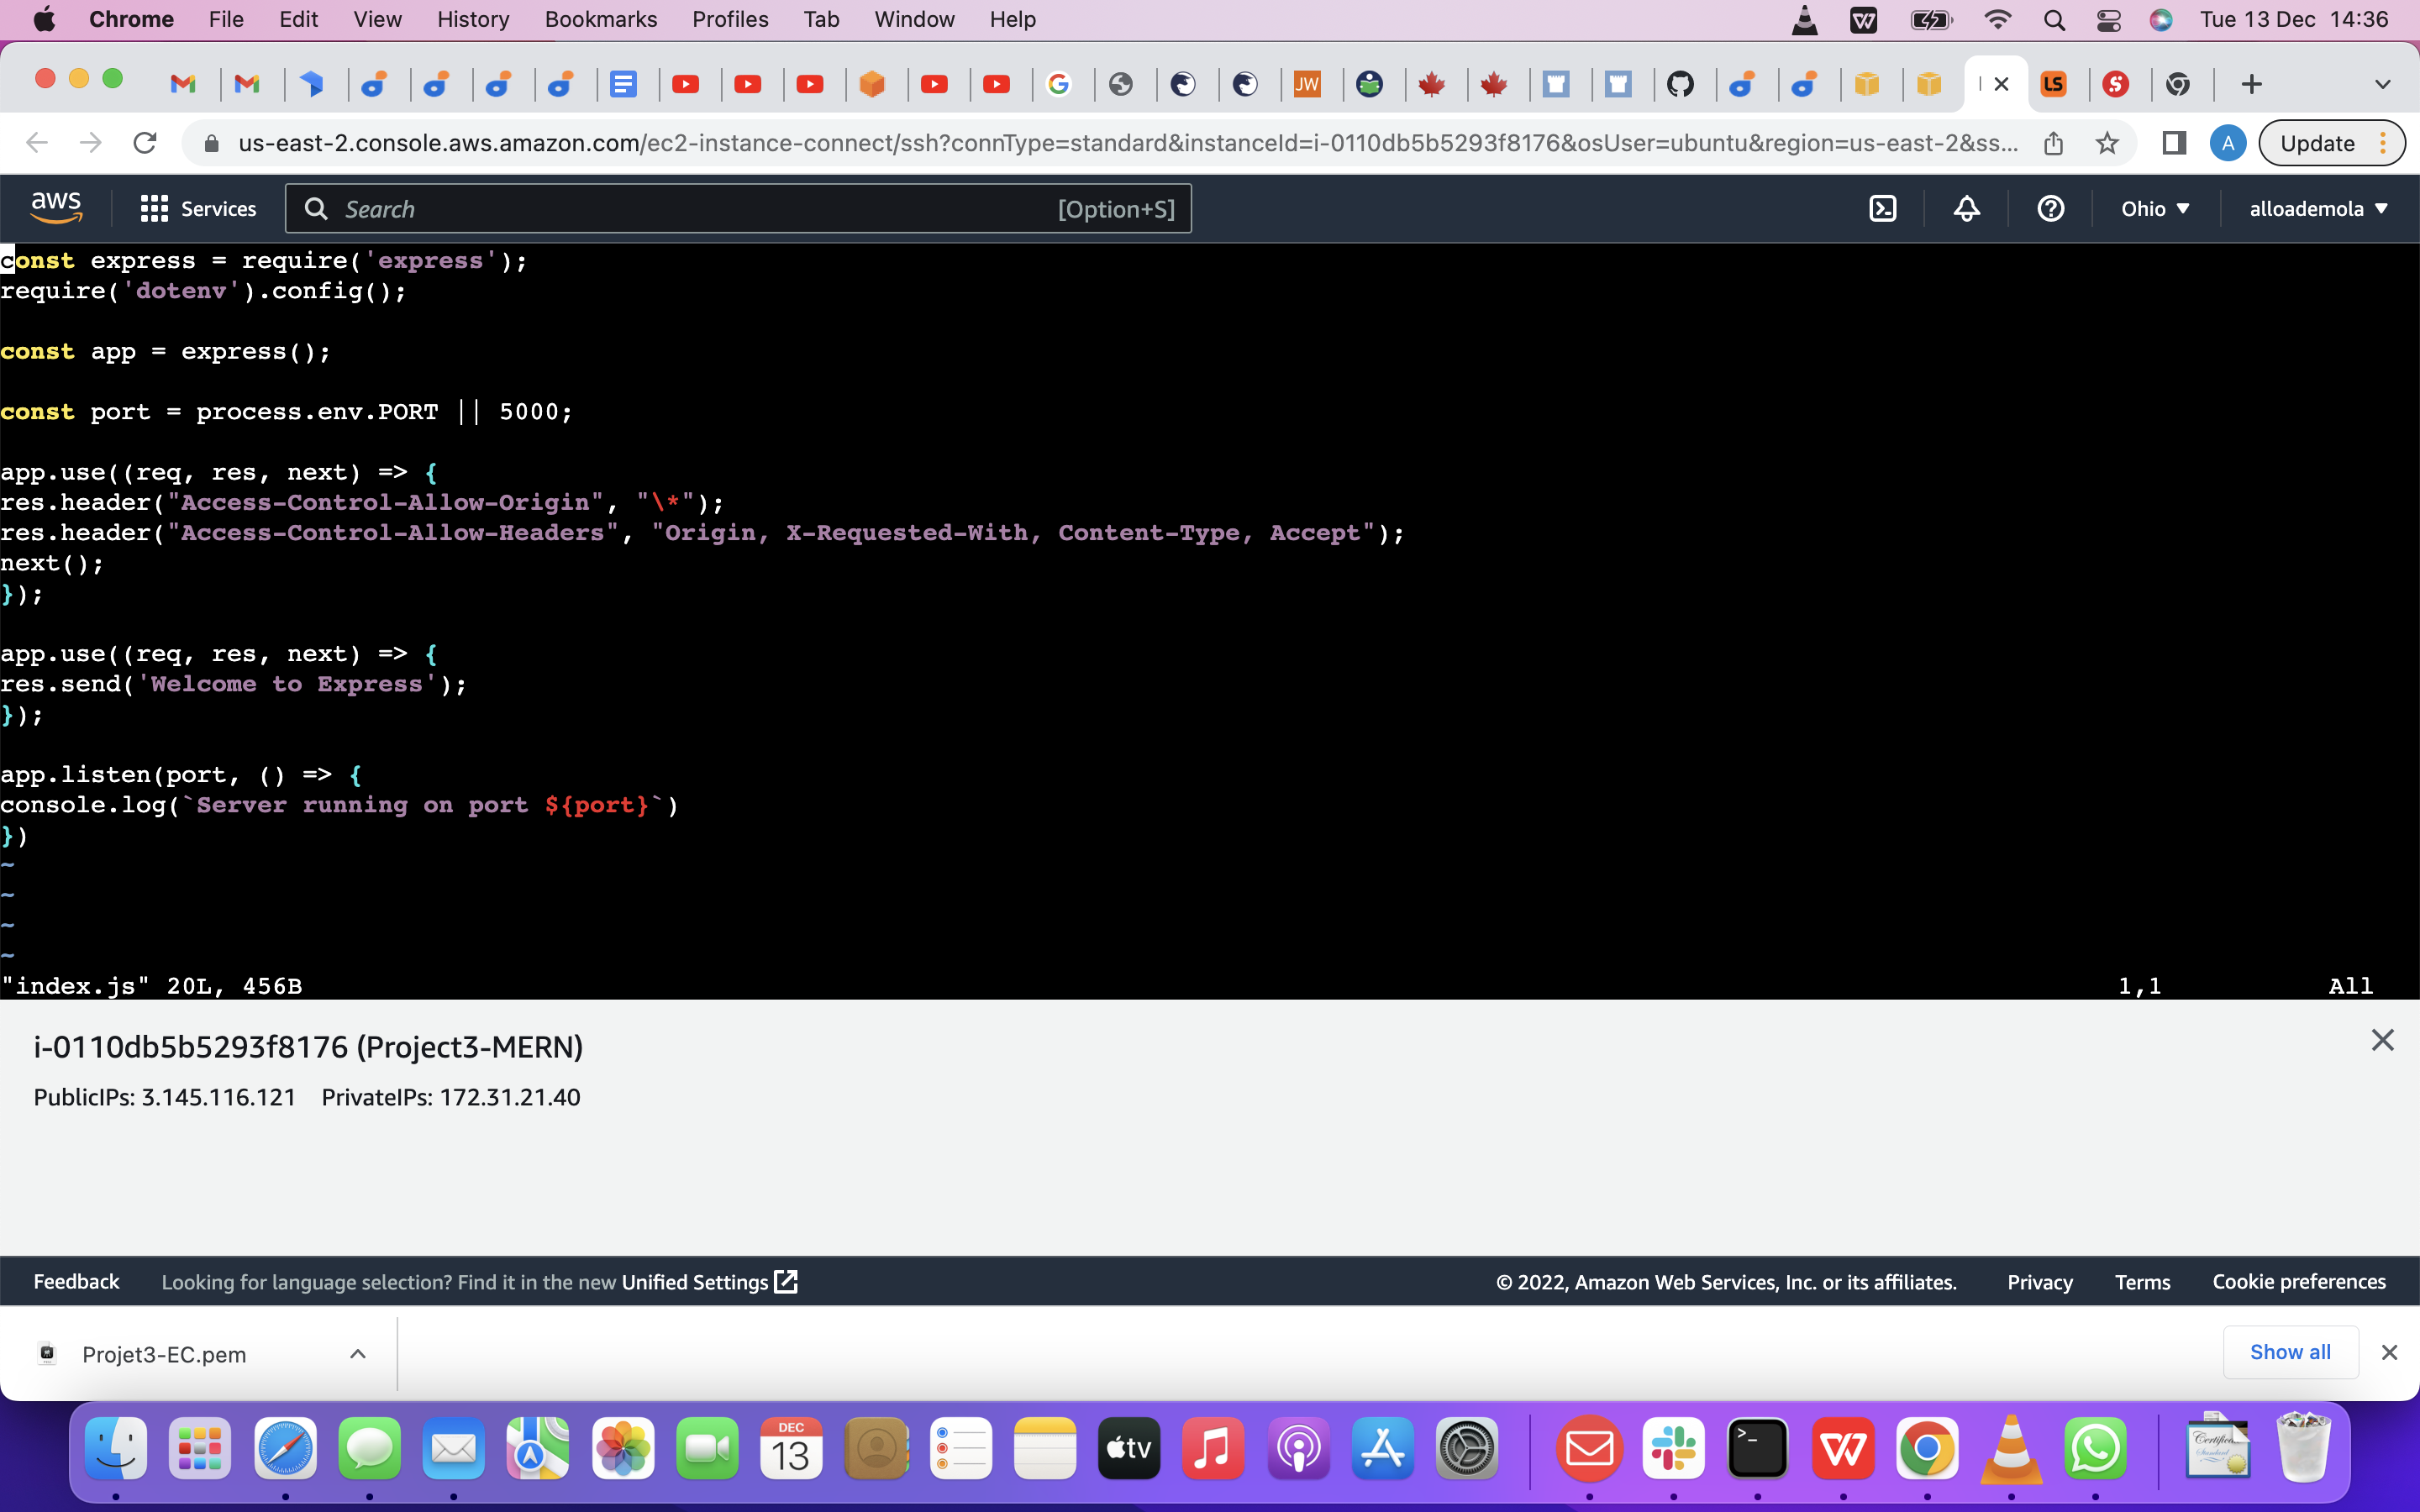
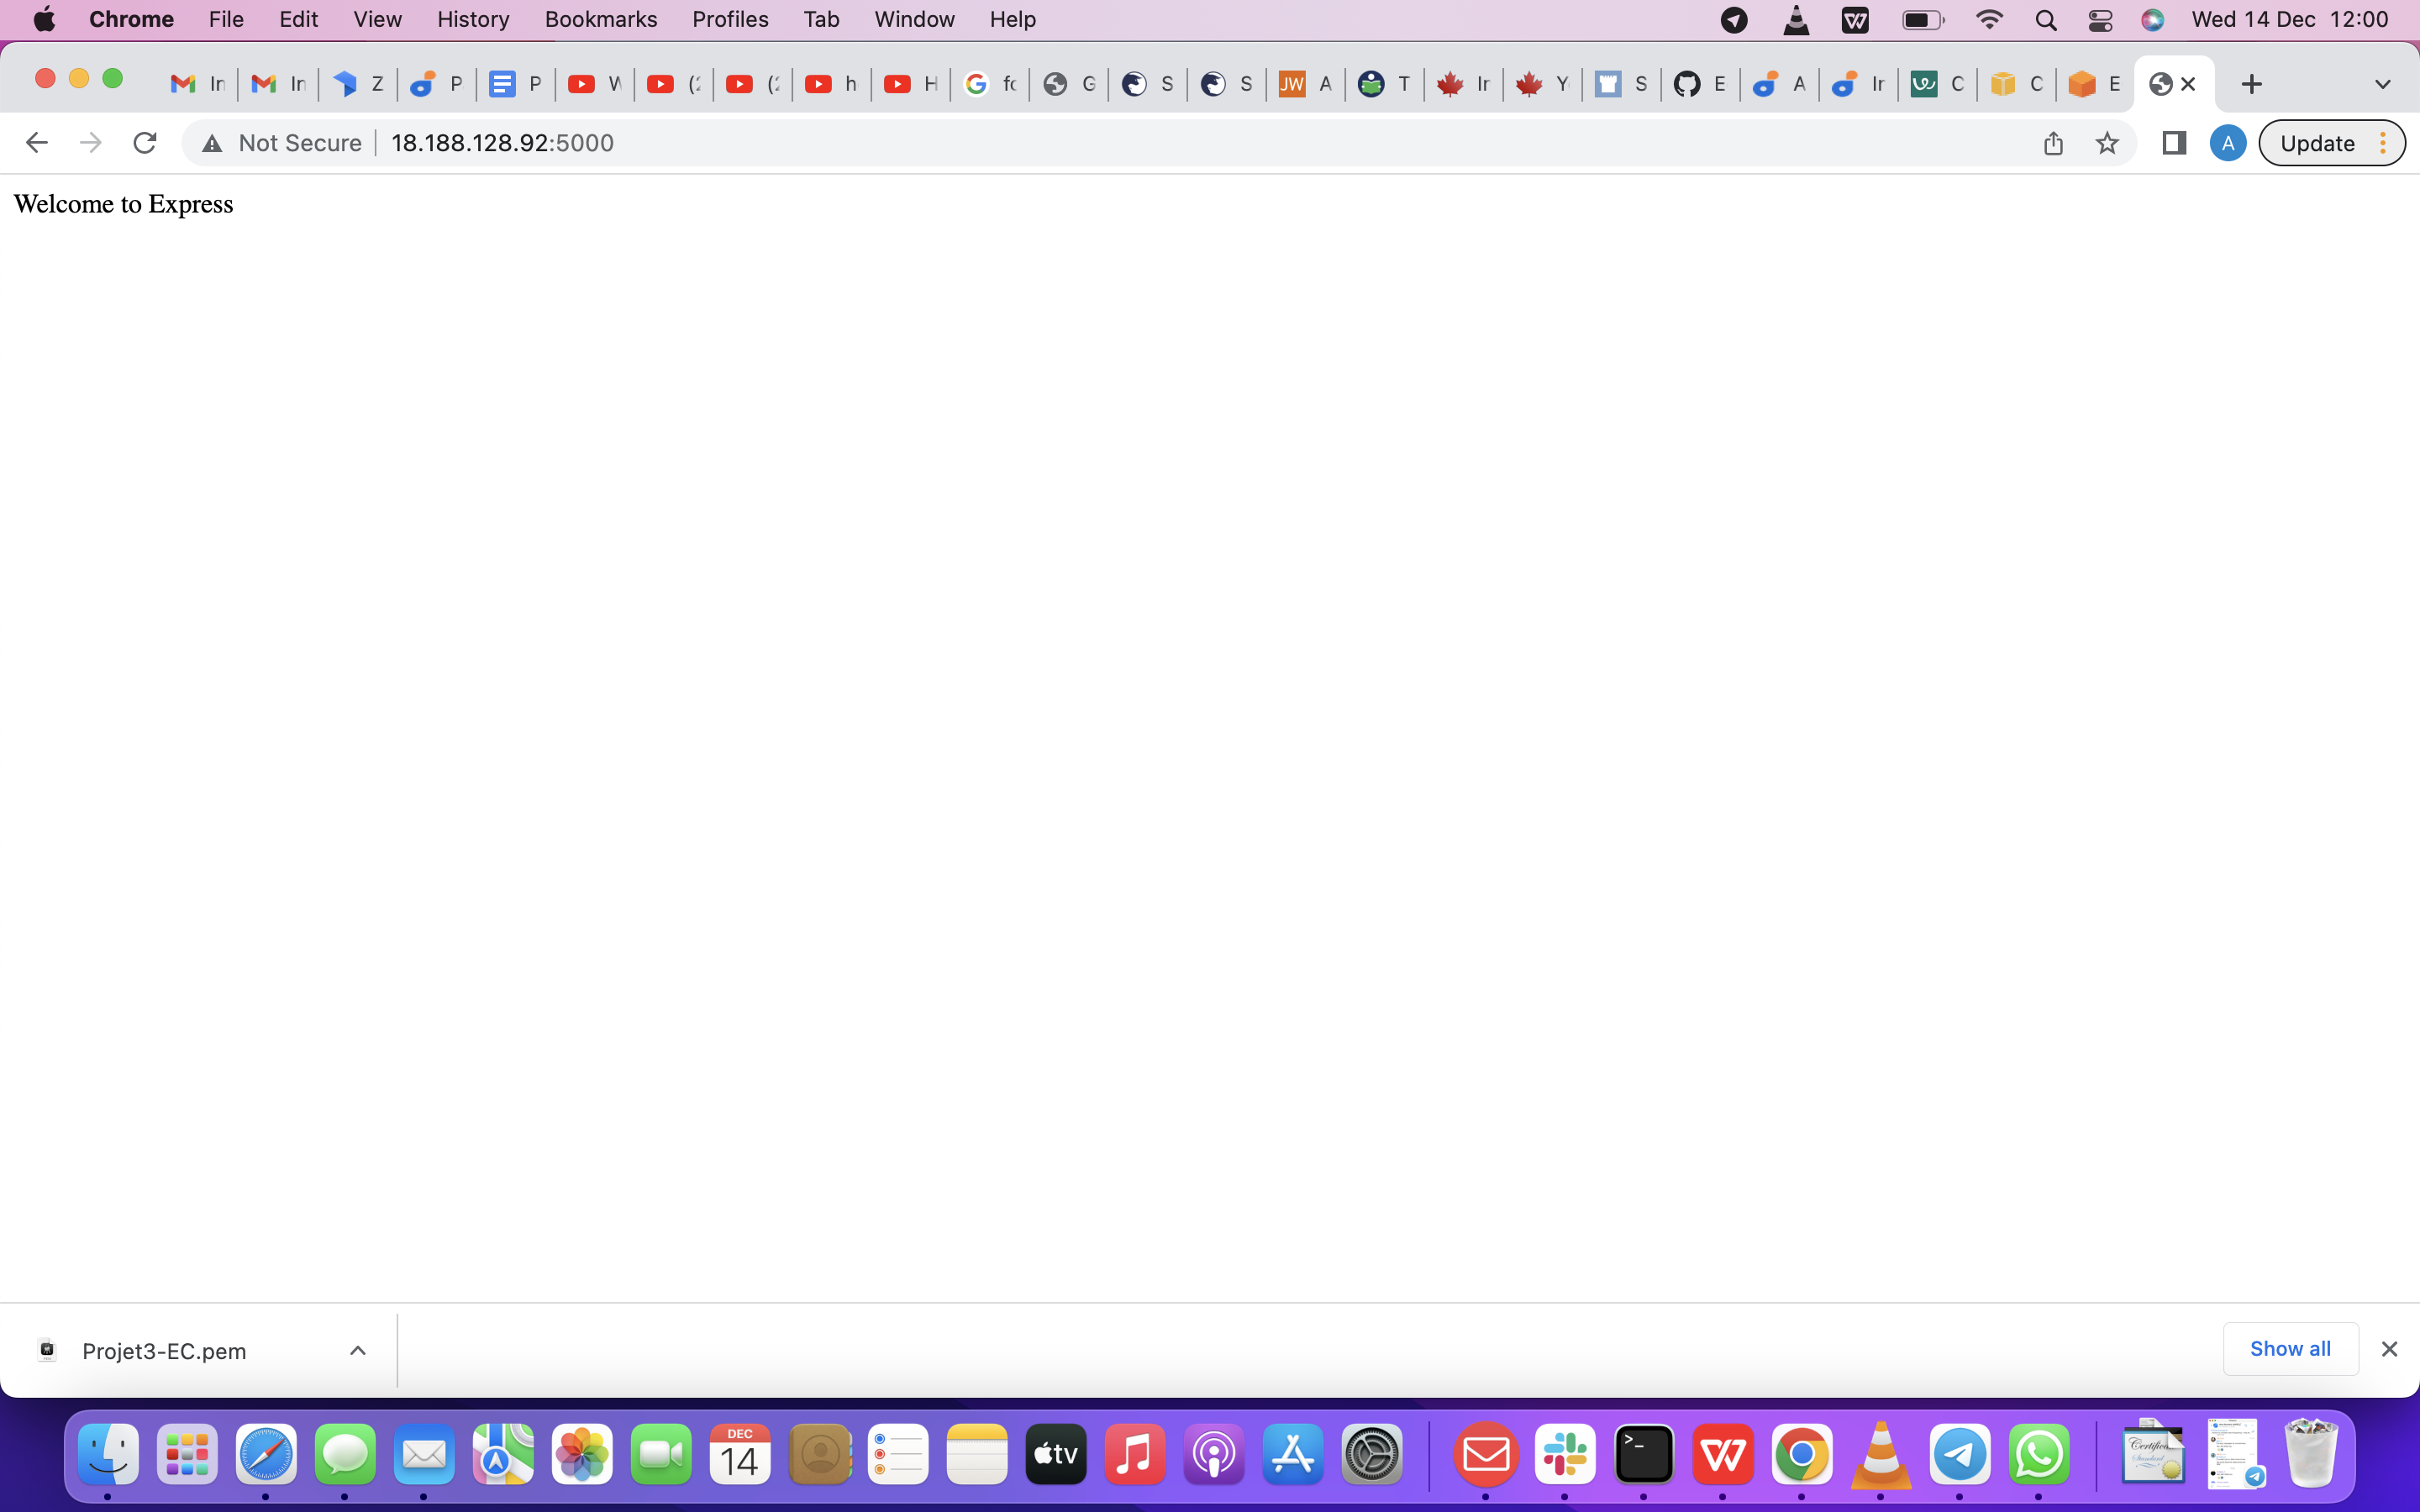
Notice that we have specified to use port 5000 in the code. This will be required later when we go on the browser.
Use :w to save in vim and use :qa to exit vim
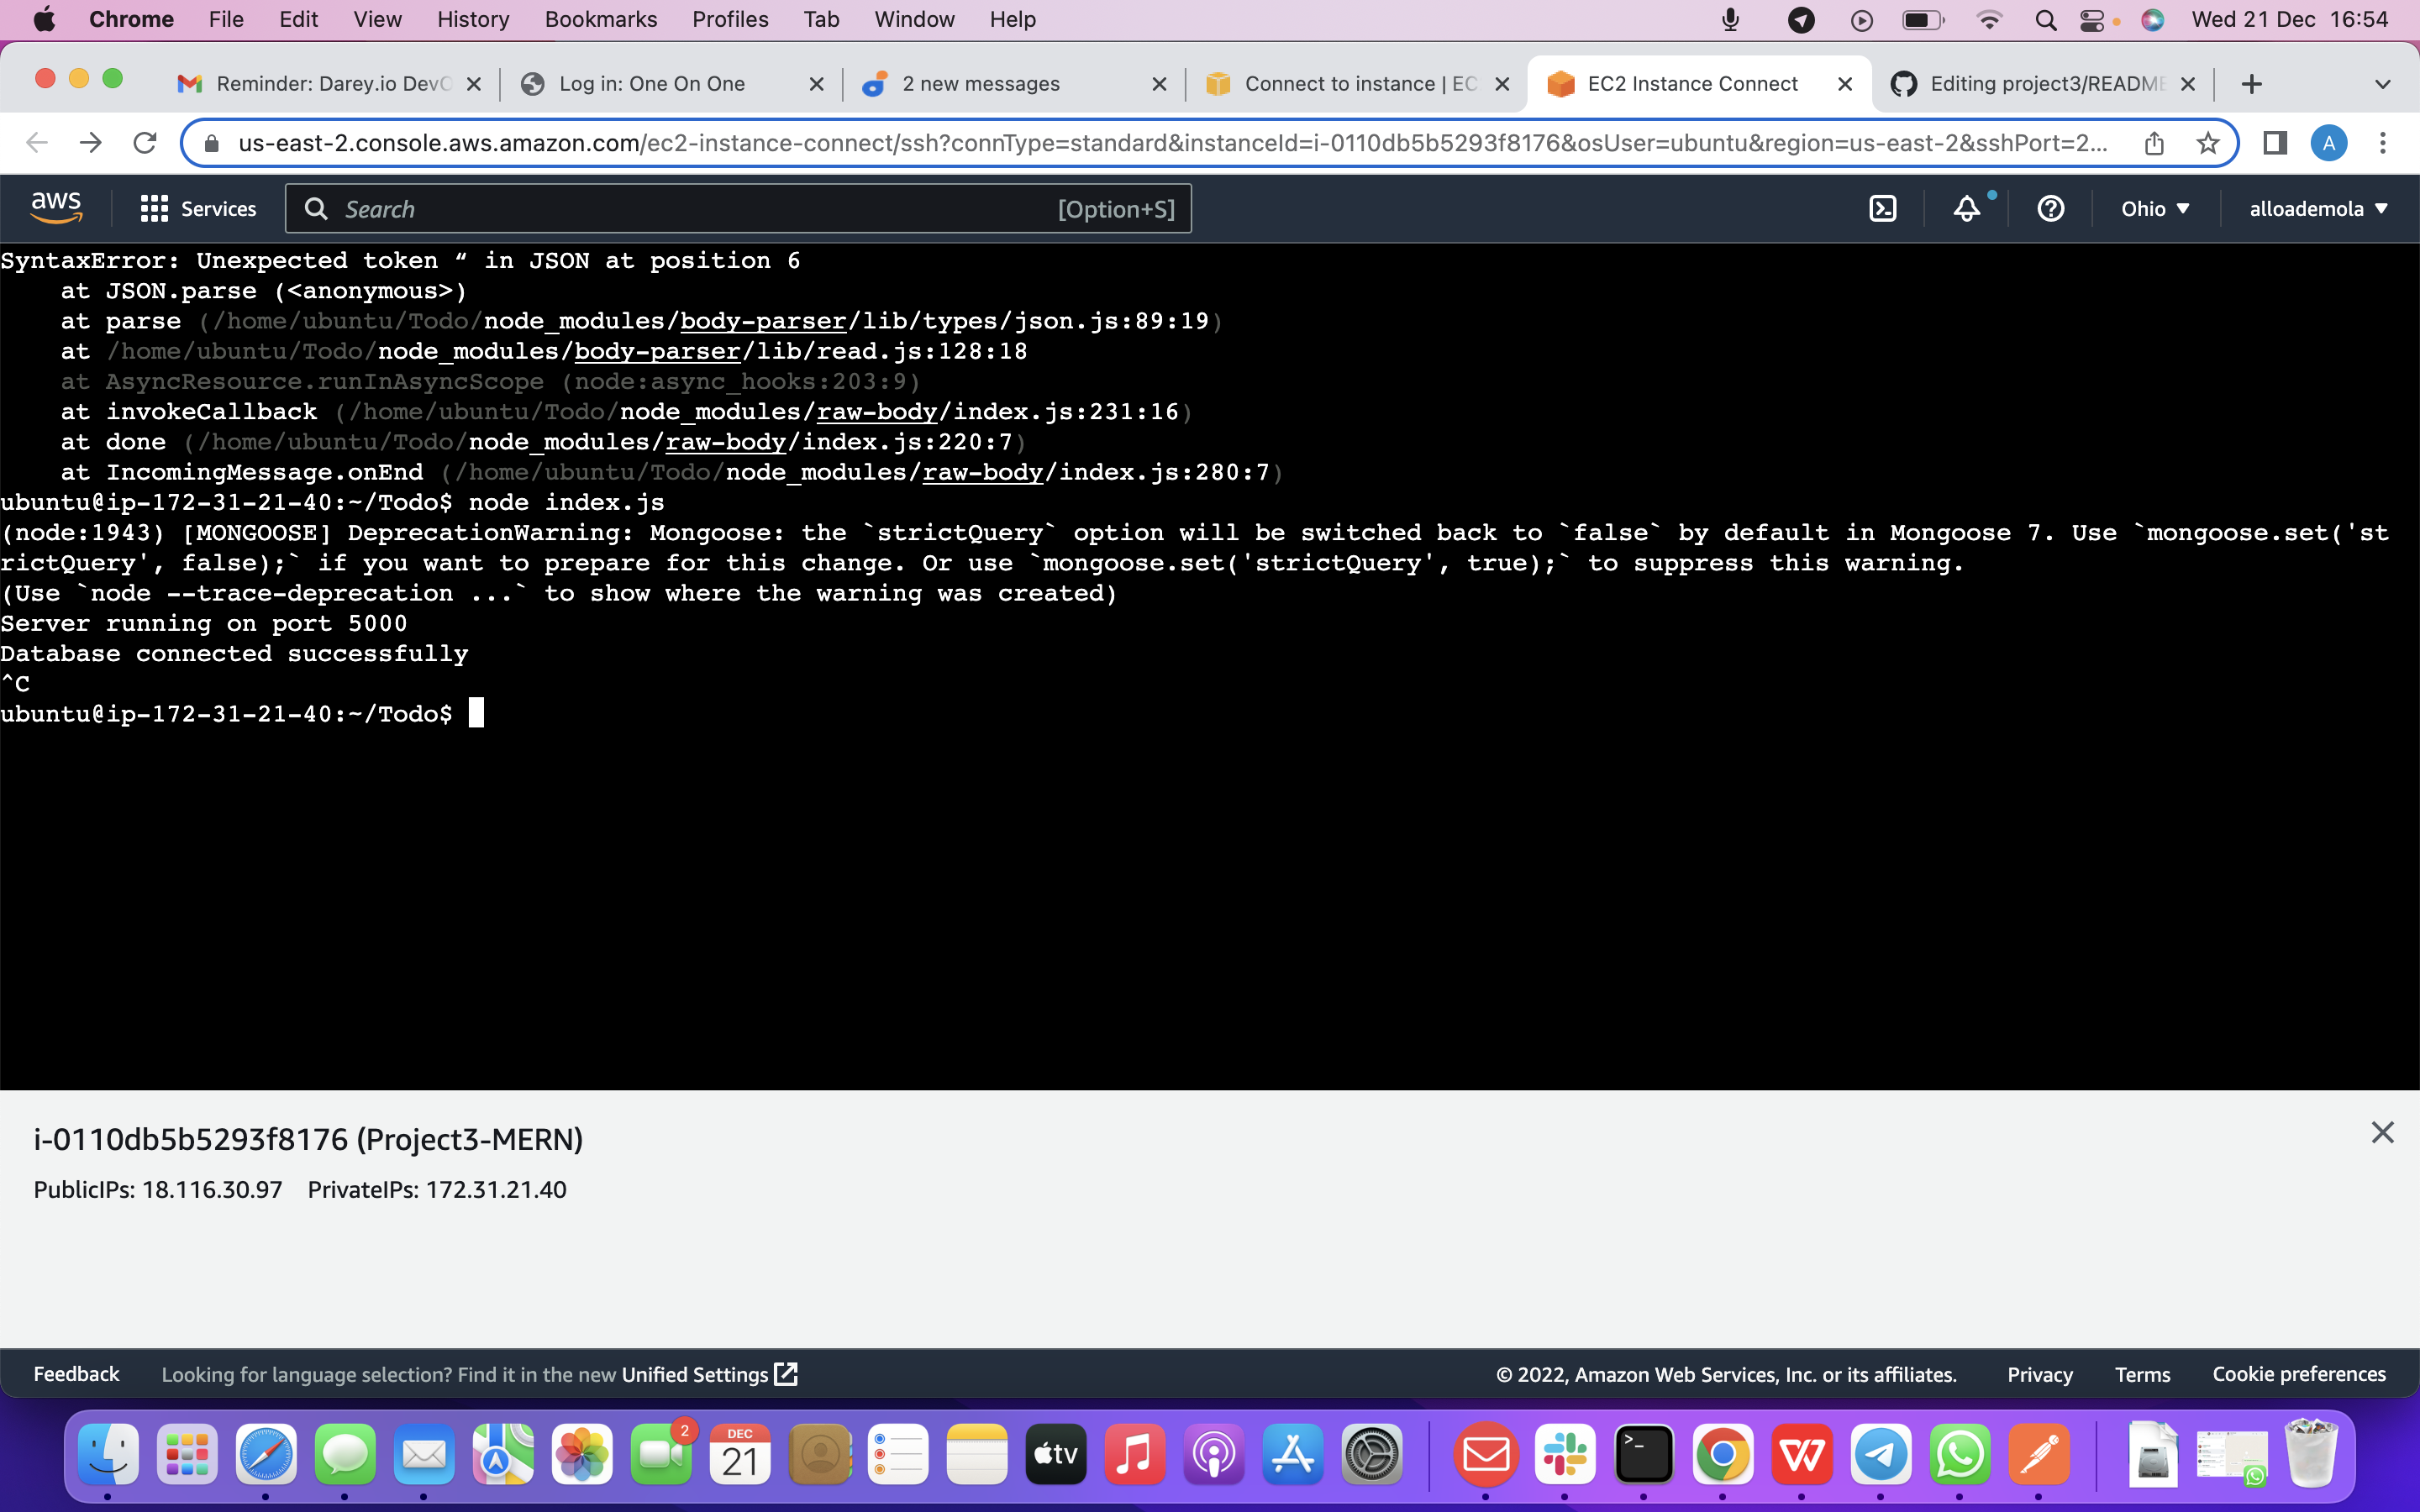
Now it is time to start our server to see if it works. Open your terminal in the same directory as your index.js file and type: so we are using the command below node index.js
Now we need to open this port in EC2 Security Groups. Refer to Project 1 Step 1 – Installing the Nginx Web Server. There we created an inbound rule to open TCP port 80, you need to do the same for port 5000, like this:
Now Open up your browser and try to access your server’s Public IP or Public DNS name followed by port 5000: so youu will get this outcome below
next step is Routes There are three actions that our To-Do application needs to be able to do:
Create a new task Display list of all tasks Delete a completed task Each task will be associated with some particular endpoint and will use different standard HTTP request methods: POST, GET, DELETE.
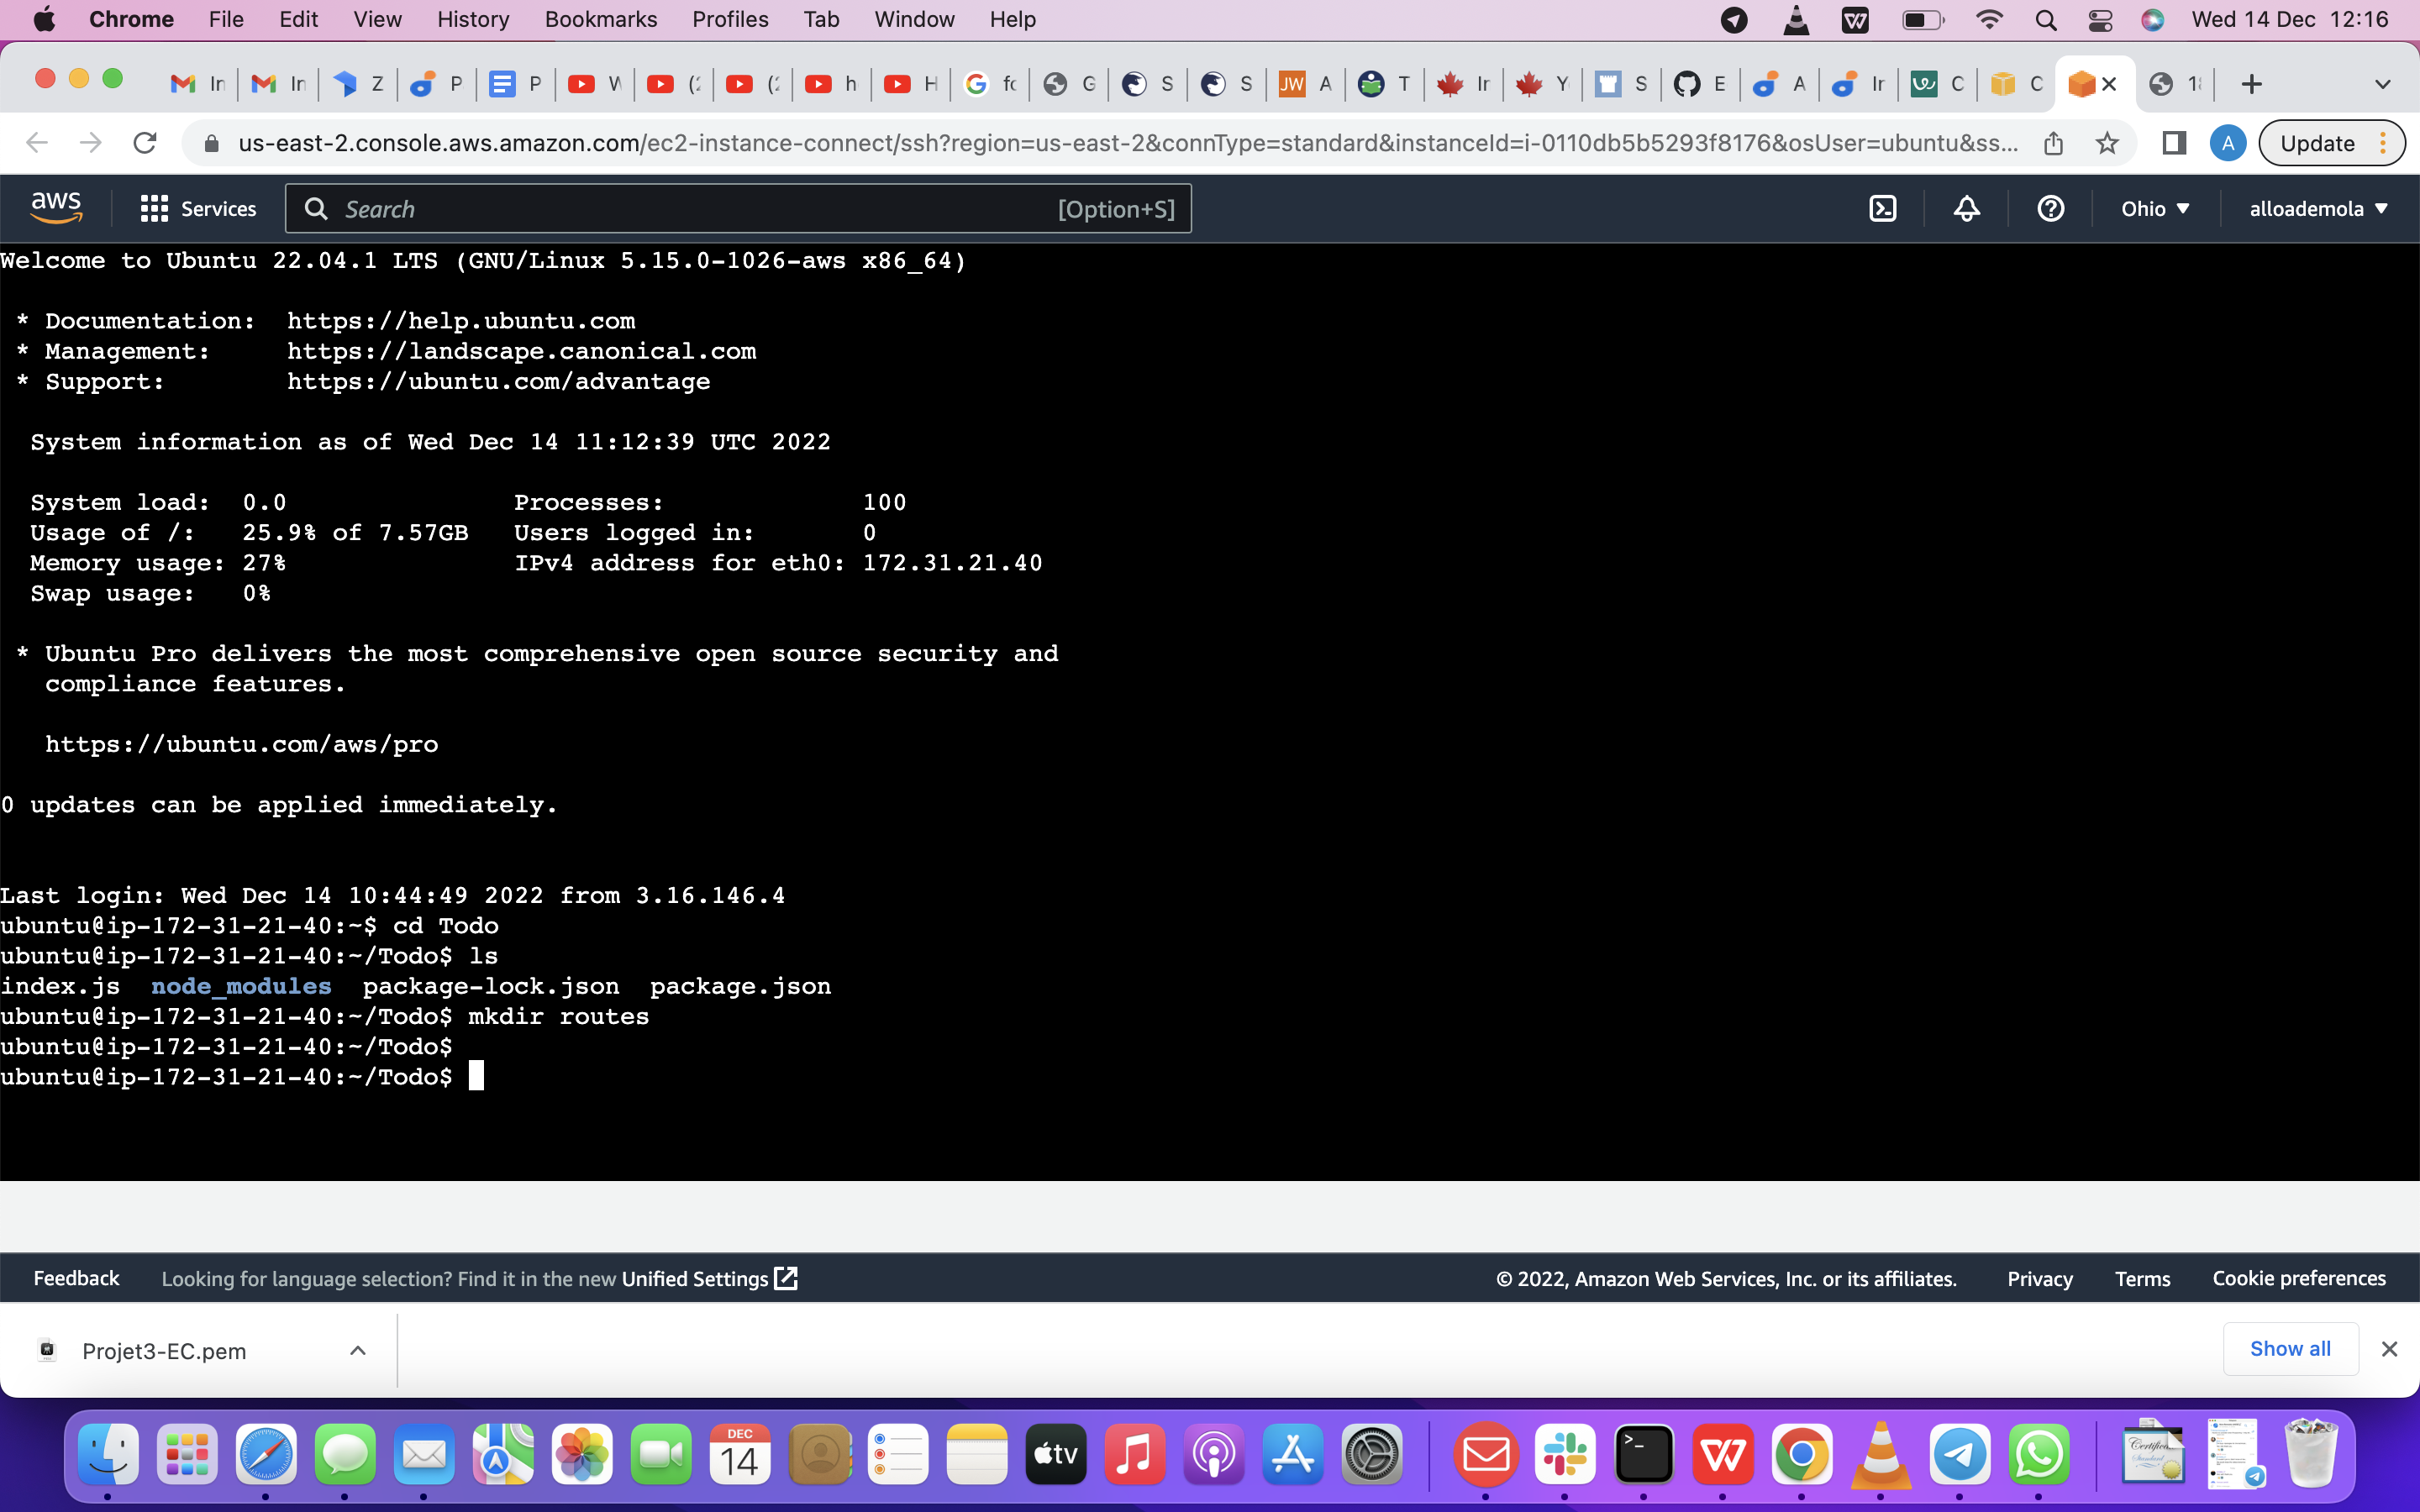
For each task, we need to create routes that will define various endpoints that the To-do app will depend on. So let us create a folder routes Now run this command below
mkdir routes
You can as well, open multiple shells in Putty or Linux/Mac to connect to the same EC2
Change directory to routes folder. so use these command below
cd routes
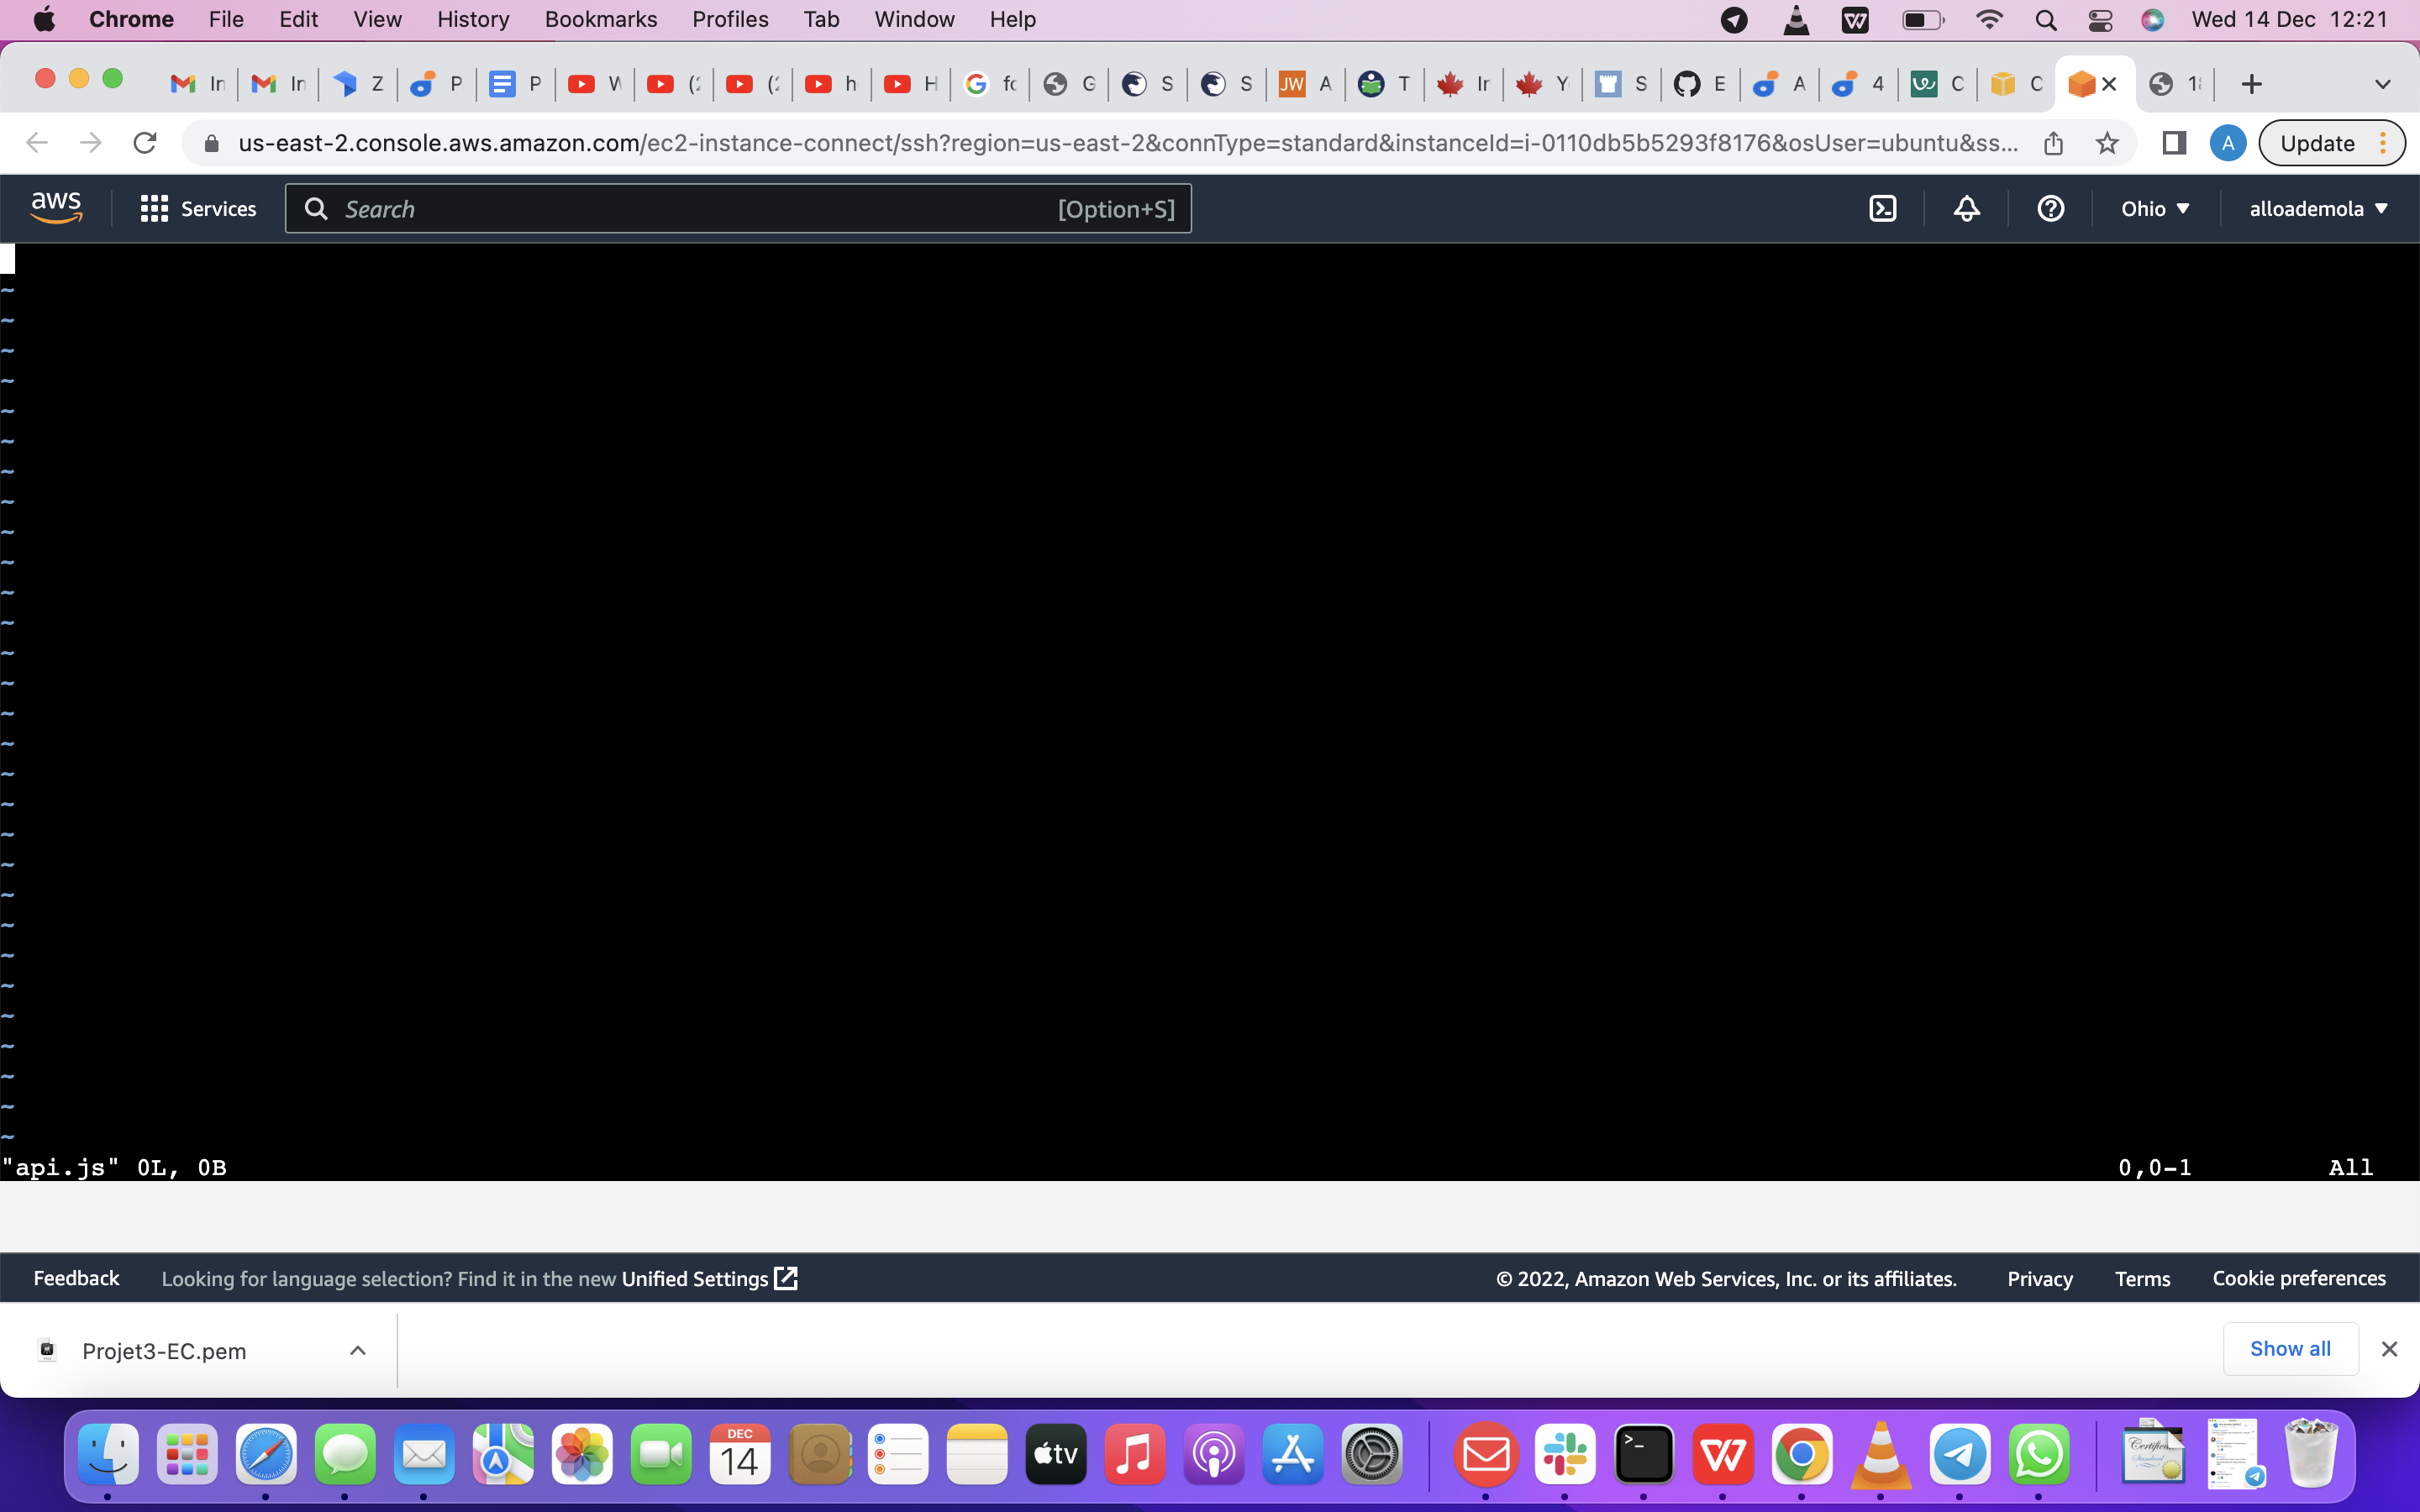
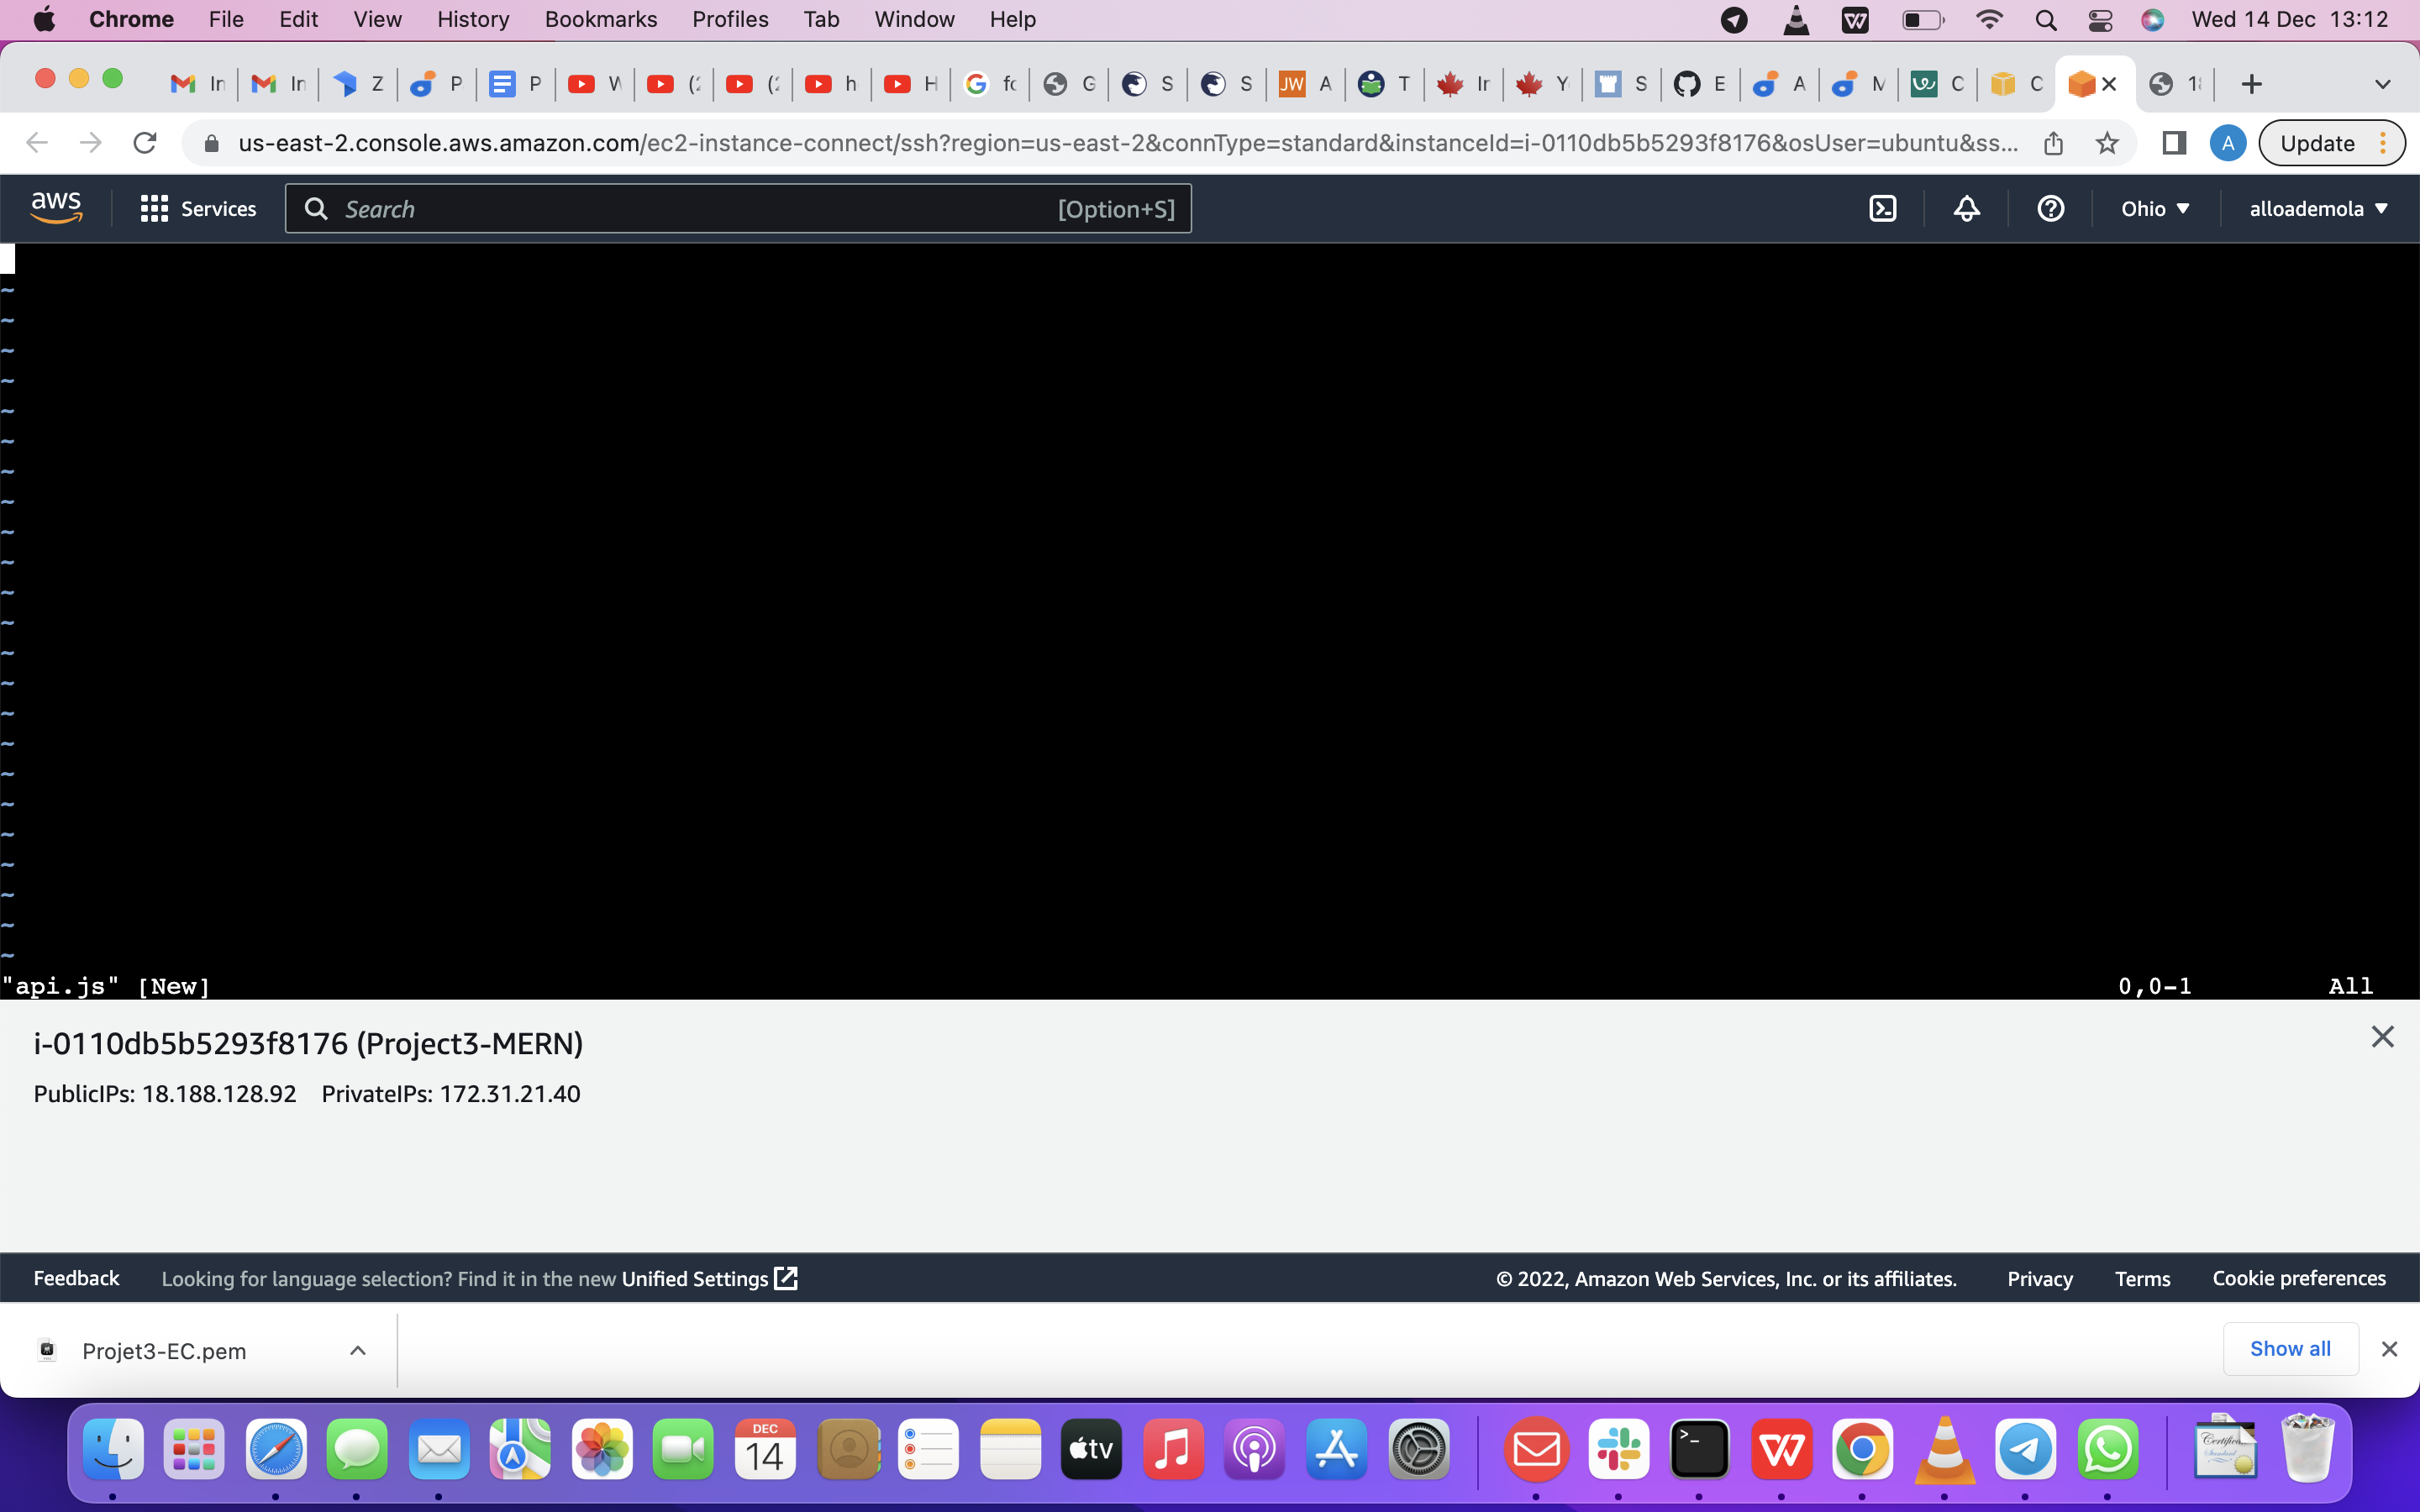
so after that, you can now, create a file api.js with the command below
touch api.js
so thereafter, you can now open the file below
vim api.js
Copy below code in the file.
const express = require ('express'); const router = express.Router();
router.get('/todos', (req, res, next) => {
});
router.post('/todos', (req, res, next) => {
});
router.delete('/todos/:id', (req, res, next) => {
})
module.exports = router;
So moving forward ,let create Models directory.
MODELS Now comes the interesting part, since the app is going to make use of Mongodb which is a NoSQL database, we need to create a model.
A model is at the heart of JavaScript based applications, and it is what makes it interactive.
We will also use models to define the database schema . This is important so that we will be able to define the fields stored in each Mongodb document. (Seems like a lot of information, but not to worry, everything will become clear to you over time. I promise!!!)
In essence, the Schema is a blueprint of how the database will be constructed, including other data fields that may not be required to be stored in the database. These are known as virtual properties
To create a Schema and a model, install mongoose which is a Node.js package that makes working with mongodb easier.
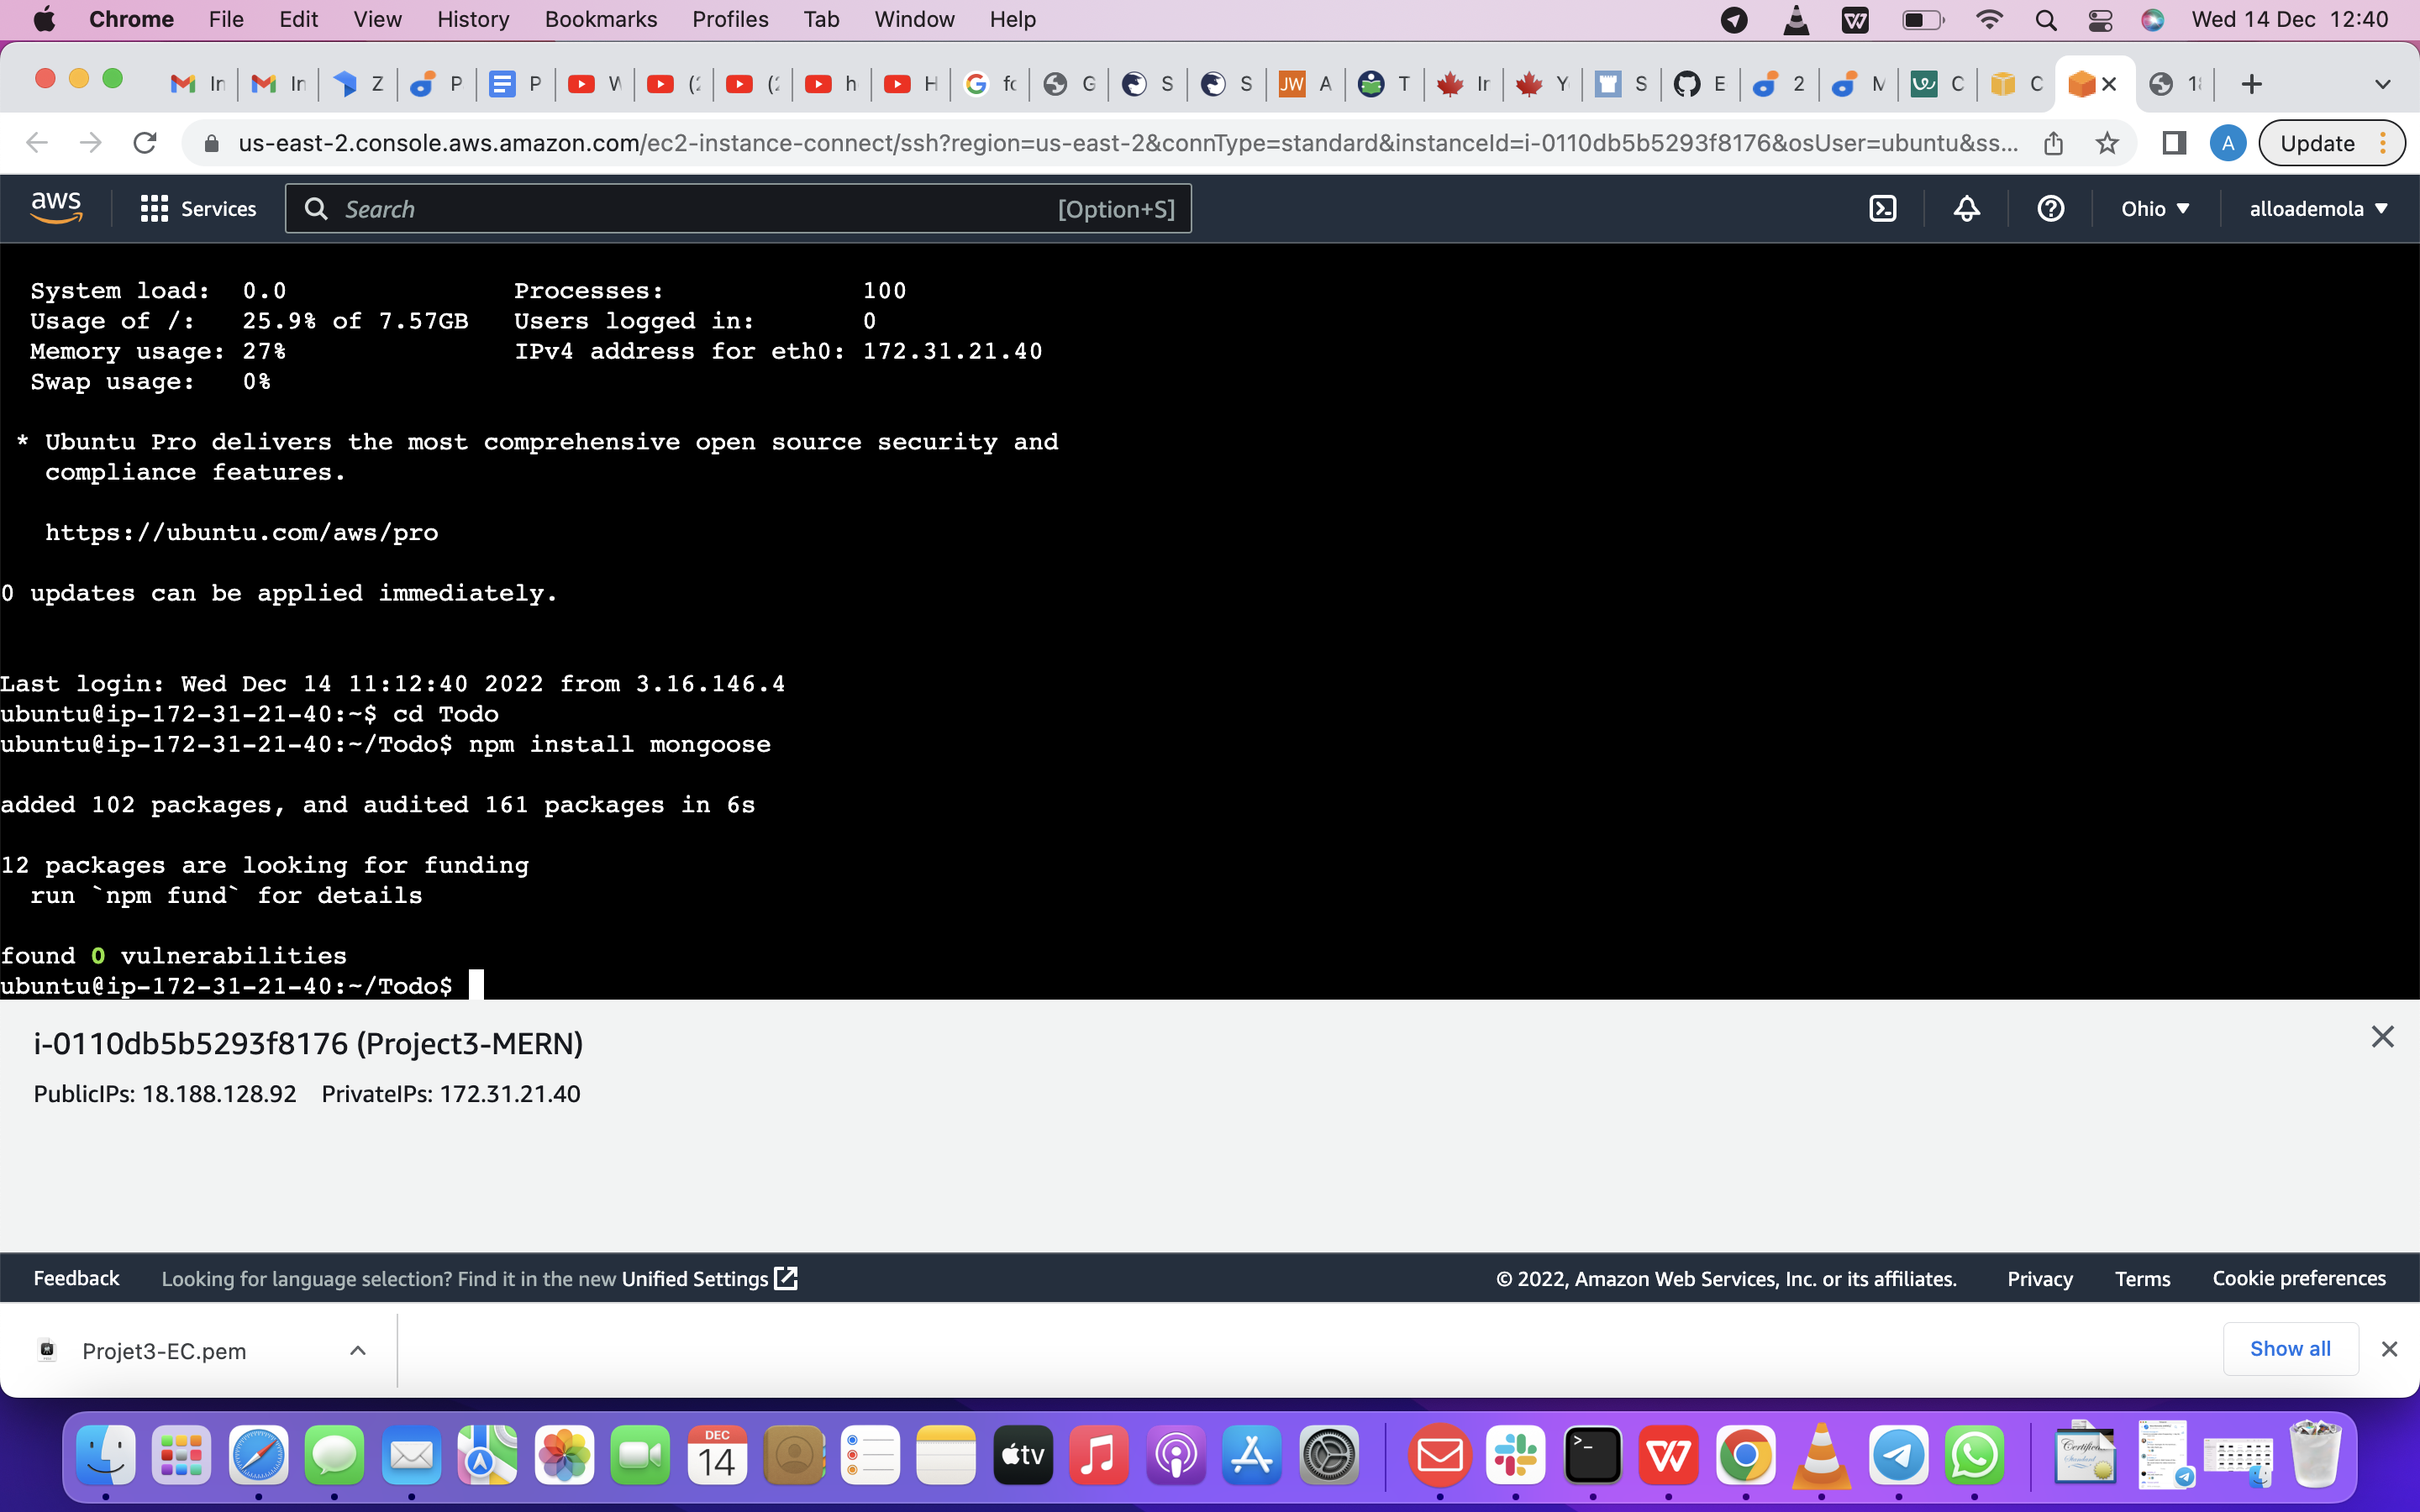
Change directory back Todo folder with cd .. and install Mongoose
So after changing your Folder back to Todo, now run this command below to install Mongoose
npm install mongoose
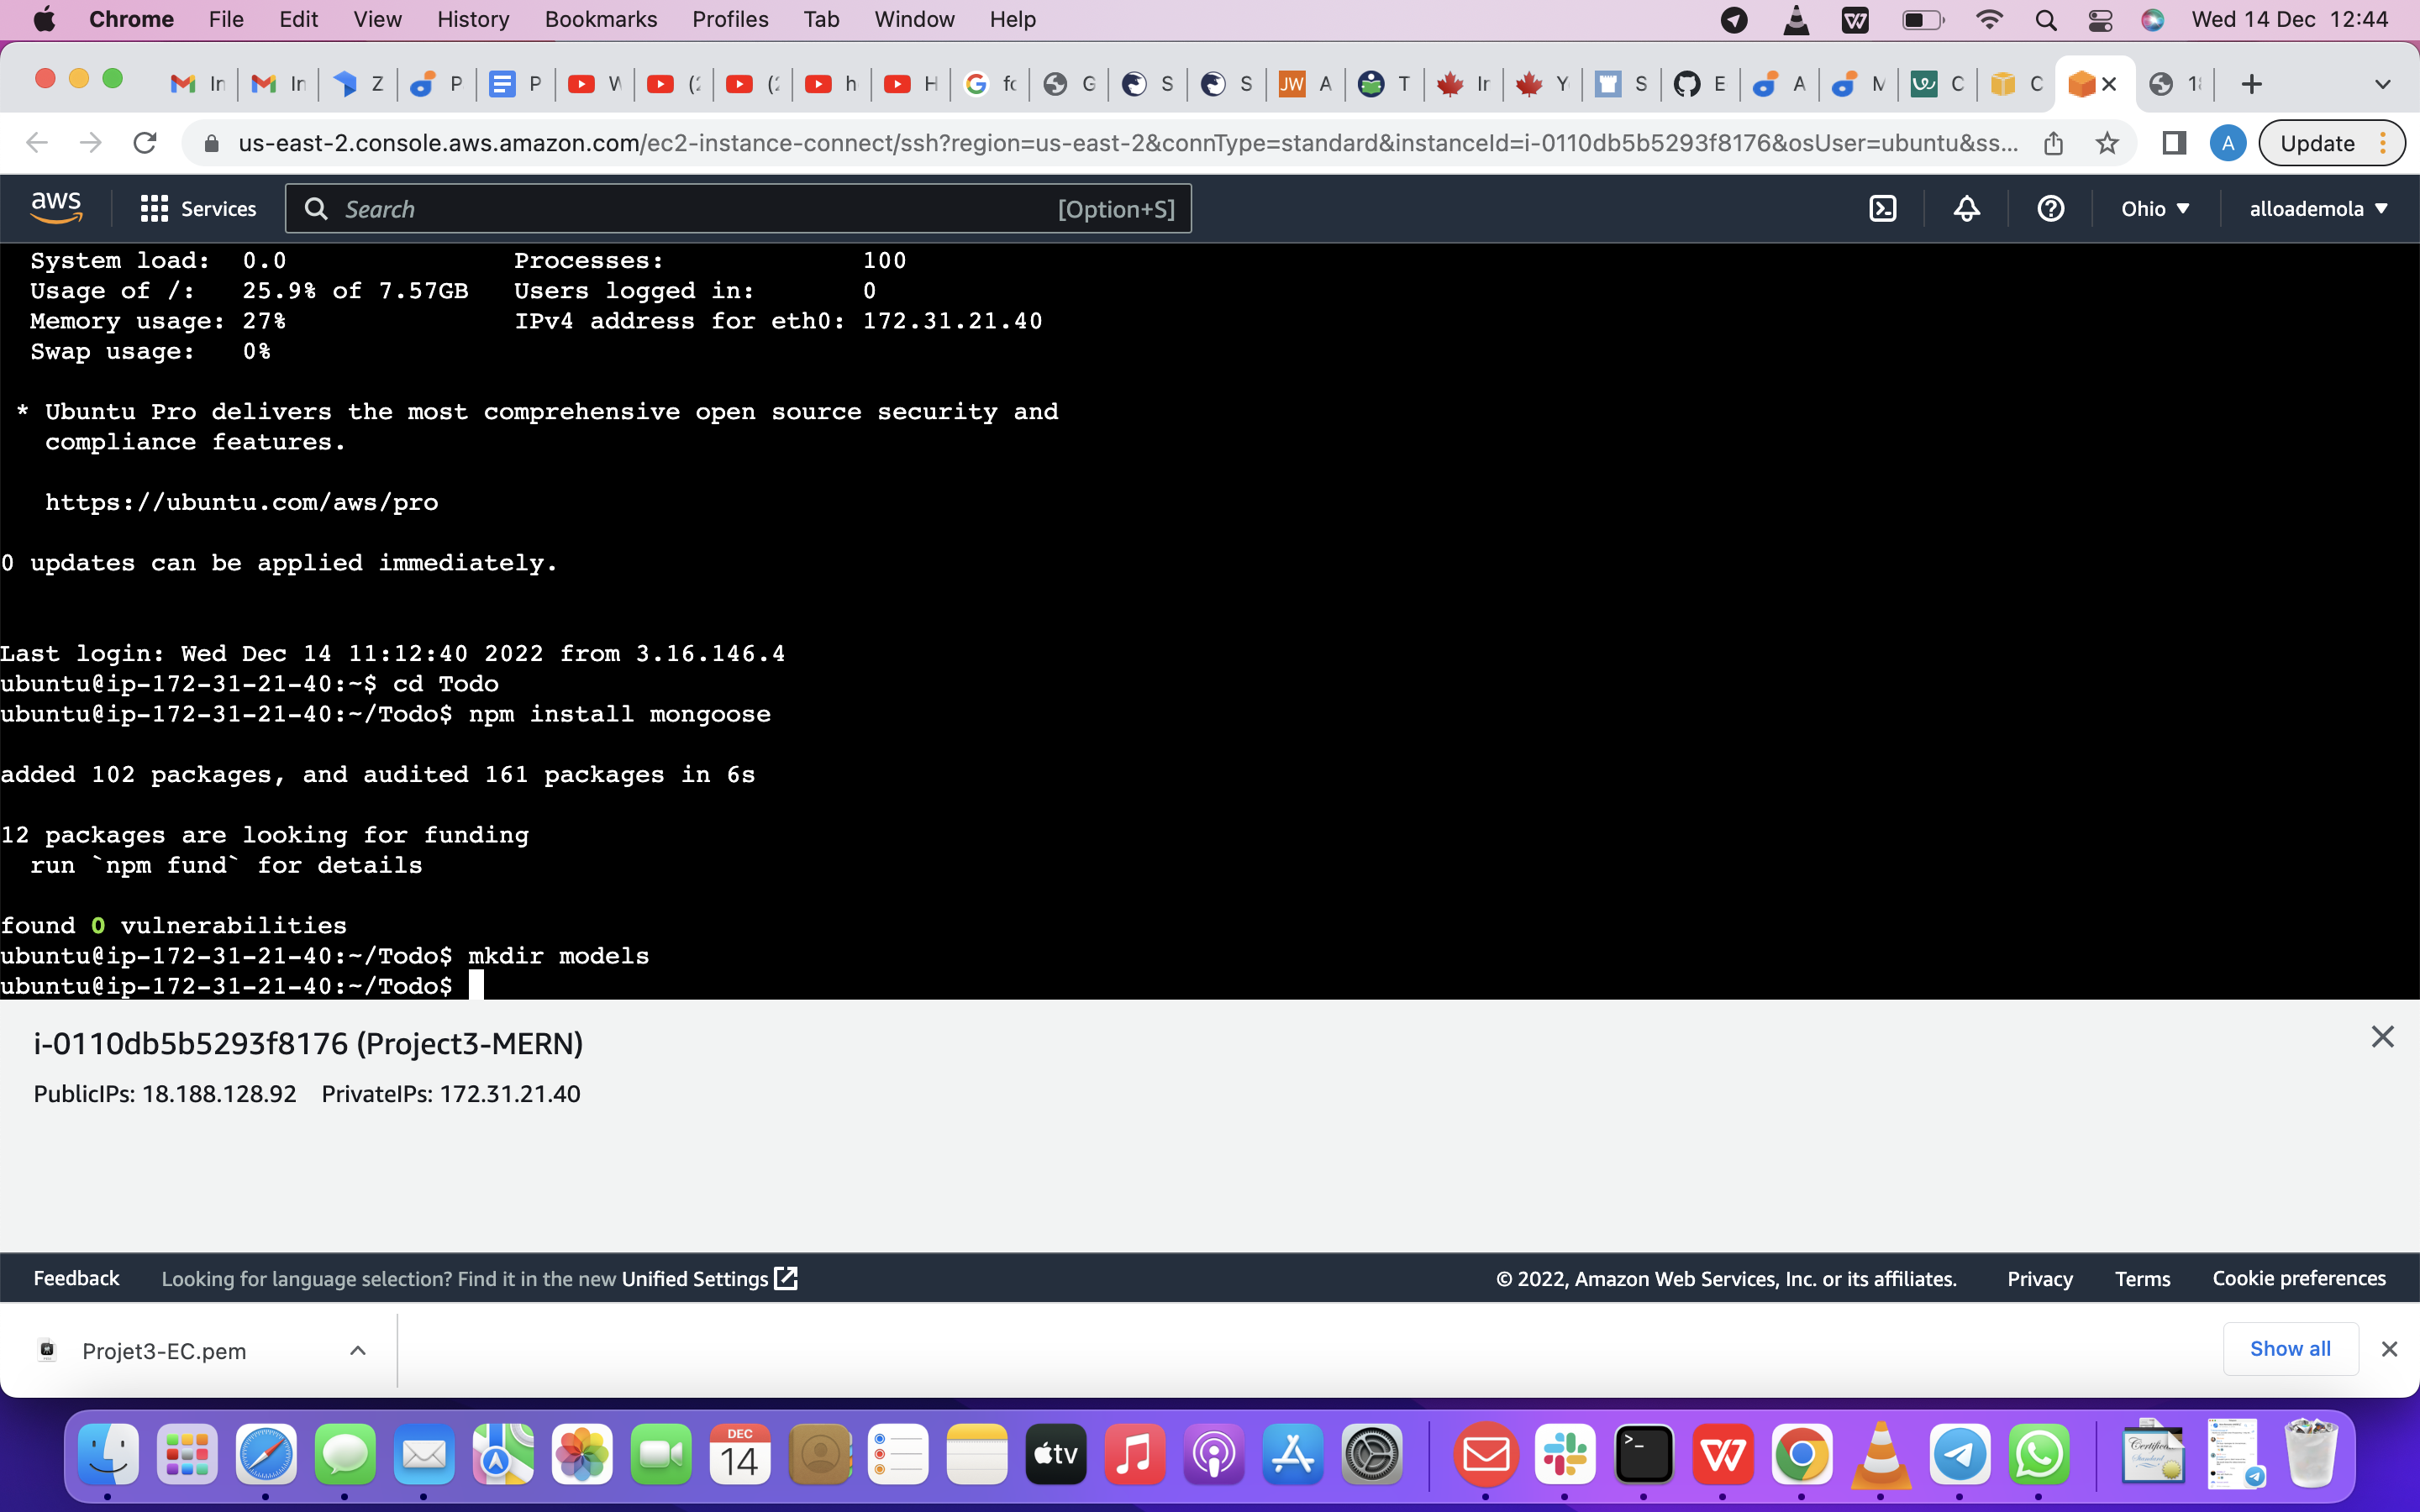
Now Create a new folder models : Using this command below
mkdir models
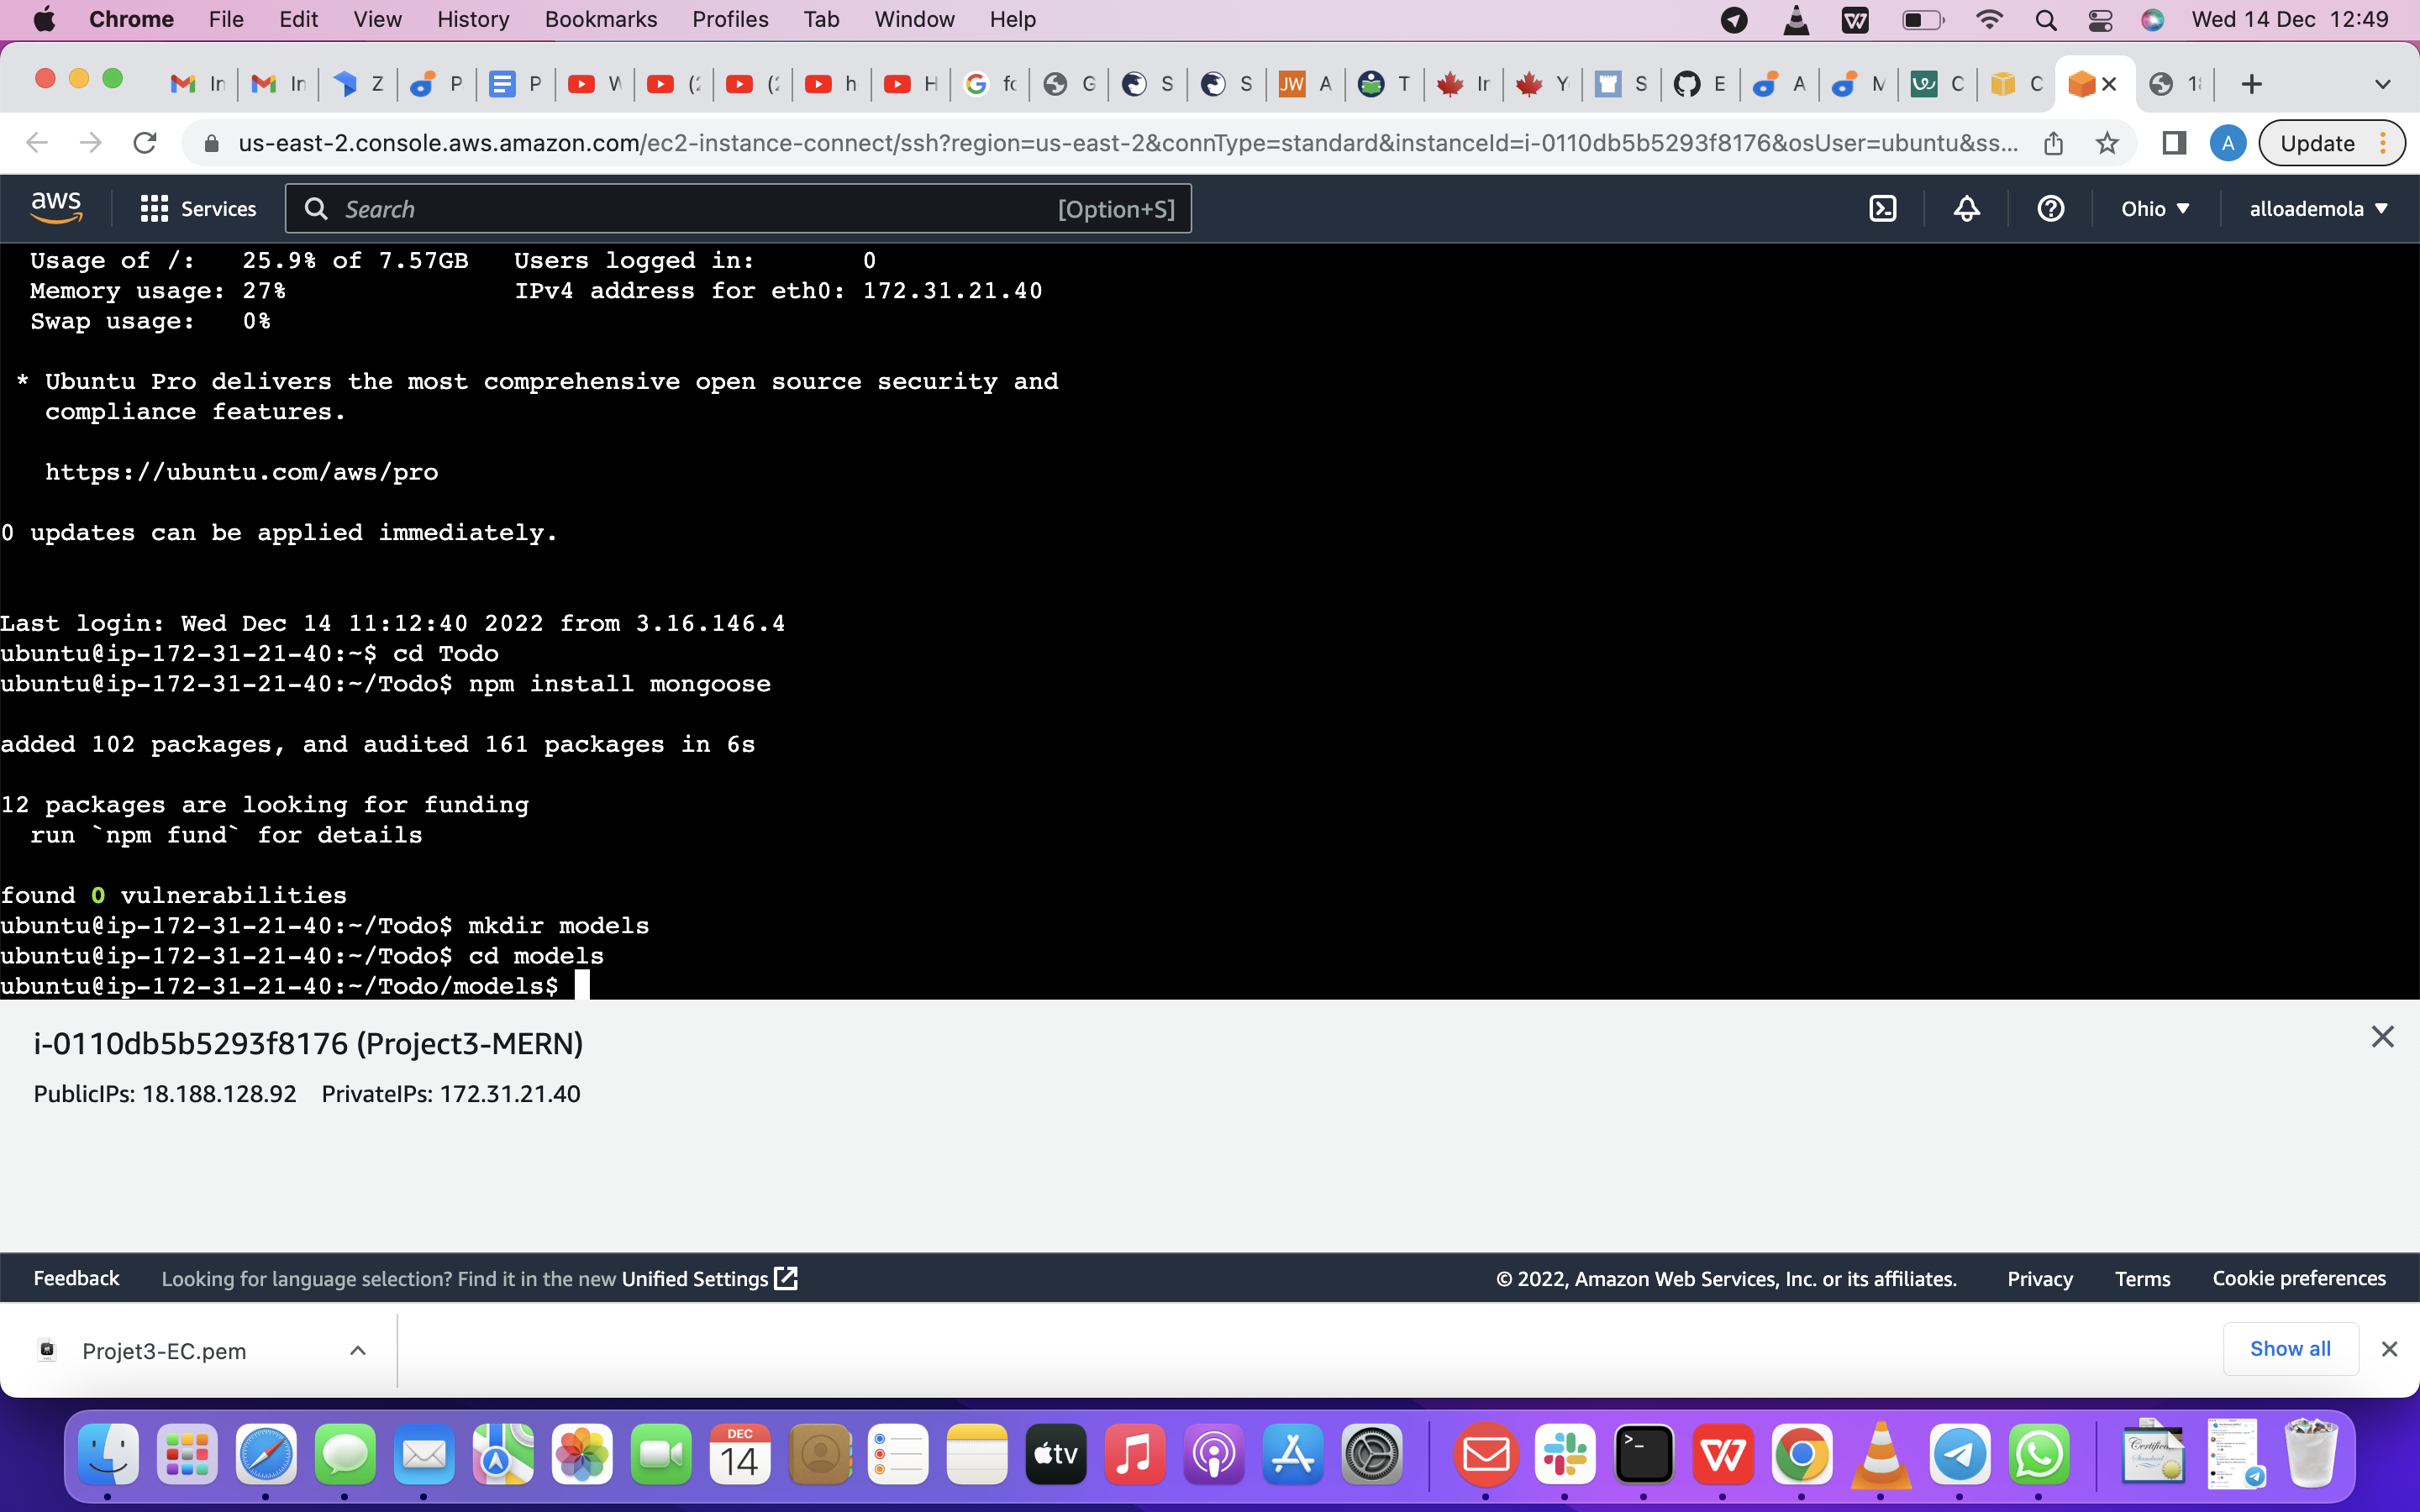
MODELS next step is Change the directory into the newly created ‘models’ folder with cd models
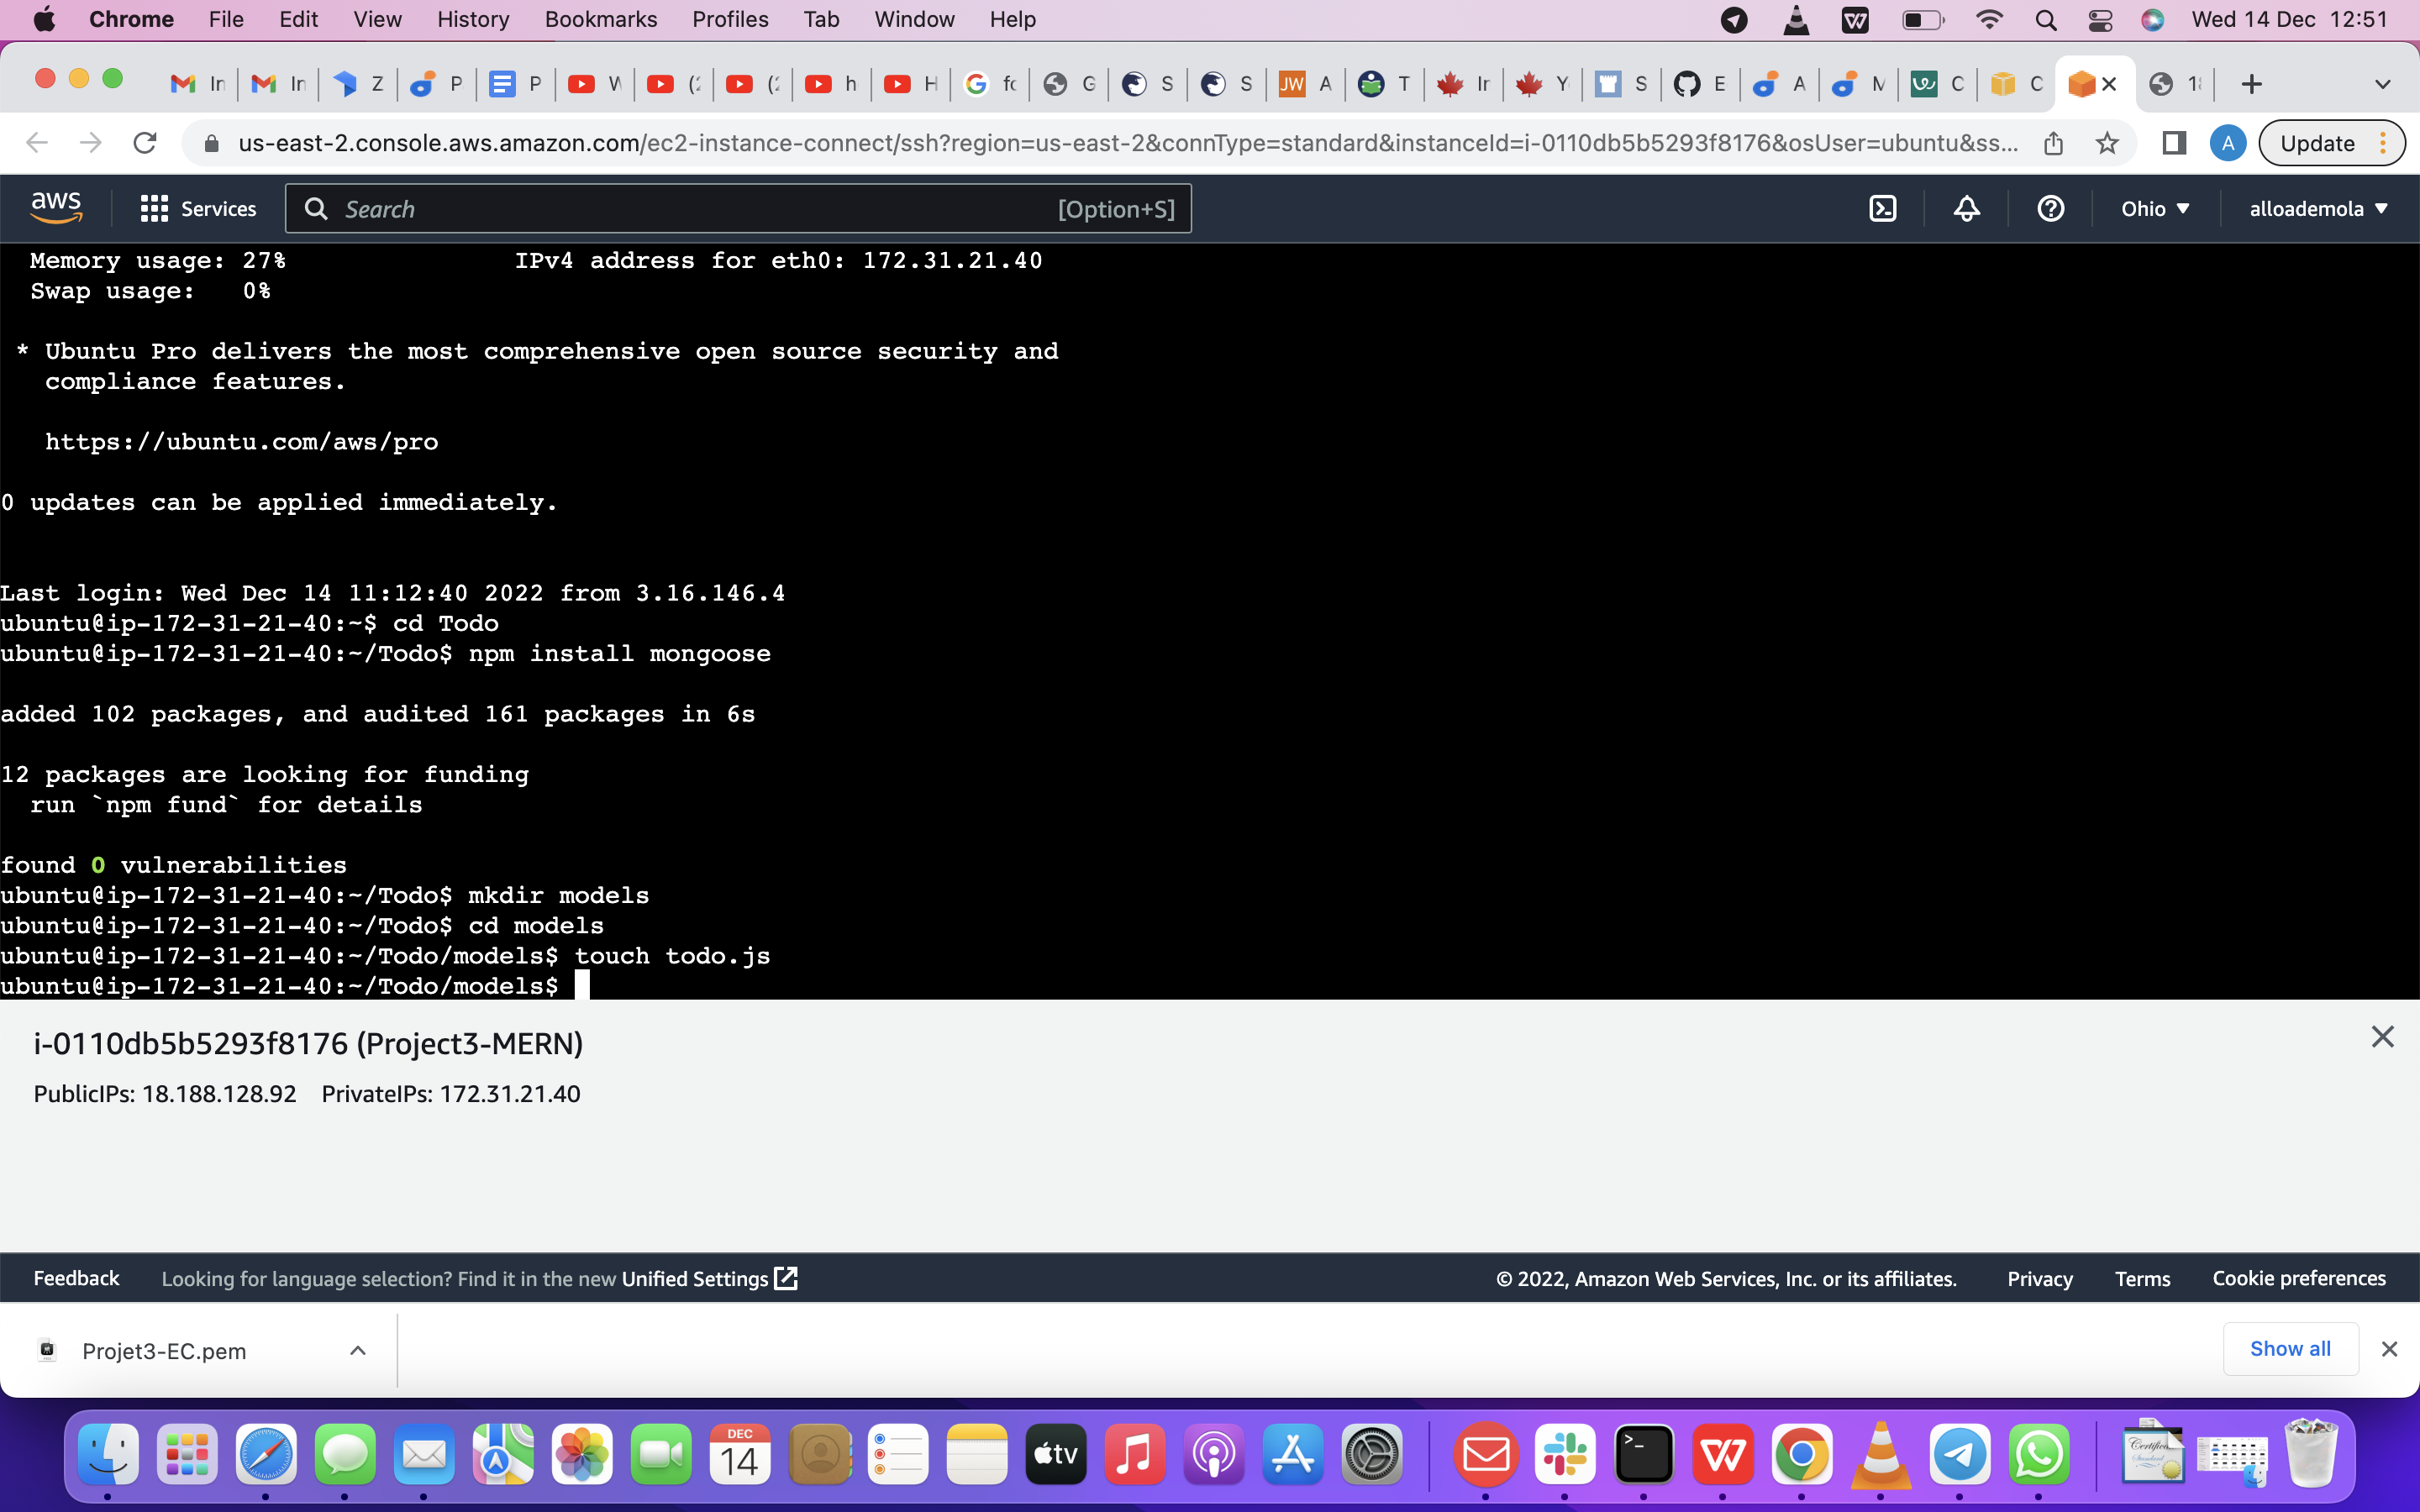
So Inside the models folder, we are going to create a file and name it todo.js with the command below
touch todo.js
Note: All the three commands above, can be defined in one line, to be executed consequently with help of && operator, like this: mkdir models && cd models && touch todo.js
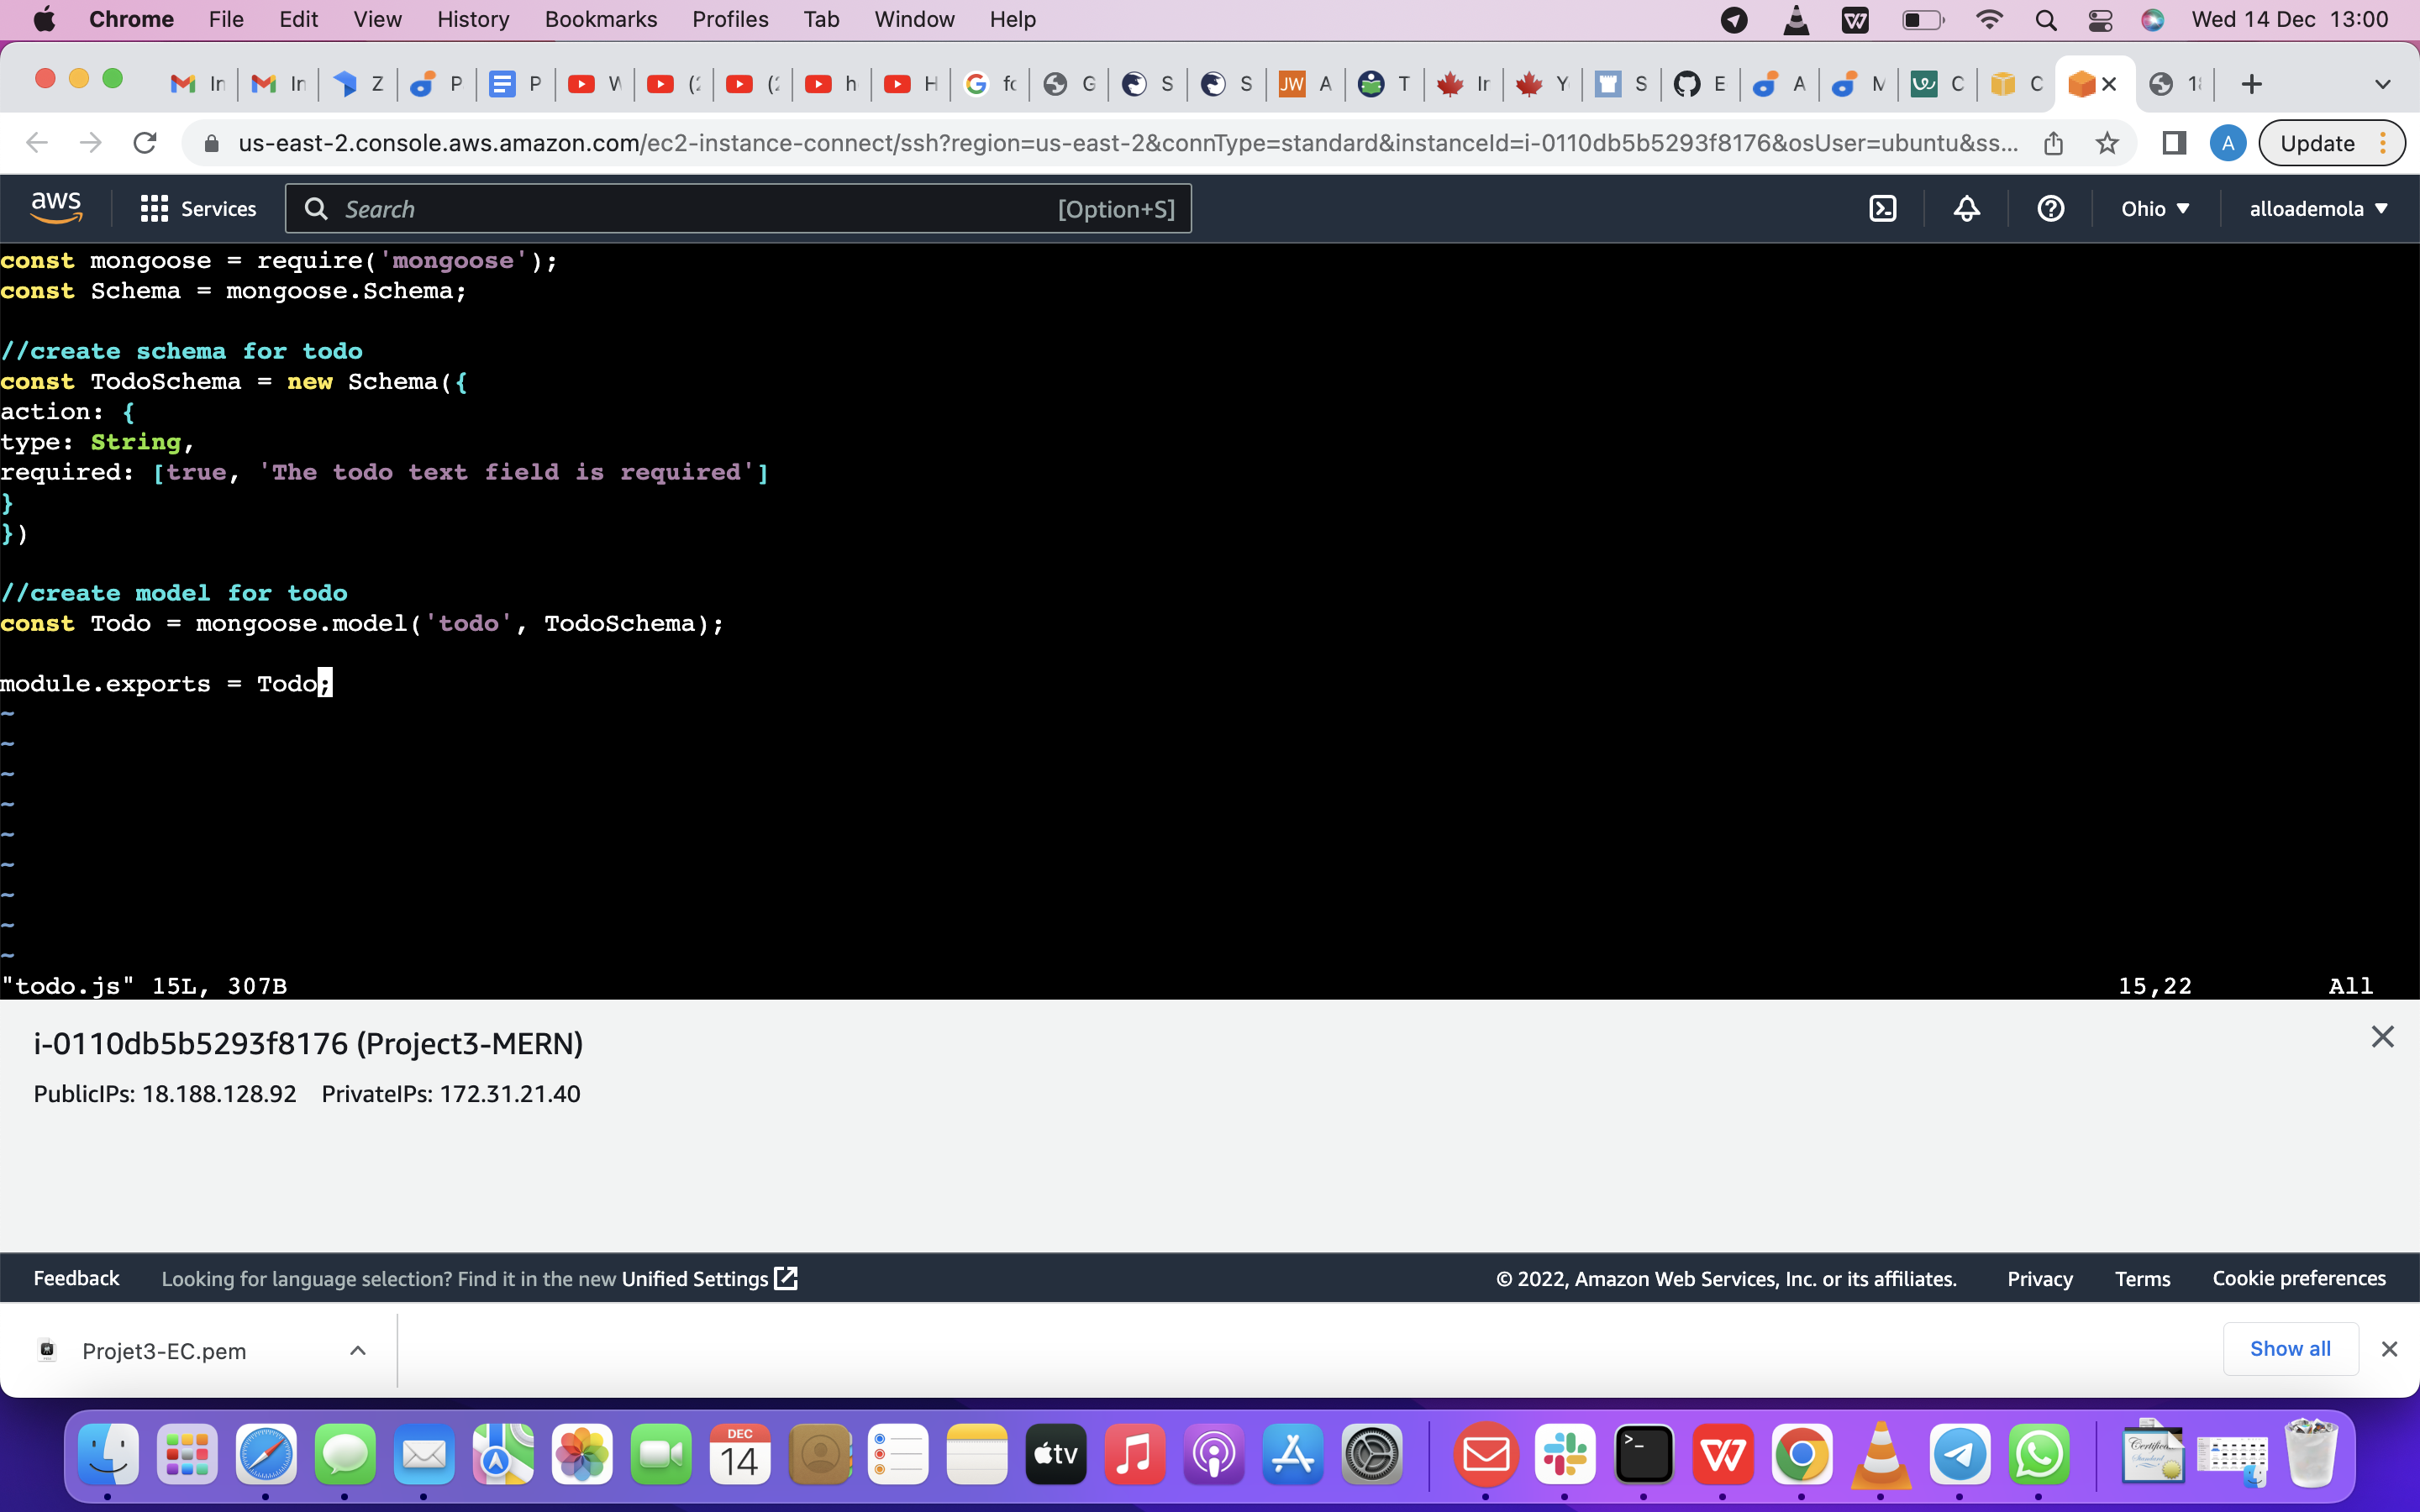
Open the file created with vim todo.js then paste the code below in the file:
const mongoose = require('mongoose'); const Schema = mongoose.Schema;
//create schema for todo const TodoSchema = new Schema({ action: { type: String, required: [true, 'The todo text field is required'] } })
//create model for todo const Todo = mongoose.model('todo', TodoSchema);
module.exports = Todo;
Now we are going to update our routes from the file api.js in ‘routes’ directory to make use of the new model.
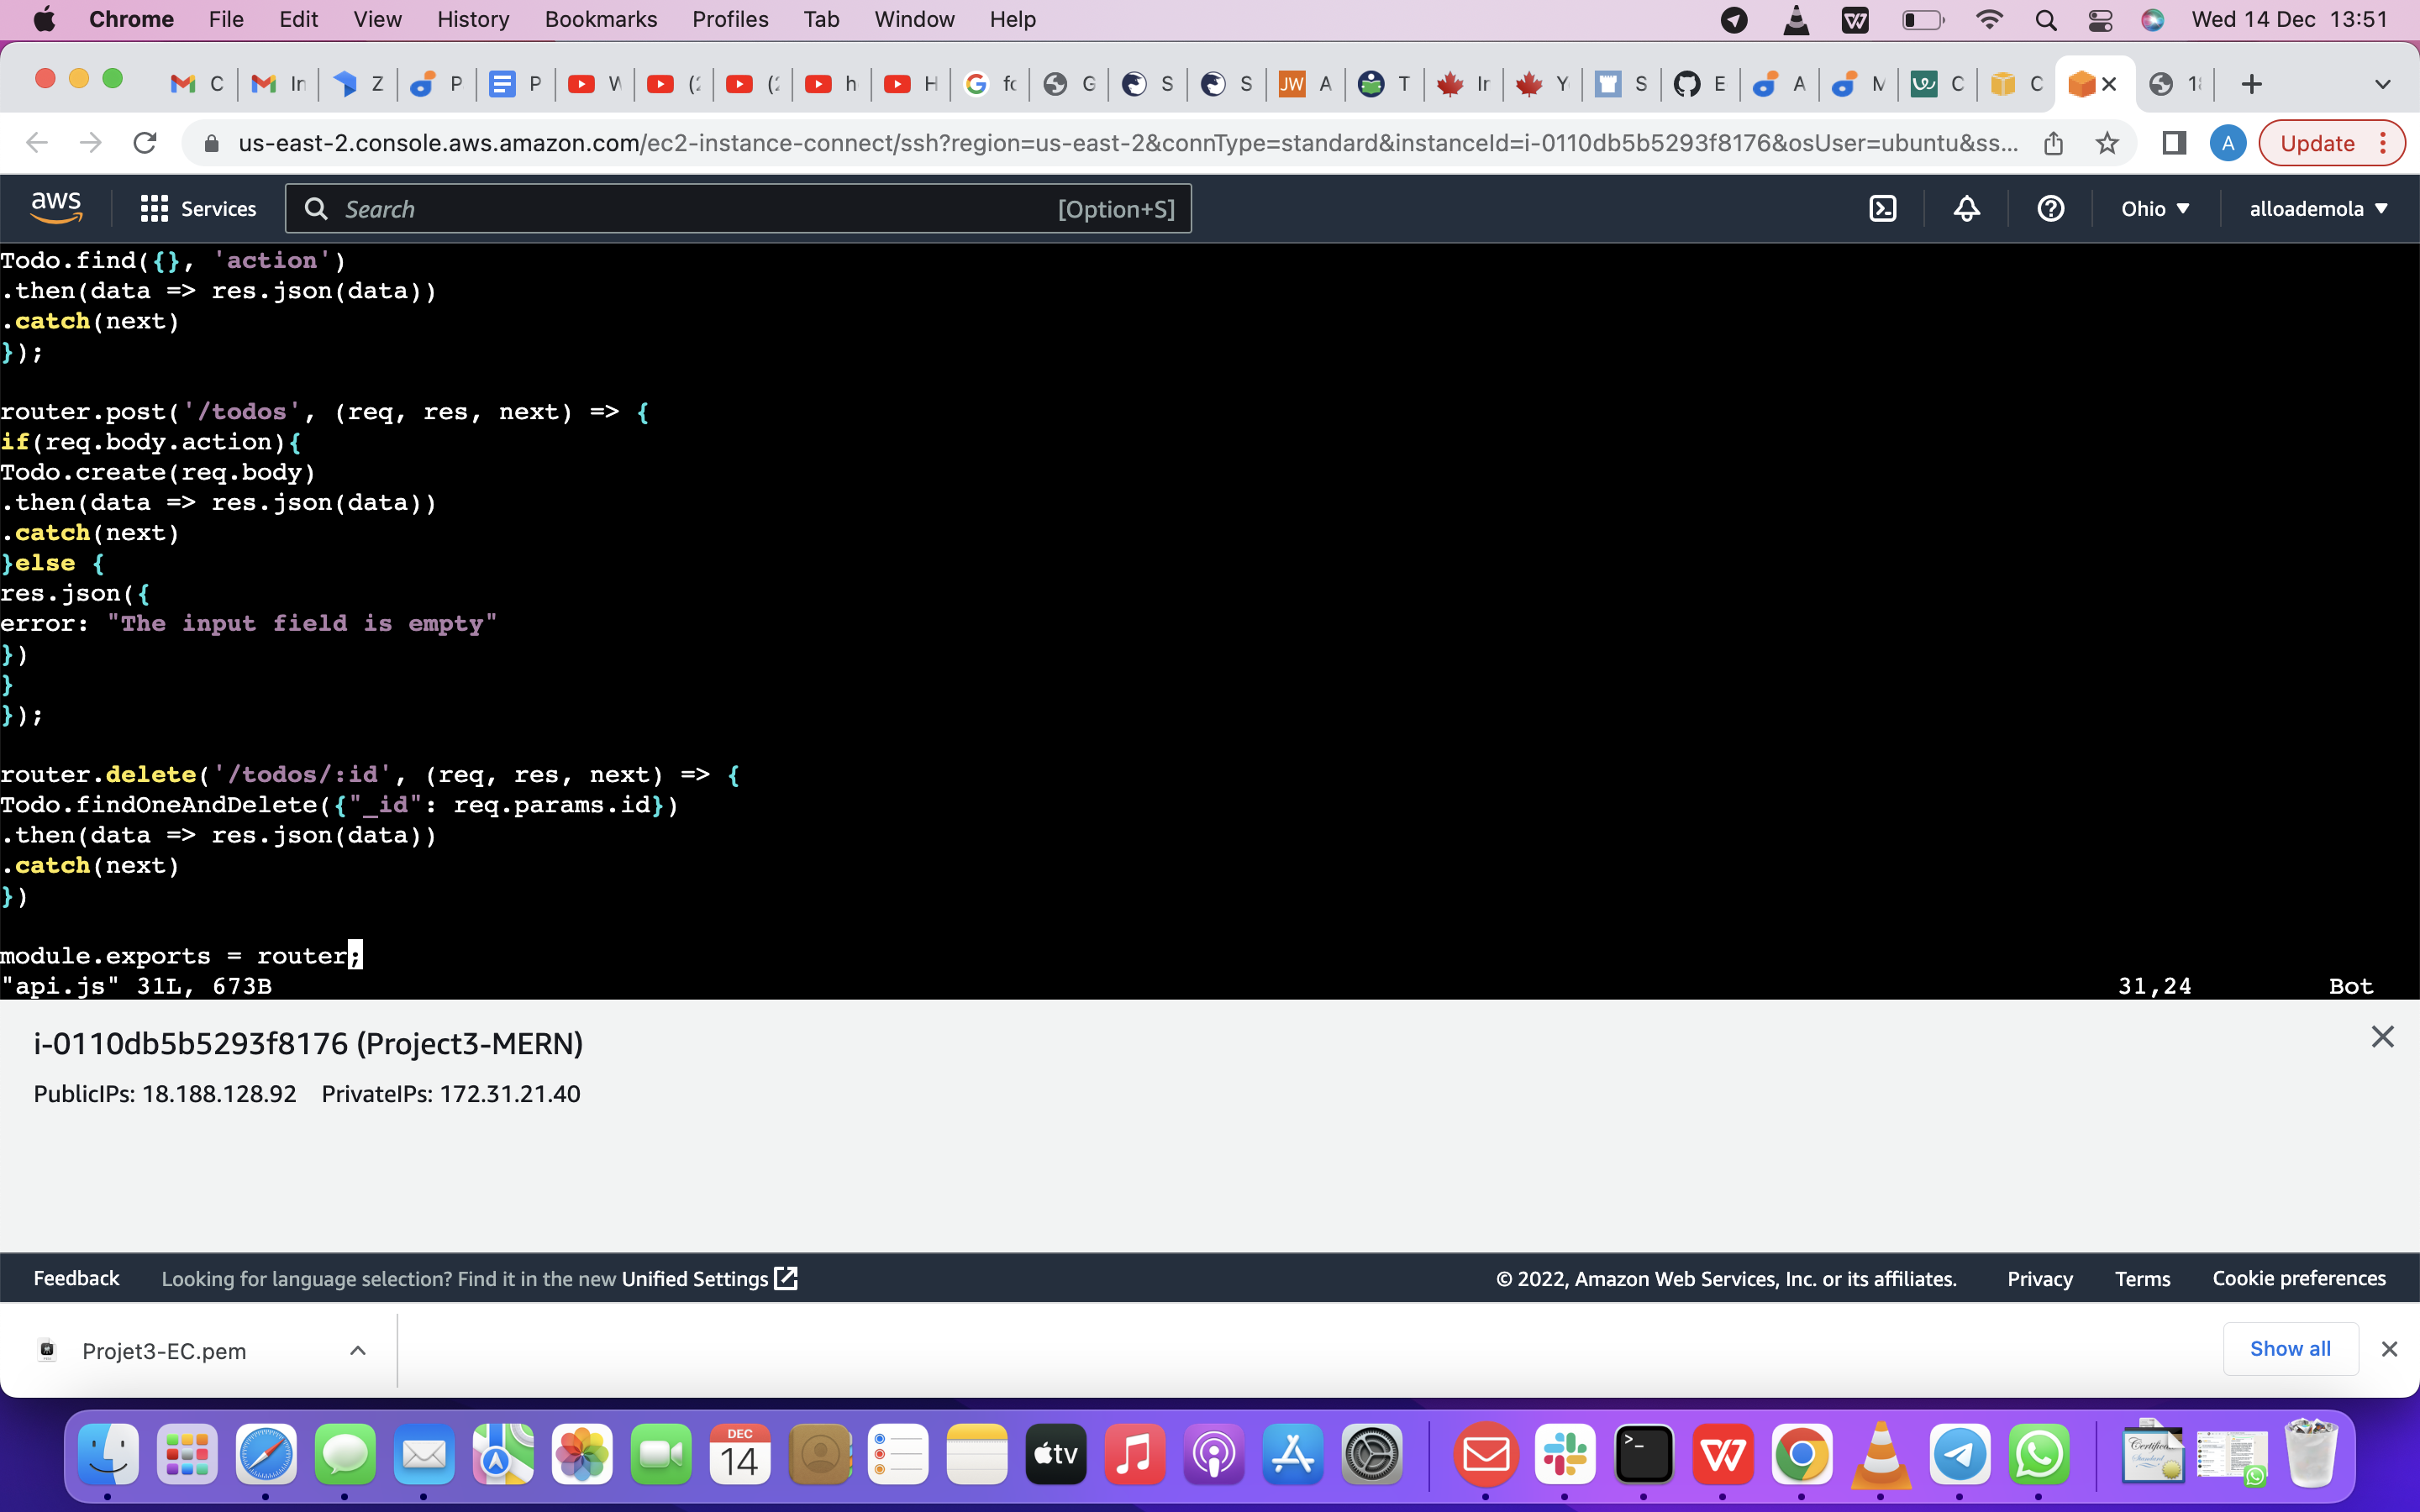
In Routes directory, open api.js with vim api.js, delete the code inside with :%d command and paste there code below into it then save and exit
we are using this command below
vim api.js
so now, we are going to paste the code below into it then save and exit
const express = require ('express'); const router = express.Router(); const Todo = require('../models/todo');
router.get('/todos', (req, res, next) => {
//this will return all the data, exposing only the id and action field to the client Todo.find({}, 'action') .then(data => res.json(data)) .catch(next) });
router.post('/todos', (req, res, next) => { if(req.body.action){ Todo.create(req.body) .then(data => res.json(data)) .catch(next) }else { res.json({ error: "The input field is empty" }) } });
router.delete('/todos/:id', (req, res, next) => { Todo.findOneAndDelete({"_id": req.params.id}) .then(data => res.json(data)) .catch(next) })
module.exports = router;
The next piece of our application will be the MongoDB Database.
now we are moving to frontend
Step 2 – Frontend creation Since we are done with the functionality . it is time to create a user interface for a Web client (browser) to interact with the application via API. To start out with the frontend of the To-do app, we will use the create-react-app command to scaffold our app.
In the same root directory as your backend code, which is the Todo directory
now we are runnning this command below
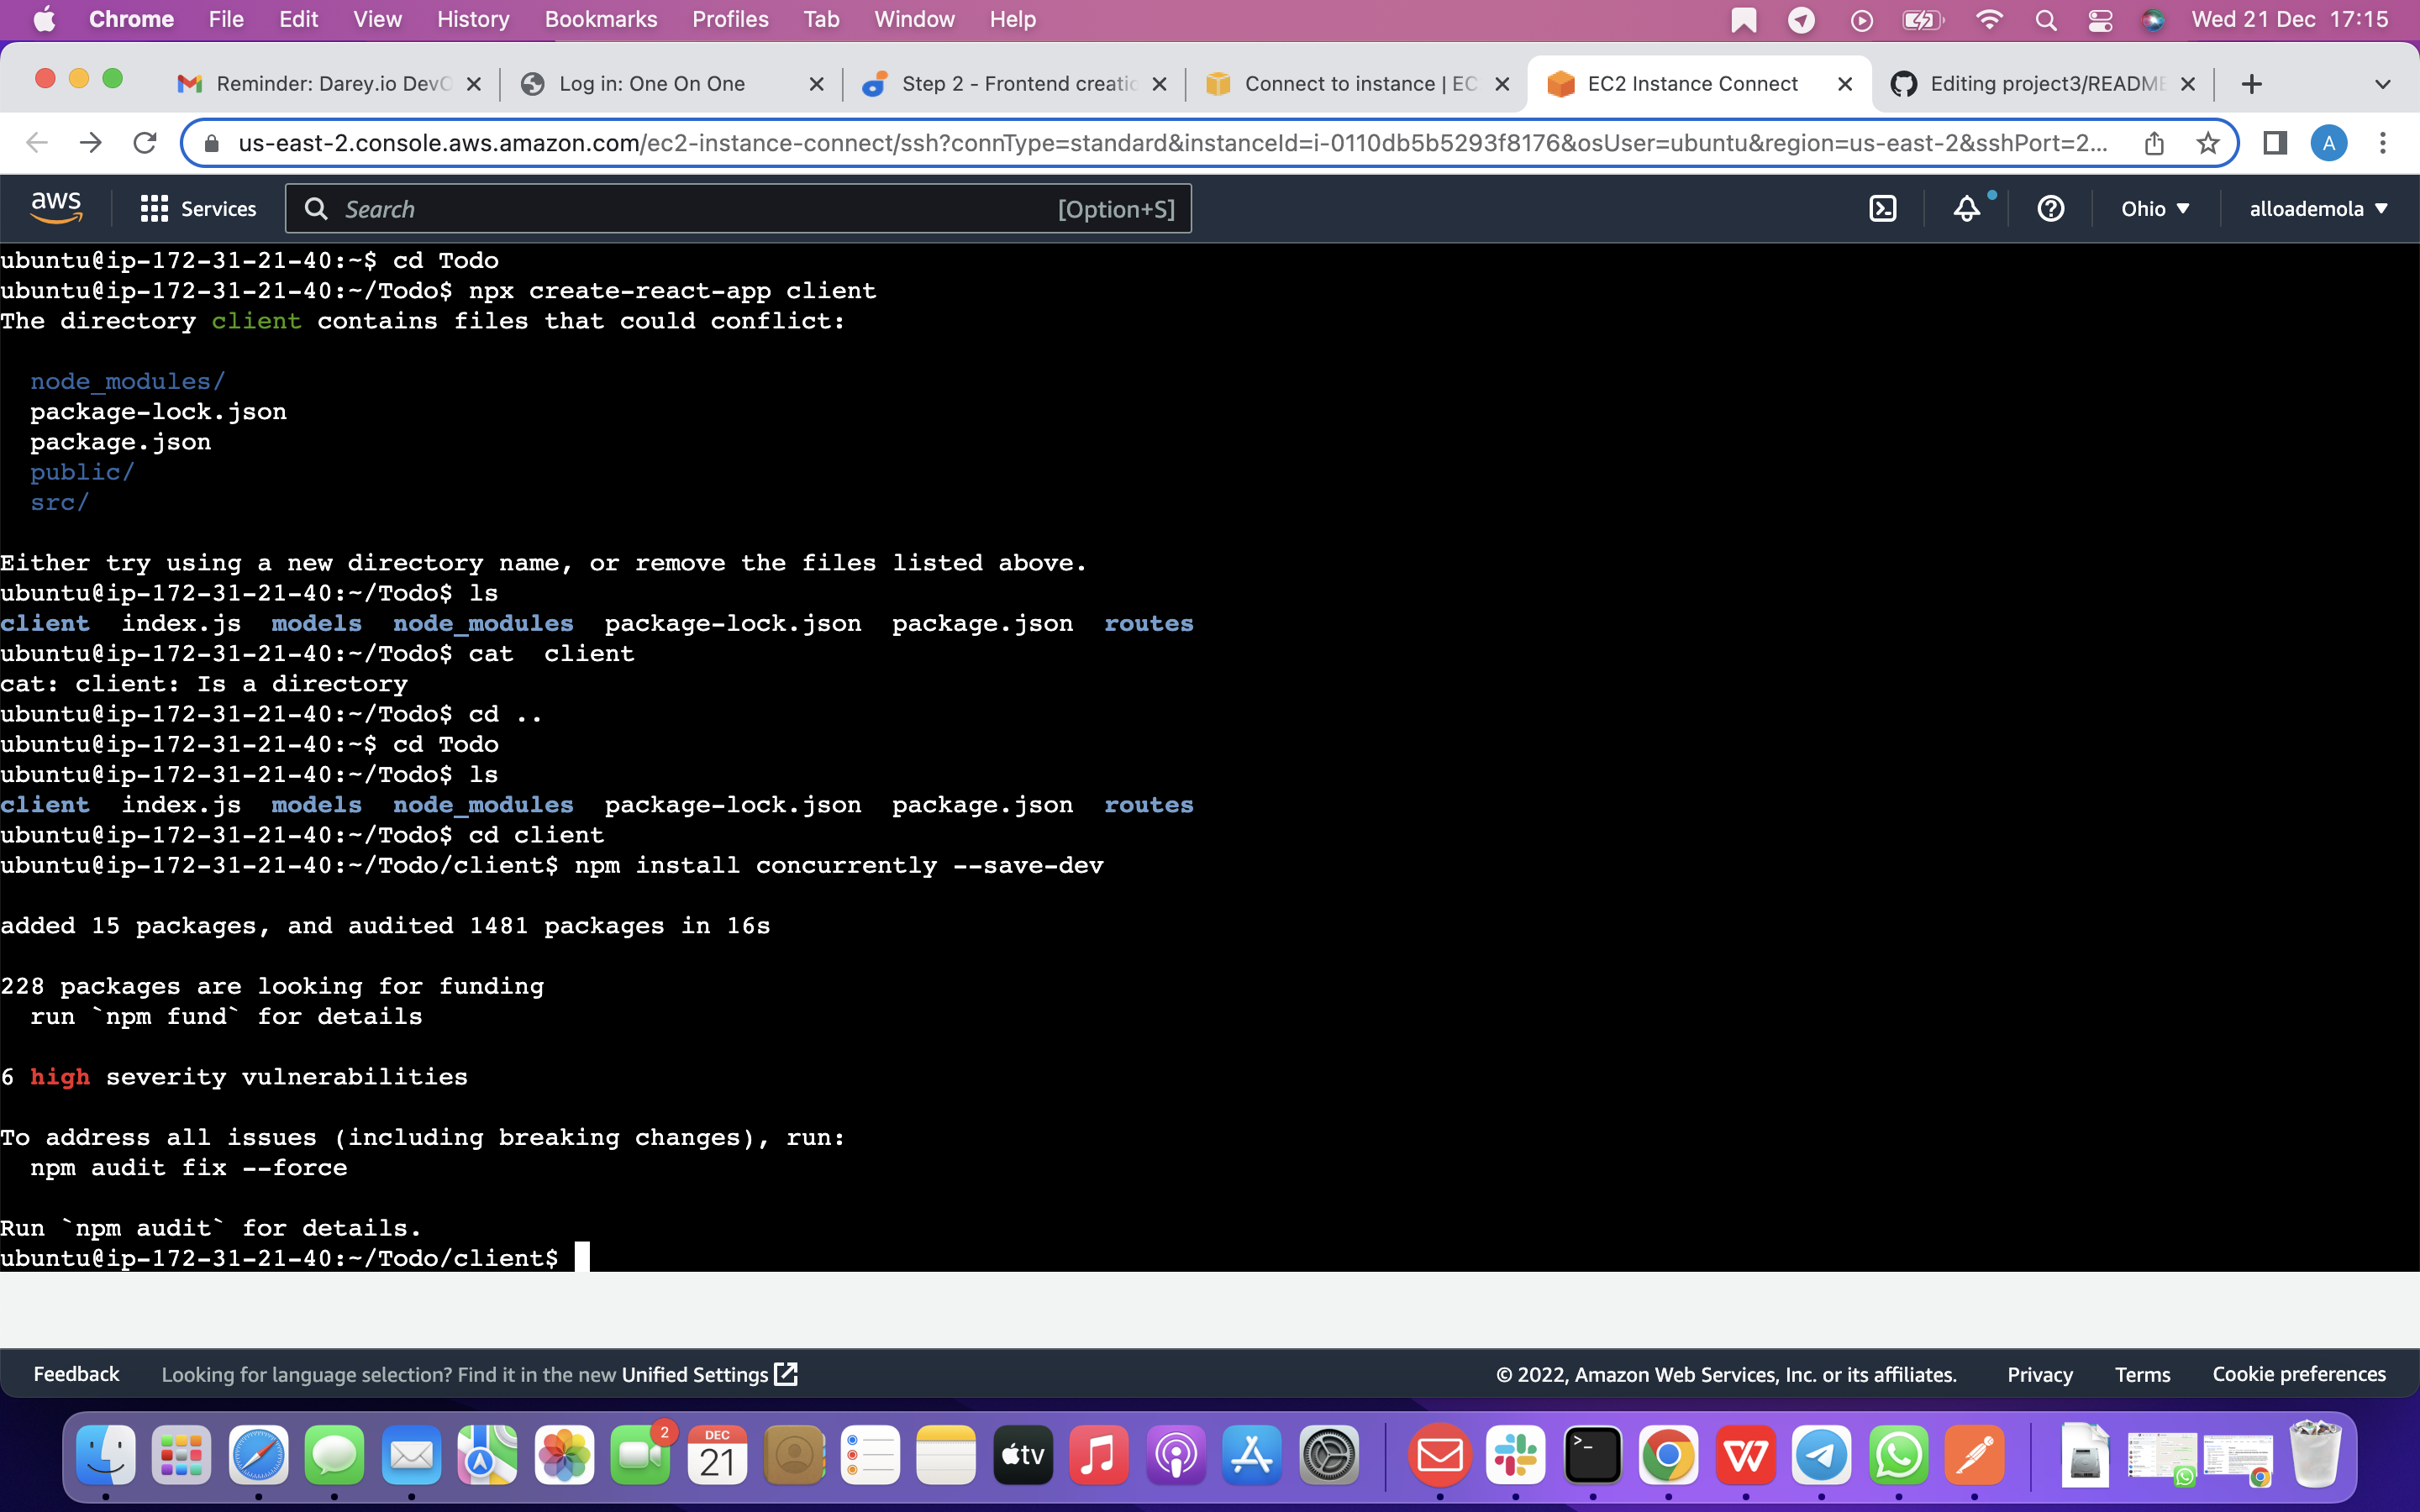
npx create-react-app client
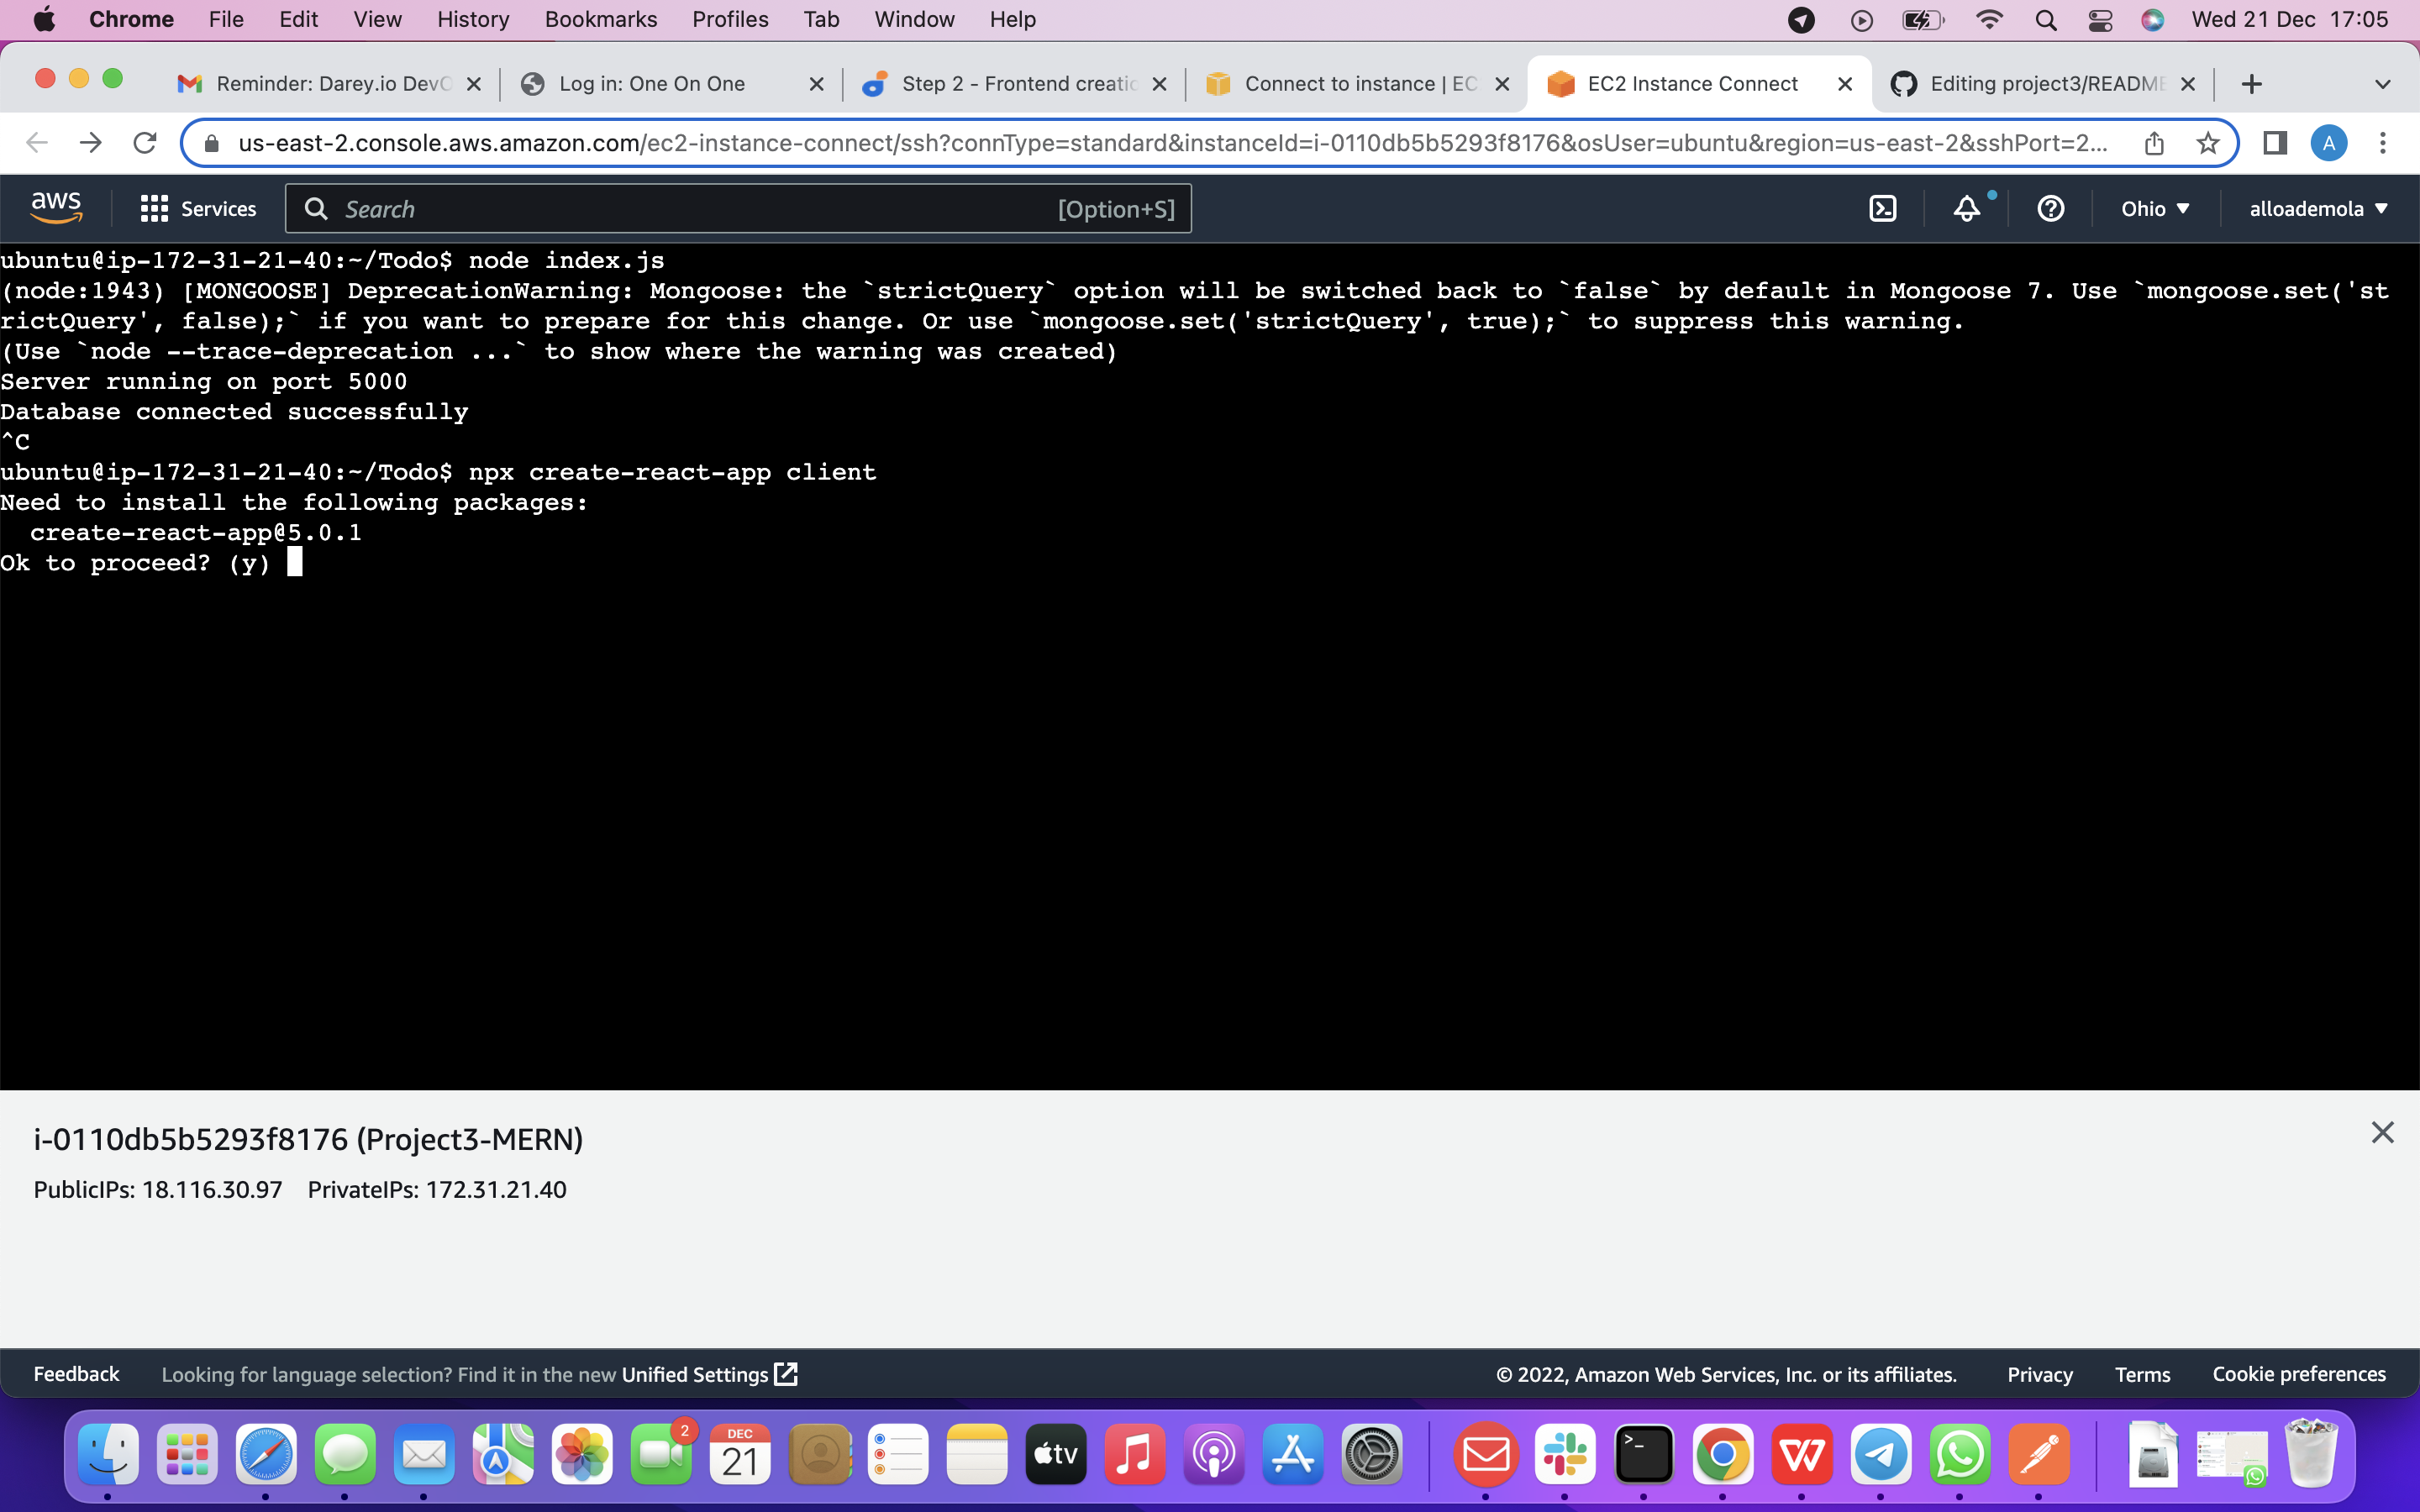
So this will create a new folder into our Todo directory called client, where you will add all the react code.
Running a React App Before testing the react app, there are some dependencies that need to be installed.
Install concurrently. It is used to run more than one command simultaneously from the same terminal window. so we are using this terminal below
1 : npm install concurrently --save-dev
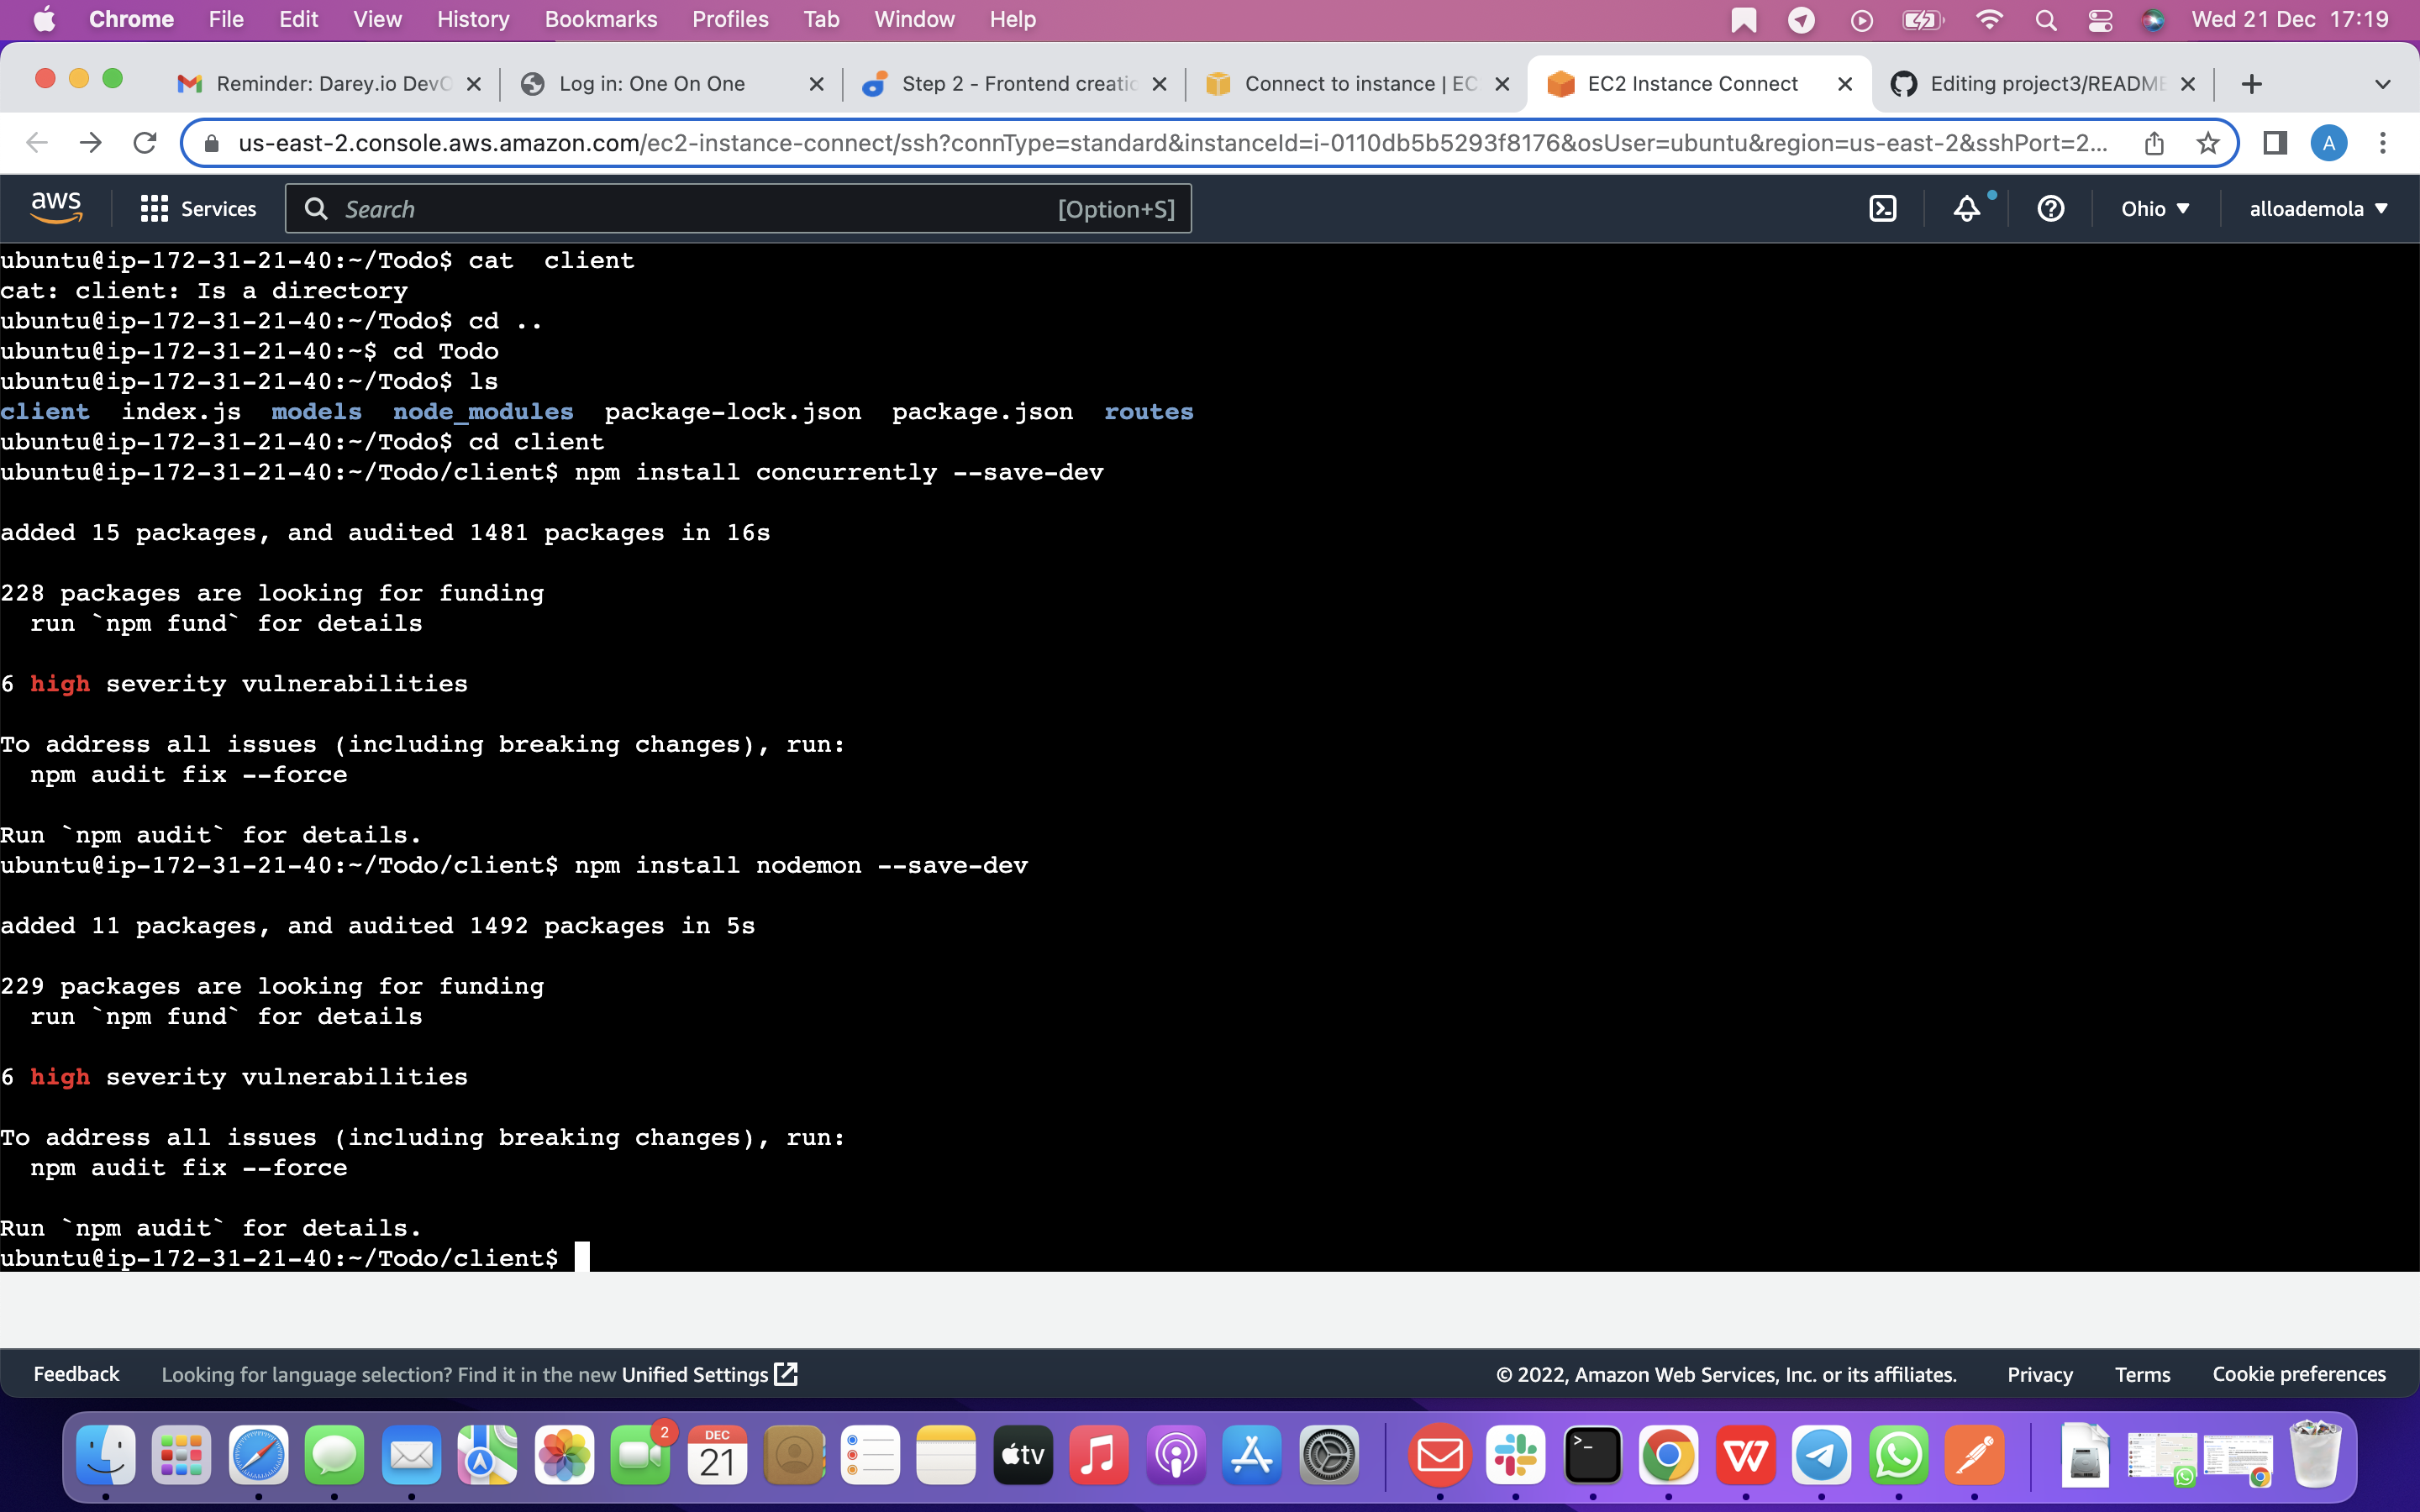
2: Install nodemon. It is used to run and monitor the server. If there is any change in the server code, nodemon will restart it automatically and load the new changes. use this command below
npm install nodemon --save-dev
3: So in our Todo folder, open the package.json file. Change the highlighted part of the below screenshot and replace with the code below.
"scripts": { "start": "node index.js", "start-watch": "nodemon index.js", "dev": "concurrently "npm run start-watch" "cd client && npm start"" },
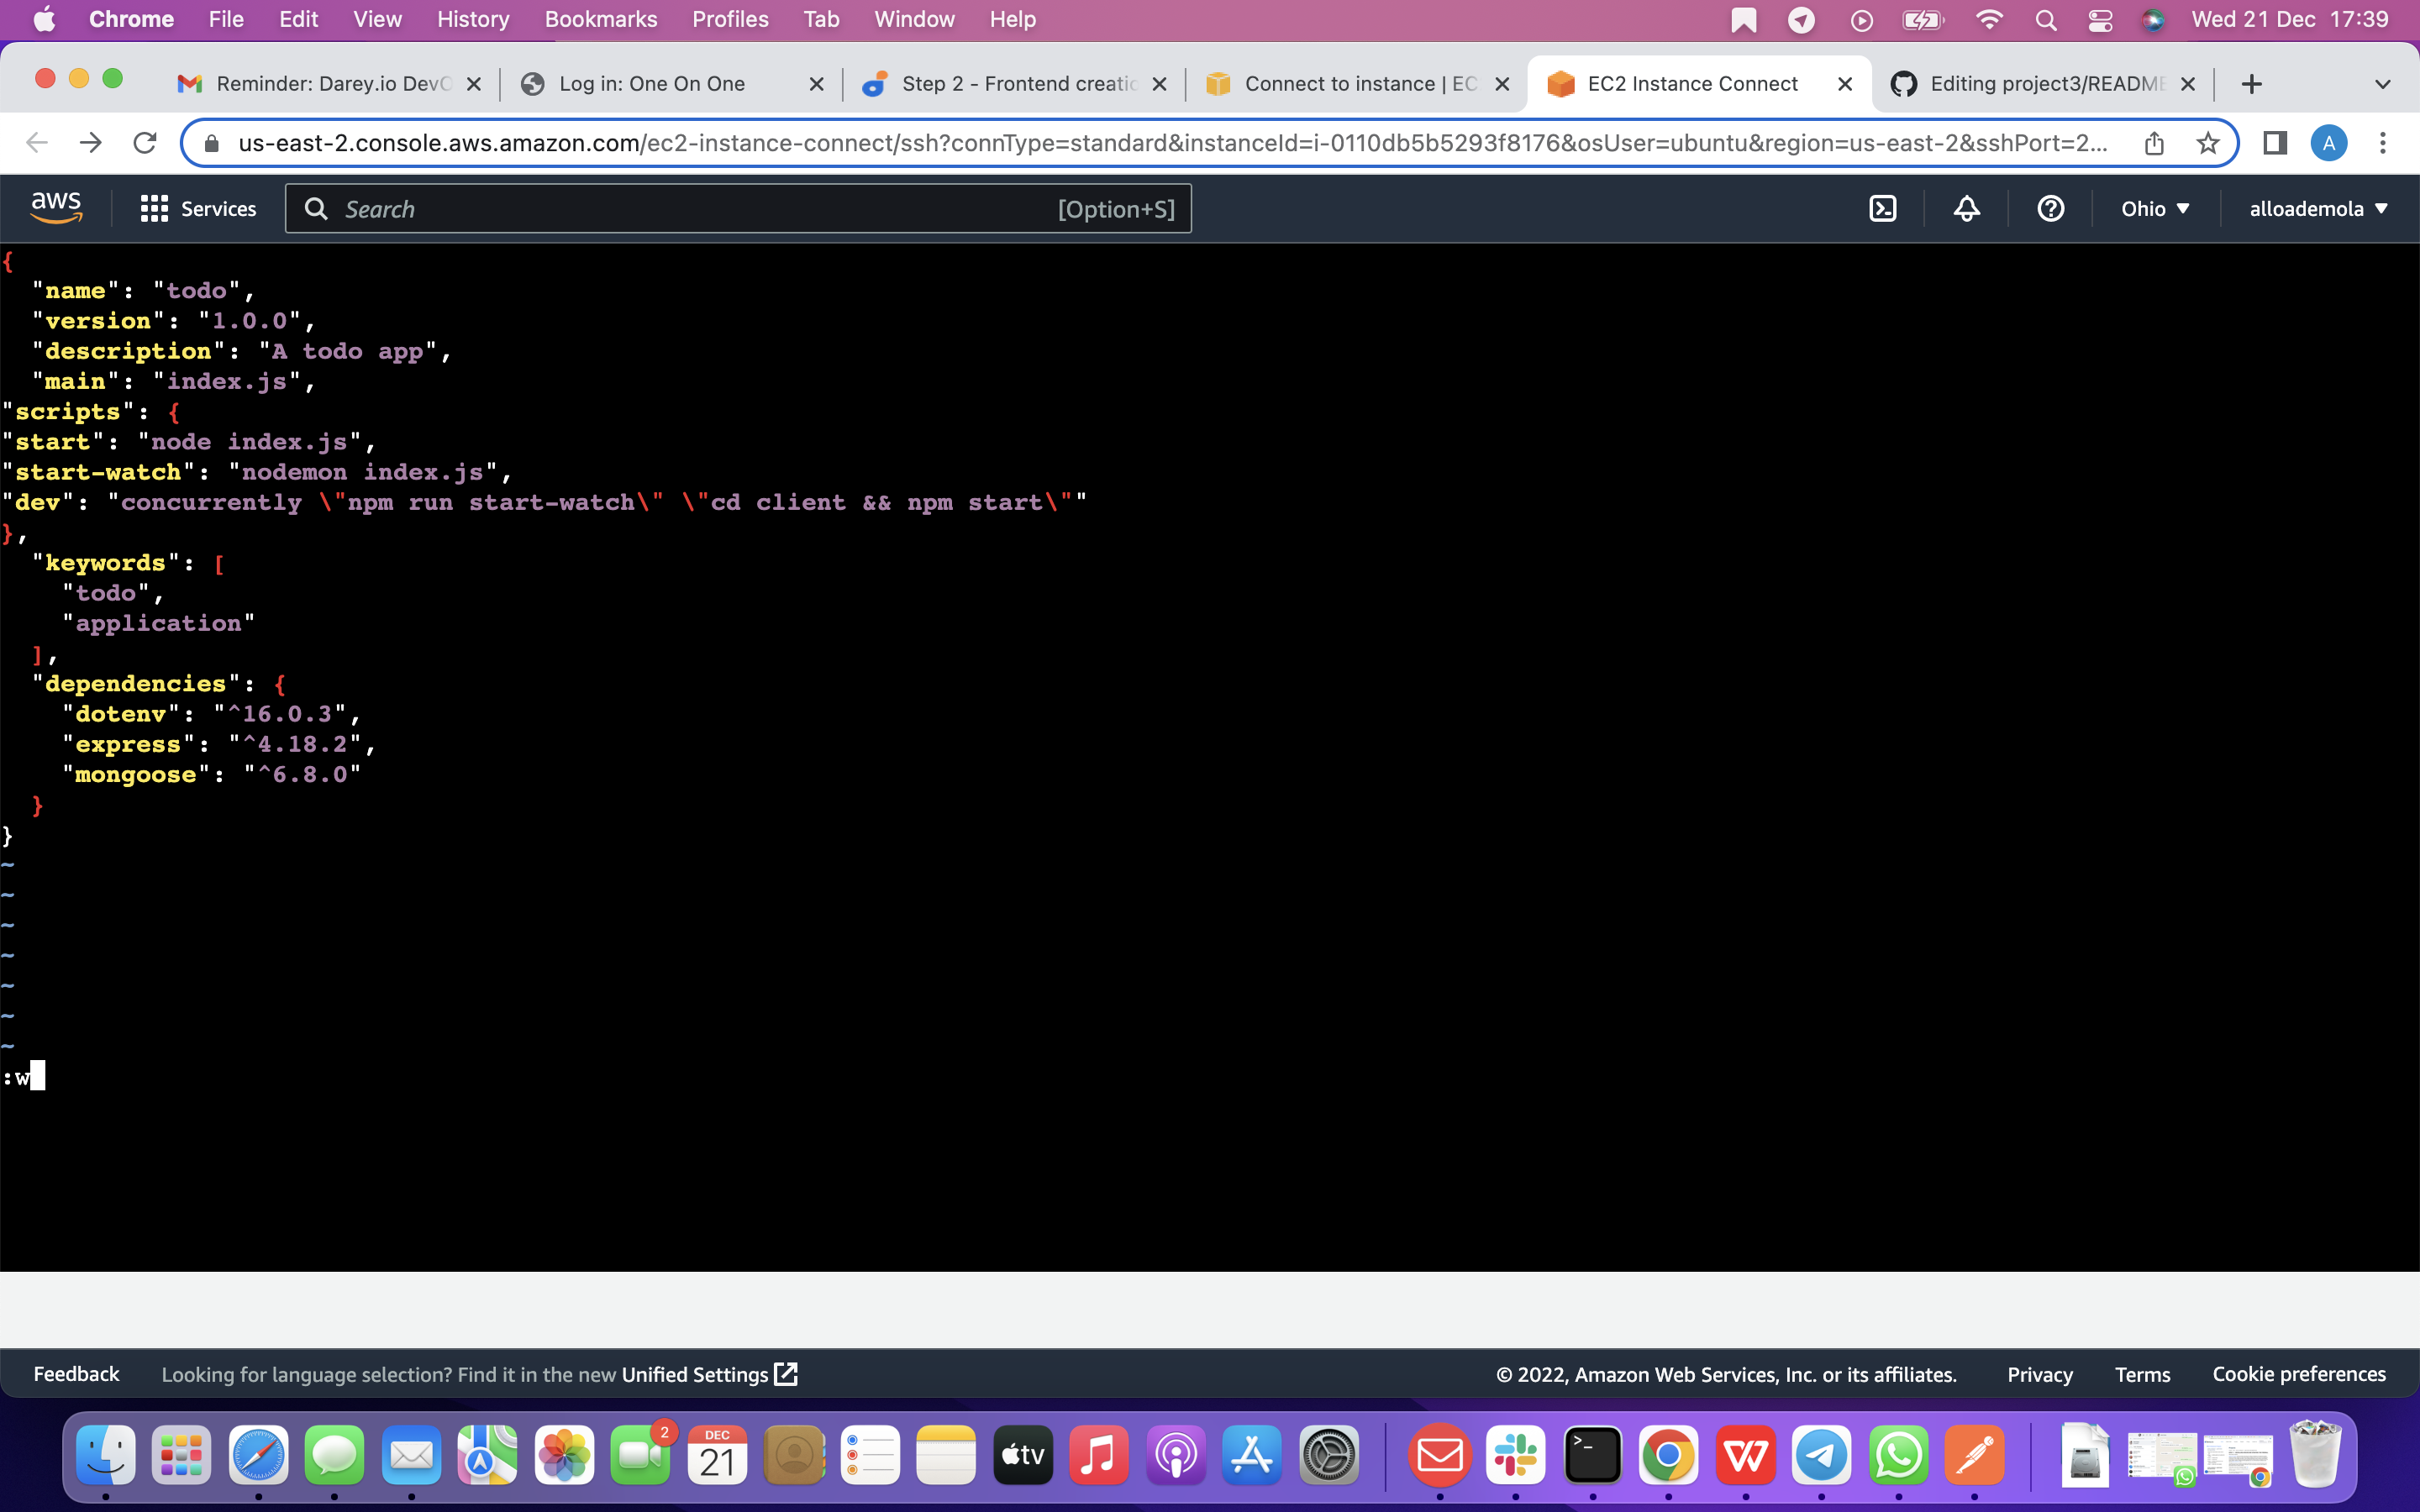
},
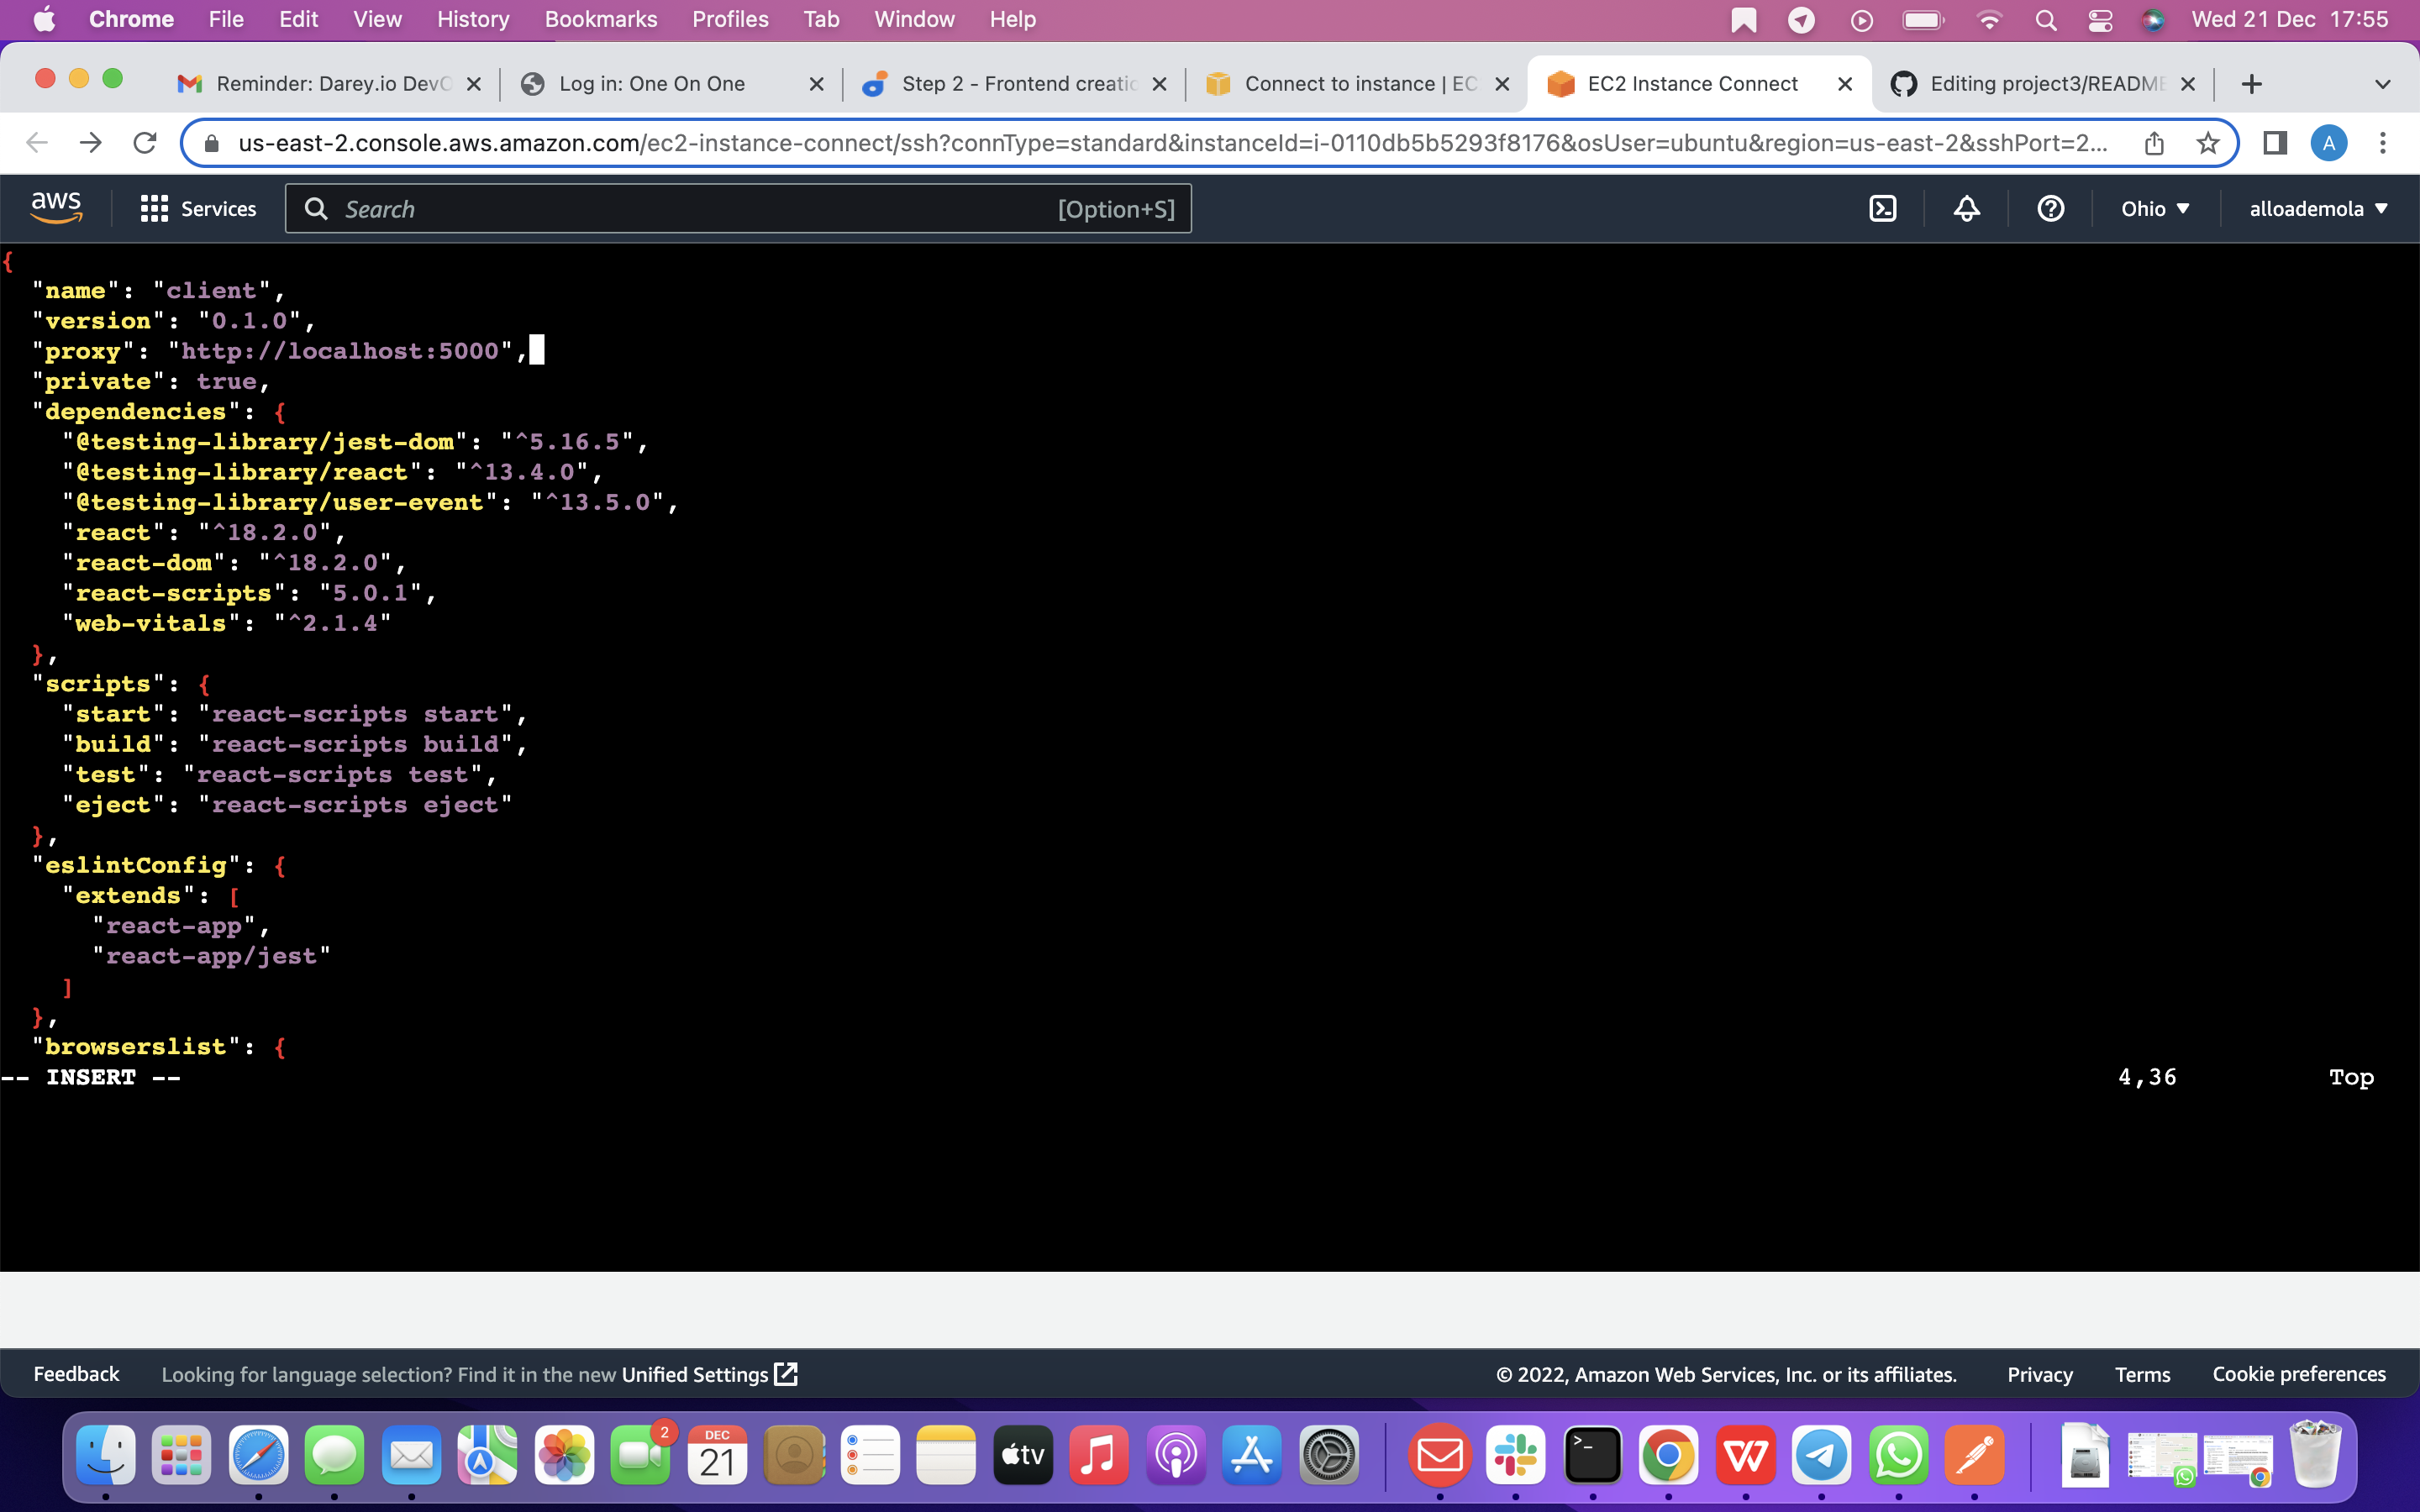
so now, we are going to Configure Proxy in package.json 1 : change your directory to ‘client’ using the command below
cd client 2: Open the package.json file with the command below vi package.json
3: So Add the key value pair in the package.json file "proxy": "http://localhost:5000".
Now Now, ensure you are inside the Todo directory, and simply do:
npm run dev
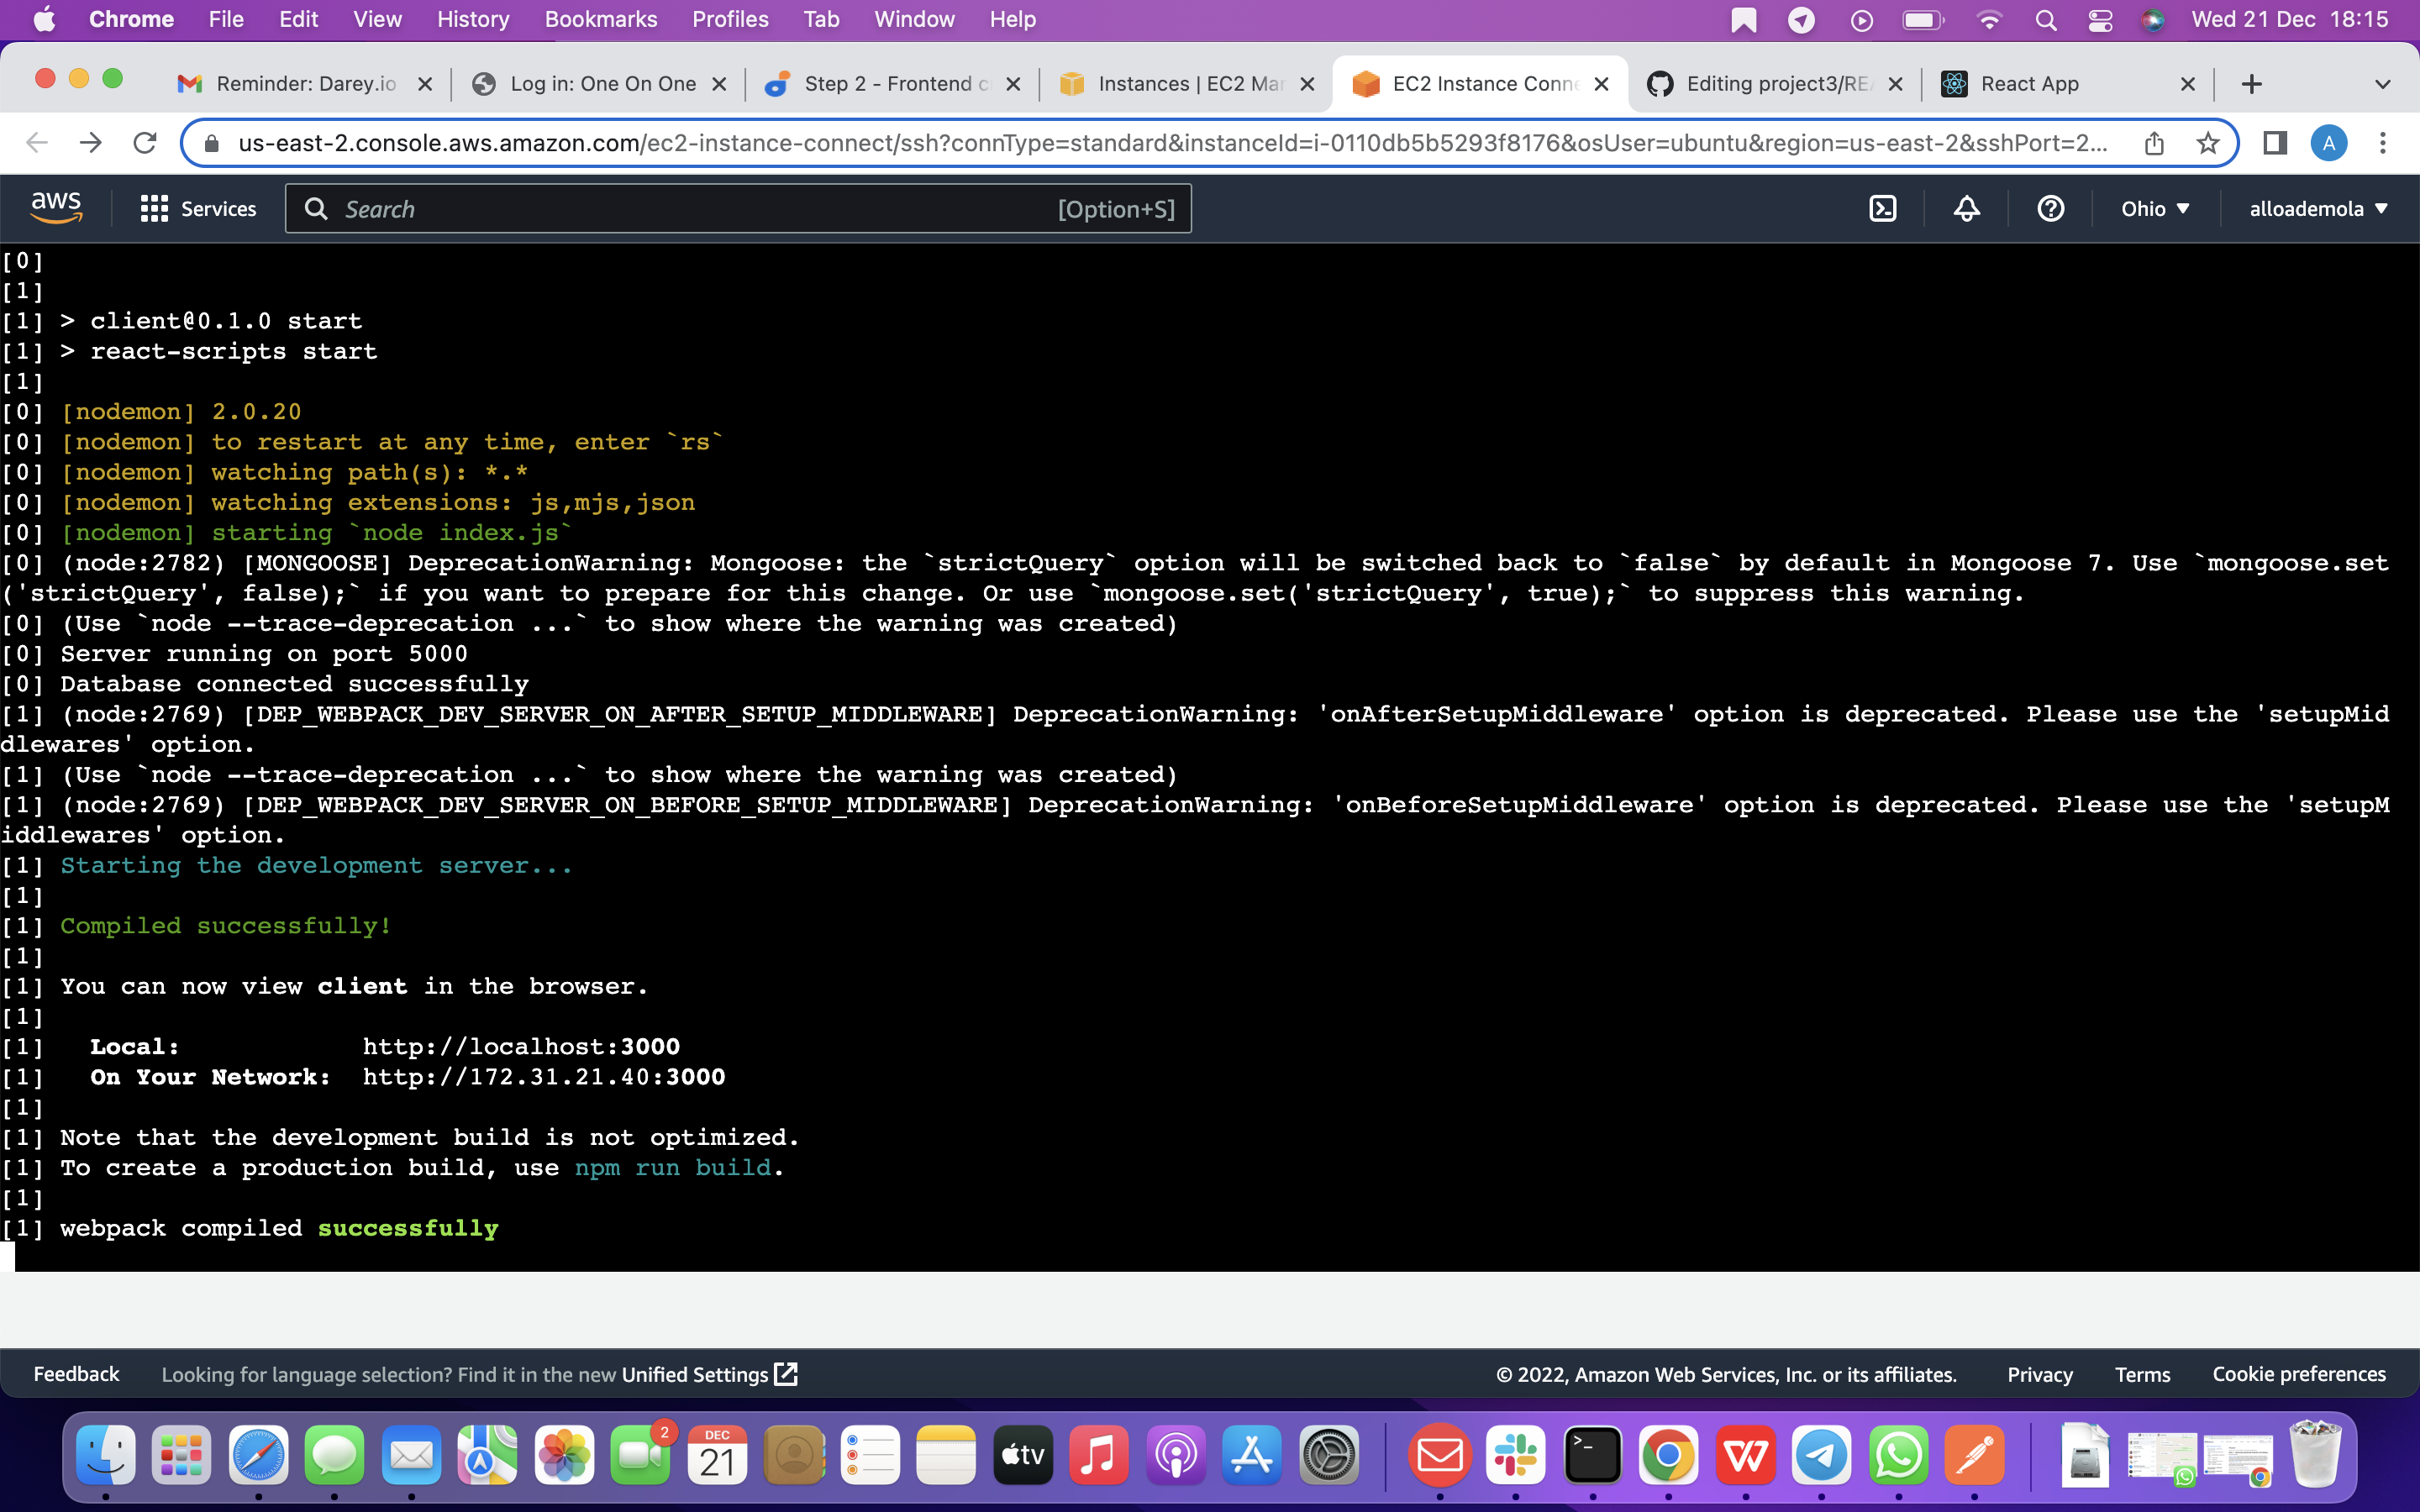
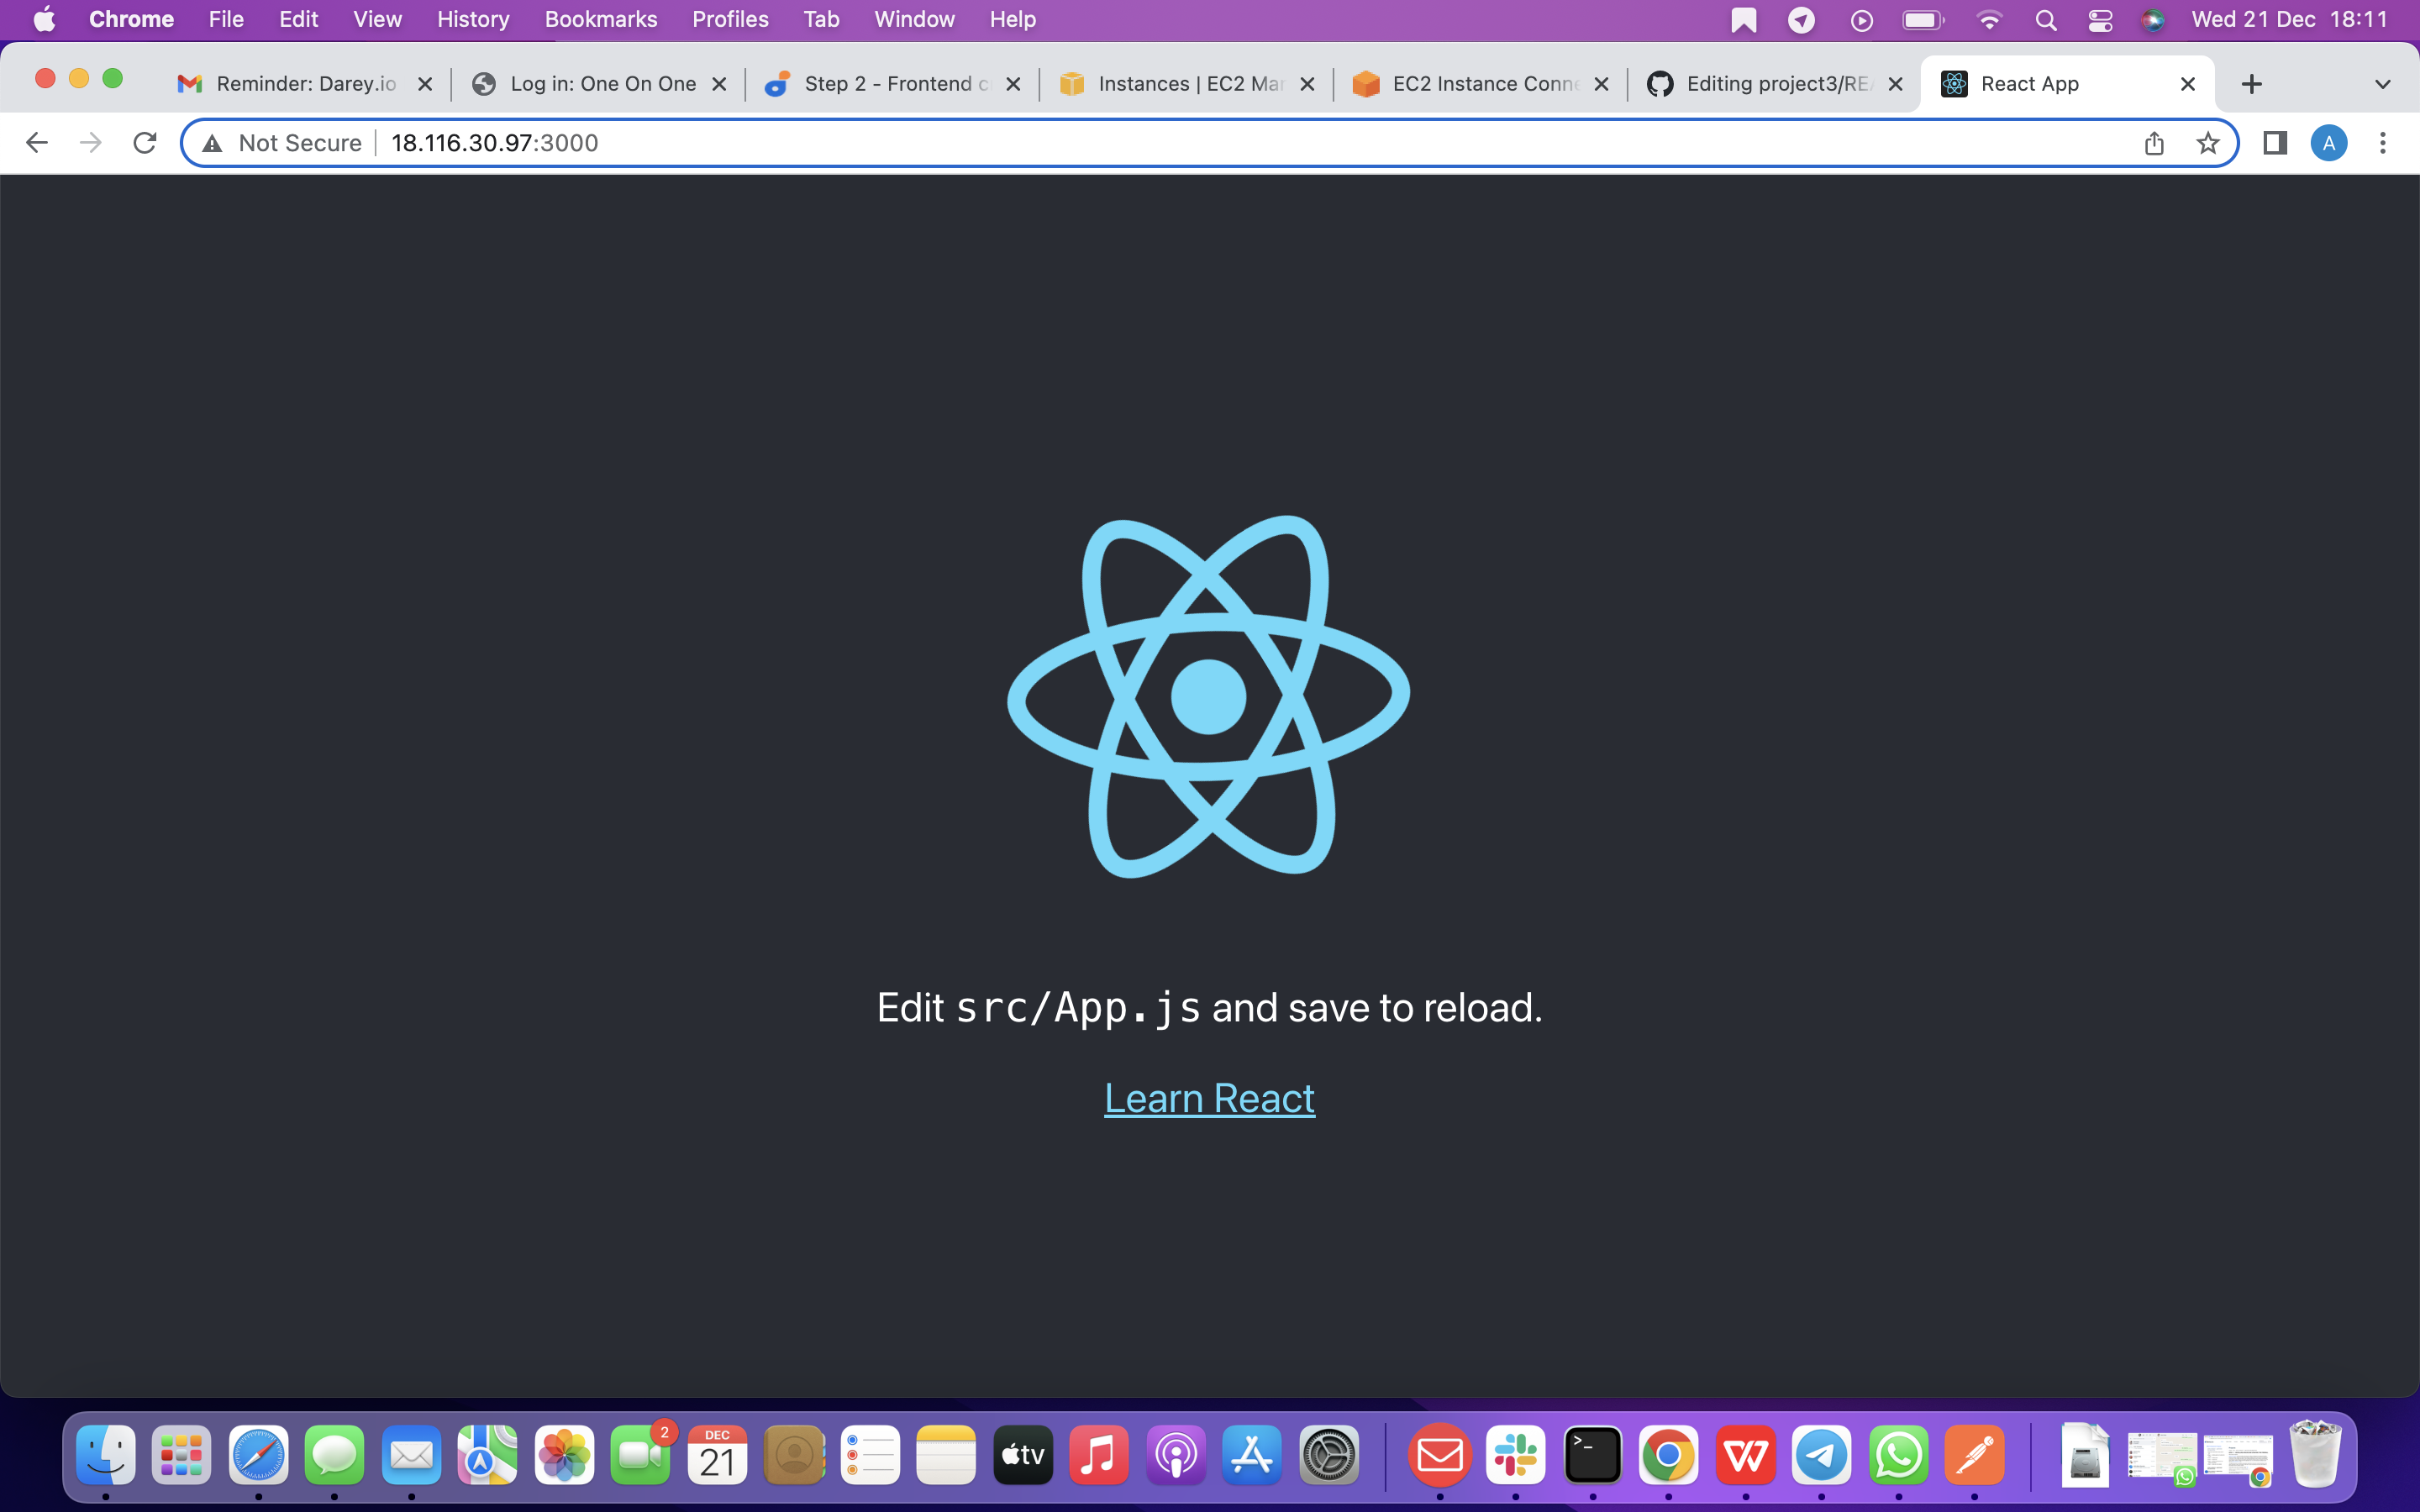
so your app should open and start running on localhost:3000
Important note: In order to be able to access the application from the Internet you have to open TCP port 3000 on EC2 by adding a new Security Group rule. You already know how to do it.
So now , we are going to Creating our React Components One of the advantages of react is that it makes use of components, which are reusable and also makes code modular. For our Todo app, there will be two stateful components and one stateless component. From your Todo directory run
cd client
so you will move to the src directory, using the command below
cd src So inisde your src folder create another folder called components, using this command below
mkdir components
so now, you will Move into the components directory with
cd components
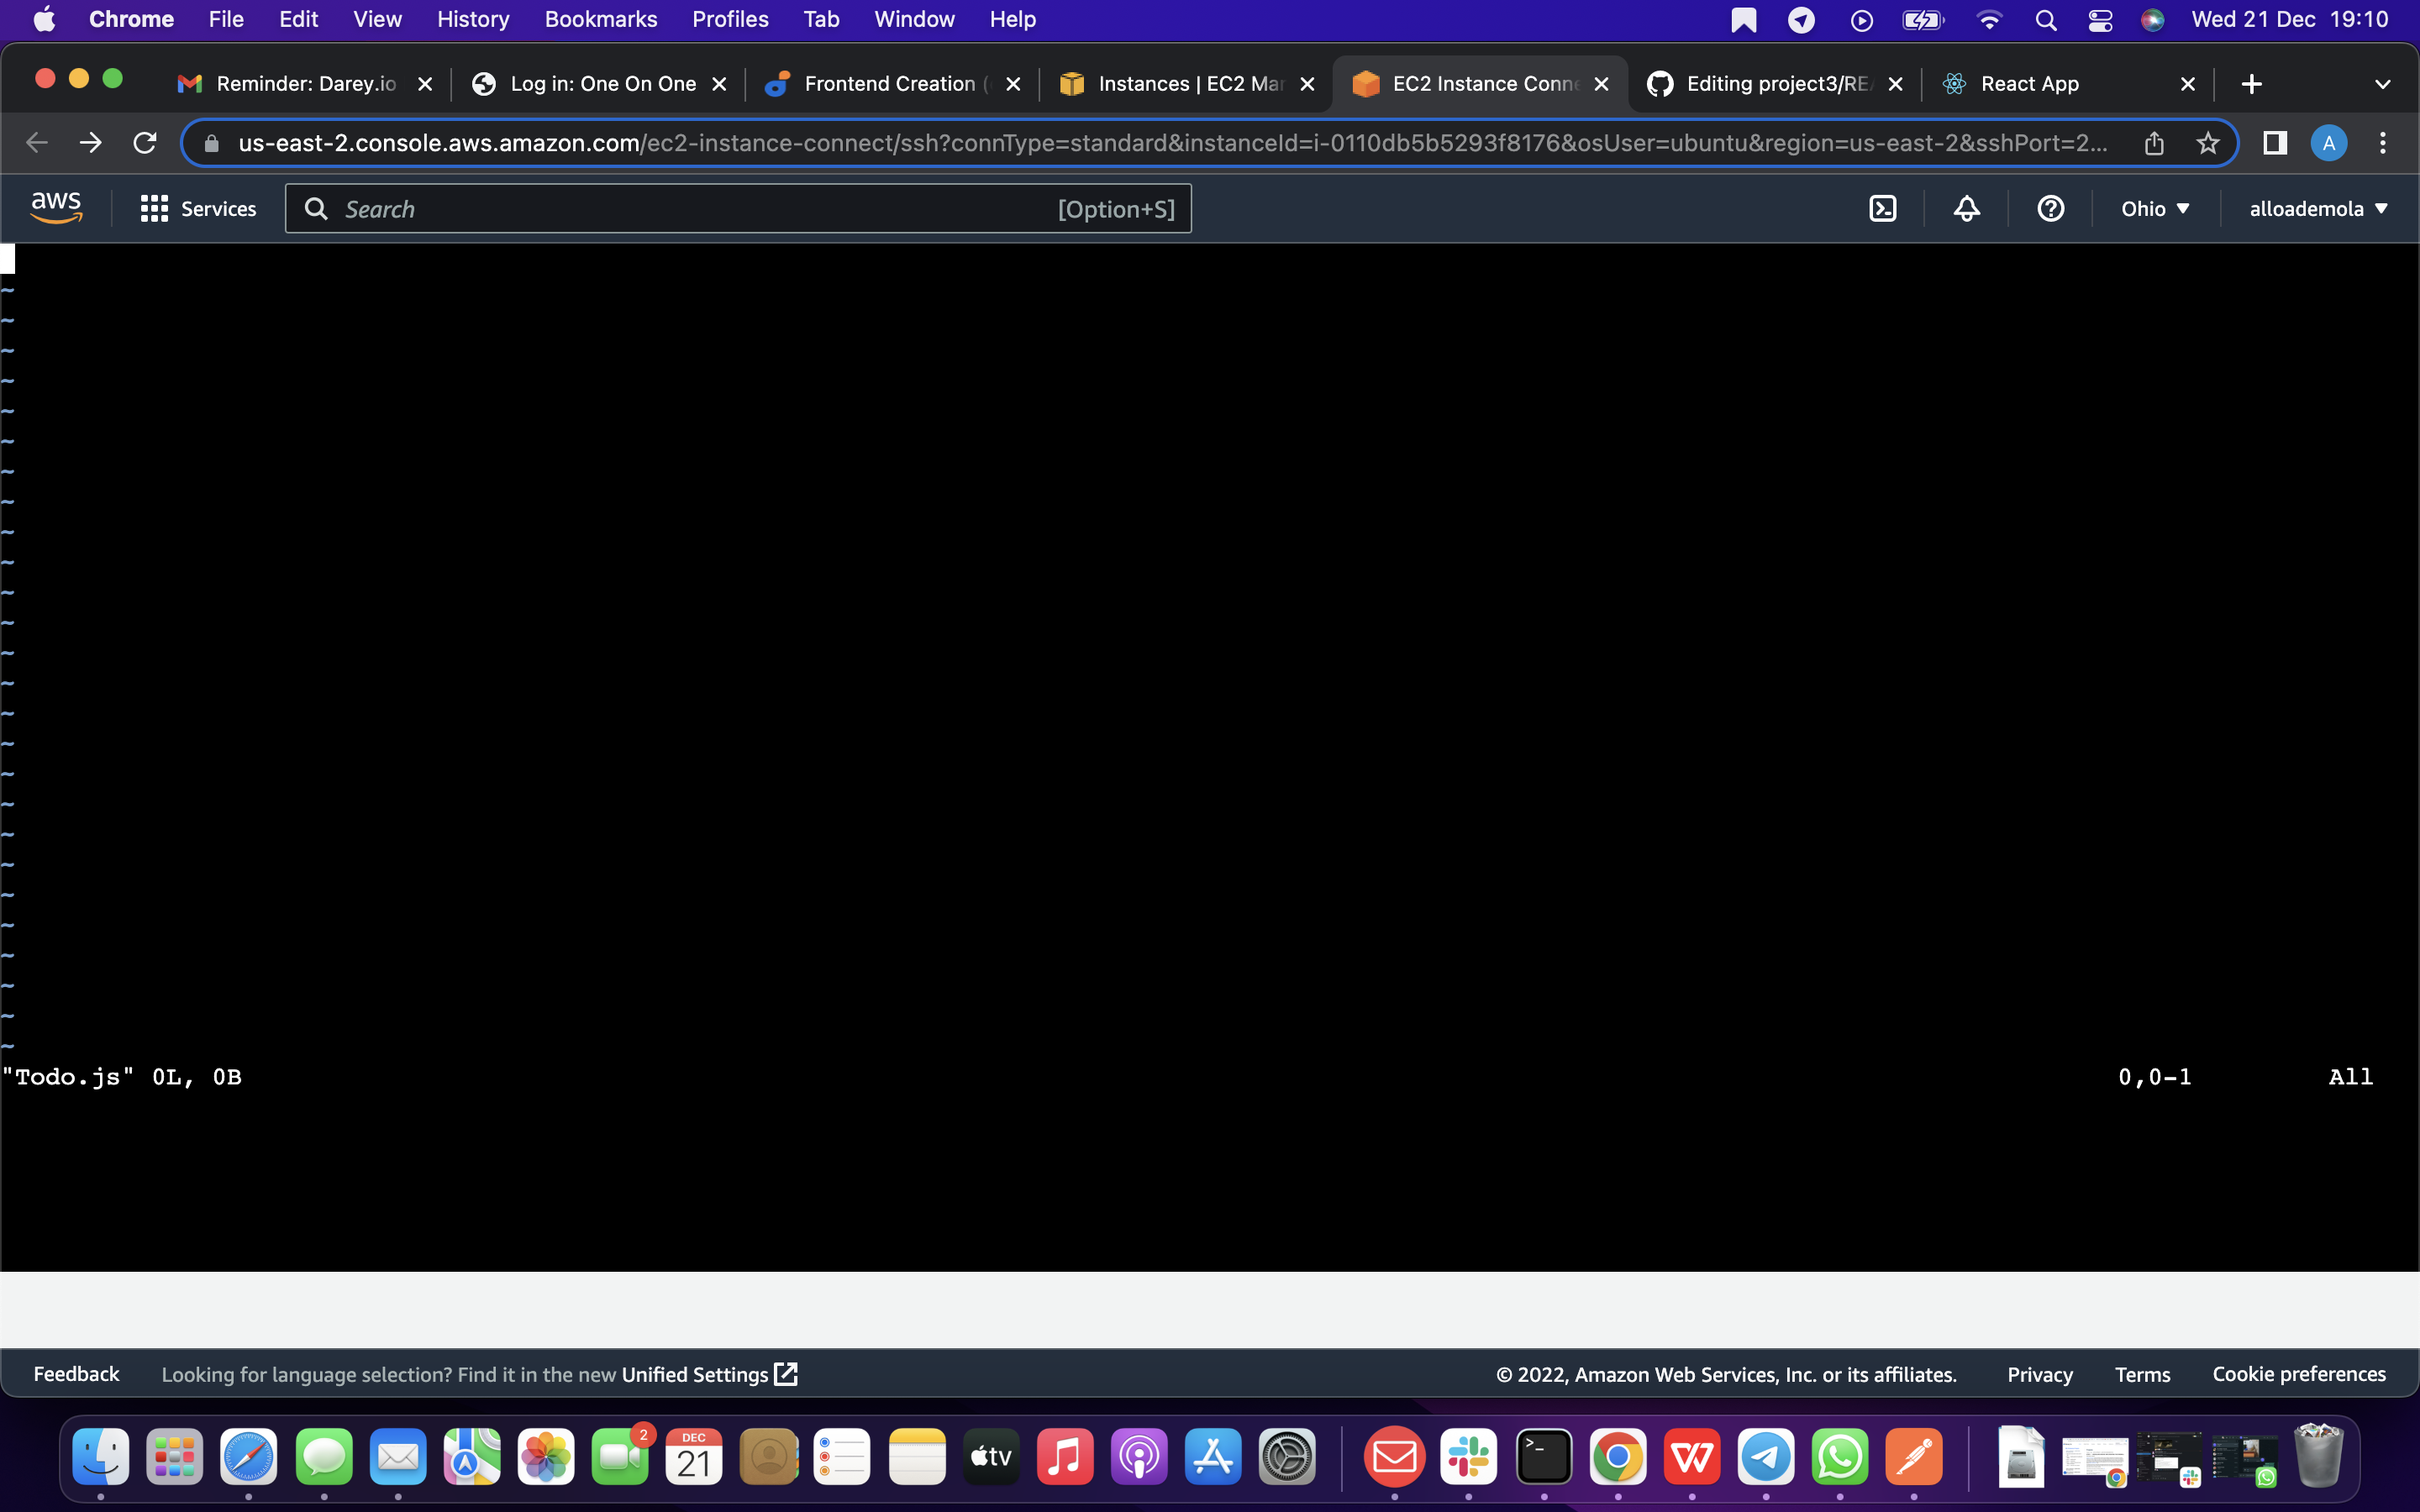
right Inside your ‘components’ directory create three files Input.js, ListTodo.js and Todo.js with the command below
touch Input.js ListTodo.js Todo.js
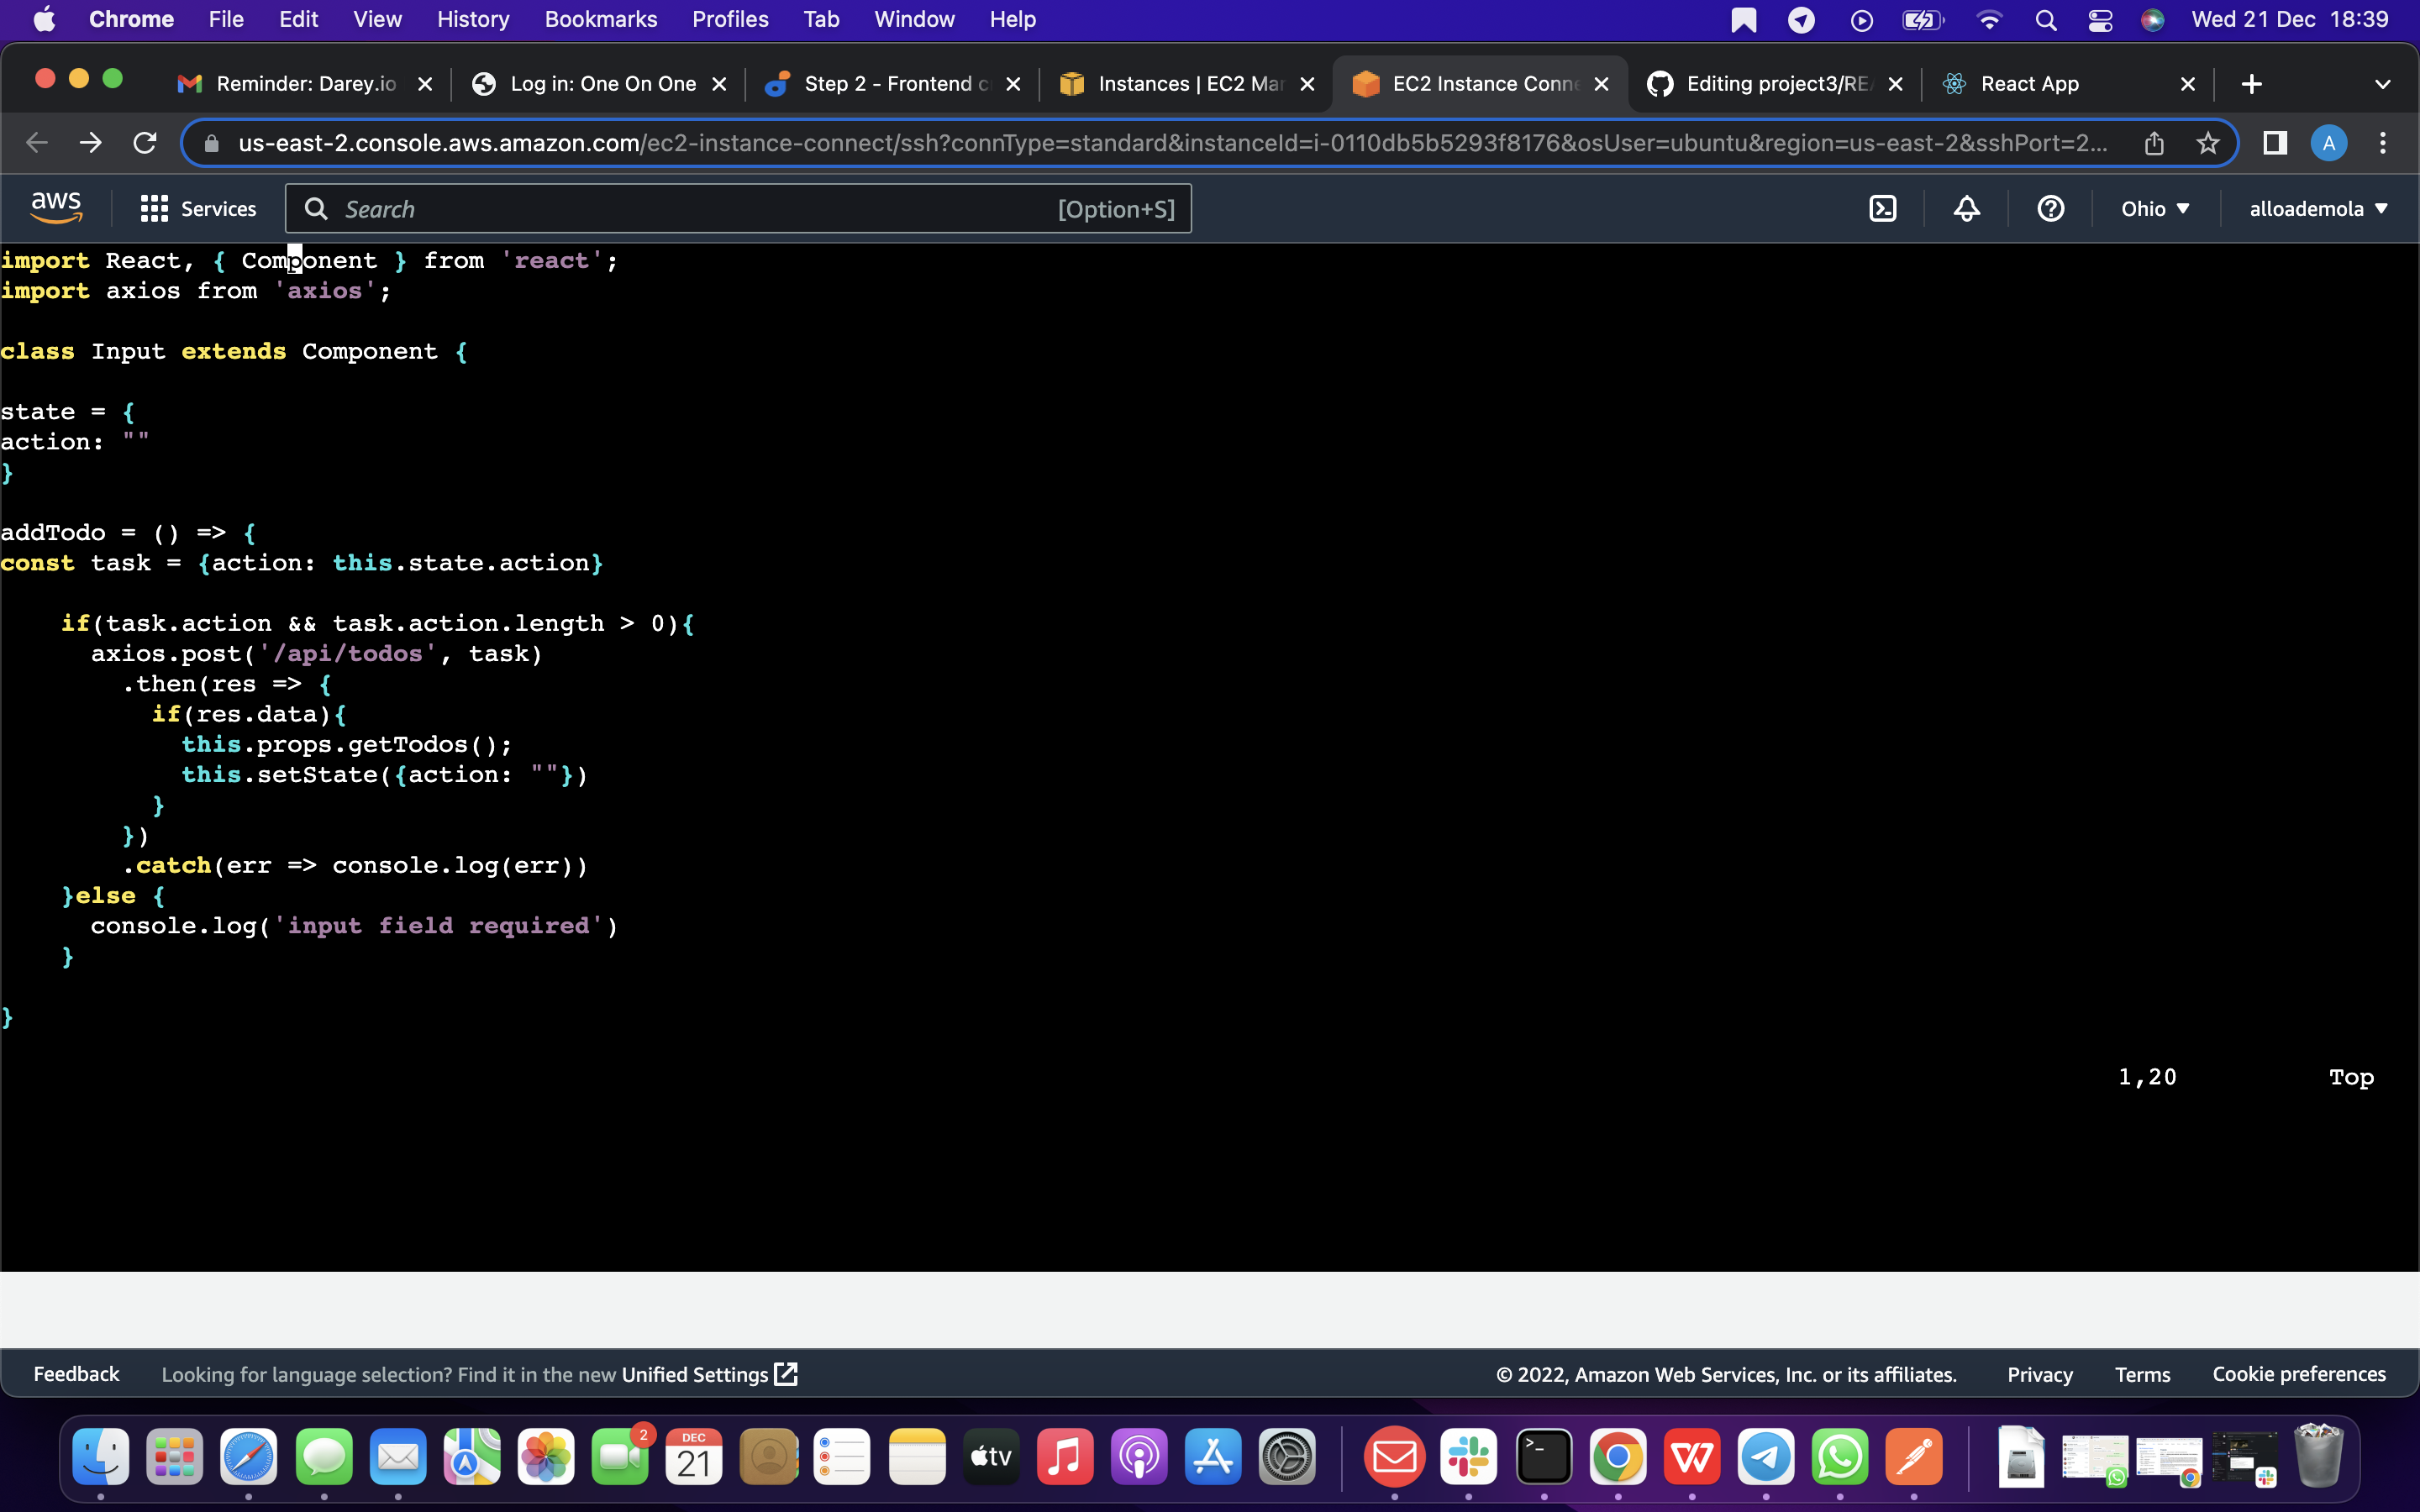
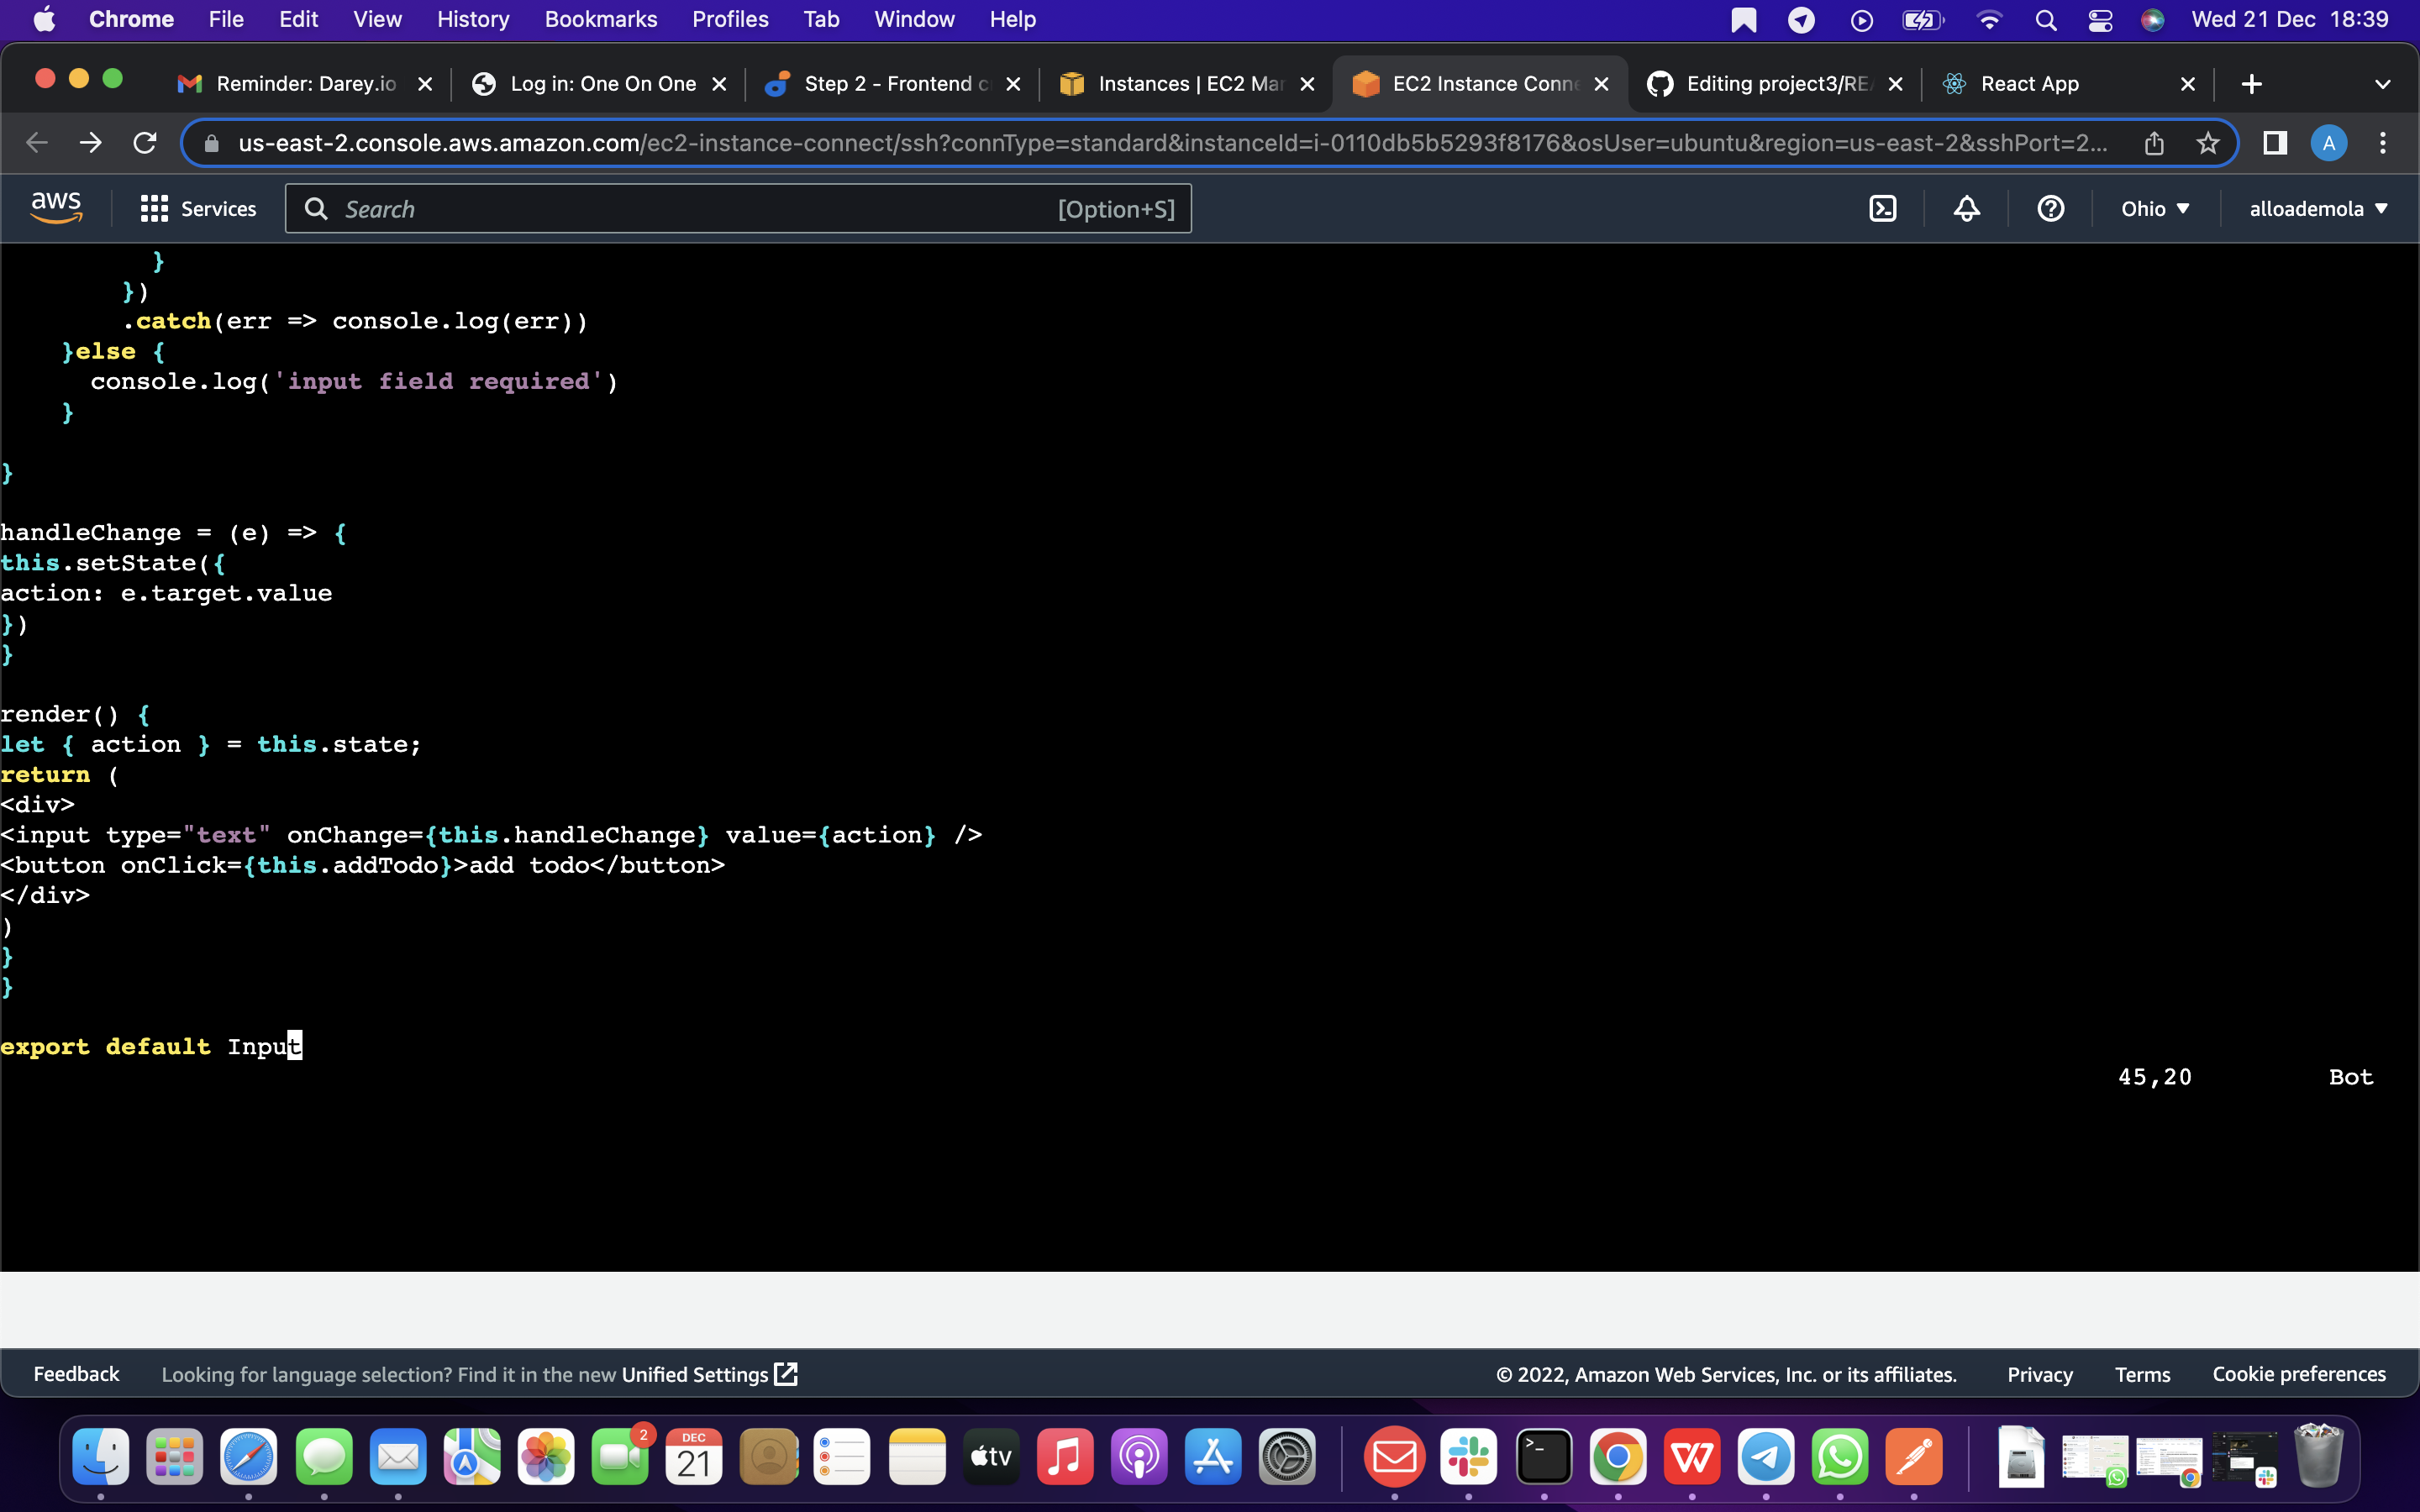
now Open Input.js file with this command vi Input.js
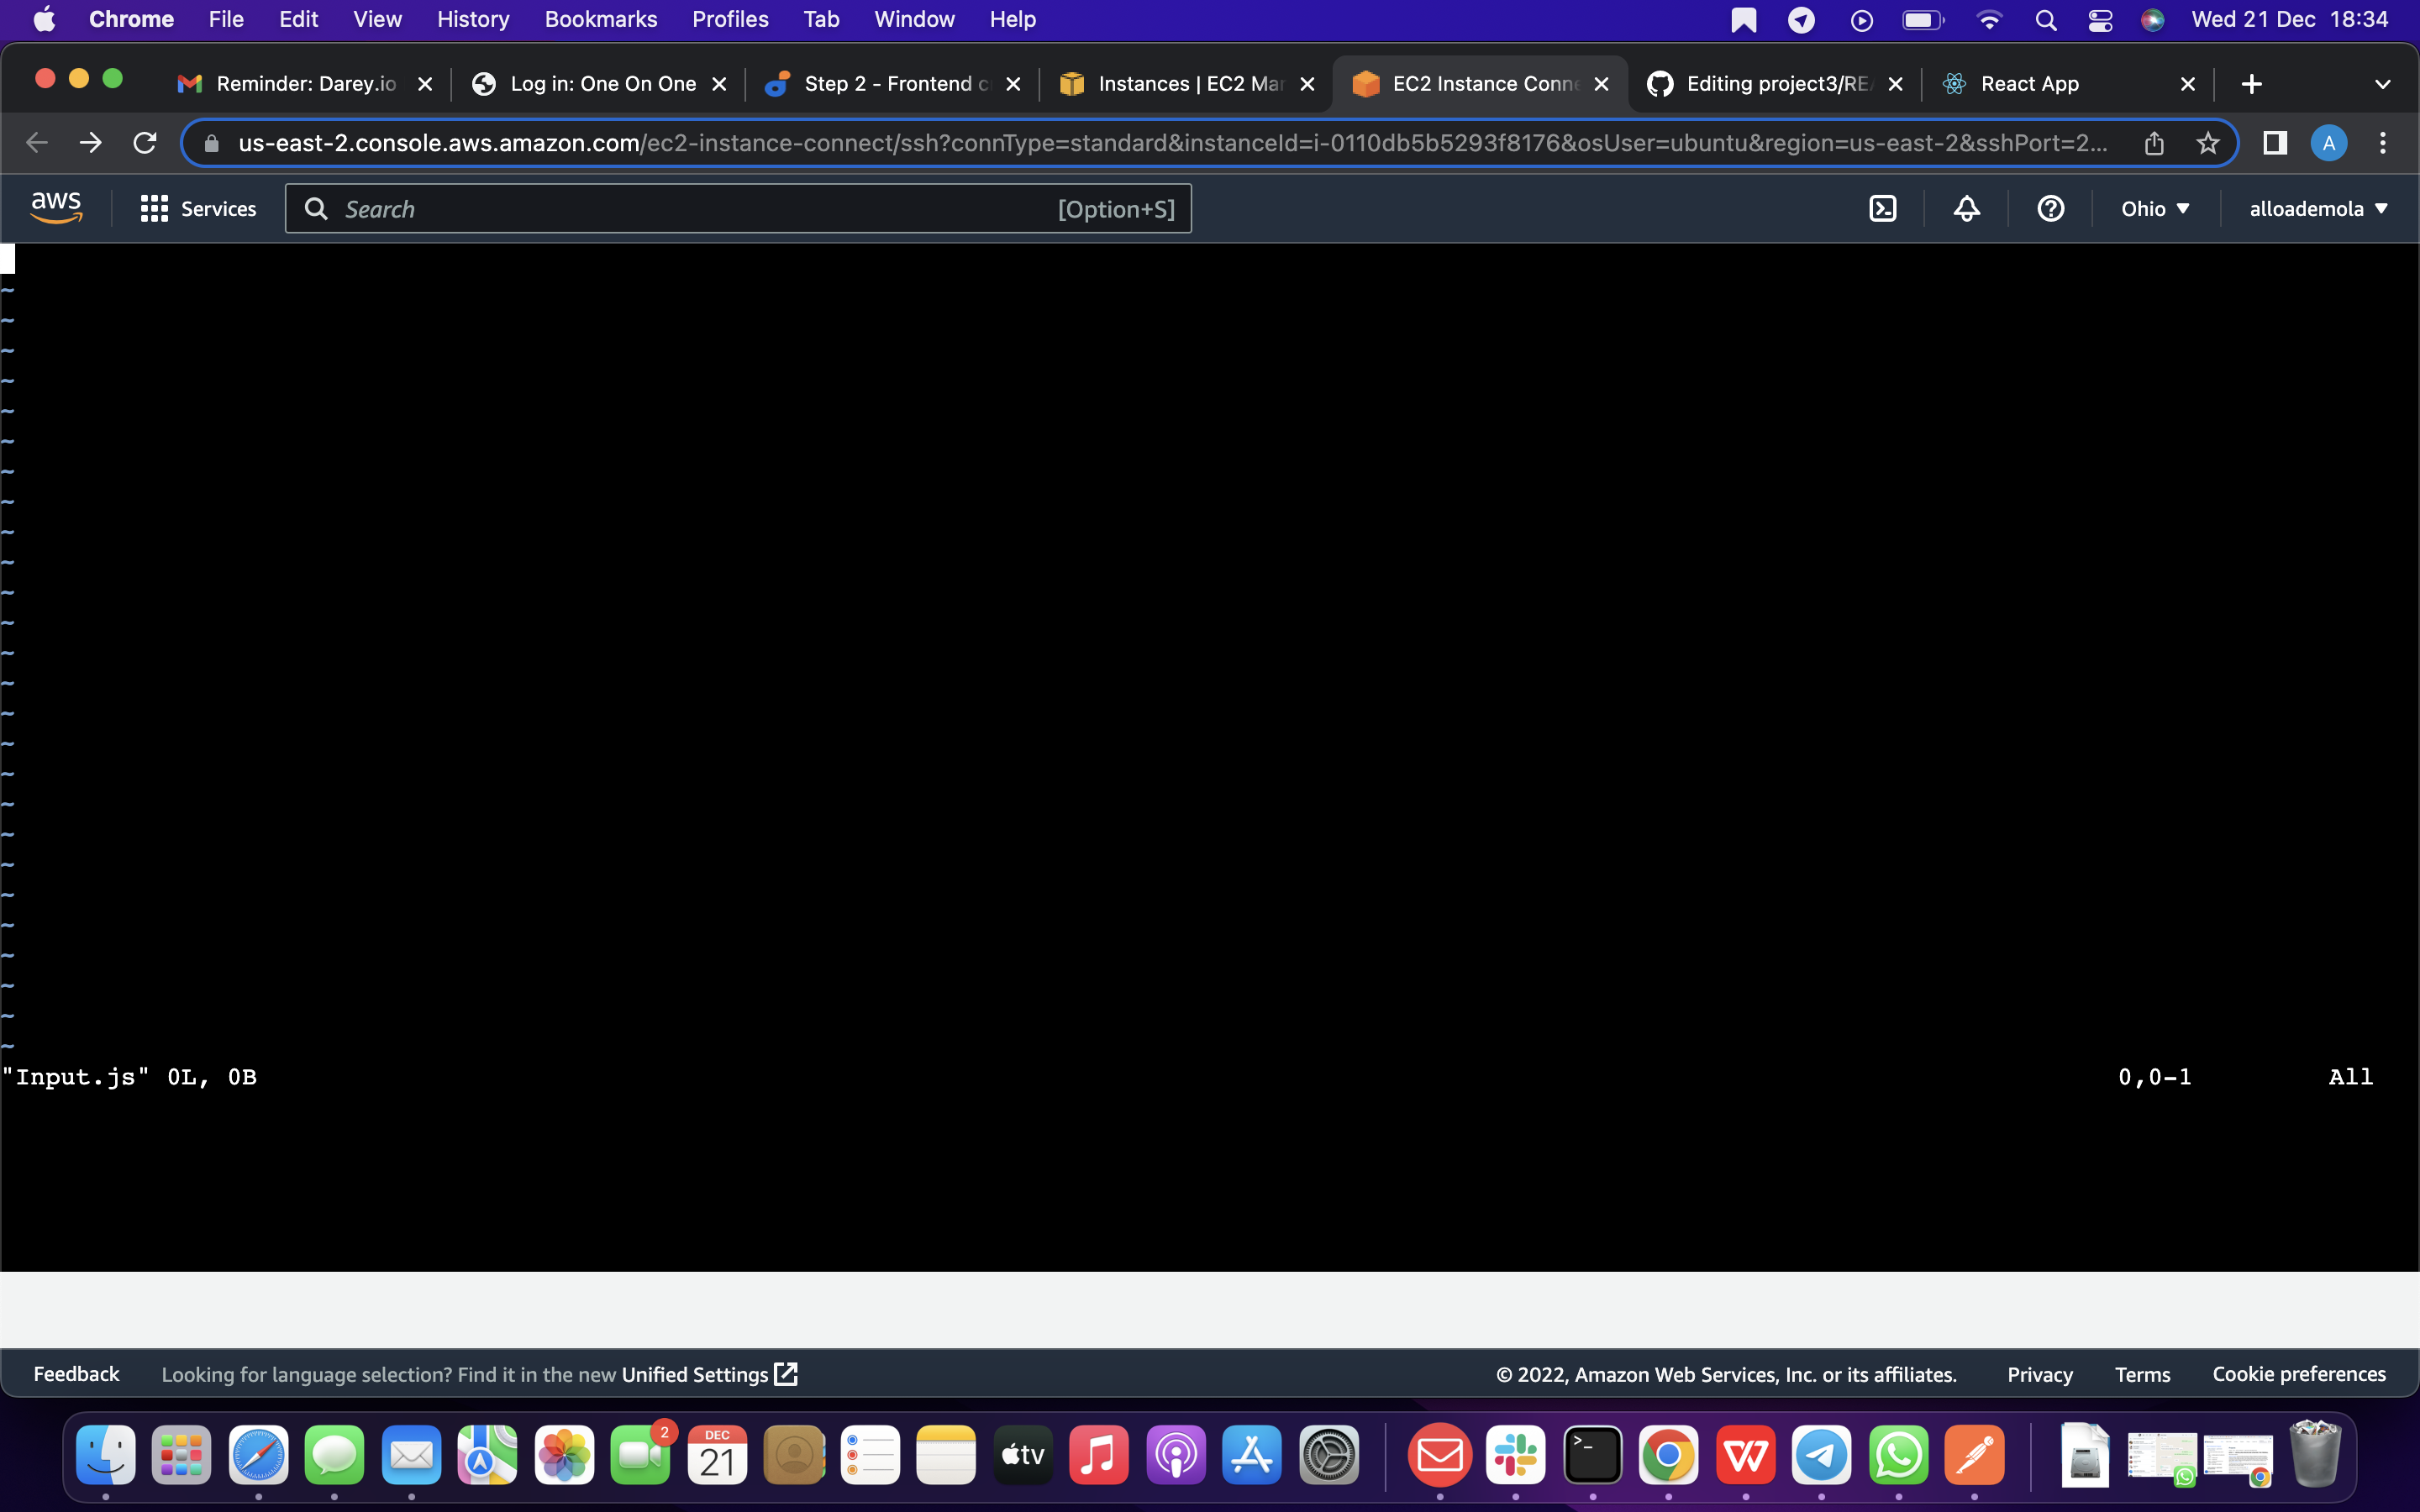
Copy and paste the following
import React, { Component } from 'react'; import axios from 'axios';
class Input extends Component {
state = { action: "" }
addTodo = () => { const task = {action: this.state.action}
if(task.action && task.action.length > 0){
  axios.post('/api/todos', task)
    .then(res => {
      if(res.data){
        this.props.getTodos();
        this.setState({action: ""})
      }
    })
    .catch(err => console.log(err))
}else {
  console.log('input field required')
}
}
handleChange = (e) => { this.setState({ action: e.target.value }) }
render() { let { action } = this.state; return (
export default Input
Now, we are going to to make use of Axios, which is a Promise based HTTP client for the browser and node.js, you need to cd into your client from your terminal and run yarn add axios or npm install axios.
Move to the src folder with the below command
cd ..
Move to clients folder with the below command
cd ..
now Install Axios with this command below
npm install axios
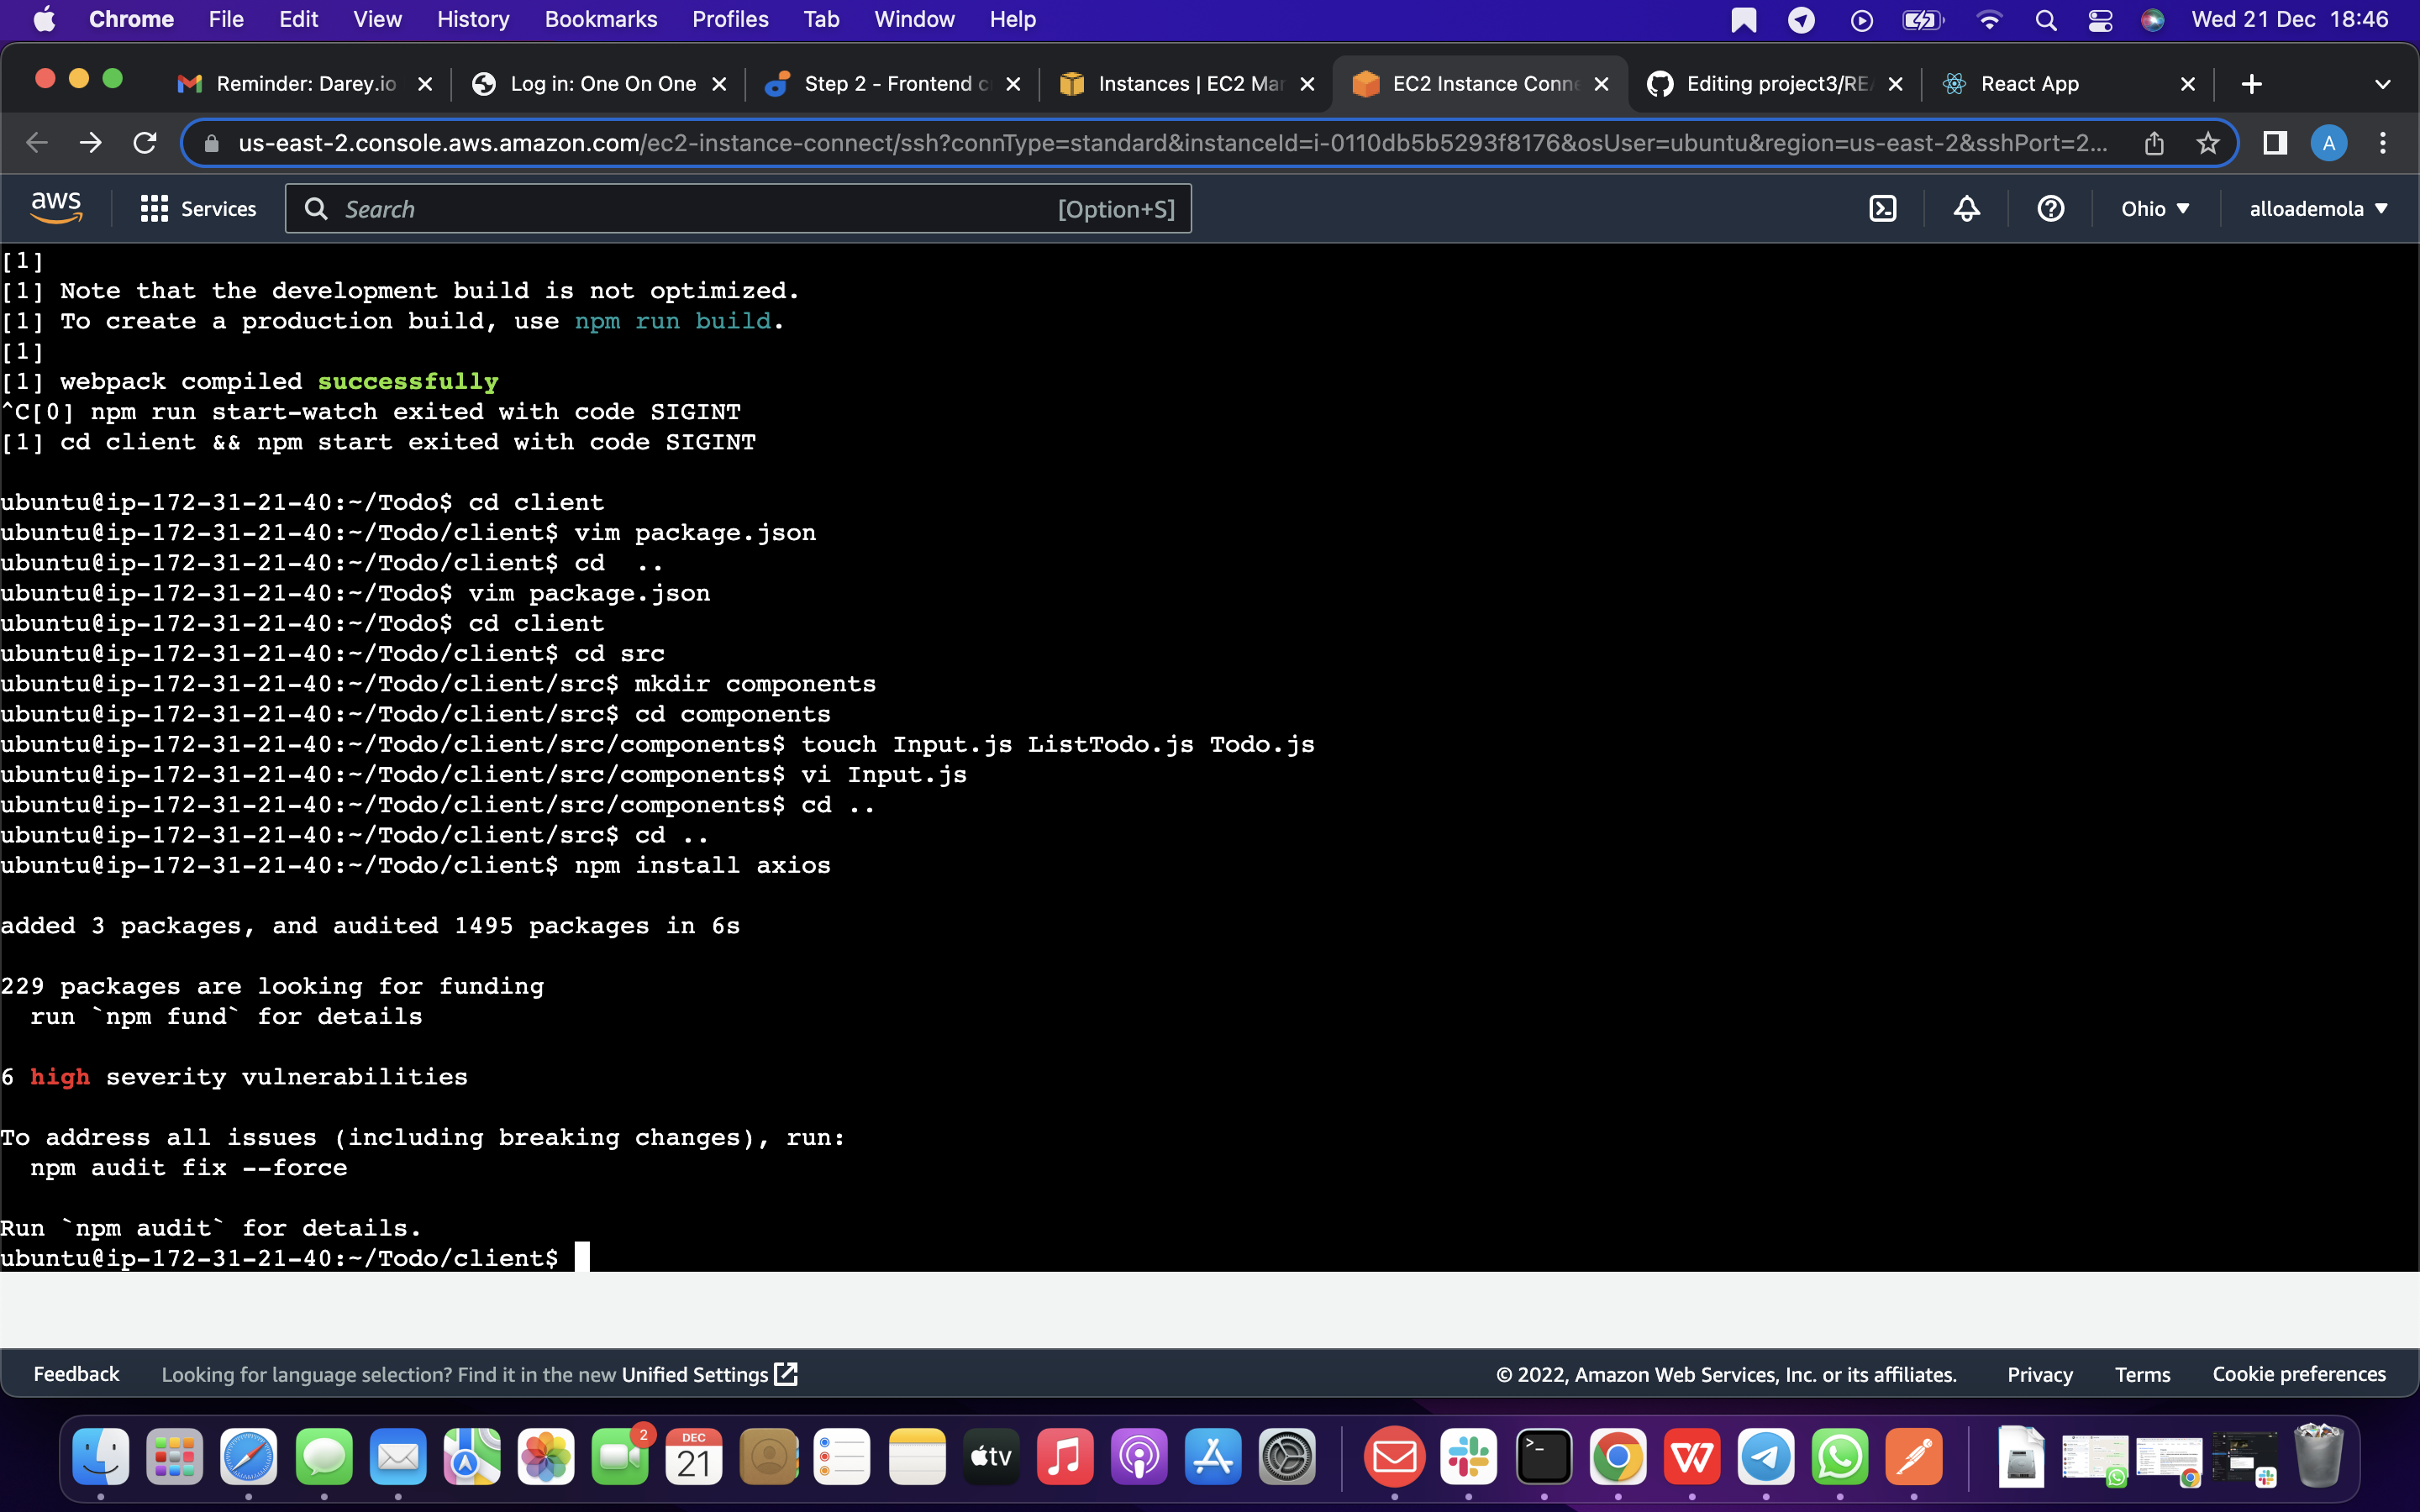
cd src/components
After that , open your ListTodo.js with this command below
vi ListTodo.js
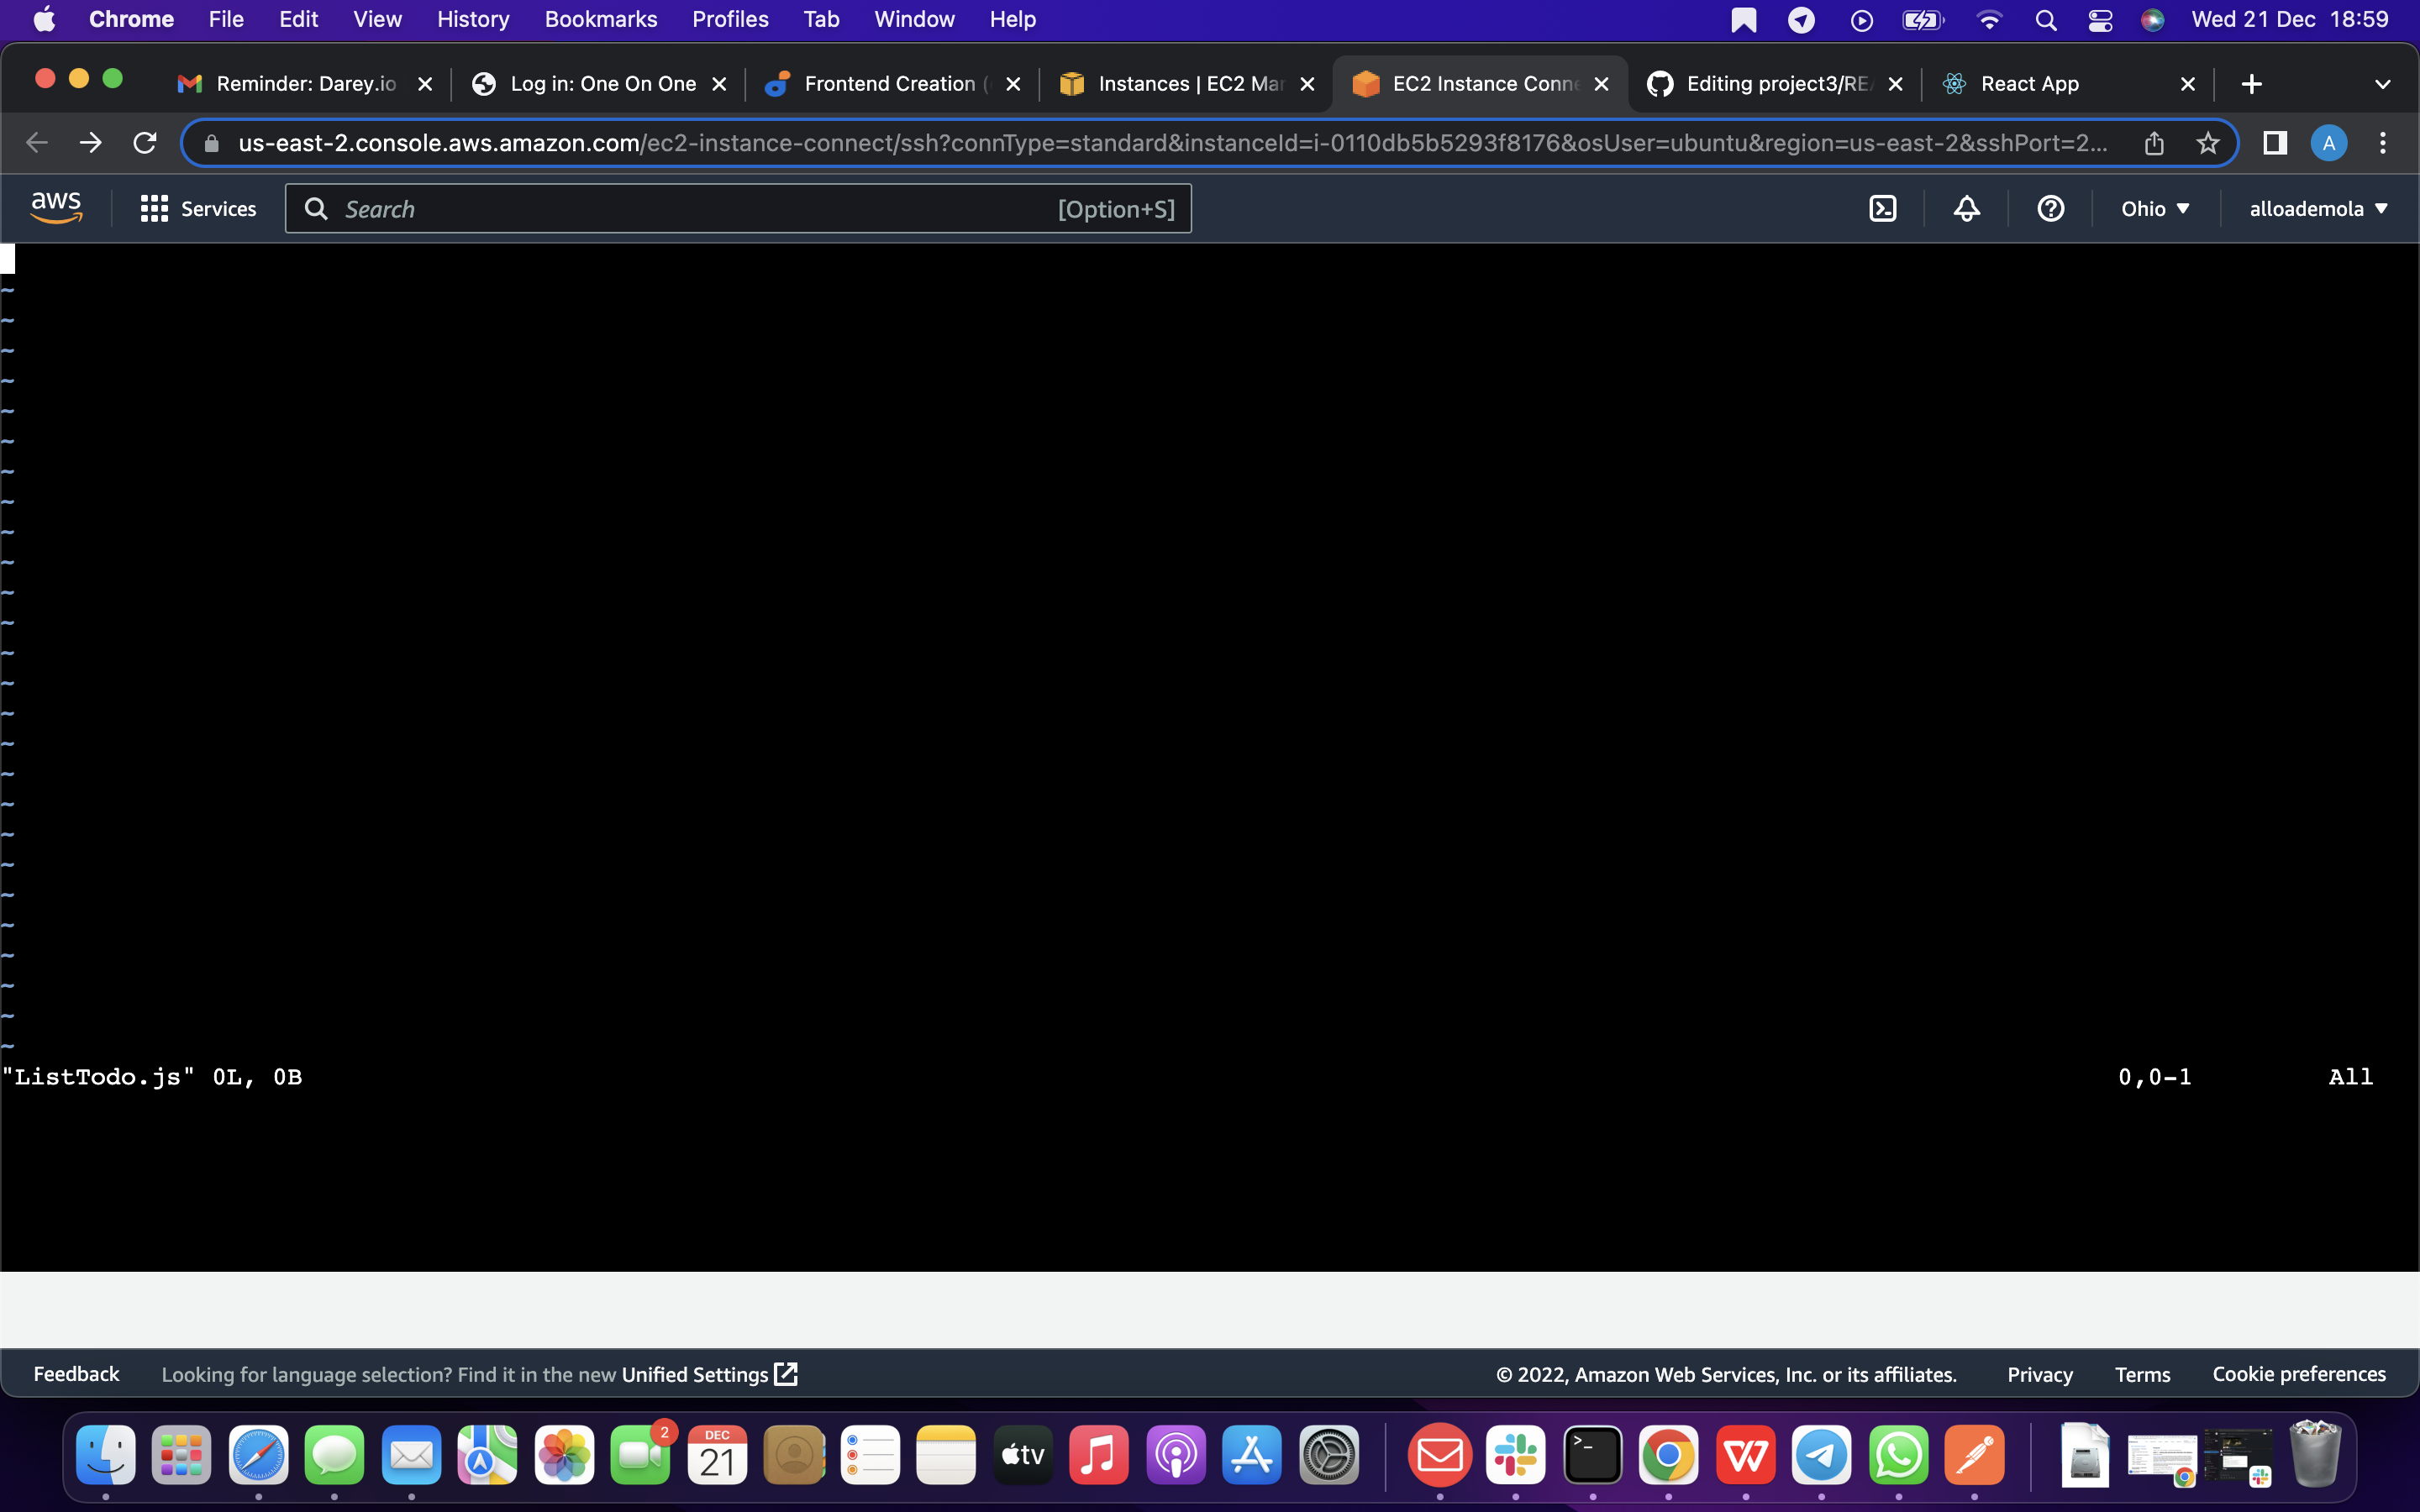
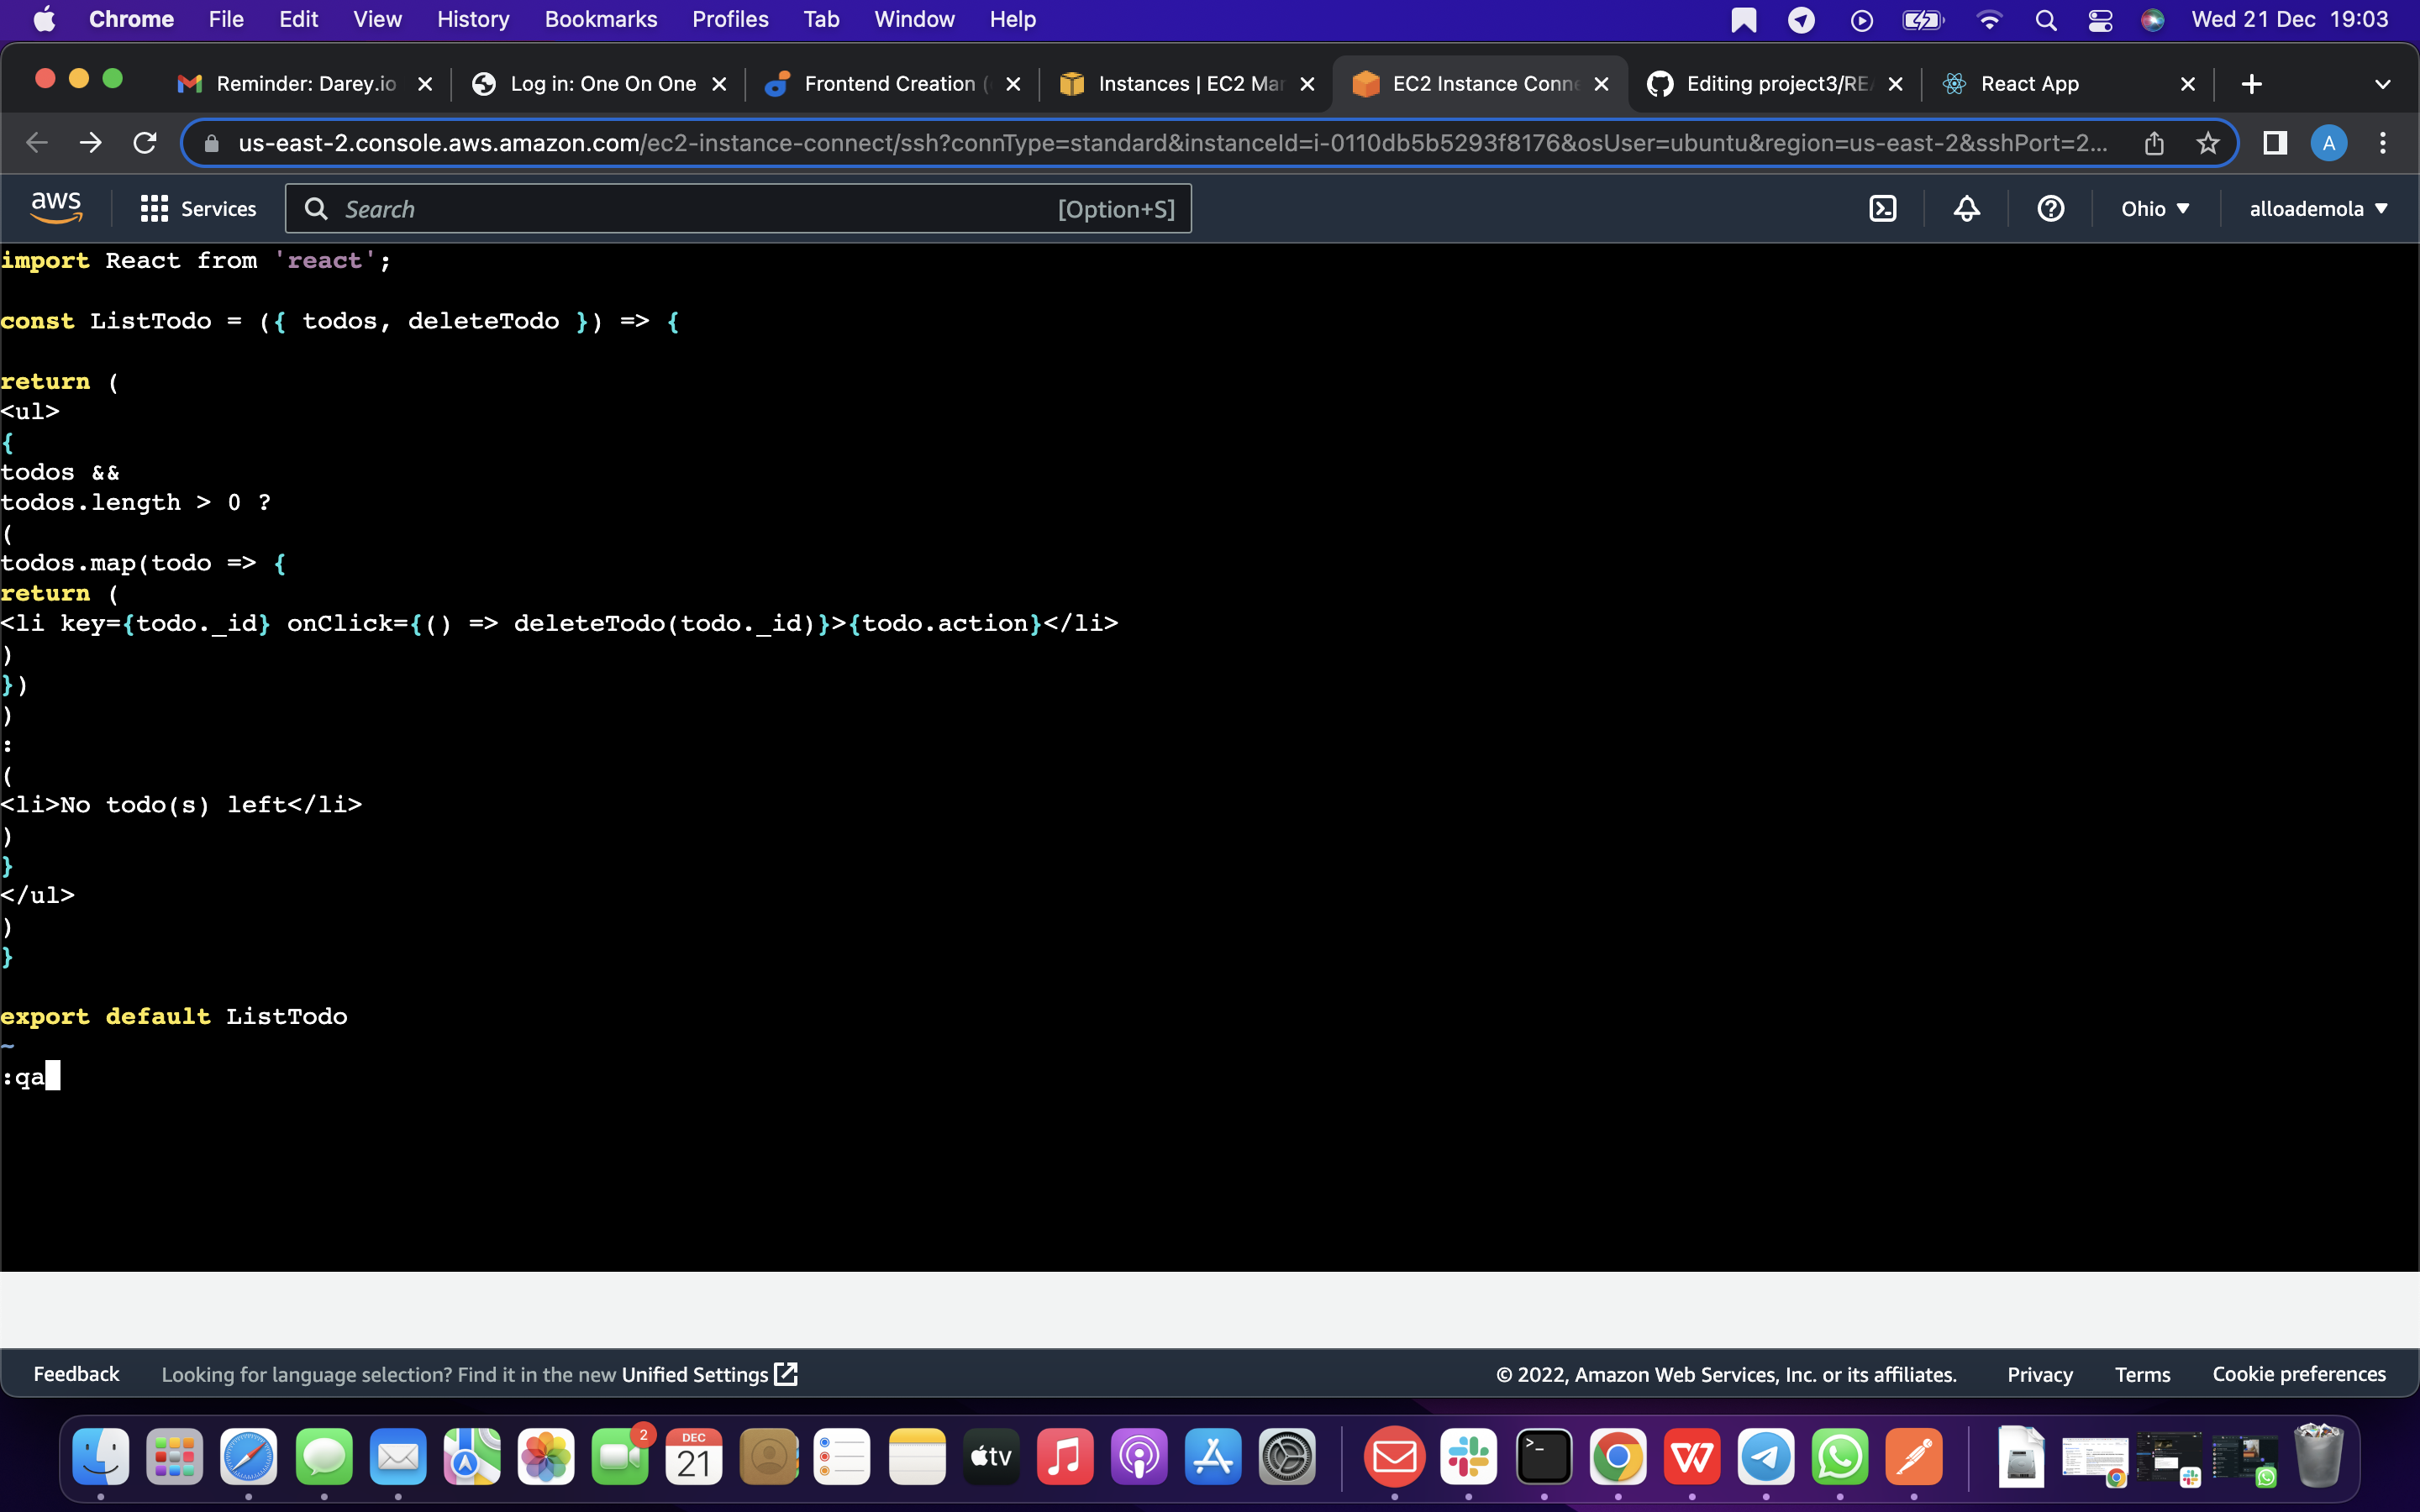
in the ListTodo.js copy and paste the following code
import React from 'react';
const ListTodo = ({ todos, deleteTodo }) => {
return (
-
{
todos &&
todos.length > 0 ?
(
todos.map(todo => {
return (
- deleteTodo(todo._id)}>{todo.action} ) }) ) : (
- No todo(s) left ) }
export default ListTodo
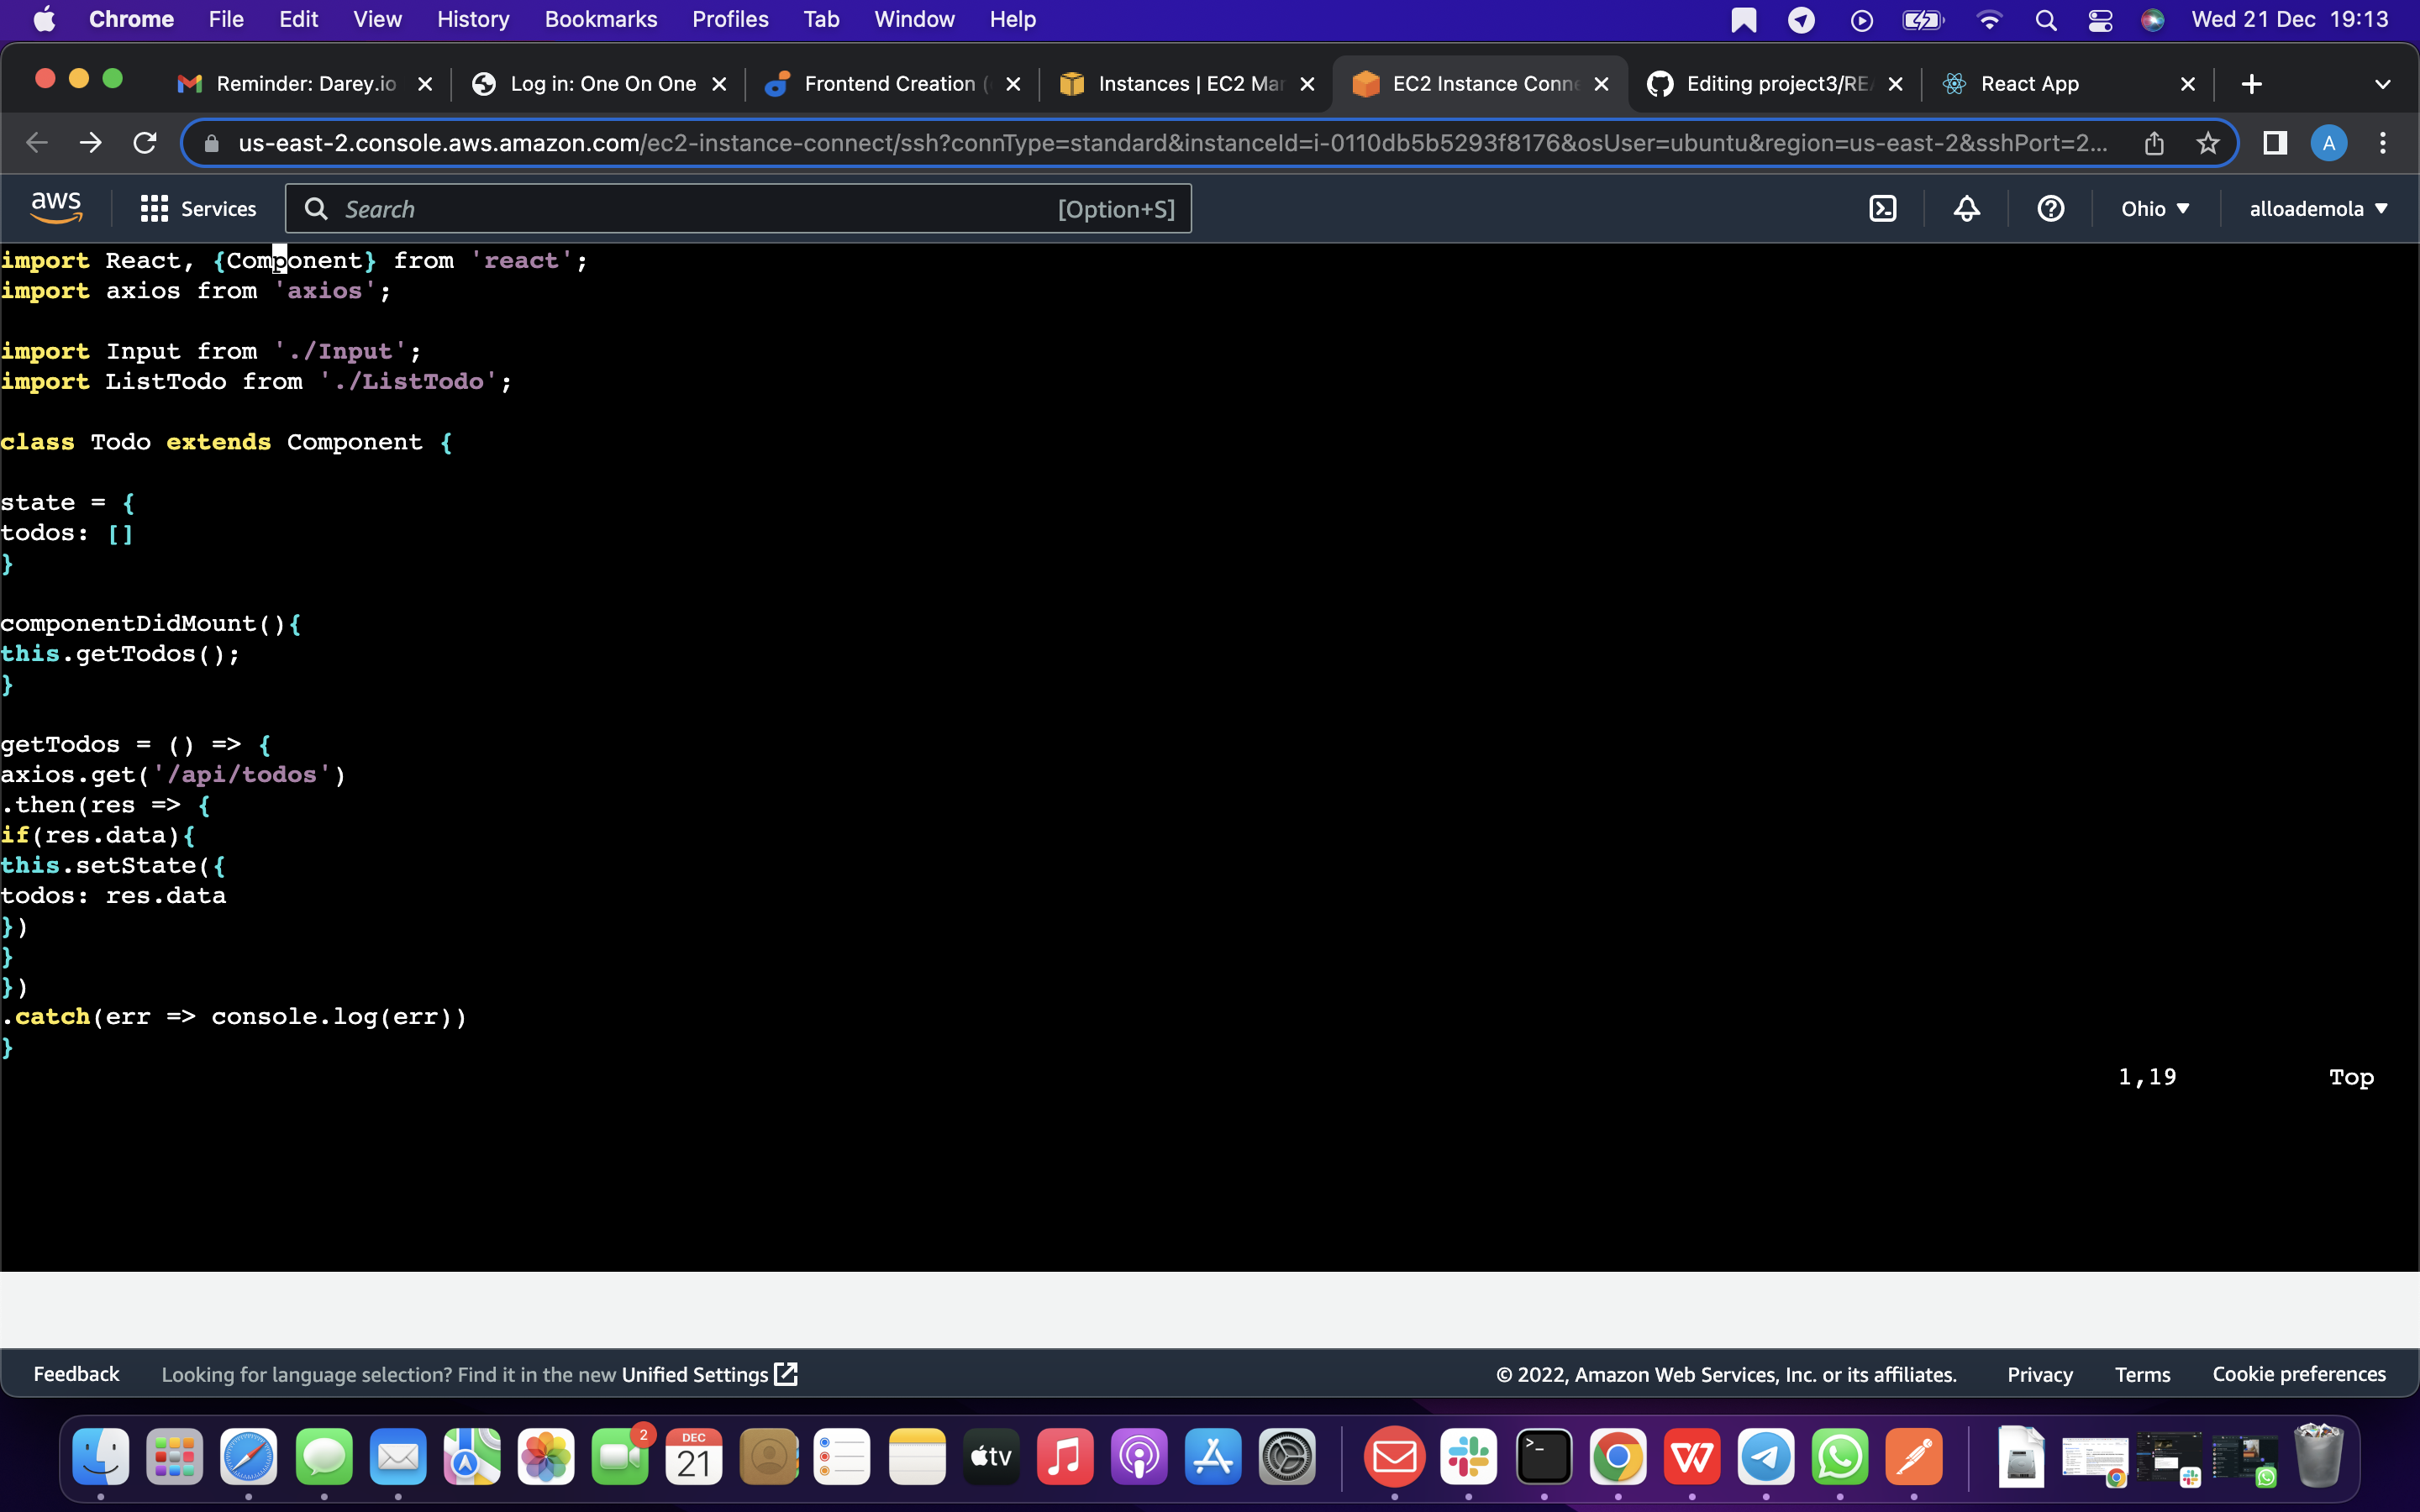
so in your Todo.js file you write the following code below import React, {Component} from 'react'; import axios from 'axios';
import Input from './Input'; import ListTodo from './ListTodo';
class Todo extends Component {
state = { todos: [] }
componentDidMount(){ this.getTodos(); }
getTodos = () => { axios.get('/api/todos') .then(res => { if(res.data){ this.setState({ todos: res.data }) } }) .catch(err => console.log(err)) }
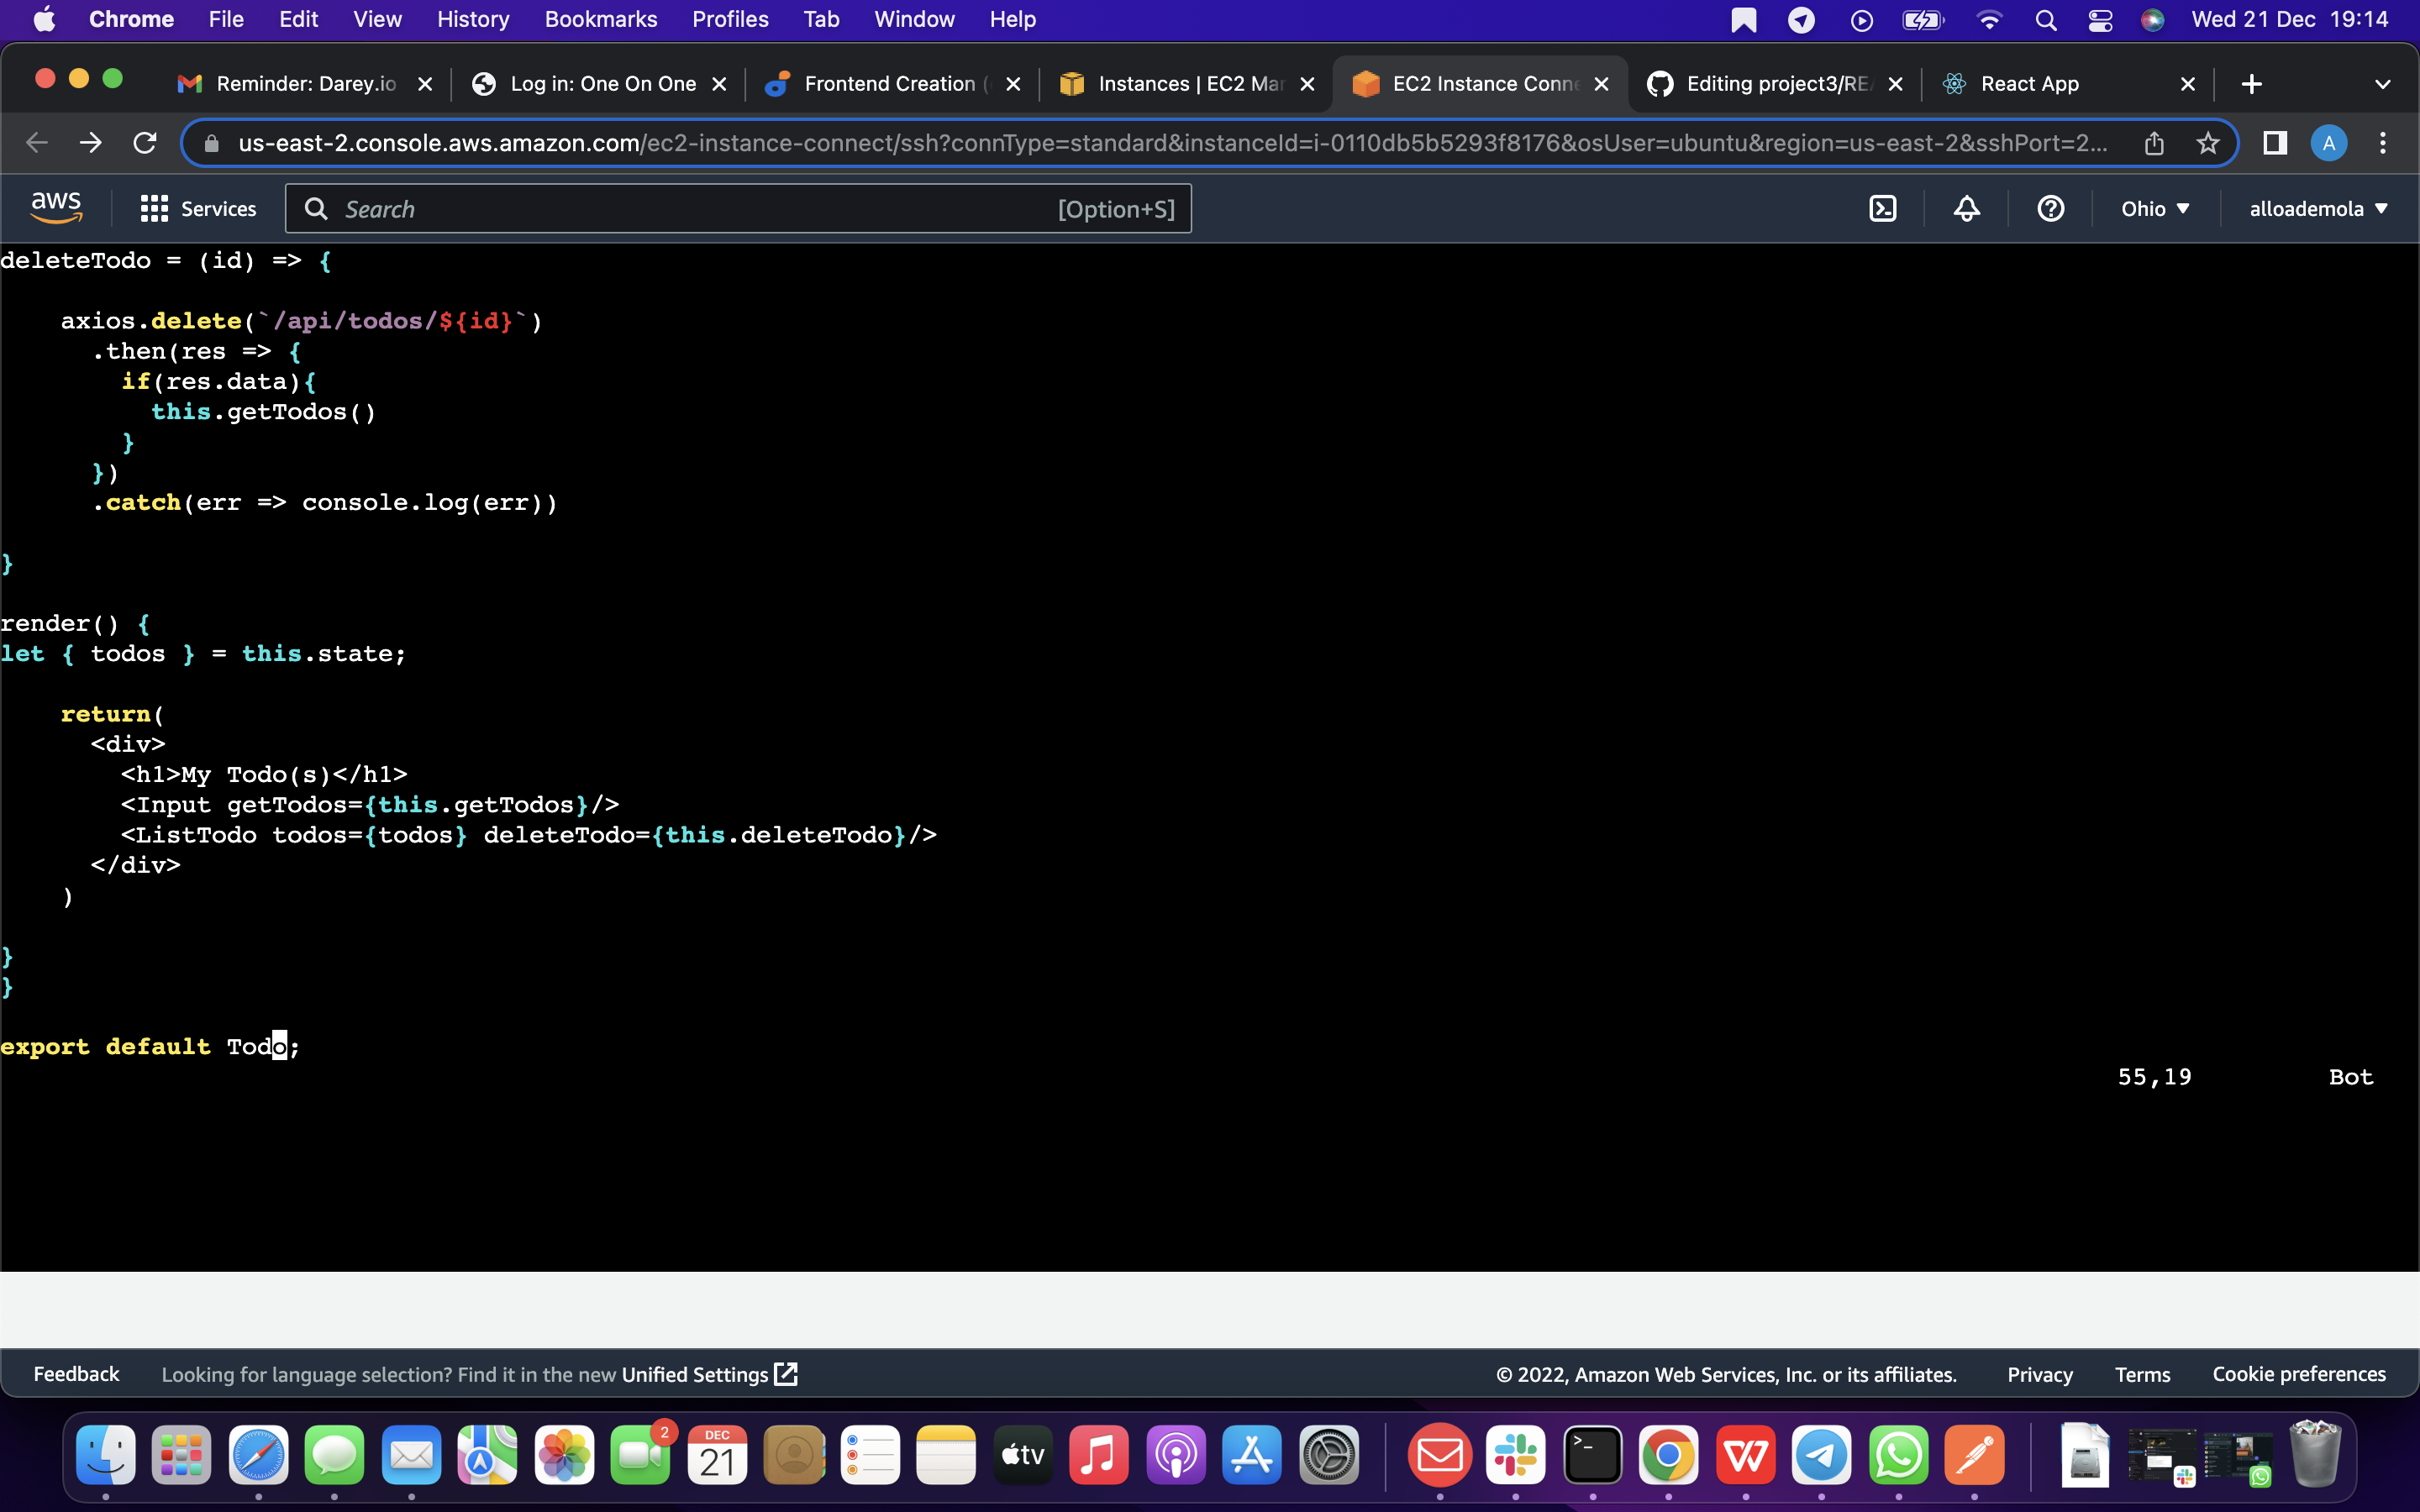
deleteTodo = (id) => {
axios.delete(`/api/todos/${id}`)
  .then(res => {
    if(res.data){
      this.getTodos()
    }
  })
  .catch(err => console.log(err))
}
render() { let { todos } = this.state;
return(
  <div>
    <h1>My Todo(s)</h1>
    <Input getTodos={this.getTodos}/>
    <ListTodo todos={todos} deleteTodo={this.deleteTodo}/>
  </div>
)
} }
export default Todo;
}
 }
}
}
Now we are going to make alittle adjustment to our react code. so you will Delete the logo and adjust our App.js to look like this.
so Move to the src folder with the command. below
cd ..
Make sure that you are in the src folder and run this command below
vi App.js

so Copy and paste the code below into it
import React from 'react';
import Todo from './components/Todo'; import './App.css';
const App = () => { return (
export default App;
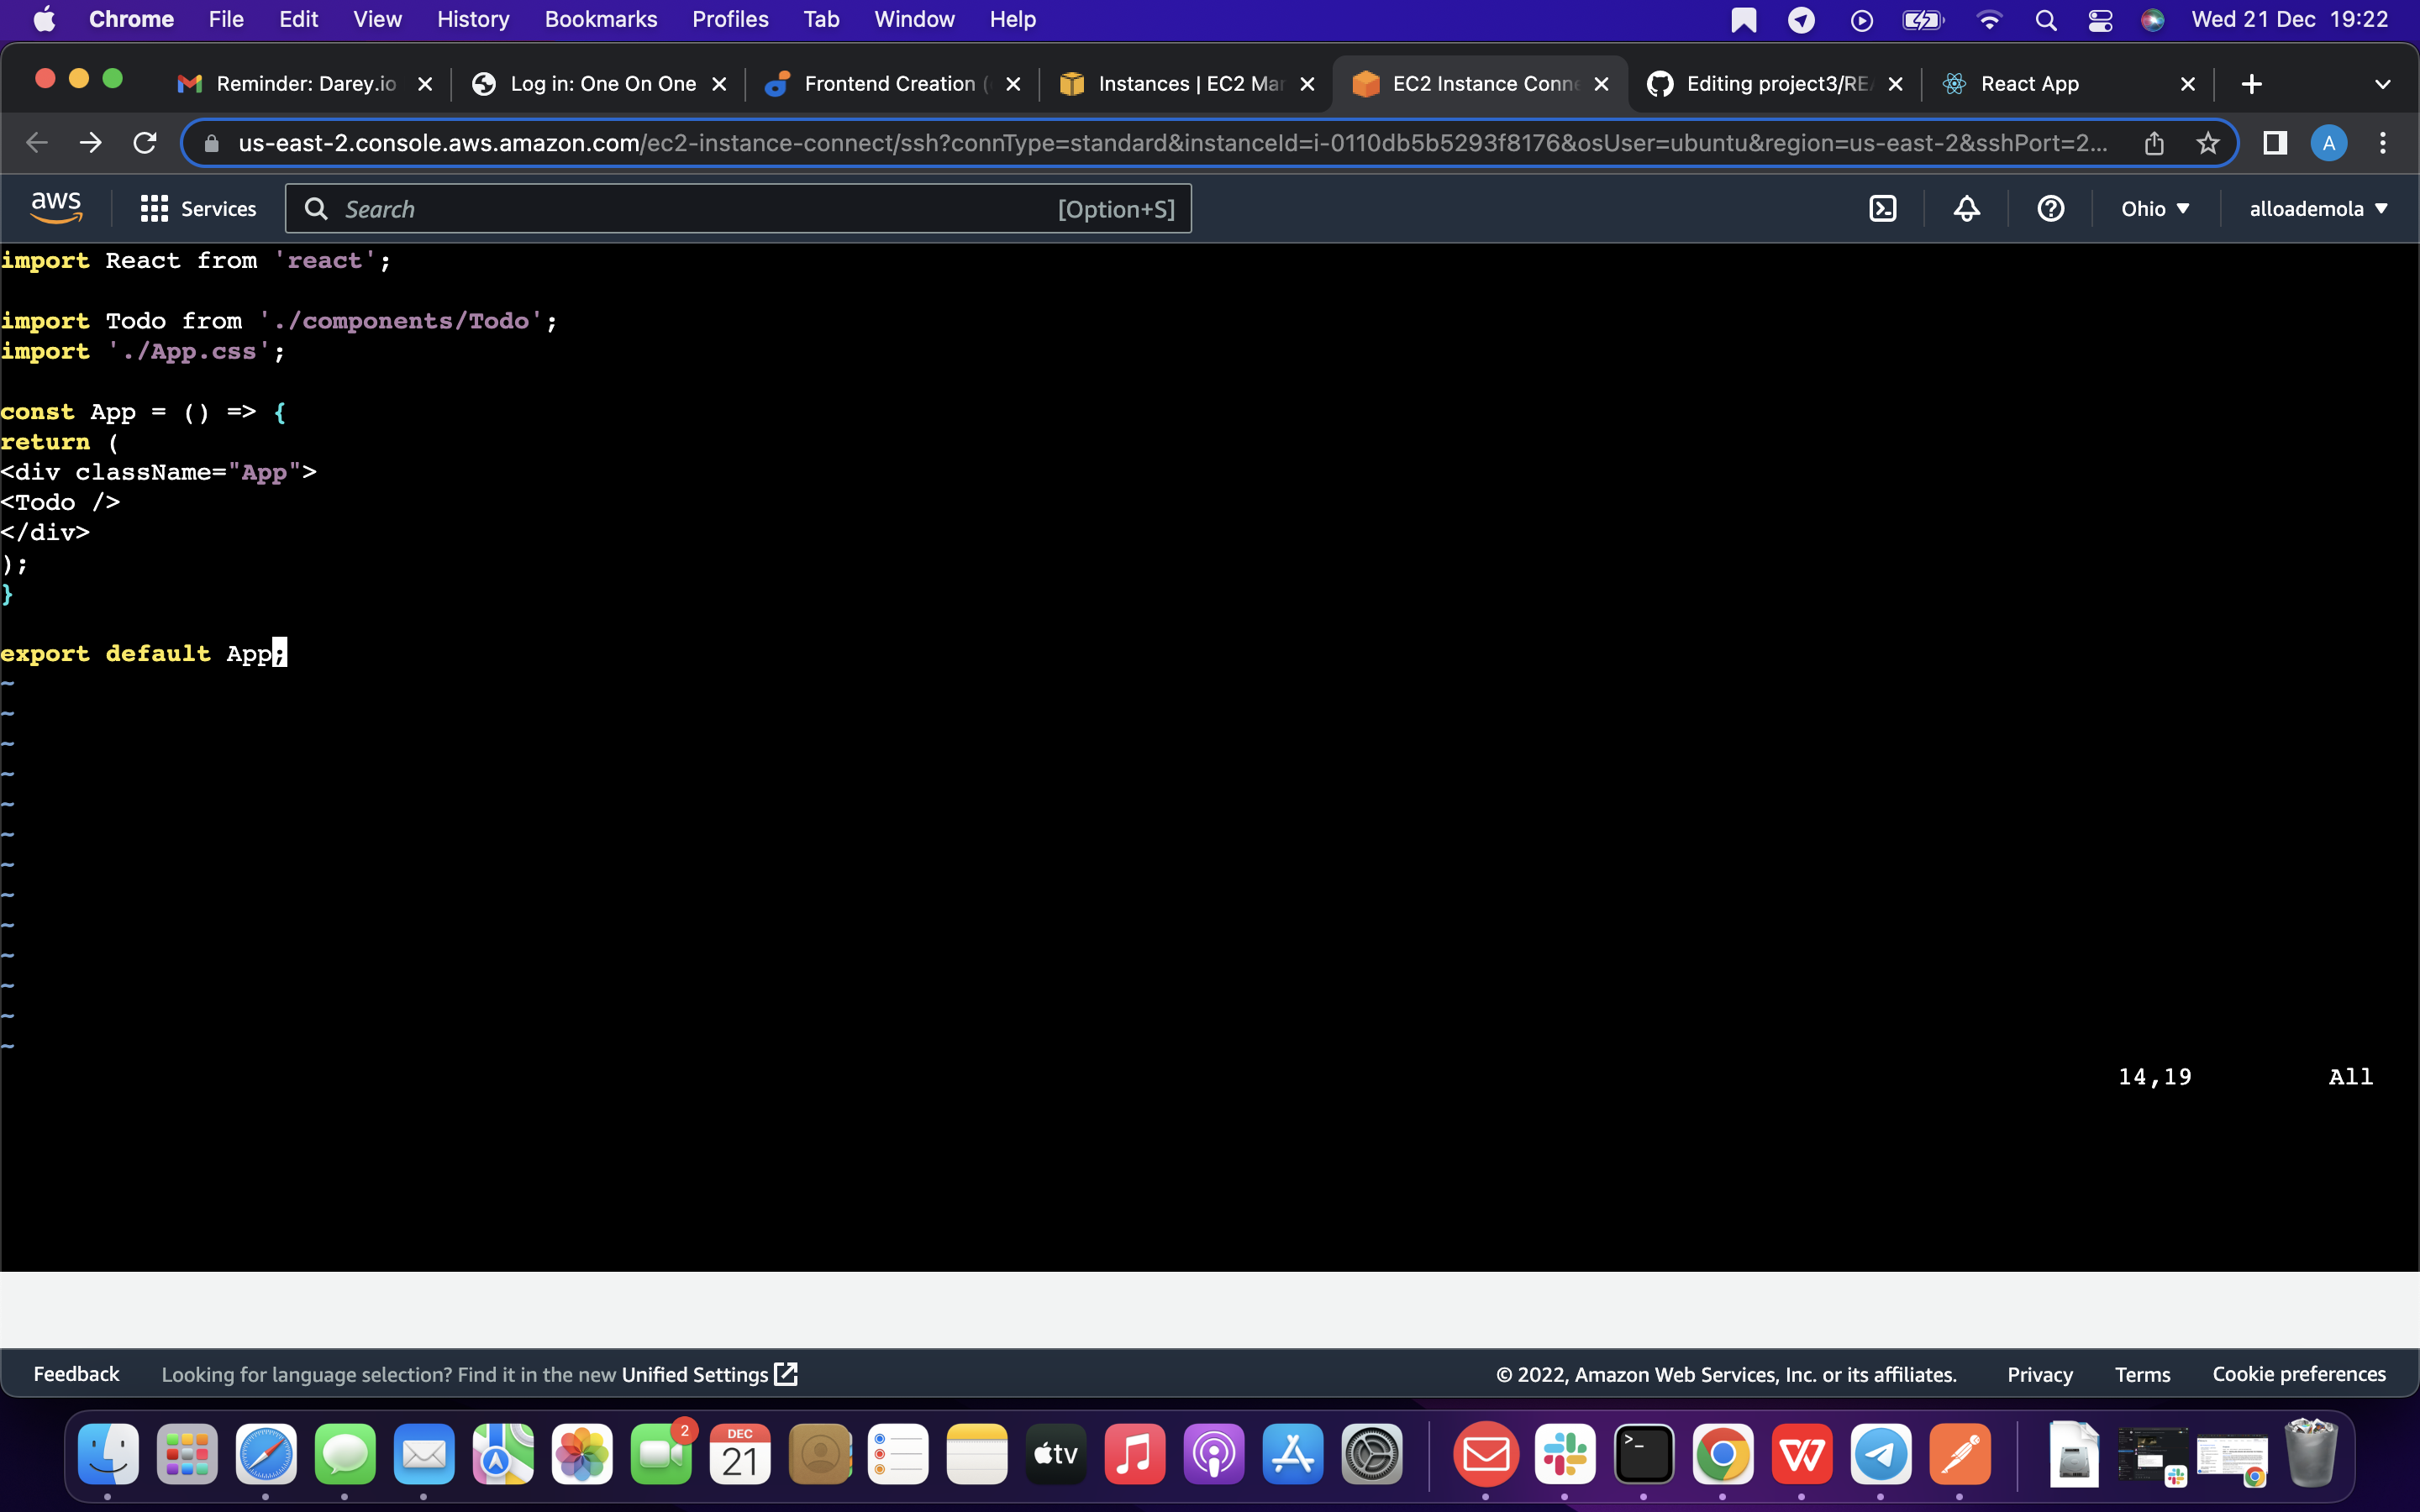
so After pasting, exit the editor.
In the src directory open the App.css with the below command
vi App.css
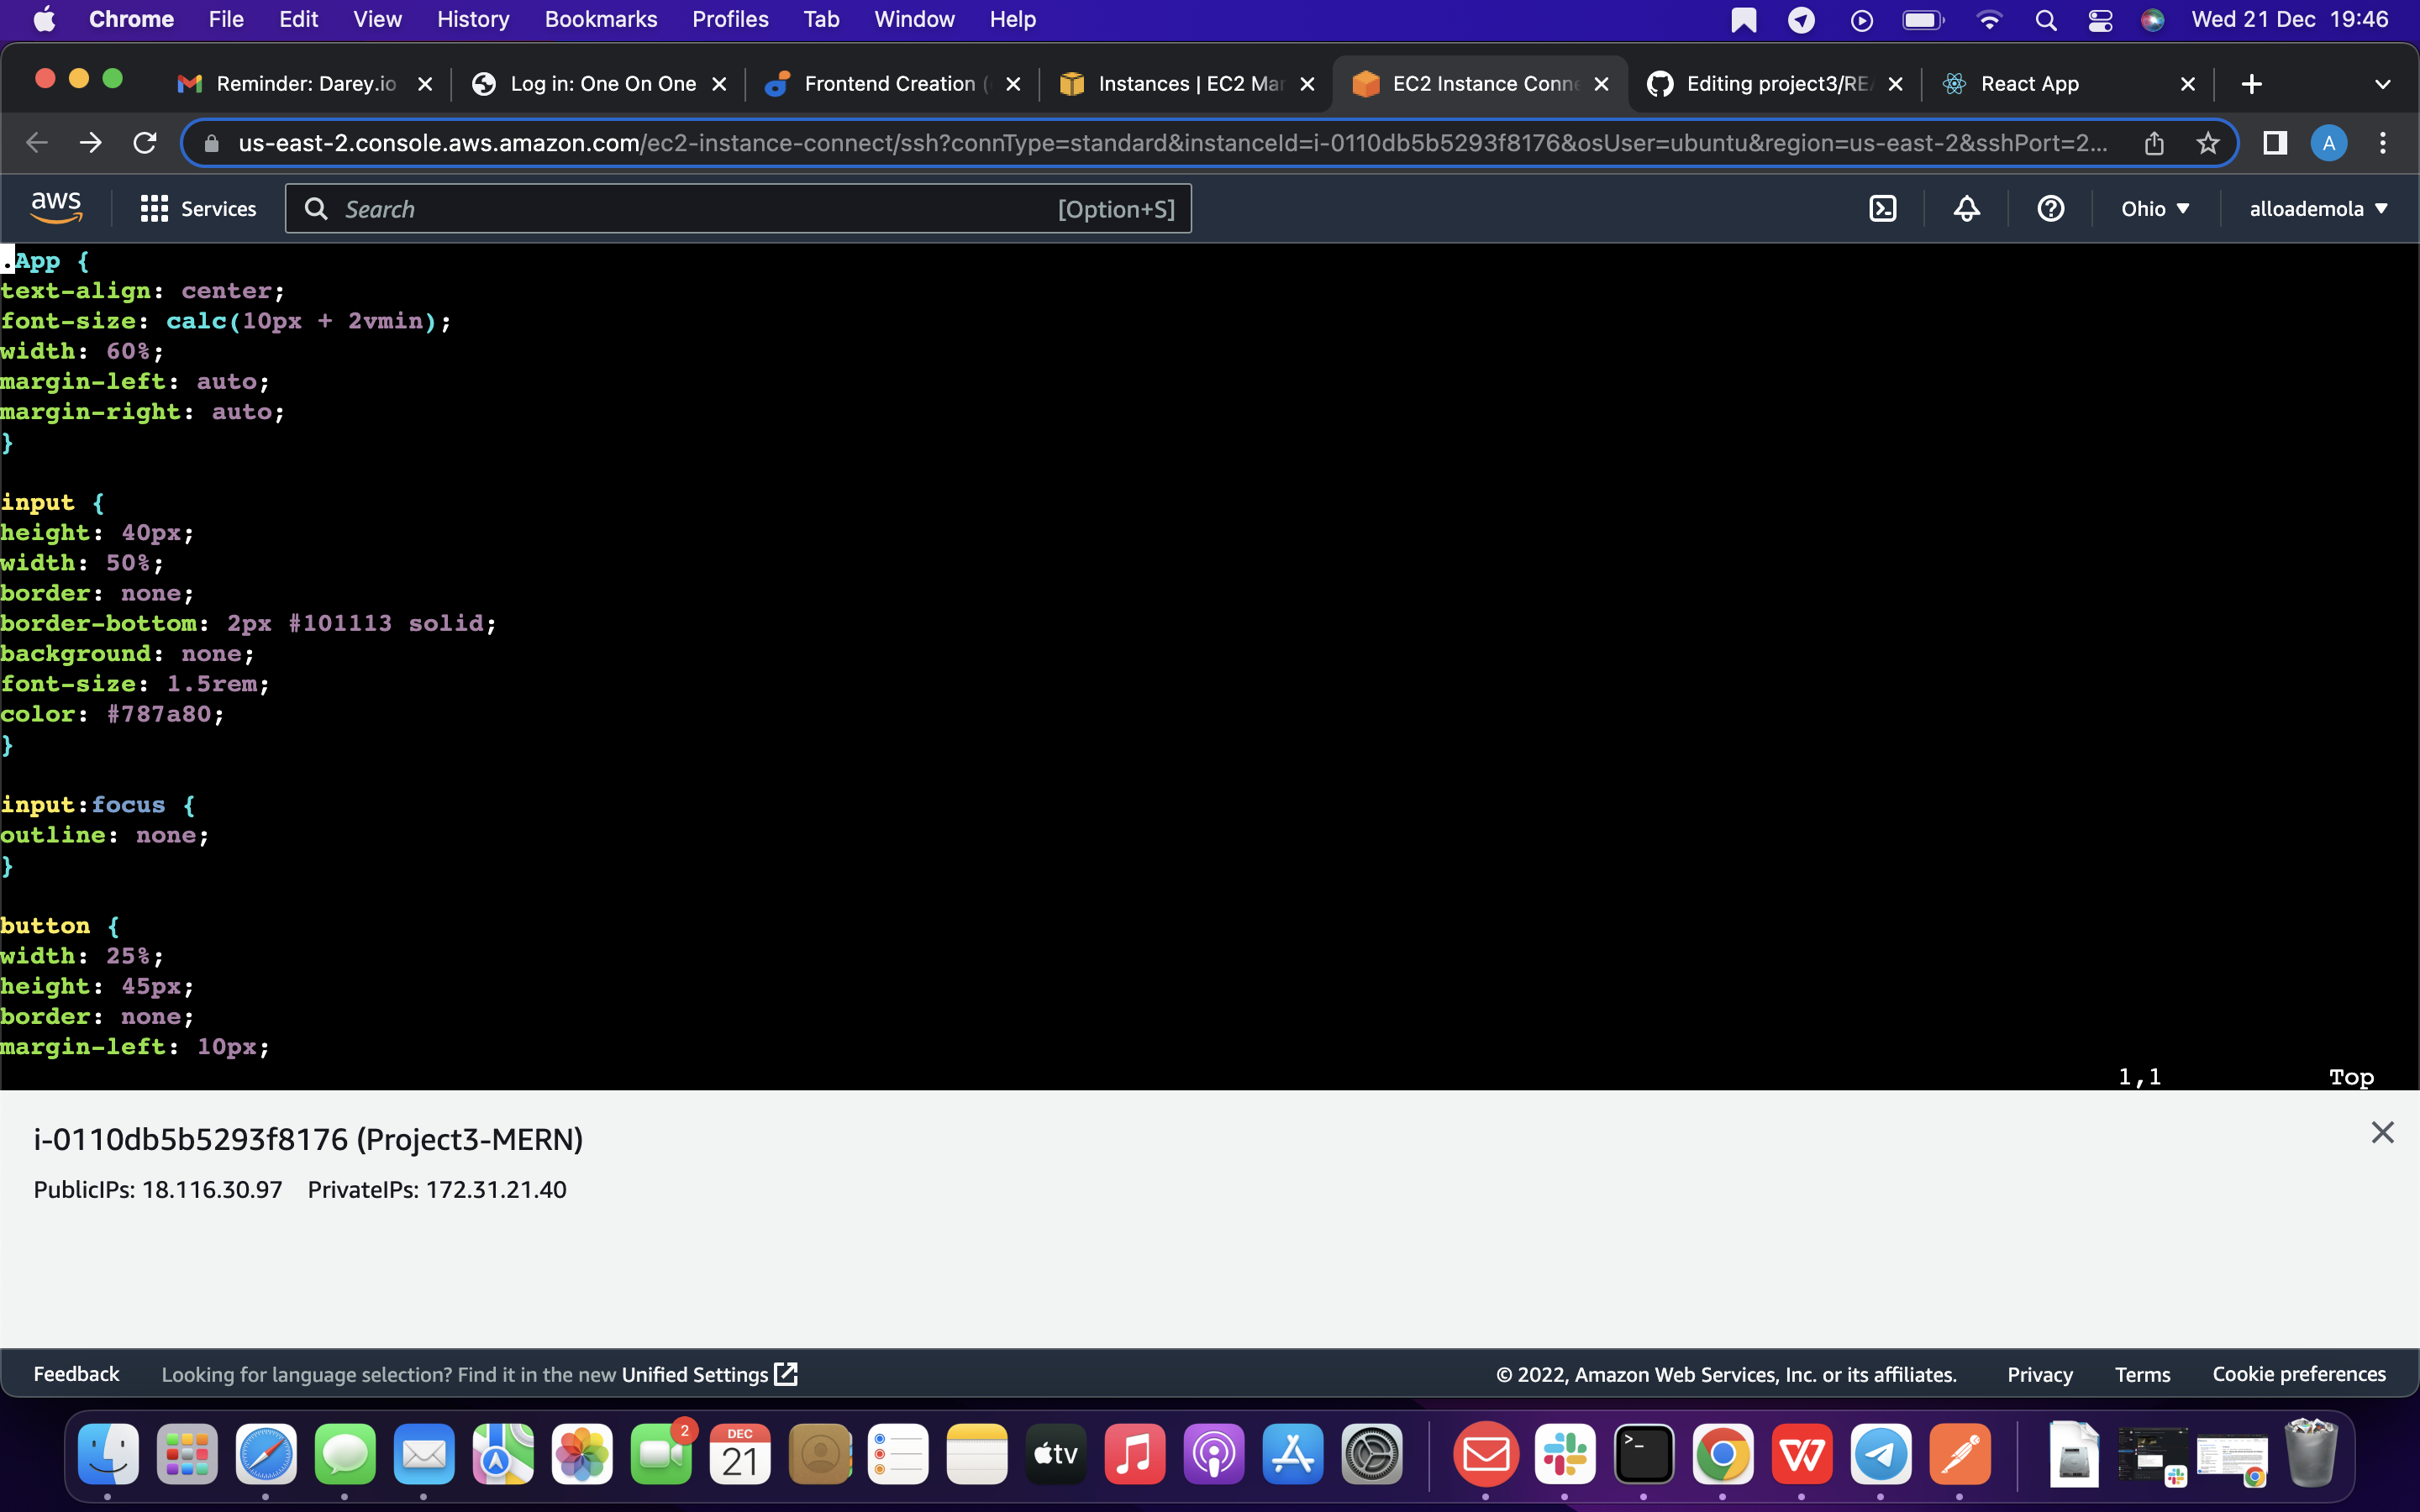
Then paste the following code into App.css:
.App { text-align: center; font-size: calc(10px + 2vmin); width: 60%; margin-left: auto; margin-right: auto; }
input { height: 40px; width: 50%; border: none; border-bottom: 2px #101113 solid; background: none; font-size: 1.5rem; color: #787a80; }
input:focus { outline: none; }
button { width: 25%; height: 45px; border: none; margin-left: 10px; font-size: 25px; background: #101113; border-radius: 5px; color: #787a80; cursor: pointer; }
button:focus { outline: none; }
ul { list-style: none; text-align: left; padding: 15px; background: #171a1f; border-radius: 5px; }
li { padding: 15px; font-size: 1.5rem; margin-bottom: 15px; background: #282c34; border-radius: 5px; overflow-wrap: break-word; cursor: pointer; }
@media only screen and (min-width: 300px) { .App { width: 80%; }
input { width: 100% }
button { width: 100%; margin-top: 15px; margin-left: 0; } }
@media only screen and (min-width: 640px) { .App { width: 60%; }
input { width: 50%; }
button { width: 30%; margin-left: 10px; margin-top: 0; } }
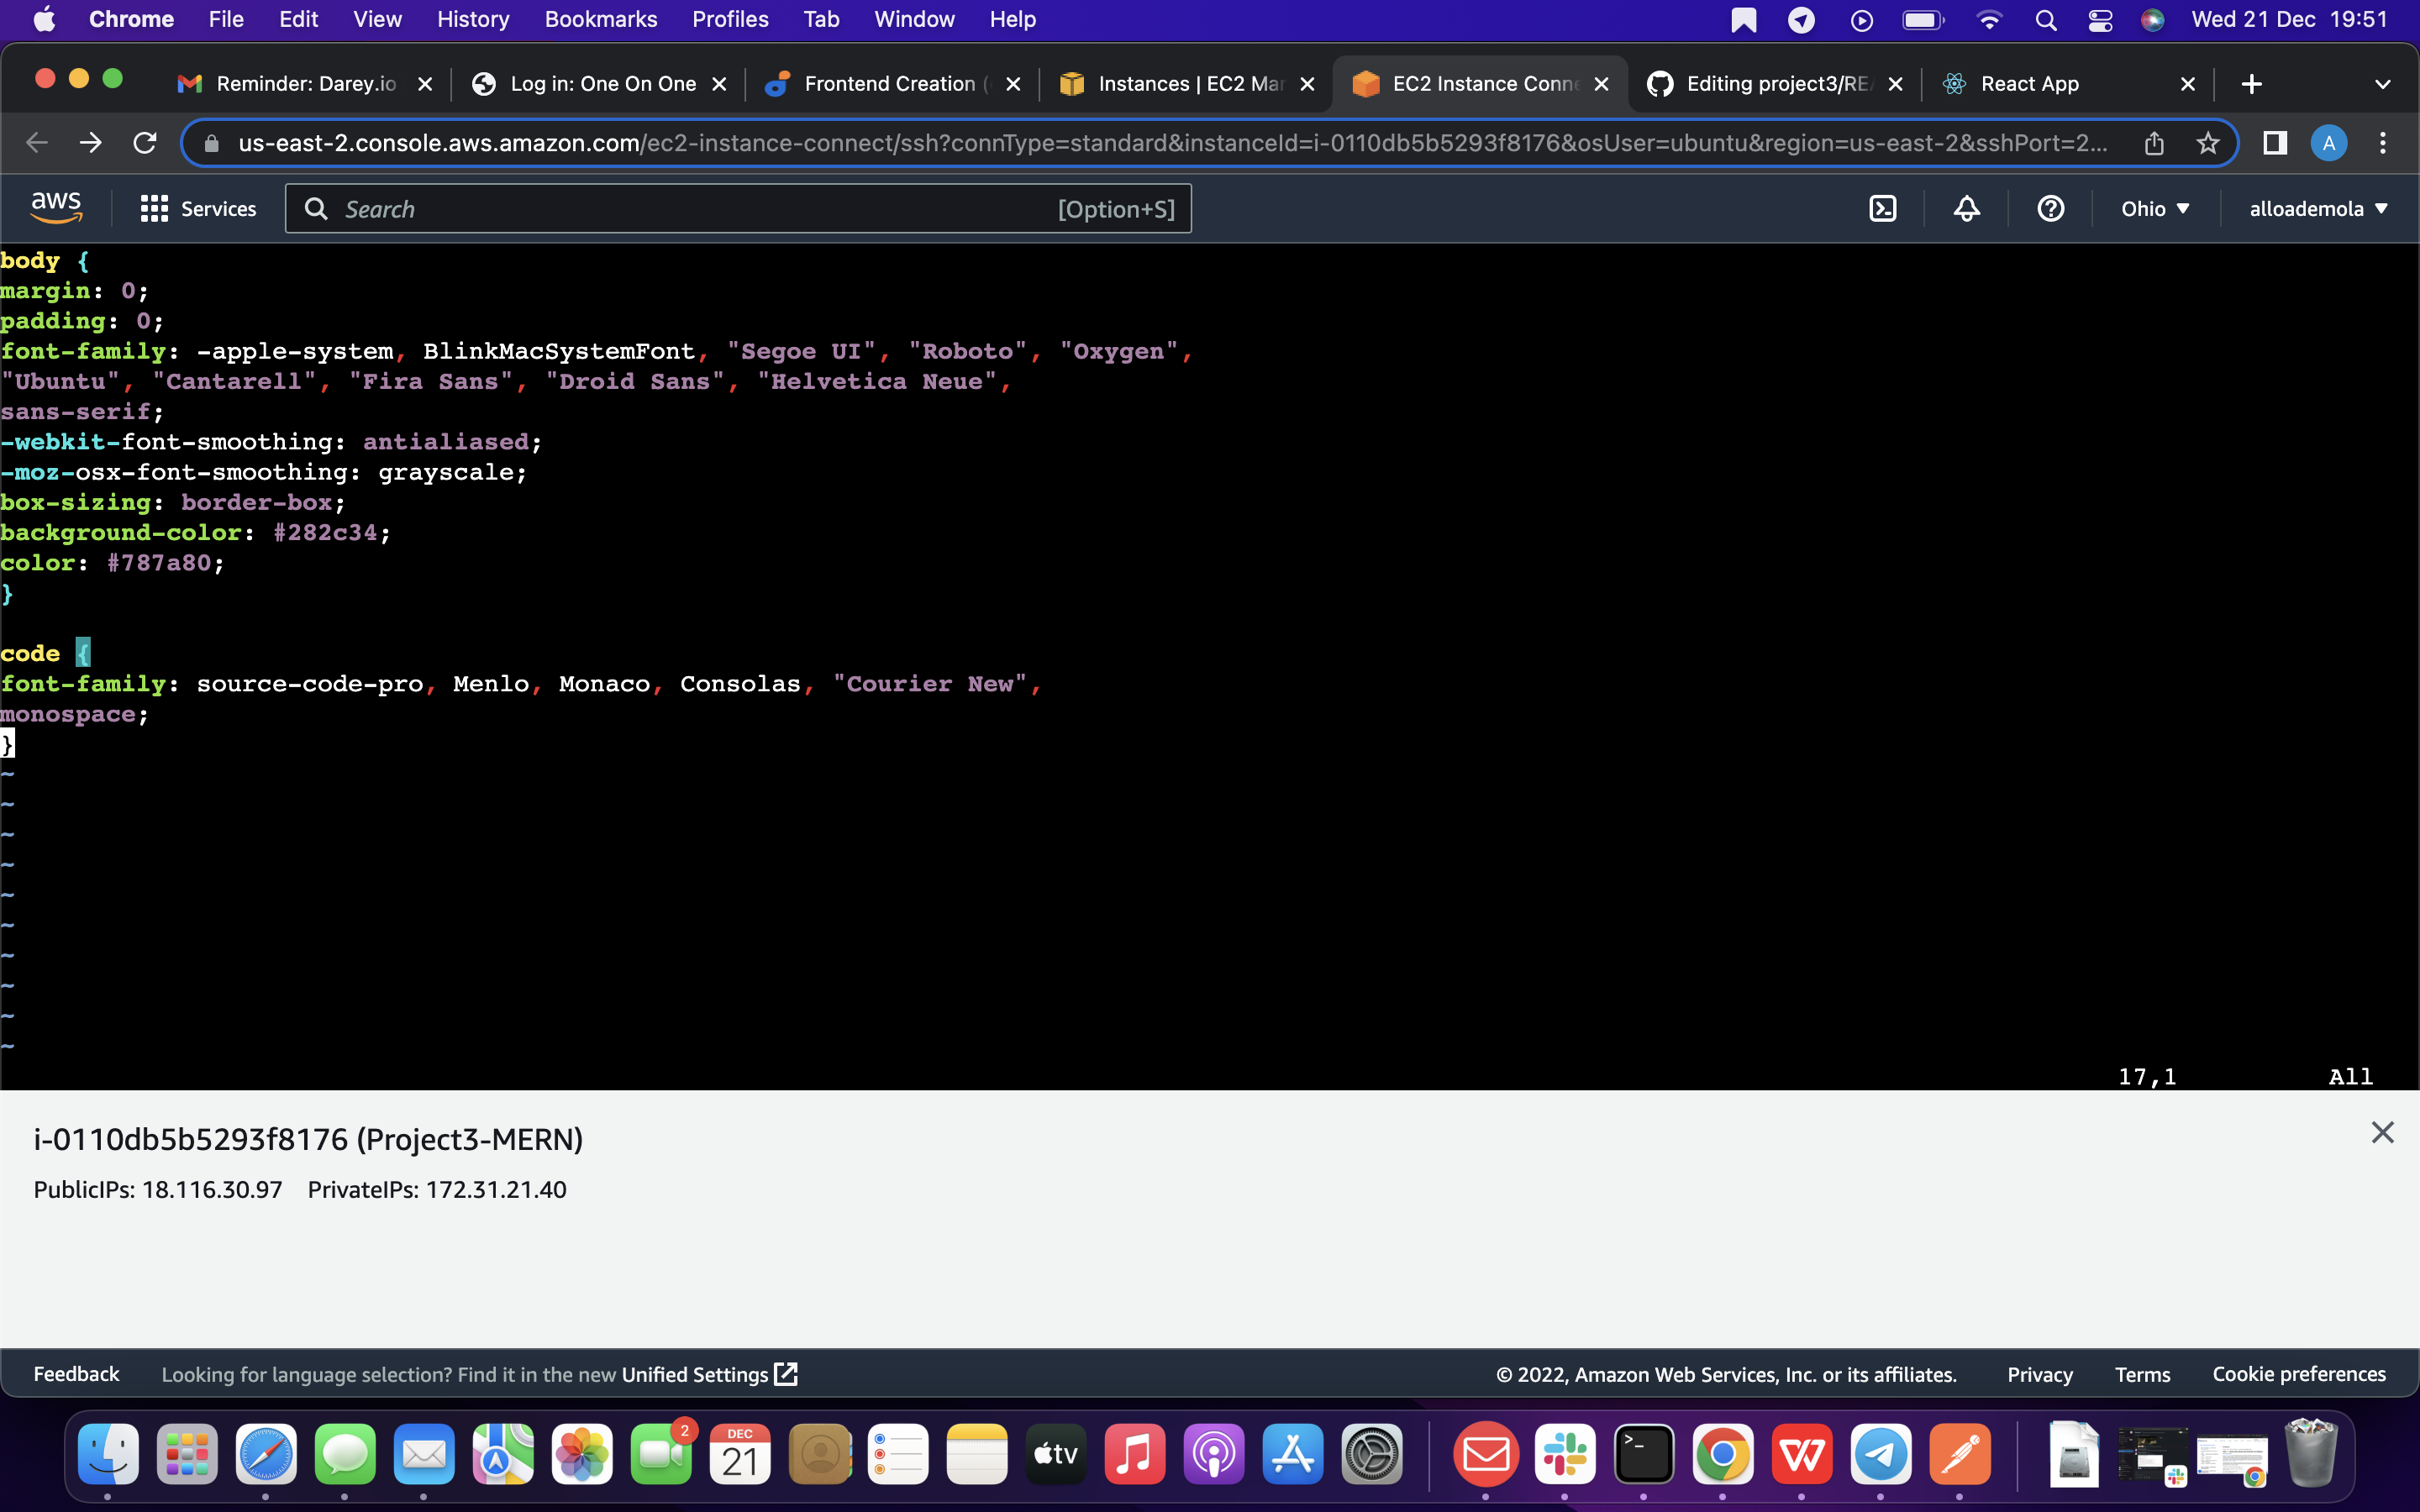
so In the src directory open the index.css with the command below
vim index.css
Copy and paste the code below:
body { margin: 0; padding: 0; font-family: -apple-system, BlinkMacSystemFont, "Segoe UI", "Roboto", "Oxygen", "Ubuntu", "Cantarell", "Fira Sans", "Droid Sans", "Helvetica Neue", sans-serif; -webkit-font-smoothing: antialiased; -moz-osx-font-smoothing: grayscale; box-sizing: border-box; background-color: #282c34; color: #787a80; }
code { font-family: source-code-pro, Menlo, Monaco, Consolas, "Courier New", monospace; }
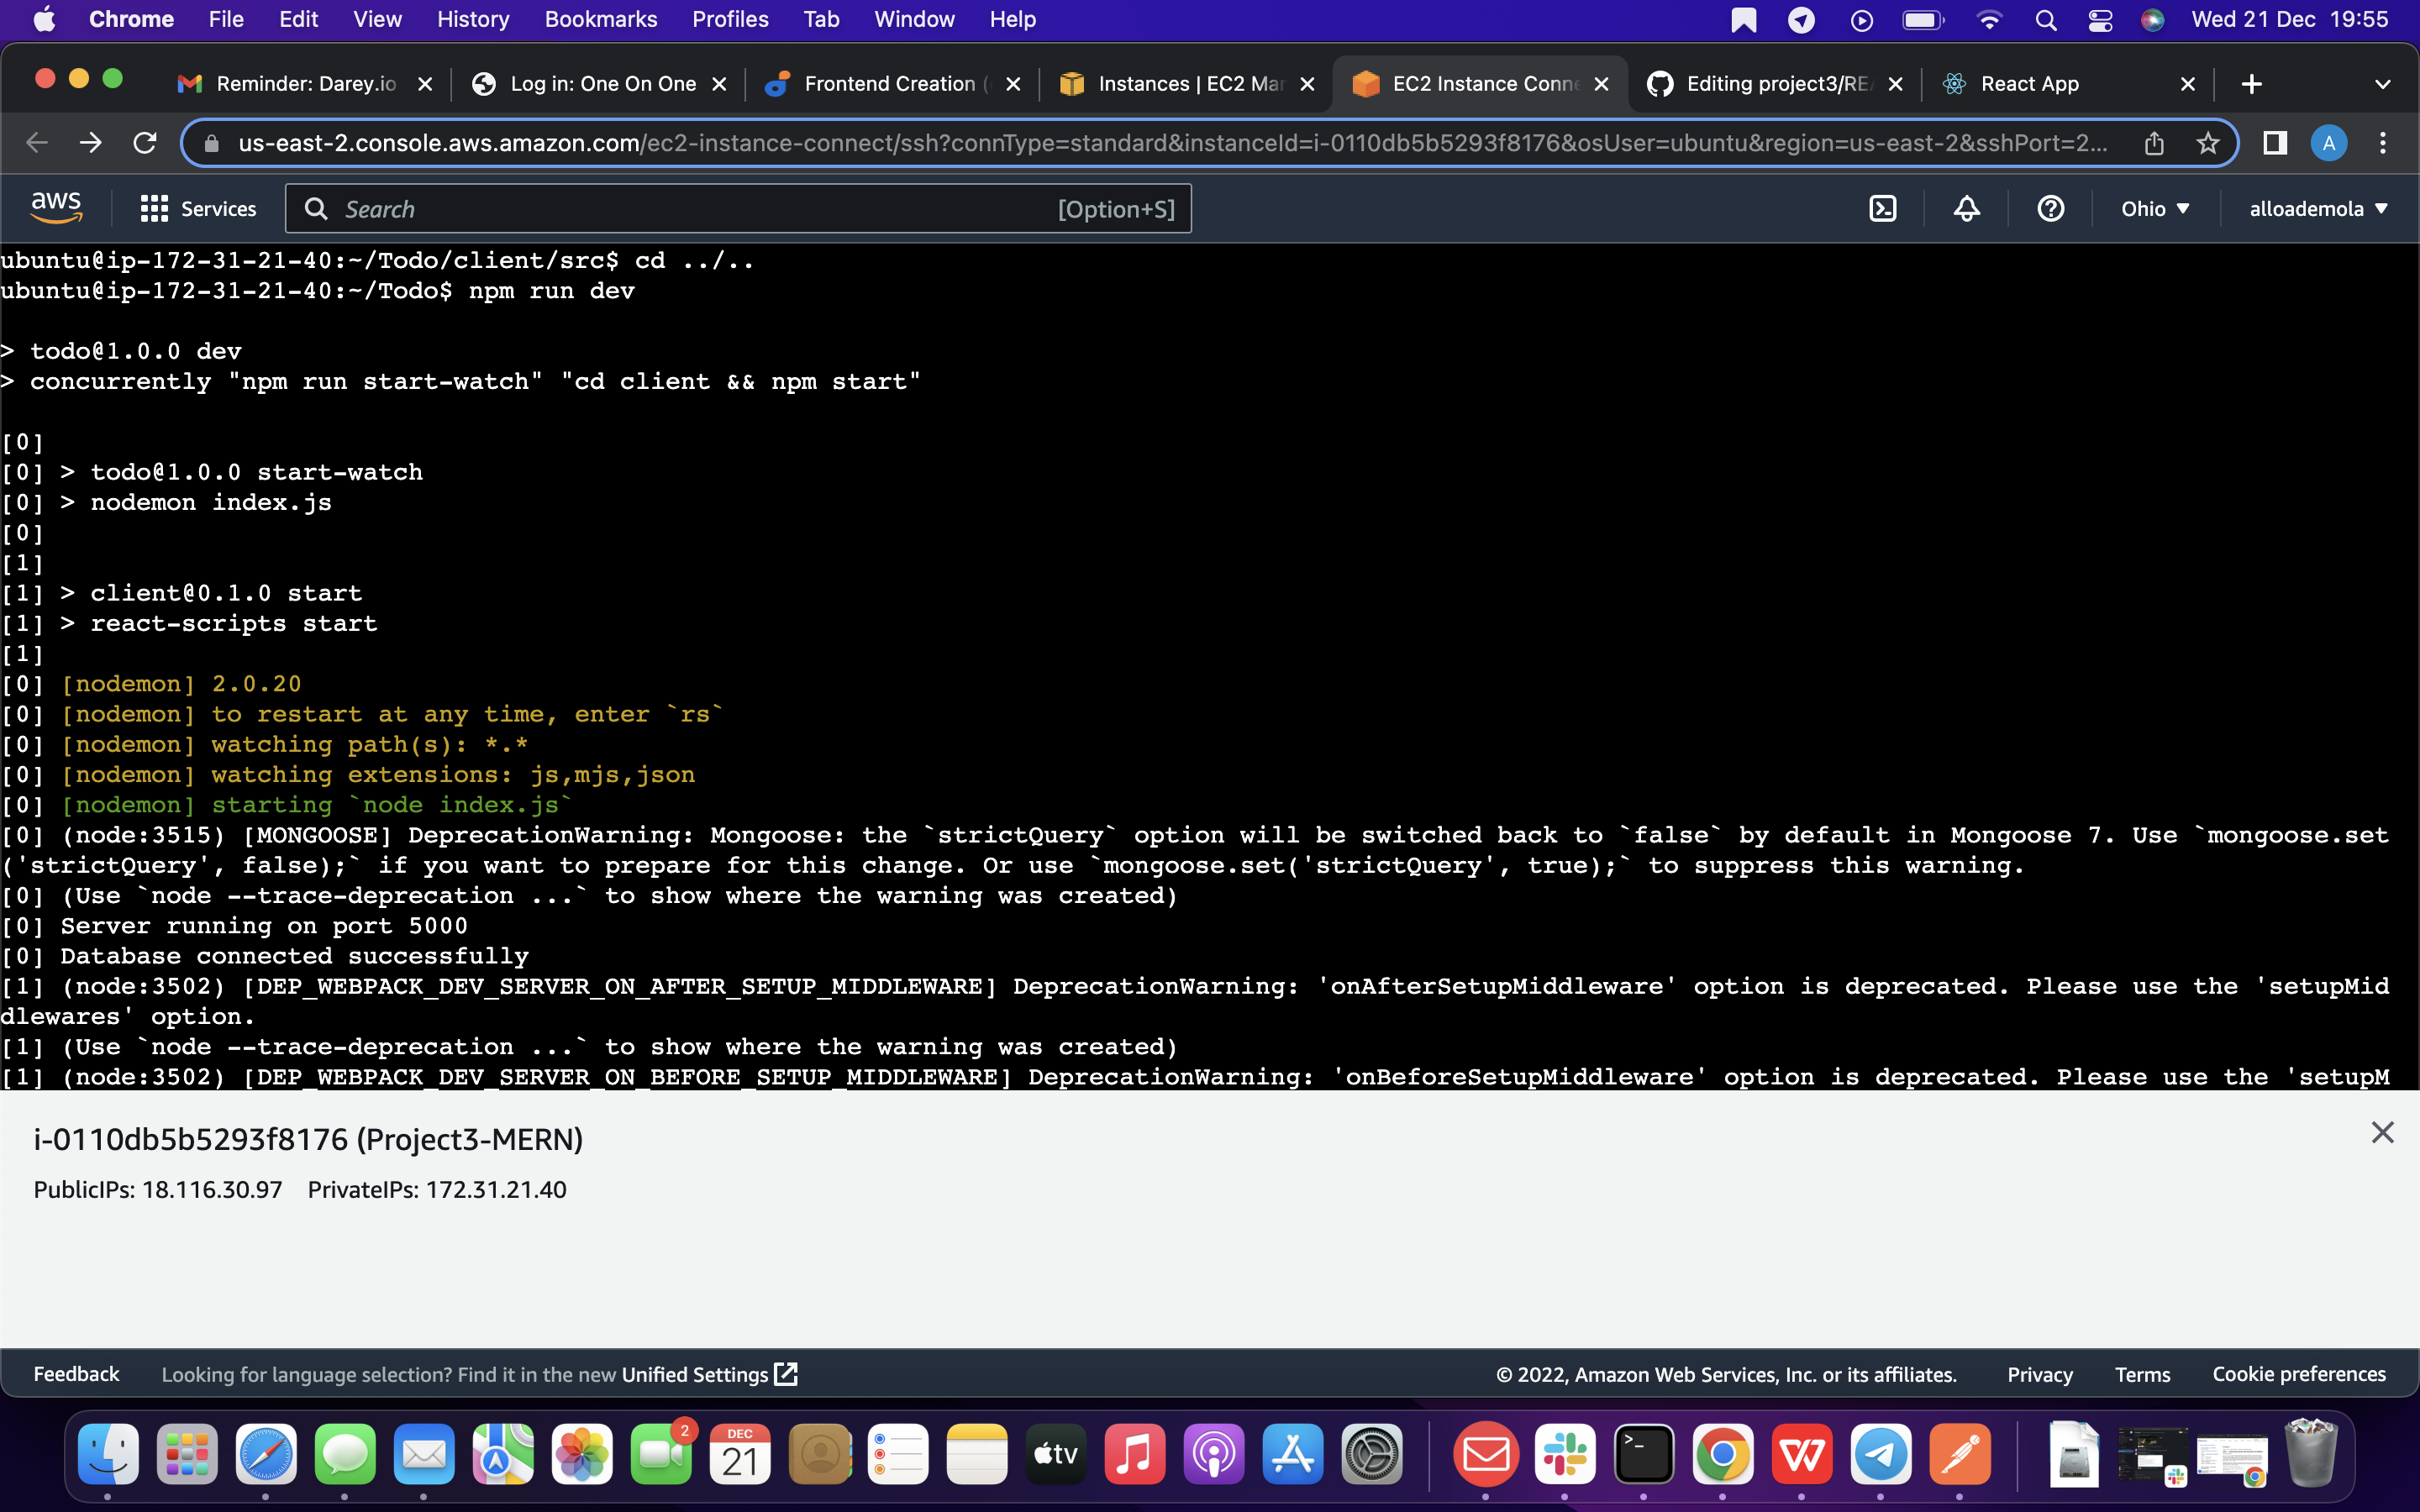
Go to the Todo directory
cd ../.. When you are in the Todo directory run:
npm run dev Assuming no errors when saving all these files, our To-Do app should be ready and fully functional with the functionality discussed earlier: creating a task, deleting a task and viewing all your tasks.
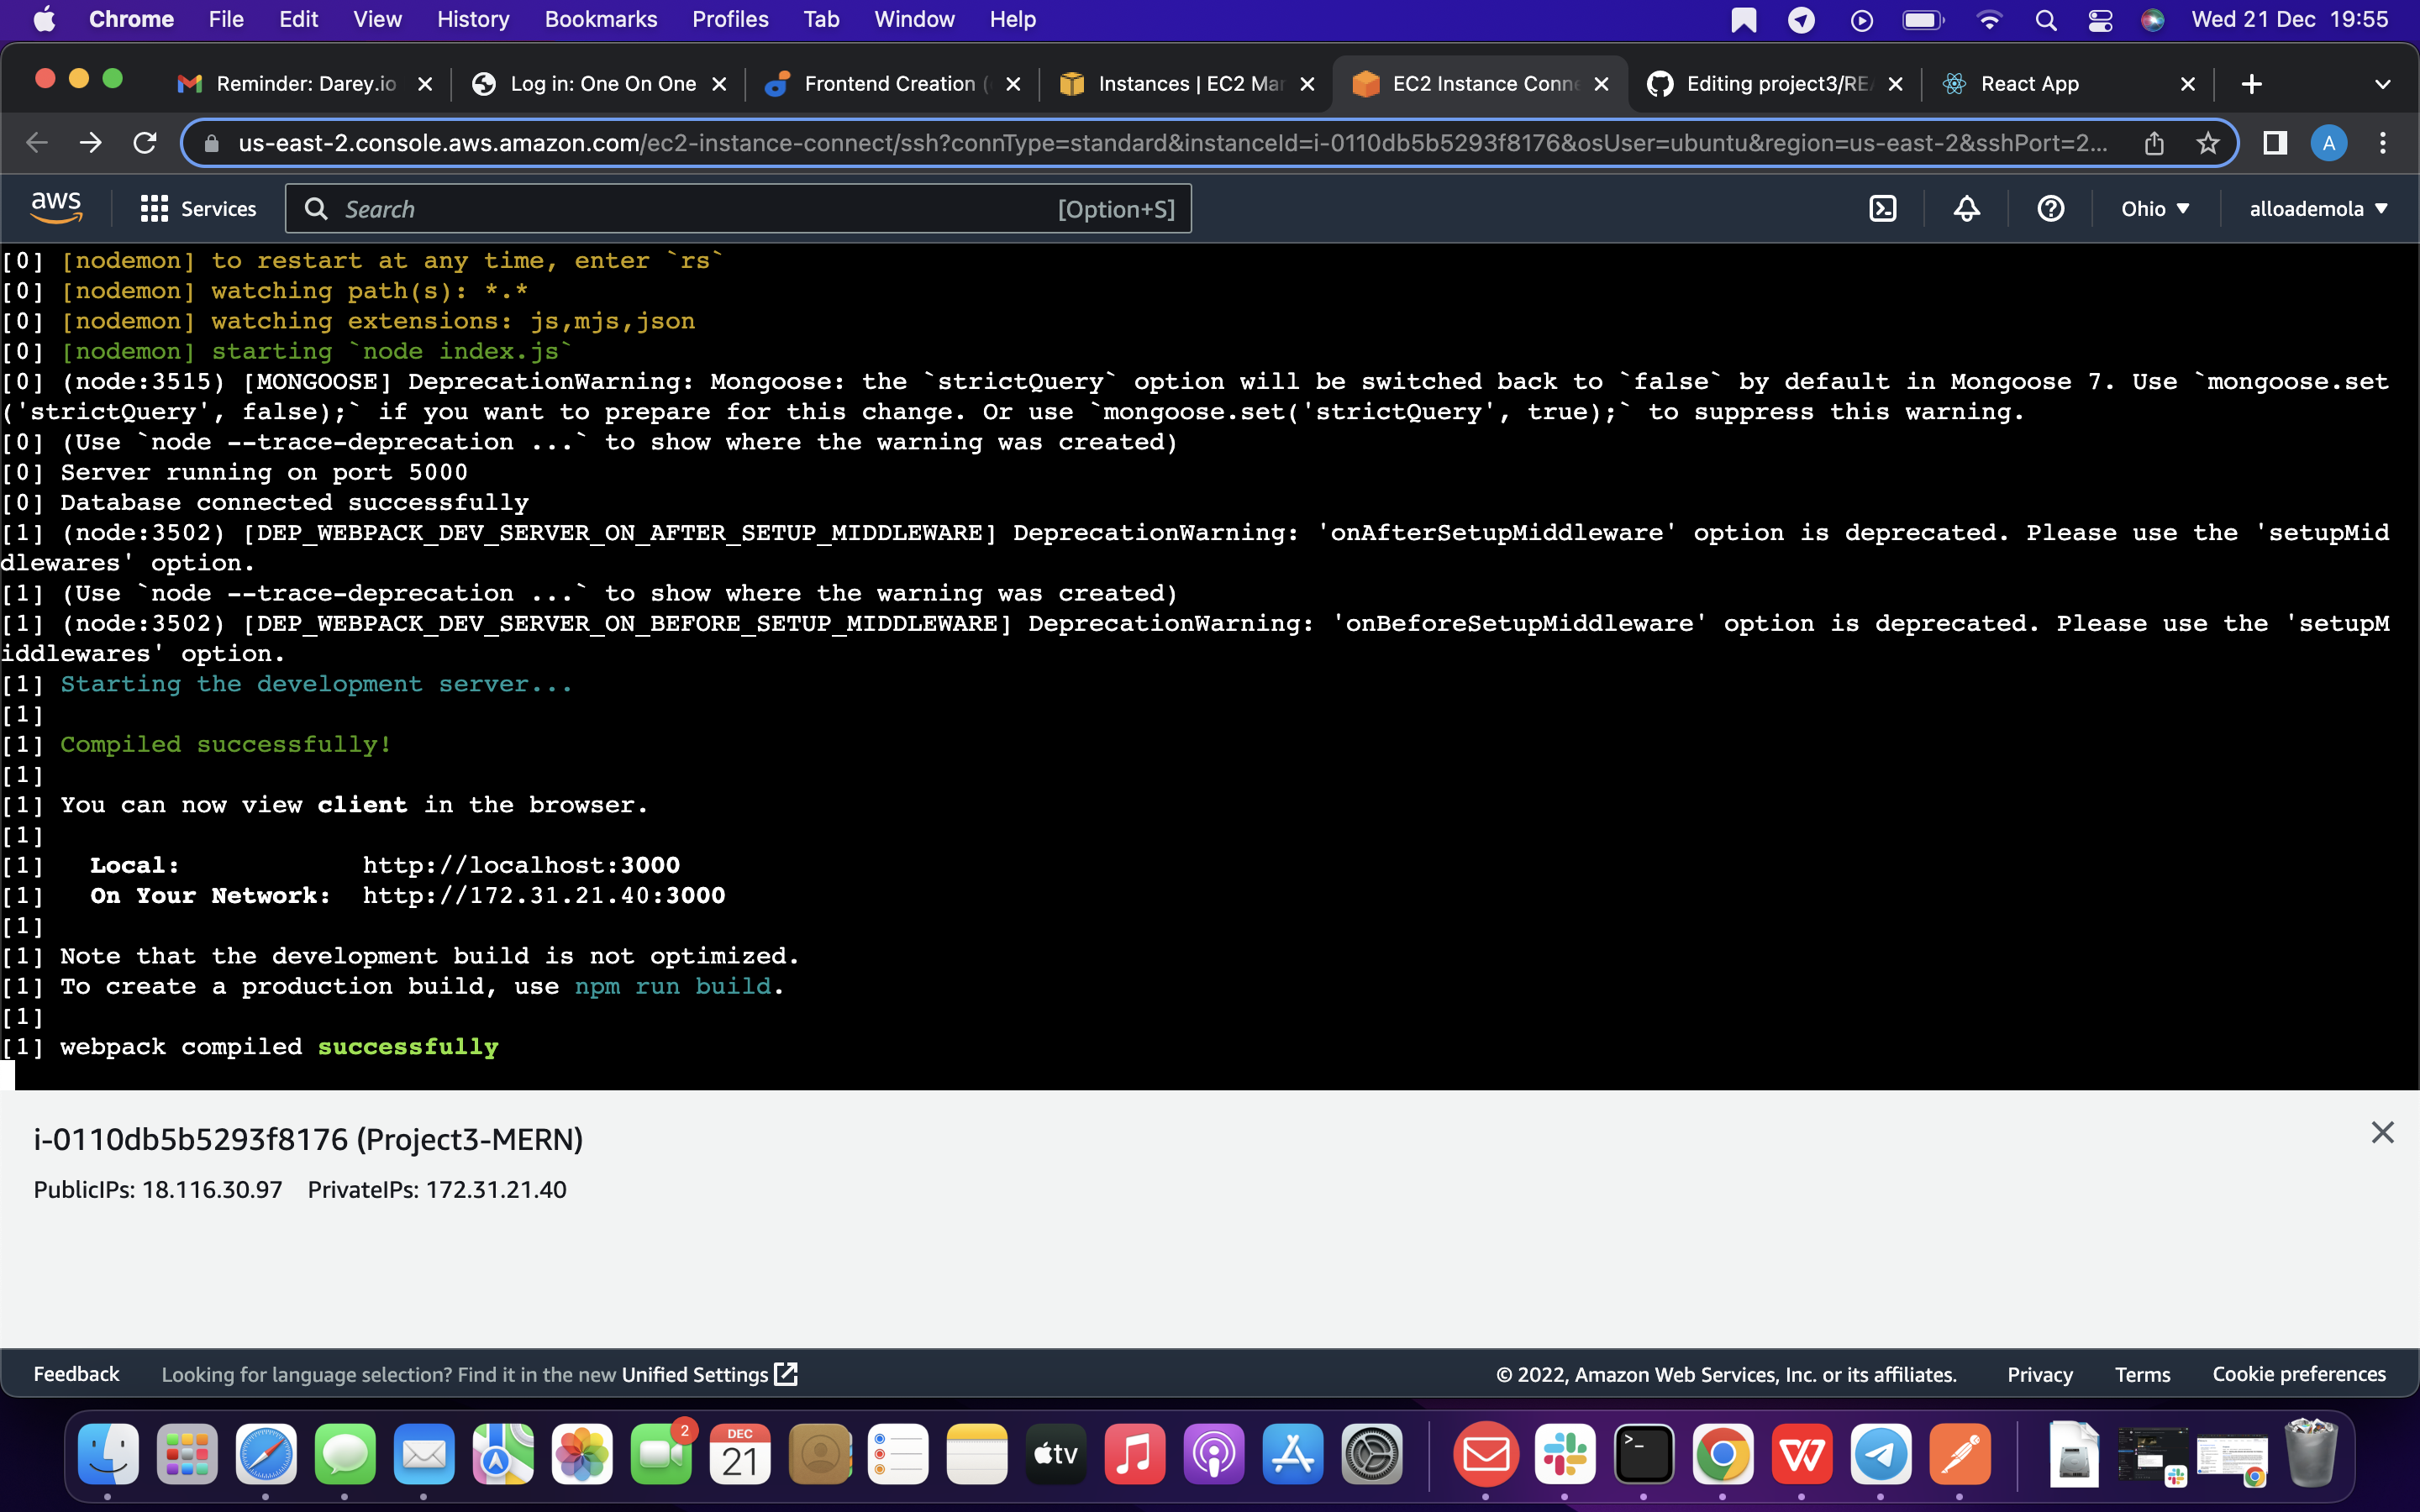
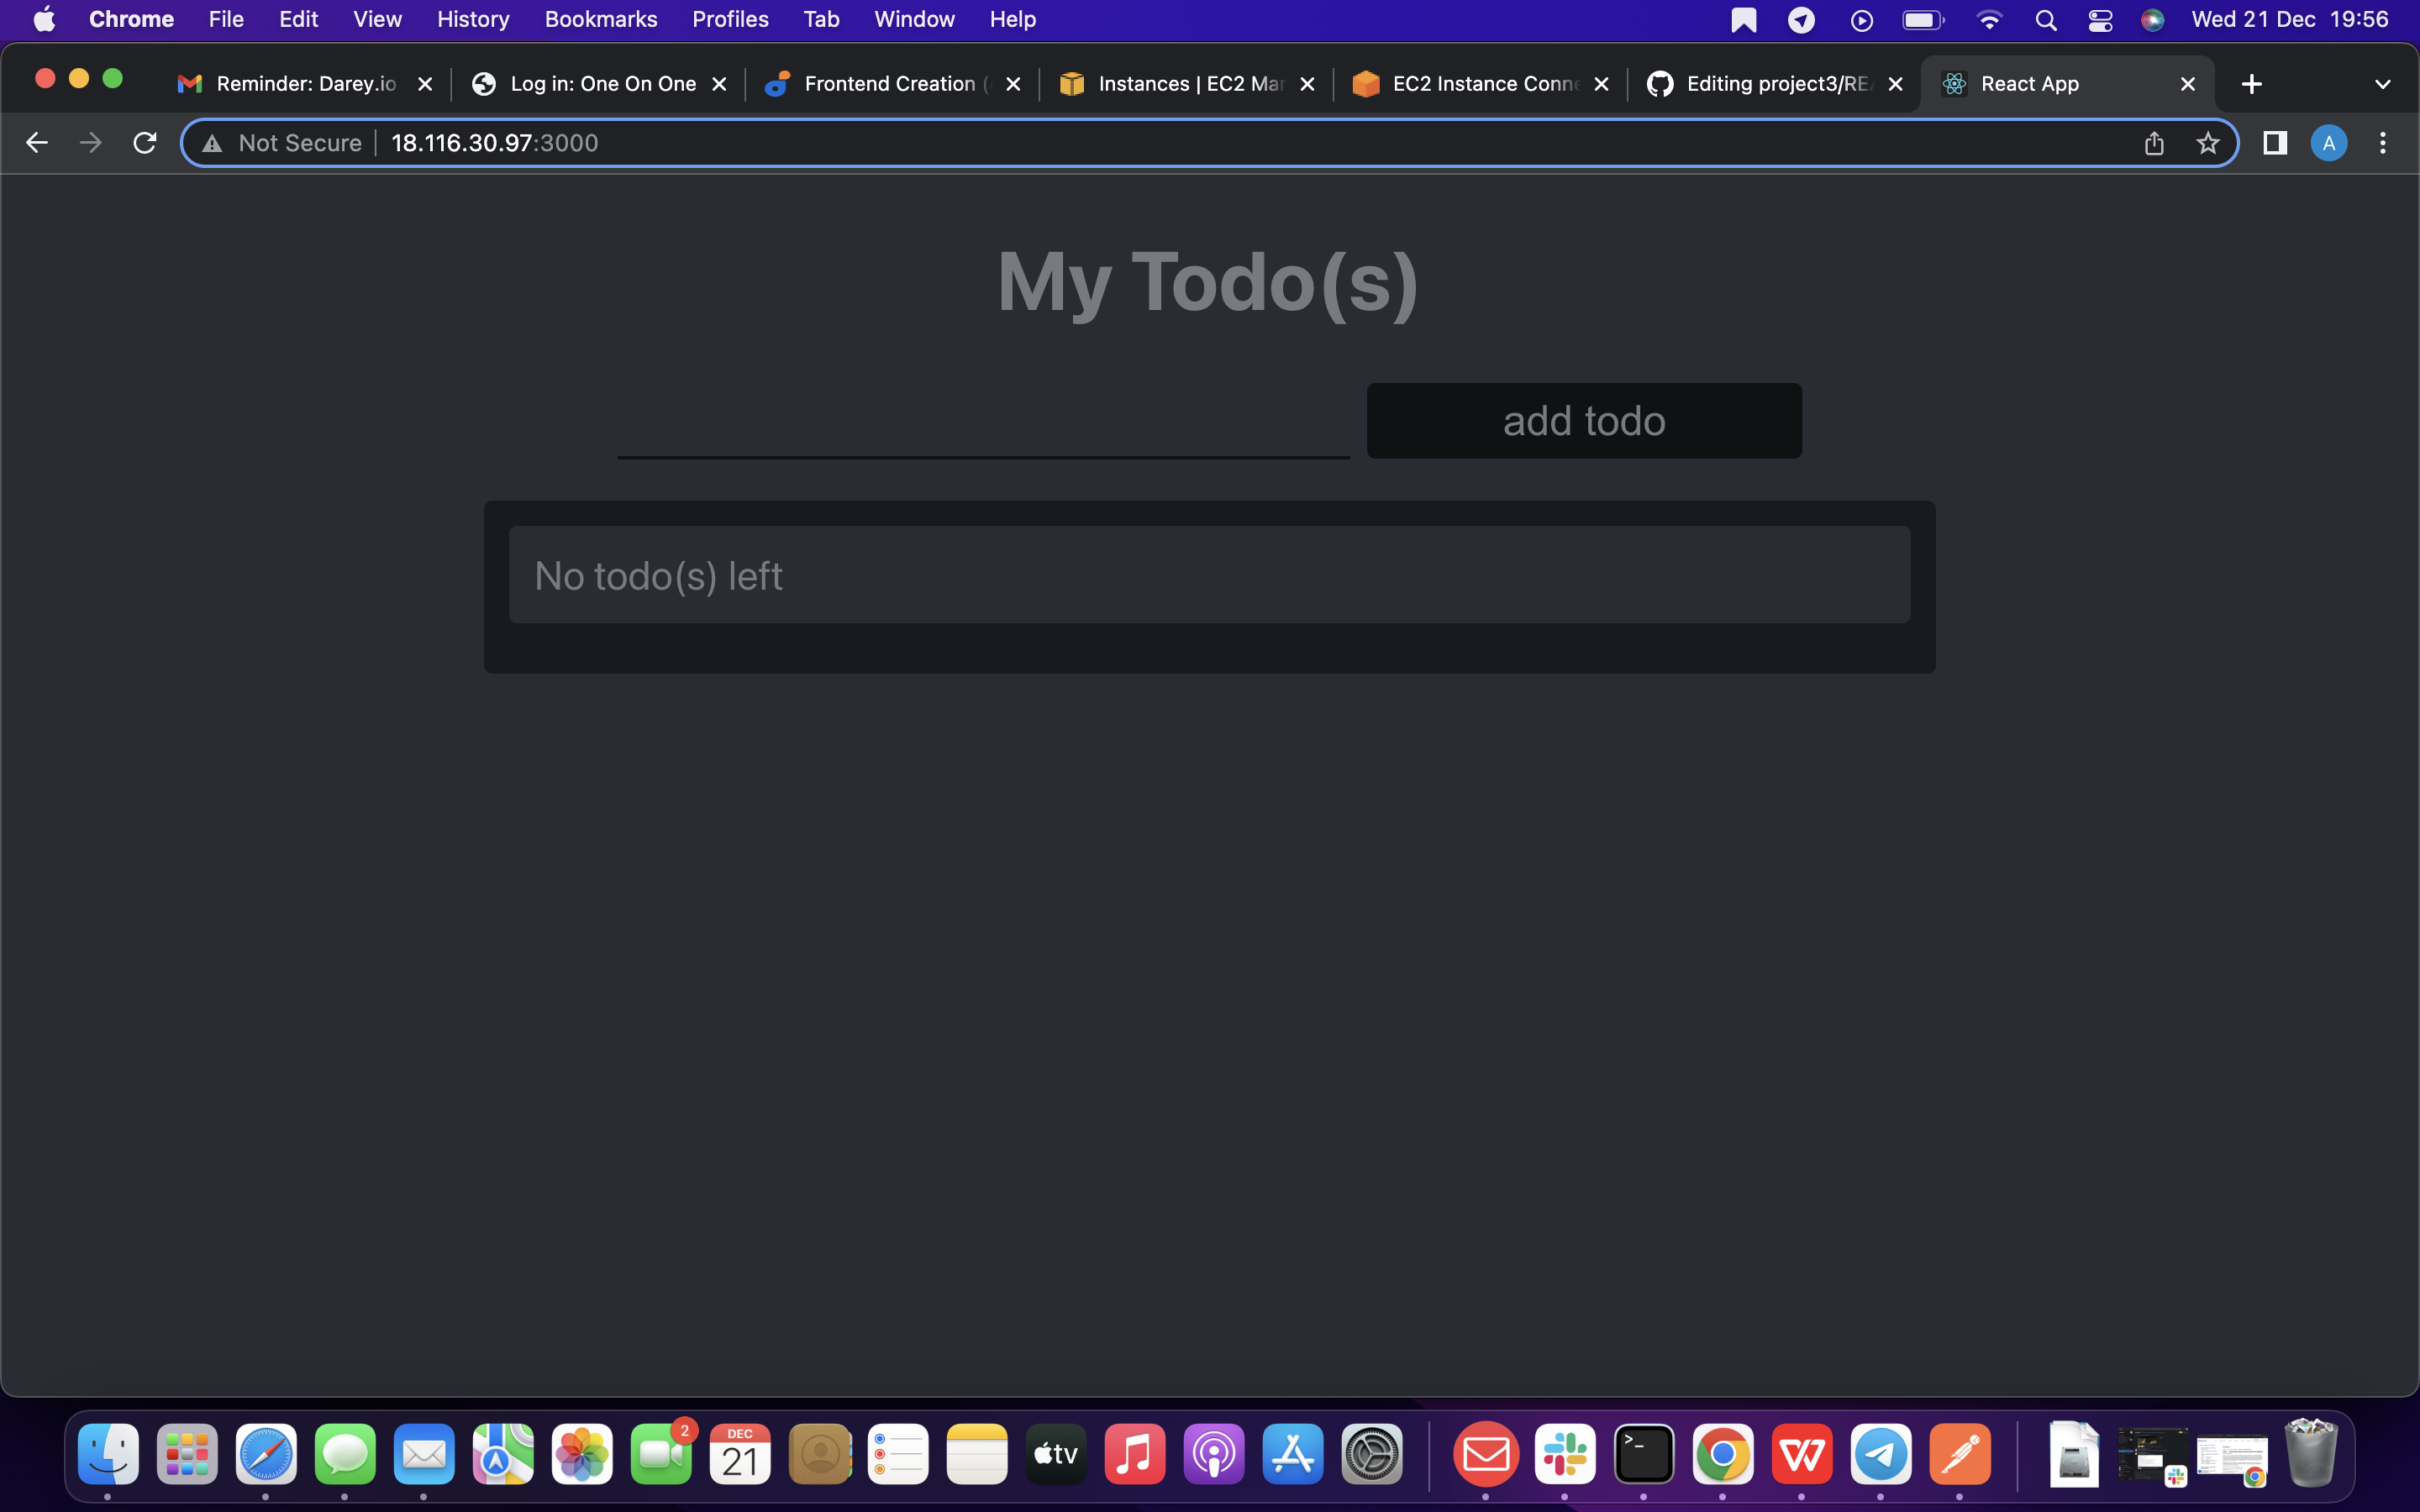
finish.