The Srever is writen in Python useing Django web framework The main responsibilities of the server is to manage all the data of the users and make it accessible to the Client side.
- For start, you need to have on your device installed - git, python, pip.
- clone the git project to your local device:
git clone https://github.com/amitrub/Final-Project.git
- cd to $MAIN_DIR/Server.
- install all the python requirements:
pip install -r requirements.txt
- create the modules files for the server:
python manage.py makemigrations
- create the DB for all the modules objects:
python manage.py migrate
- now you can run the server:
python manage.py runserver (0.0.0.0:8000 optional)
- open browser on - localhost:8000/api, and you can see the server running.
- For start, you need to have a remote Linux server running, with HTTP port rule (80) and SSH port rule (22) open.
- connect to your remote server through SSH.
- update and upgrade your server:
sudo apt update && sudo apt upgrade
- install curl:
sudo apt install curl
- download the setup file and setup your server:
curl -sL https://raw.githubusercontent.com/amitrub/Final-Project/main/Server/deploy/setup.sh | sudo bash -
- open browser on - $SERVER_IP/api, and you can see the server running.
Our client side is a React-native application written on Expo platform.
React Native is a JavaScript framework for writing real, natively rendering mobile applications for iOS and Android. It’s based on React, Facebook’s JavaScript library for building user interfaces, but instead of targeting the browser, it targets mobile platforms. Expo is an open-source platform for making universal native apps for Android, iOS, and the web with JavaScript and React. You can find most options and best practices here: https://reactnative.dev/ https://docs.expo.dev/
The design of our app is especially adapted for iOS devices, of course we can make adjustments in the future in order to improve the compatibility for Android devices as well. It is important to note that the app supports iOS and Android devices, but the latter design is flawed.
The app supports two types of users : usual and admin ones. Usual user is the event manager that will use the app - for more information look at the user guide. Admin users has access to all users data and it can manage all the maintanace actions.
Let’s talk about how to set up the project for the first time locally, what the project structure looks like and how we can expand the project in future features.
-
Clone the project from GitHub with the url present on the introduction step.
-
In order to run the project locally:
a. Make sure you have installed npm by run command "npm --v" (and if not https://docs.npmjs.com/downloading-and-installing-node-js-and-npm/).
b. Make sure you have installed yarn by run command "yarn --v" (and if not https://classic.yarnpkg.com/lang/en/docs/install/#windows-stable/).
c. Install expo-cli - run command "npm install --global expo-cli" (https://docs.expo.dev/get-started/installation/) make sure by running "expo --v".
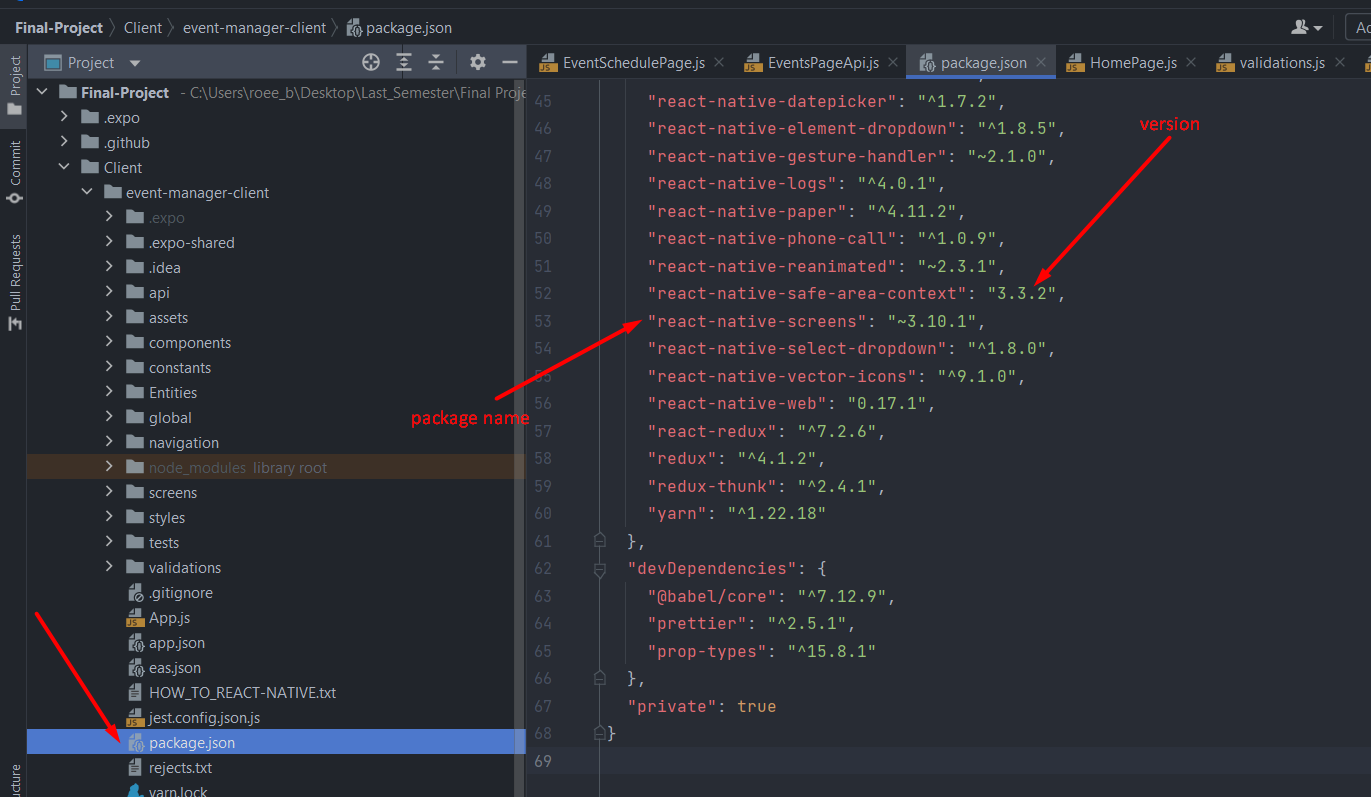
d. Install all packages and dependencies. Let's introduce package.json file, this file includes all names and versions of the packages on the project.
 in order to install all packages and dependencies - run command "yarn install" - that uses package.json for that purpose. after this installation a new file 'yarn.lock' and 'node-modules' folder will be generated, this files is on your computer and not supposed to share between developers - gitignore (could make confugraion problems).
e. Run command "expo start" to run the project. on this point our client app is running. we can see a QR code on the terminal or on the localhost server that we can see on the terminal.
f. Download "expo" application on your mobile device or on emulator, and scan the QR code by the app or by your camera. You can run the app there, and even debug it on "Debug mode" - more inforamtion on expo documantion (link above).
g. Re-install - packages and dependencies errors - in such case you can try to - Delete node modules folder - Delete yarn.lock file - Run "yarn install" again
ubuntu install yarn: run sudo npm install --global yarn
reset project after pull:
- delete node modules folder
- delete yarn.lock file
- cd to BASE_PATH/Final-Project/Client/event-manager-client
- run yarn install (install all the packeges from packege.json)
run the client expo:
- cd to BASE_PATH/Final-Project/Client/event-manager-client
- run expo start (maybe with sudo)