Intlayer is an innovative, open-source internationalization (i18n) library designed to simplify multilingual support in modern web applications.
With Intlayer, you can:
- Easily manage translations using declarative dictionaries at the component level.
- Dynamically localize metadata, routes, and content.
- Ensure TypeScript support with autogenerated types, improving autocompletion and error detection.
- Benefit from advanced features, like dynamic locale detection and switching.
<iframe src="https://ide.intlayer.org/aymericzip/intlayer-angular-template?file=intlayer.config.ts" className="m-auto overflow-hidden rounded-lg border-0 max-md:size-full max-md:h-[700px] md:aspect-16/9 md:w-full" title="Demo CodeSandbox - How to Internationalize your application using Intlayer" sandbox="allow-forms allow-modals allow-popups allow-presentation allow-same-origin allow-scripts" loading="lazy" /> <iframe src="https://intlayer-angular-template.vercel.app" className="m-auto overflow-hidden rounded-lg border-0 max-md:size-full max-md:h-[700px] md:aspect-16/9 md:w-full" title="Demo - intlayer-angular-template" sandbox="allow-forms allow-modals allow-popups allow-presentation allow-same-origin allow-scripts" loading="lazy" />
See Application Template on GitHub.
Install the necessary packages using npm:
npm install intlayer angular-intlayer
npm install @angular-builders/custom-esbuild --save-dev
npx intlayer init
pnpm add intlayer angular-intlayer
pnpm add @angular-builders/custom-esbuild --save-dev
pnpm intlayer inityarn add intlayer angular-intlayer
yarn add @angular-builders/custom-esbuild --save-dev
yarn intlayer initbun add intlayer angular-intlayer
bun add @angular-builders/custom-esbuild --dev
bun x intlayer init-
intlayer
The core package that provides internationalization tools for configuration management, translation, content declaration, transpilation, and CLI commands.
-
angular-intlayer The package that integrates Intlayer with Angular application. It provides context providers and hooks for Angular internationalization.
-
@angular-builders/custom-esbuild Required to customize the esbuild configuration of Angular CLI.
Create a config file to configure the languages of your application:
import { Locales, type IntlayerConfig } from 'intlayer';

const config: IntlayerConfig = {
  internationalization: {
    locales: [
      Locales.ENGLISH,
      Locales.FRENCH,
      Locales.SPANISH,
      // Your other locales
    ],
    defaultLocale: Locales.ENGLISH,
  },
};

export default config;
Through this configuration file, you can set up localized URLs, middleware redirection, cookie names, the location and extension of your content declarations, disable Intlayer logs in the console, and more. For a complete list of available parameters, refer to the configuration documentation.
To integrate Intlayer with the Angular CLI, you need to use a custom builder. This guide assumes you are using Vite/esbuild (default for Angular 21 projects).
First, modify your angular.json to use the custom esbuild builder. Update the build and serve configurations:
{
  projects: {
    'your-app-name': {
      architect: {
        build: {
          builder: '@angular-builders/custom-esbuild:application', // replace "@angular/build:application"
          options: {
            define: {
              'process.env': '{}',
            },
            plugins: ['./esbuild.plugins.ts'],
            browser: 'src/main.ts',
            // ...
          },
        },
        serve: {
          builder: '@angular-builders/custom-esbuild:dev-server', // replace "@angular/build:dev-server"
          options: {
            prebundle: {
              exclude: ['@intlayer/config/built'],
            },
          },
        },
      },
    },
  },
}
Make sure to replace
your-app-namewith the actual name of your project inangular.json.
Next, create a esbuild.plugins.ts file at the root of your project:
import { intlayerEsbuildPlugin } from 'angular-intlayer/esbuild';

export default [intlayerEsbuildPlugin()];
The
intlayerEsbuildPluginfunction configures esbuild with Intlayer. It injects the plugin to handle content declaration files and sets up configurations for optimal performance.
Create and manage your content declarations to store translations:
import { t, type Dictionary } from 'intlayer';

const appContent = {
  key: 'app',
  content: {
    title: t({
      en: 'Hello',
      fr: 'Bonjour',
      es: 'Hola',
    }),
    congratulations: t({
      en: 'Congratulations! Your app is running. 🎉',
      fr: "Félicitations! Votre application est en cours d'exécution. 🎉",
      es: '¡Felicidades! Tu aplicación está en ejecución. 🎉',
    }),
    exploreDocs: t({
      en: 'Explore the Docs',
      fr: 'Explorer les Docs',
      es: 'Explorar los Docs',
    }),
    learnWithTutorials: t({
      en: 'Learn with Tutorials',
      fr: 'Apprendre avec les Tutoriels',
      es: 'Aprender con los Tutorios',
    }),
    cliDocs: 'CLI Docs',
    angularLanguageService: t({
      en: 'Angular Language Service',
      fr: 'Service de Langage Angular',
      es: 'Servicio de Lenguaje Angular',
    }),
    angularDevTools: 'Angular DevTools',
    github: 'Github',
    twitter: 'Twitter',
    youtube: 'Youtube',
  },
} satisfies Dictionary;

export default appContent;
Your content declarations can be defined anywhere in your application as soon they are included into the
contentDirdirectory (by default,./src). And match the content declaration file extension (by default,.content.{json,ts,tsx,js,jsx,mjs,cjs}).
For more details, refer to the content declaration documentation.
To utilize Intlayer's internationalization features throughout your Angular application, you need to provide Intlayer in your application configuration.
import { ApplicationConfig } from '@angular/core';
import { provideRouter } from '@angular/router';
import { provideIntlayer } from 'angular-intlayer';
import { routes } from './app.routes';

export const appConfig: ApplicationConfig = {
  providers: [
    provideRouter(routes),
    provideIntlayer(), // Add the Intlayer provider here
  ],
};
Then, you can use the useIntlayer function within any component.
import { Component } from '@angular/core';
import { RouterOutlet } from '@angular/router';
import { useIntlayer } from 'angular-intlayer';

@Component({
  selector: 'app-root',
  standalone: true,
  imports: [RouterOutlet],
  templateUrl: './app.component.html',
  styleUrl: './app.component.css',
})
export class AppComponent {
  content = useIntlayer('app');
}
And in your template:
<div class="content">
  <h1>{{ content().title }}</h1>
  <p>{{ content().congratulations }}</p>
</div>
Intlayer content is returned as a Signal, so you access the values by calling the signal: content().title.
To change the language of your content, you can use the setLocale function provided by the useLocale function. This allows you to set the locale of the application and update the content accordingly.
Create a component to switch between languages:
import { Component } from '@angular/core';
import { CommonModule } from '@angular/common';
import { useLocale } from 'angular-intlayer';

@Component({
  selector: 'app-locale-switcher',
  standalone: true,
  imports: [CommonModule],
  template: `
    <div class="locale-switcher">
      <select [value]="locale()" (change)="setLocale($any($event.target).value)">
        @for (loc of availableLocales; track loc) {
          <option [value]="loc">{{ loc }}</option>
        }
      </select>
    </div>
  `,
})
export class LocaleSwitcherComponent {
  localeCtx = useLocale();

  locale = this.localeCtx.locale;
  availableLocales = this.localeCtx.availableLocales;
  setLocale = this.localeCtx.setLocale;
}
Then, use this component in your app.component.ts:
import { Component } from '@angular/core';
import { RouterOutlet } from '@angular/router';
import { useIntlayer } from 'angular-intlayer';
import { LocaleSwitcherComponent } from './locale-switcher.component';

@Component({
  selector: 'app-root',
  standalone: true,
  imports: [RouterOutlet, LocaleSwitcherComponent],
  templateUrl: './app.component.html',
  styleUrl: './app.component.css',
})
export class AppComponent {
  content = useIntlayer('app');
}Intlayer uses module augmentation to get benefits of TypeScript and make your codebase stronger.
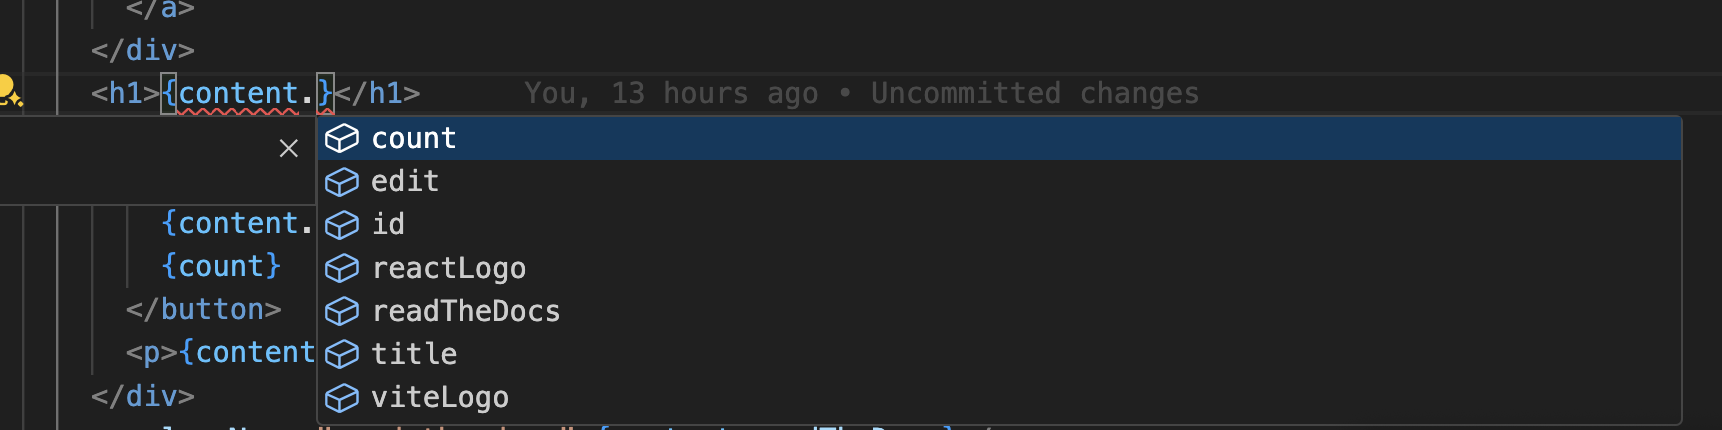
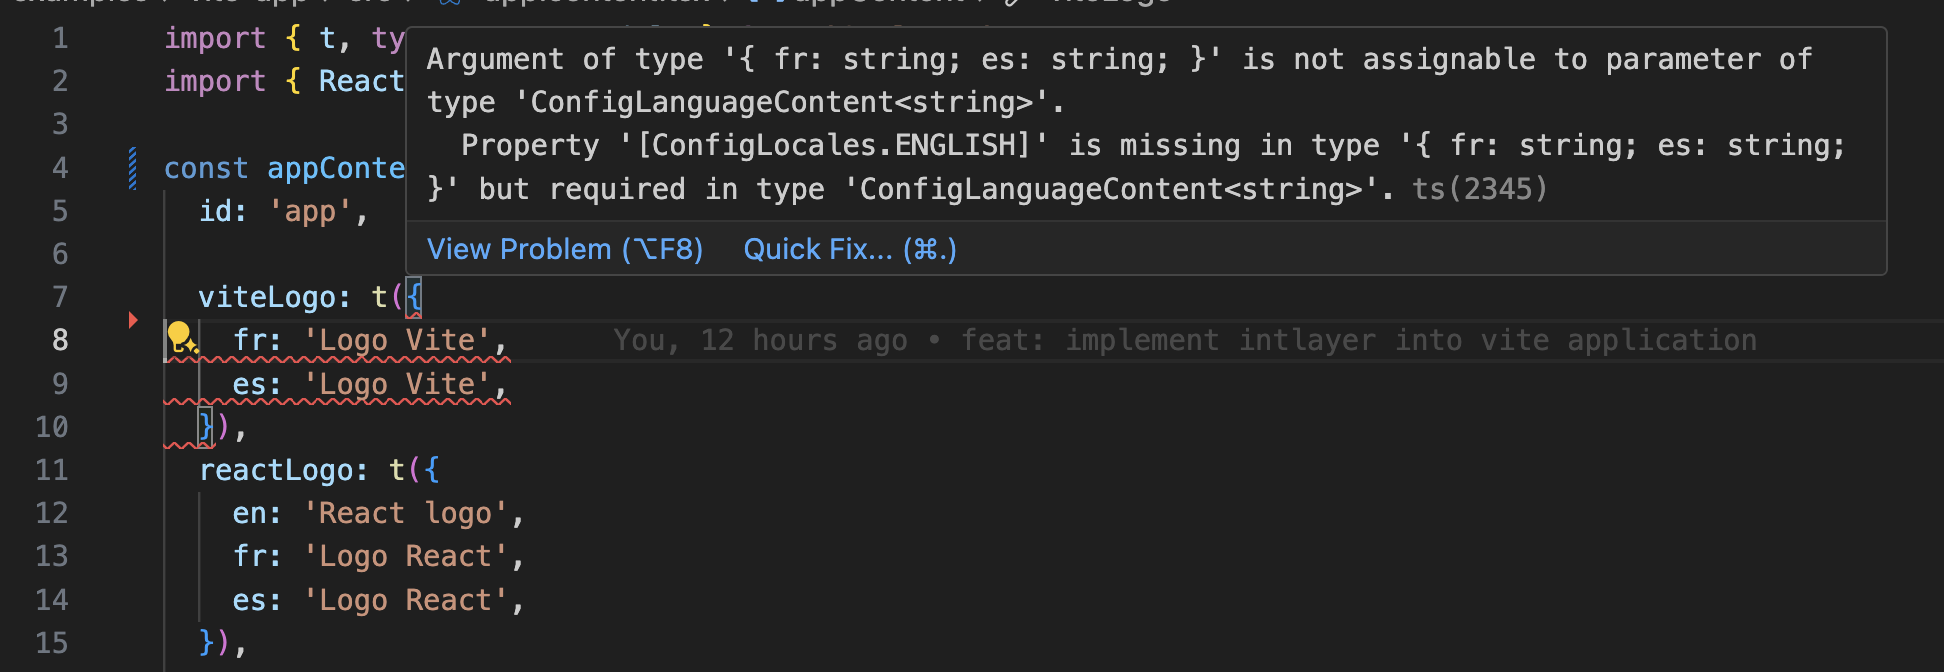
Ensure your TypeScript configuration includes the autogenerated types.
{
  // ... Your existing TypeScript configurations
  include: [
    // ... Your existing TypeScript configurations
    '.intlayer/**/*.ts', // Include the auto-generated types
  ],
}It is recommended to ignore the files generated by Intlayer. This allows you to avoid committing them to your Git repository.
To do this, you can add the following instructions to your .gitignore file:
# Ignore the files generated by Intlayer
.intlayerTo improve your development experience with Intlayer, you can install the official Intlayer VS Code Extension.
Install from the VS Code Marketplace
This extension provides:
- Autocompletion for translation keys.
- Real-time error detection for missing translations.
- Inline previews of translated content.
- Quick actions to easily create and update translations.
For more details on how to use the extension, refer to the Intlayer VS Code Extension documentation.
To go further, you can implement the visual editor or externalize your content using the CMS.