08 Grid Symmetry
What you'll learn: How to use DRAW's four grid geometries, three symmetry modes, angle-snap, the crosshair assistant, Pixel Perfect mode, and the pattern tile preview.
🎯 Goal: Use grids for precise pixel art layout.
| Action | Key |
|---|---|
| Toggle grid visibility |
' (apostrophe) |
| Toggle pixel grid (≥ 400% zoom) | Shift+' |
| Toggle snap-to-grid |
; (semicolon) |
| Increase grid size | . |
| Decrease grid size | , |
| Cycle geometry mode | Ctrl+' |
Grid sizes range from 2 to 50 pixels per cell.
- Square (default) — standard tile grid.
- Diagonal — 45° rotated diamonds.
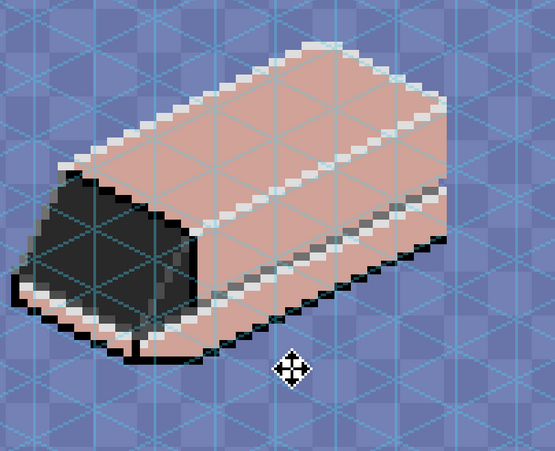
- Isometric — 2:1 pixel-art standard.
- Hexagonal — flat-top hexagons.
Each geometry can be set to either Corner alignment (snap on intersections) or Center alignment (snap on cell centers). The choice depends on whether you want to draw between cells or on them.
When grid cell fill is enabled, the fill tool paints whole cells of the active geometry — squares for the square grid, diamonds and triangles for diagonal, and hexagons for hex.
Ctrl+Shift while drawing temporarily bypasses snap, so you can sketch freely without disabling the grid. All grid state is persisted in .draw files.
🎨 Try it — isometric cube
Ctrl+'to switch to Isometric mode.;to enable snap.- Use the Polygon tool to outline the top, left, and right faces of a cube on three layers.
- Apply Multiply/Screen blend modes for top vs. side shading.
🎯 Goal: Create symmetrical art effortlessly.
Press F7 to cycle symmetry modes:
| Mode | Status bar | Copies | Shape |
|---|---|---|---|
| Off | SYM:0 |
1 | — |
| Vertical |
SYM:1 (|) |
2 | Bilateral |
| Cross |
SYM:2 (+) |
4 | Quad |
| Asterisk |
SYM:3 (*) |
8 | Kaleidoscope |
Ctrl+Click repositions the symmetry center anywhere on the canvas. DRAW renders subtle visual guides at the center.
Symmetry works with every drawing tool — Brush, Dot, Line, Rect, Ellipse, Polygon, Spray, Custom Brush. F8 disables symmetry (or, in Fill Adjust contexts, opens the adjust overlay).
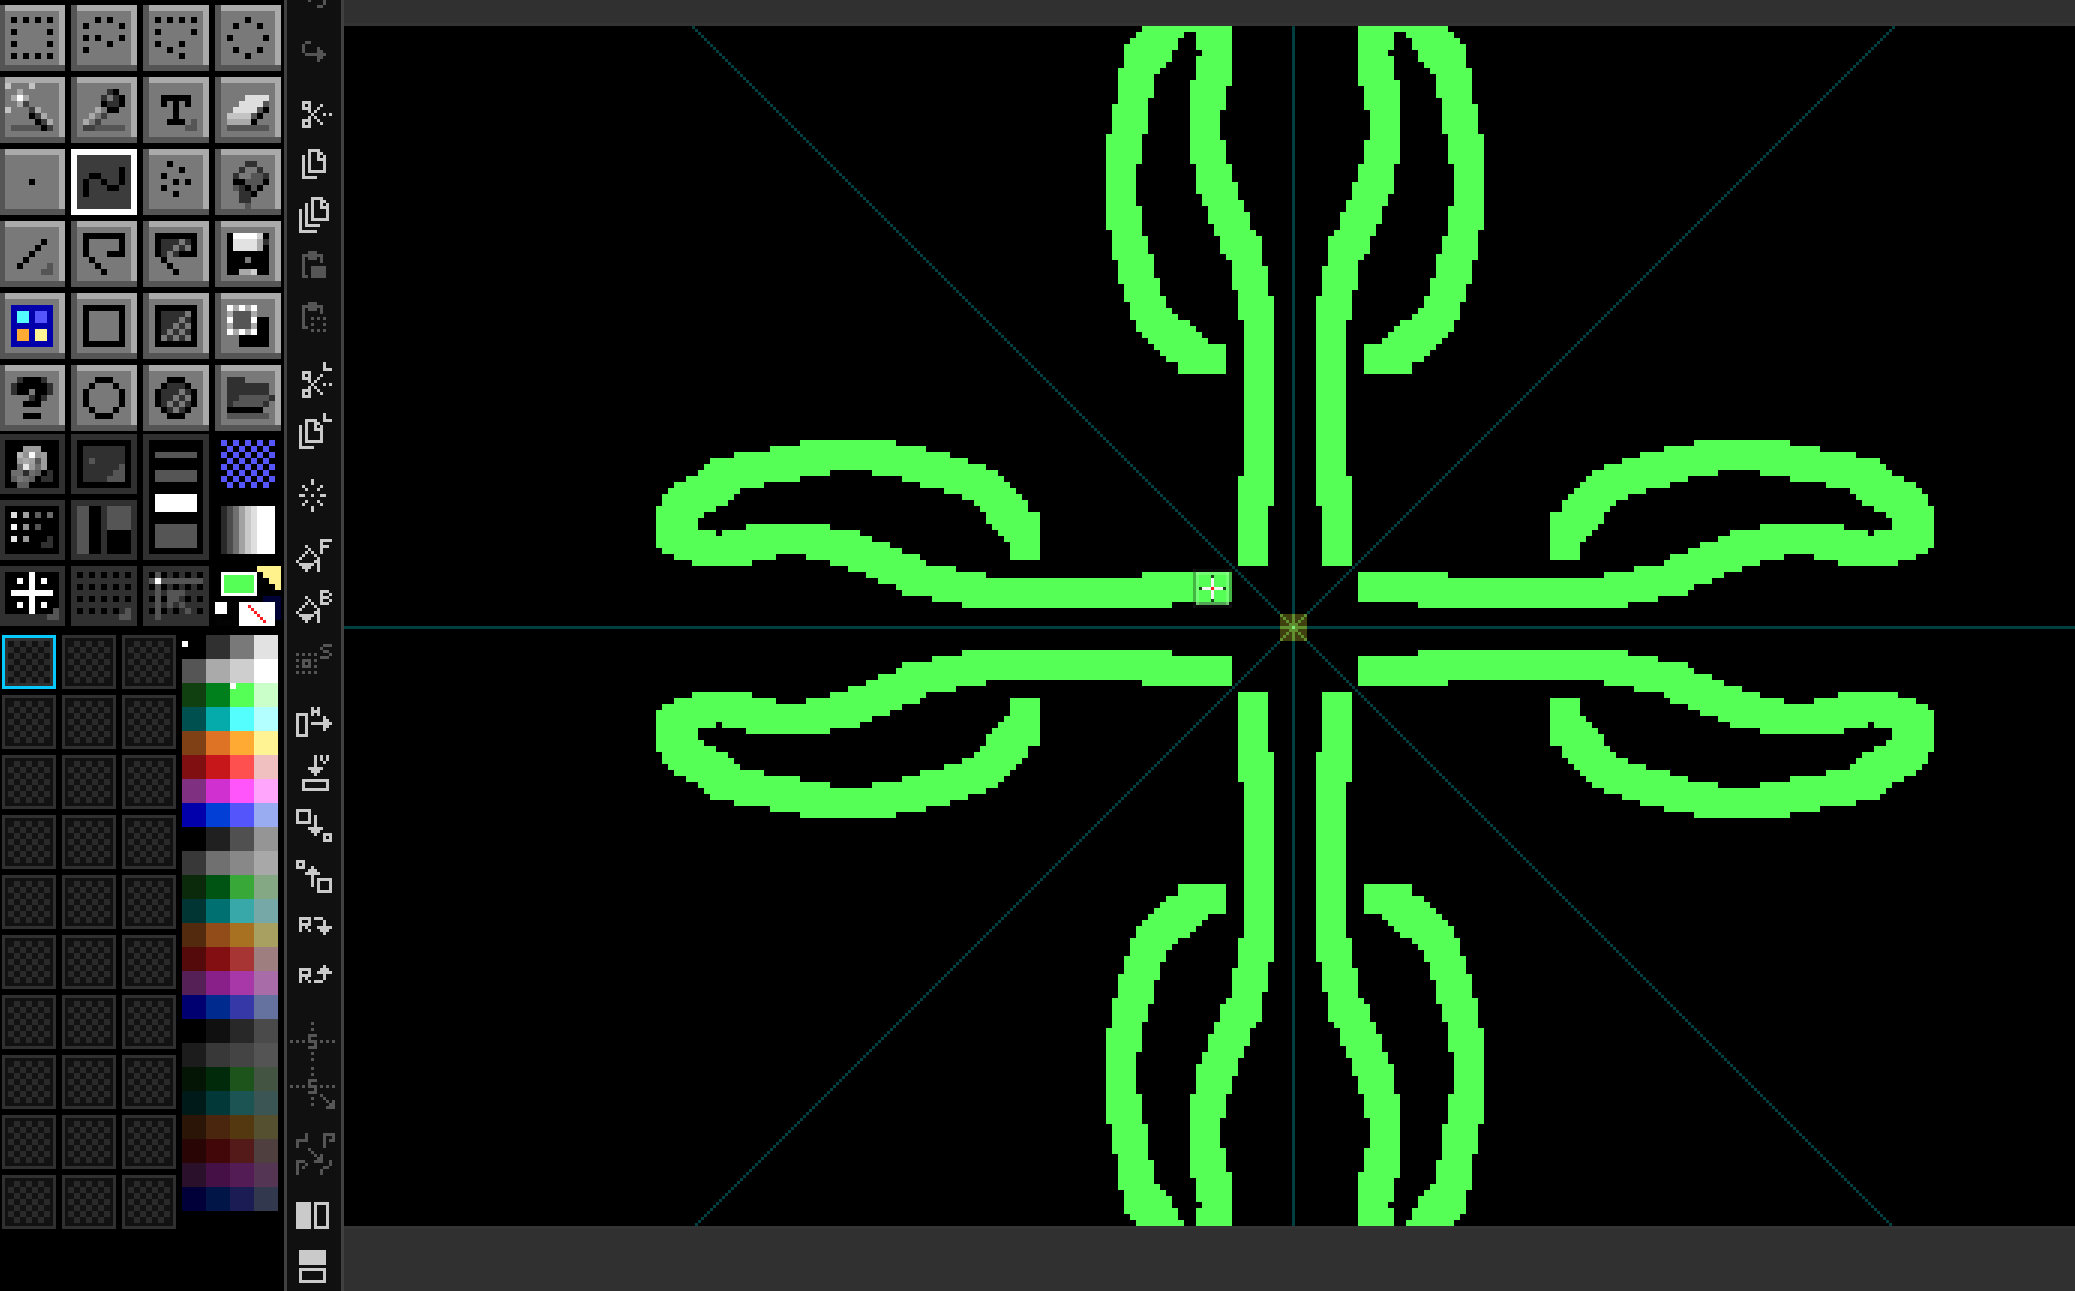
🎨 Try it — 8-way mandala
- New 256×256 canvas.
F7× 3 until status bar readsSYM:3.Ctrl+Clickthe canvas center.- Draw one curved stroke from center outward — eight reflections appear instantly.
- Add layers and blend modes to taste.
🎯 Goal: Use helpers for clean, precise artwork.
Hold Ctrl+Shift while drawing a Line, Polygon, Brush stroke, or Dot connecting line. DRAW supports two angle-snap regimes:
- Degree mode — 15° / 30° / 45° / 90°.
- Pixel-art mode — integer-ratio angles like 1:1, 2:1, 1:2, 3:1, etc., which produce visually clean stairsteps without the half-pixel artefacts of 30° / 60° lines.
Choose the mode in DRAW.cfg.
Hold Shift to display a full-screen crosshair through the cursor — invaluable for aligning distant elements. Color, opacity, width, and the optional outline stroke are all themeable.
F6 toggles Pixel Perfect brush smoothing — DRAW retroactively removes L-shaped corners from your strokes for the cleanest possible 1-pixel outlines.
-
Grayscale Preview —
Ctrl+Alt+Shift+G. View the composite as luminance only to check value structure. - Pattern Tile Mode — View → Pattern Tile Mode (or the tile-mode button in the Advanced Bar). Renders the canvas as a 3×3 tiled preview so seamless textures show their seams immediately.
-
Canvas Border —
#. Toggles a thin border around the canvas (useful at high zoom over dark themes).
➡️ Next: [Chapter 9 — Custom Brushes & Drawer Panel](09 - Brushes Drawer)