10 File Io
What you'll learn: Every way to get artwork in and out of DRAW — the native
.drawformat, nine raster export formats, the famous QB64 source-code export, and the Extract Images sprite-decomposition tools.
🎯 Goal: Understand all file format options.
| Format | Shortcut / menu |
|---|---|
| Image (PNG / BMP / JPG / GIF) | Ctrl+O |
Project (.draw) |
Alt+O |
Aseprite (.ase / .aseprite) |
File → Open Aseprite |
Photoshop (.psd) |
File → Open Photoshop |
| Import Image (oversized, interactive placement) | File → Import Image |
| Drag-and-drop file onto window | Windows |
| Command-line argument | DRAW path/to/file.draw |
| Command | Shortcut | Notes |
|---|---|---|
| Save | Ctrl+S |
Silent resave to current path. |
| Save As… | Ctrl+Shift+S |
Prompt for new name and format. |
| Export Selection | Ctrl+Alt+Shift+S |
Save just the selected region. |
| Export Layer as PNG | Layer menu | One-click per-layer PNG. |
| Export Brush as PNG | F12 |
Current custom brush. |
The Recent Files list holds up to 10 entries with quick-jump shortcuts Alt+1 … Alt+0.
File → New from Template… reads from ASSETS/TEMPLATES/ and gives you a starter canvas with appropriate dimensions, palette, and grid for common targets (NES sprite, Game Boy tile, Lospec sheet, etc.).
🎯 Goal: Understand the native DRAW project format.
A .draw file is a valid PNG file with a custom drAw chunk embedded inside. Every image viewer on the planet can render the flattened preview. Only DRAW can read the rich data inside the chunk and reconstruct the editable project.
What .draw preserves:
- All layers, blend modes, opacities, names, groups, symbol parents/children.
- Active palette state and the auto-generated
[DOCUMENT]palette. - Tool states, grid settings, snap, crosshair config.
- Reference image configuration and overlay opacity.
- Text layer data (re-editable!).
- Extract Images settings.
- Character Mode state.
The format is versioned for forward compatibility — newer DRAW builds still read older .draw files, and they extend the chunk safely when new features arrive.
🎯 Goal: Export artwork in various formats.
| Format | Use case |
|---|---|
PNG (native .draw) |
Embeds the full project in a PNG; viewable anywhere, re-editable in DRAW. |
| PNG (plain) | Standard PNG, no metadata. |
| GIF | Static, palette-aware. |
| JPEG | Lossy compression for previews. |
| TGA | Truevision; popular in game dev. |
| BMP | Windows Bitmap — for retro tooling. |
| HDR | High Dynamic Range. |
| ICO | Windows Icon (multi-resolution). |
| QOI | Modern lossless Quite OK Image format. |
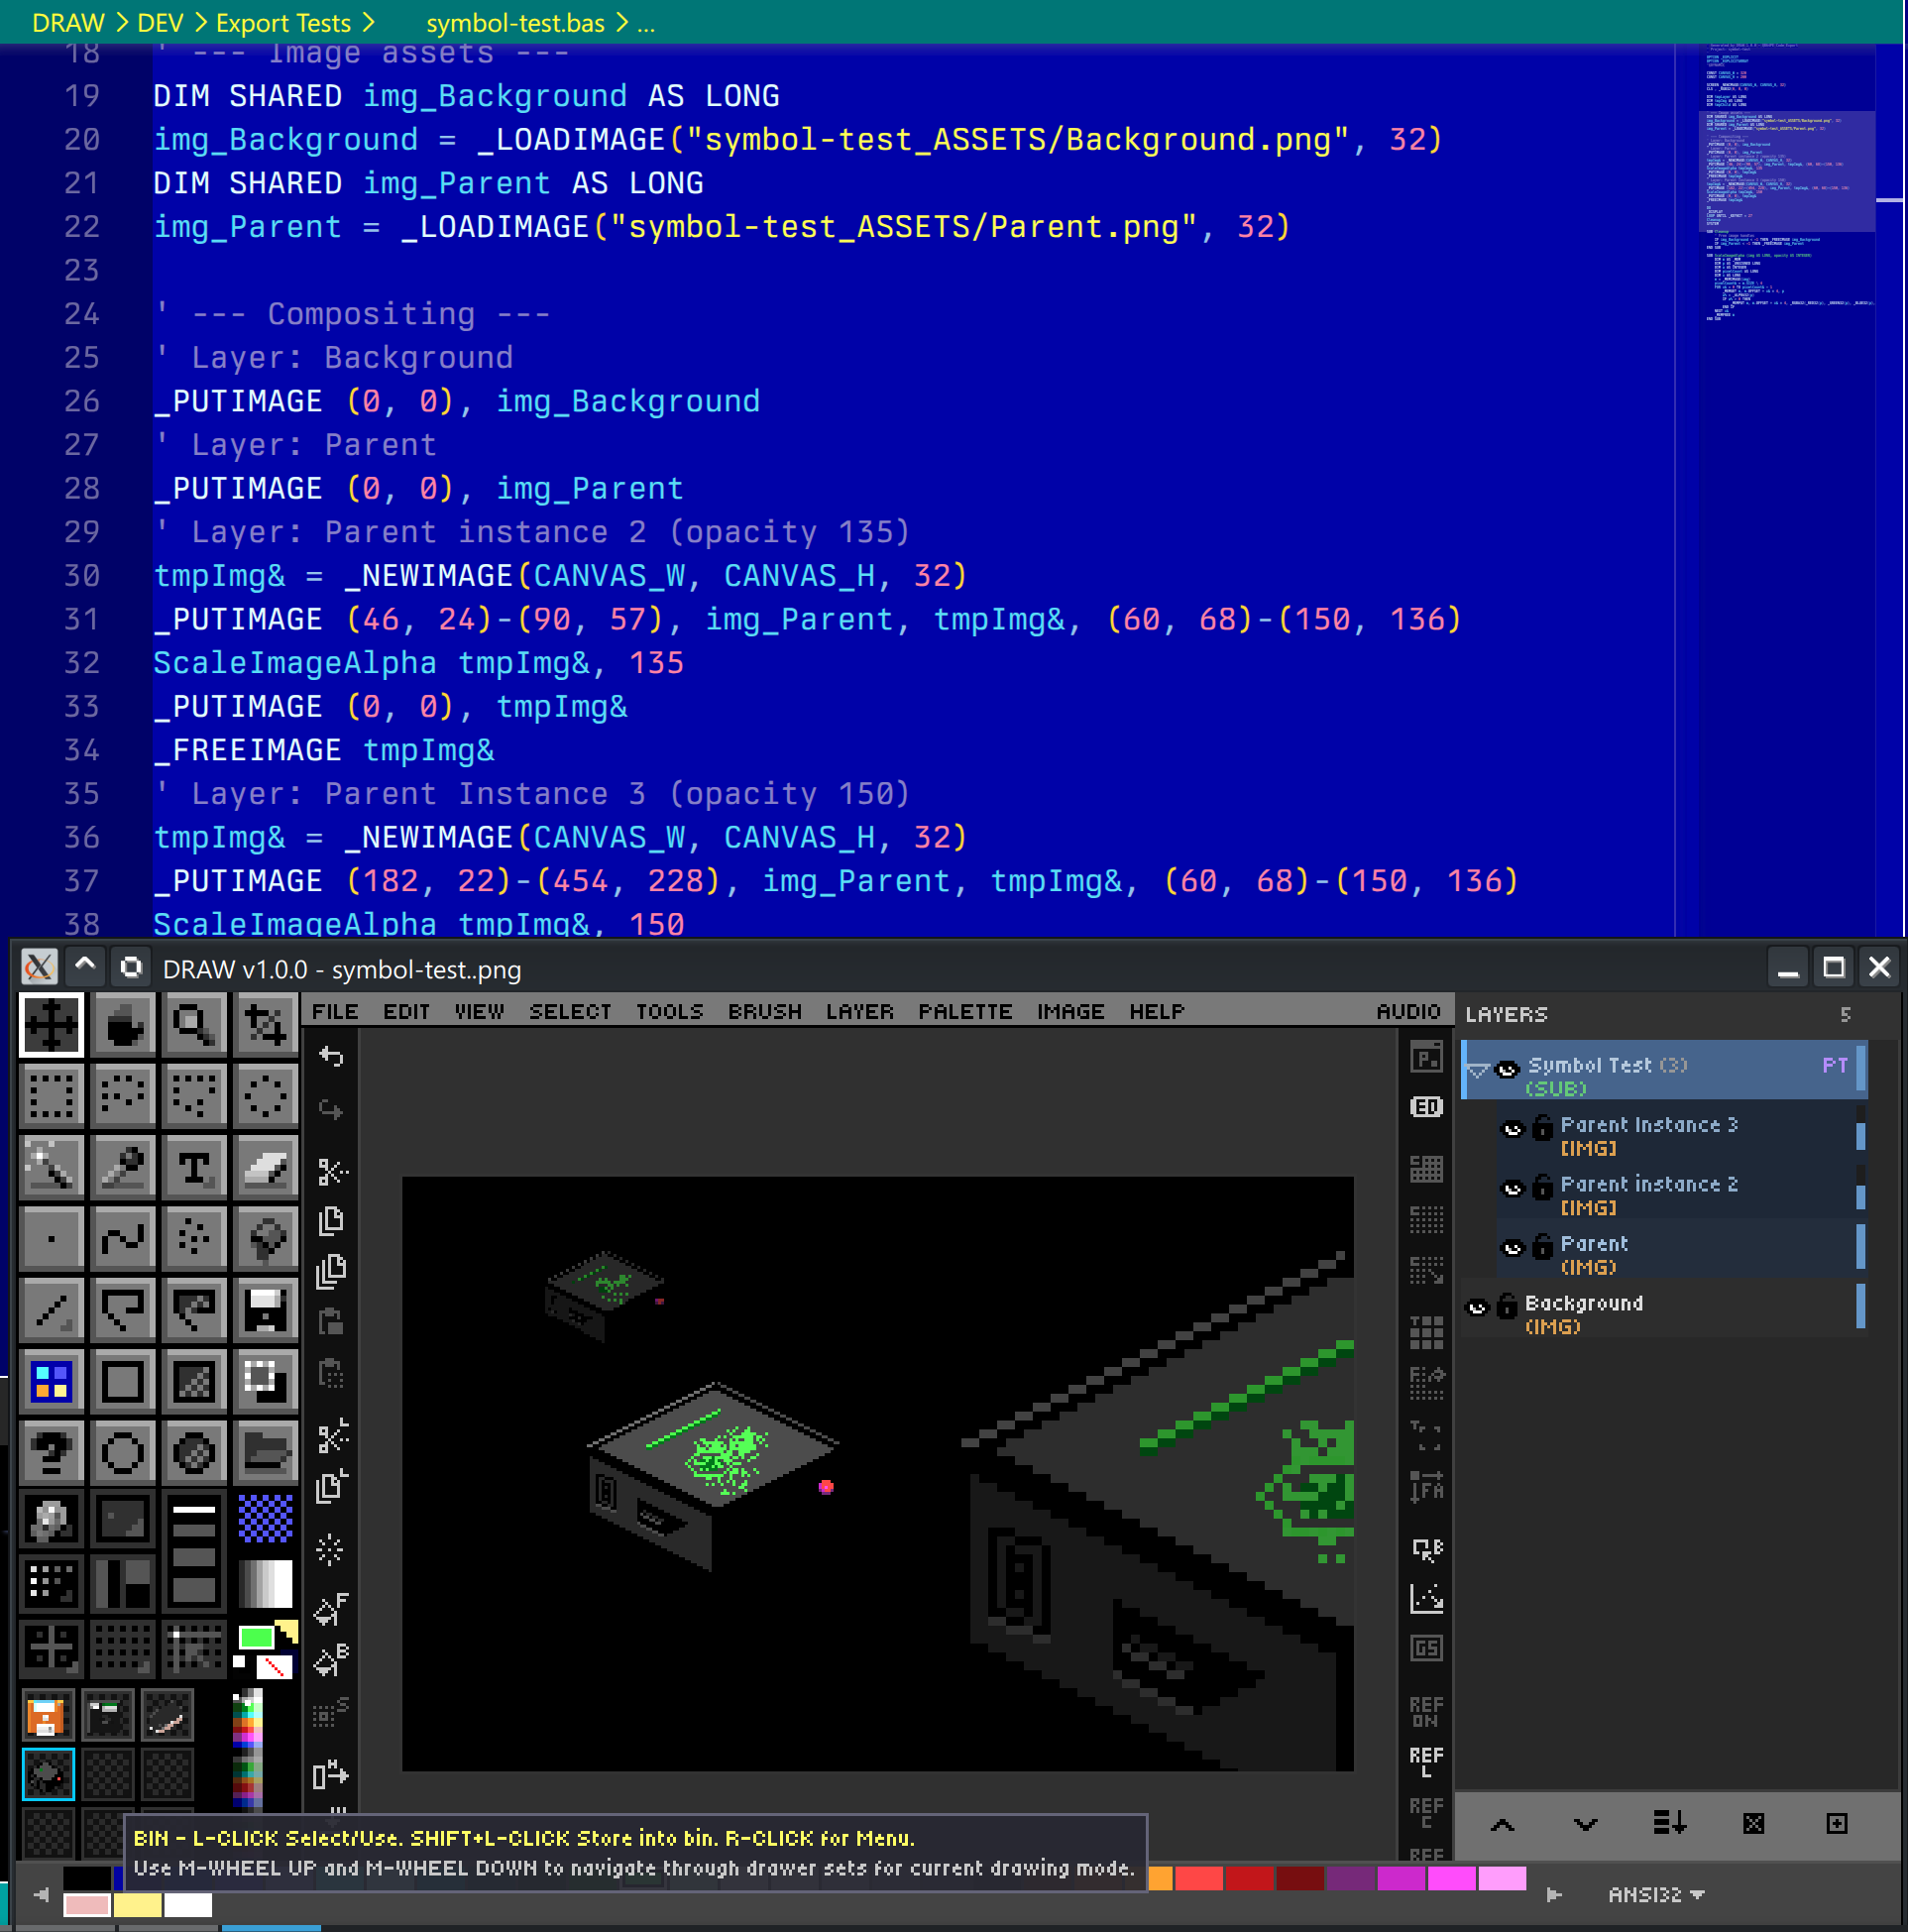
The signature feature: export your artwork as a self-contained .bas program. The file declares a screen, sets pixels in order, and runs as a standalone QB64-PE compile. Open it, hit compile, and your sprite paints itself onto the screen. This is wonderful for:
- BASIC tutorials.
- Embedding small graphics in QB64-PE programs without shipping image files.
- Showing how a piece of pixel art was constructed pixel by pixel.
🎯 Goal: Extract sprites from sheets or compositions.
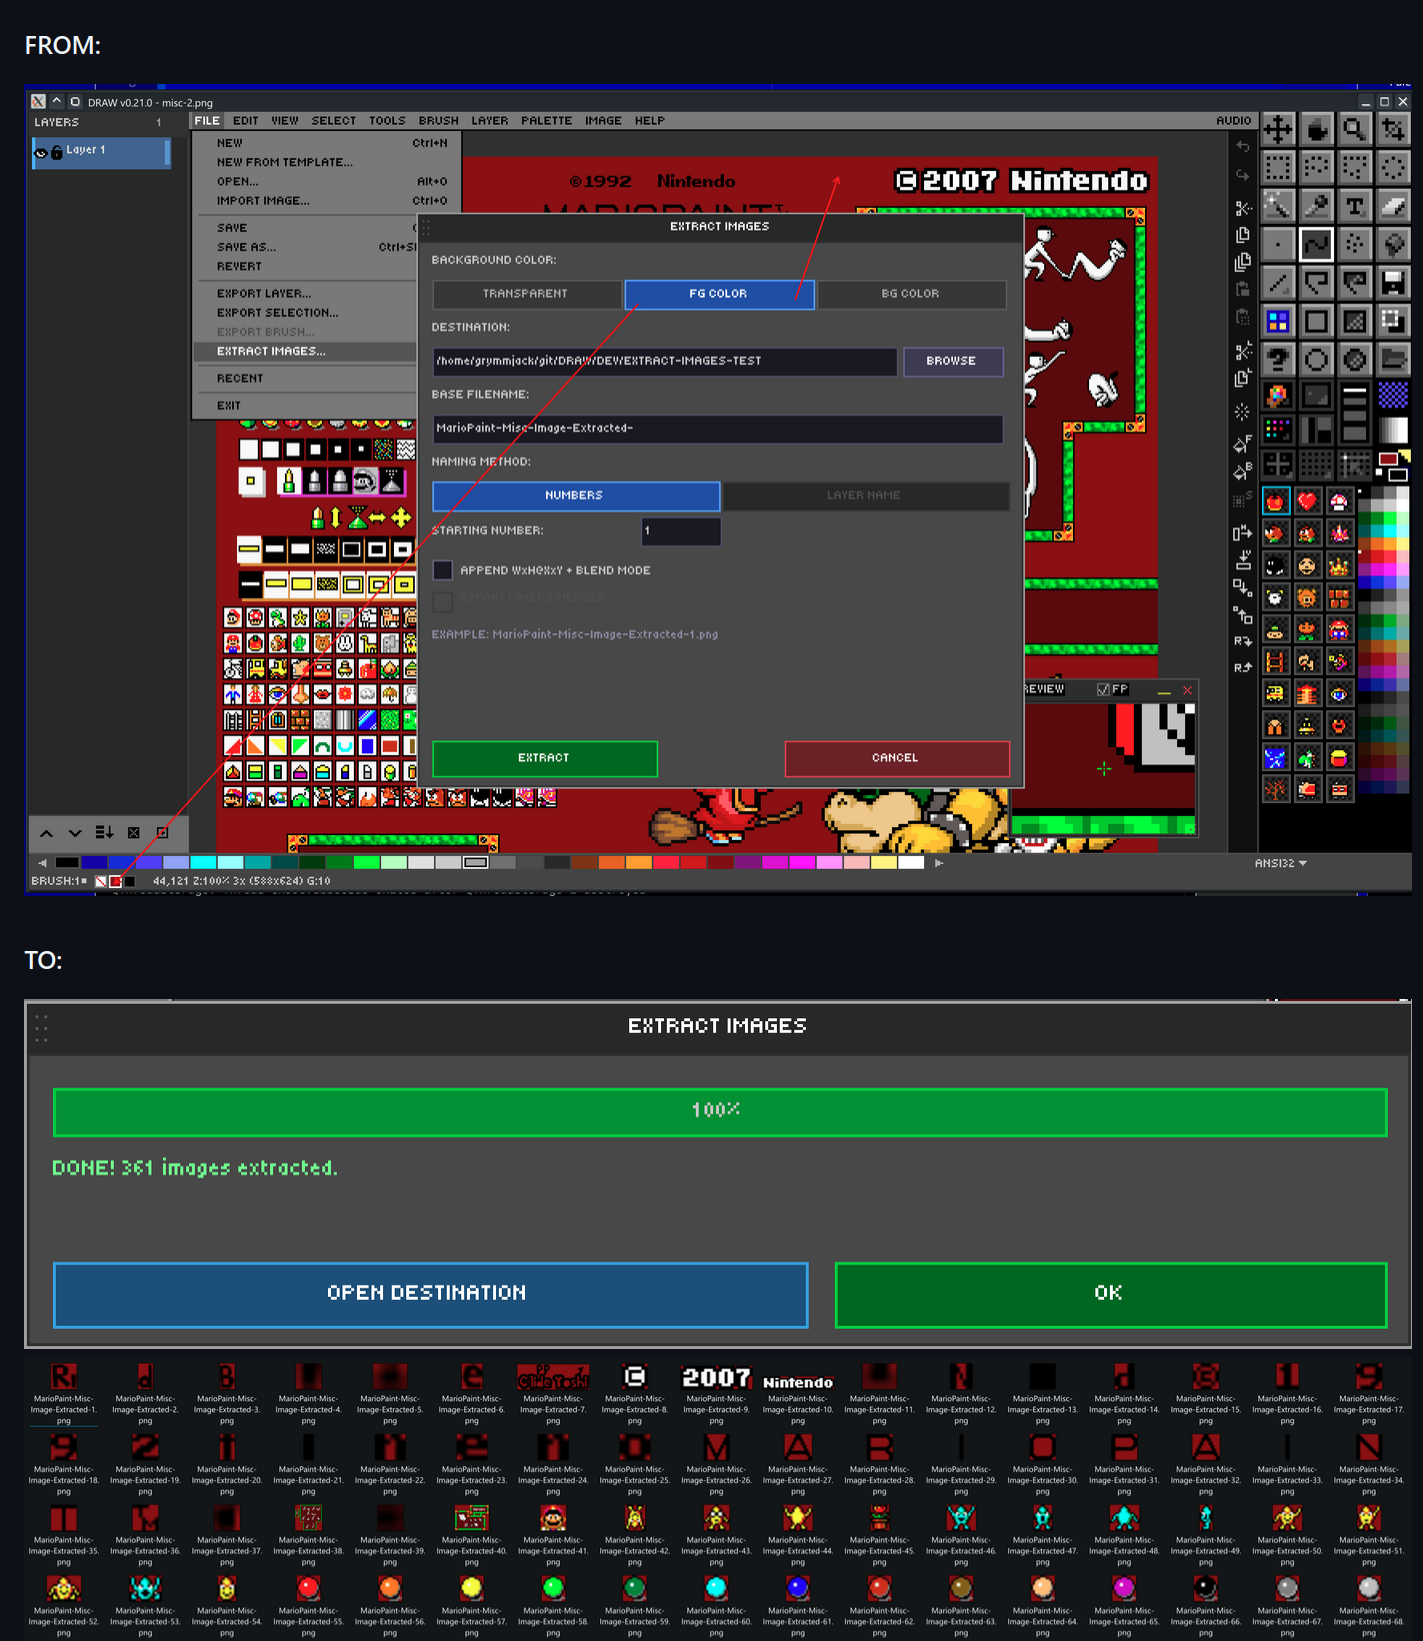
DRAW can decompose a finished image into individual sprite PNGs. Three extraction methods are available:
- Flood-fill connected regions — auto-detect distinct sprites by transparent gutters. Best for unsorted sprite sheets.
- Per-layer extraction — each layer becomes one PNG. Best when your sheet was built layer-by-layer.
- Merged extraction — flatten visible layers and extract regions from the result.
Background options for each output sprite: Transparent, FG color, or BG color. Output is a folder of separate PNG files; the settings you pick are persisted in the .draw file so you can re-export later with one click.
There is a related command, Extract From Grid…, which slices a regular grid (e.g., 16×16 cells) into named PNGs — perfect for tilesets — and Extract To Layers From Grid…, which slices a grid into named layers in a new project.
➡️ Next: [Chapter 11 — Canvas & View Controls](11 - Canvas View)