Two-photon imaging analysis tool for the Clark Lab output format.
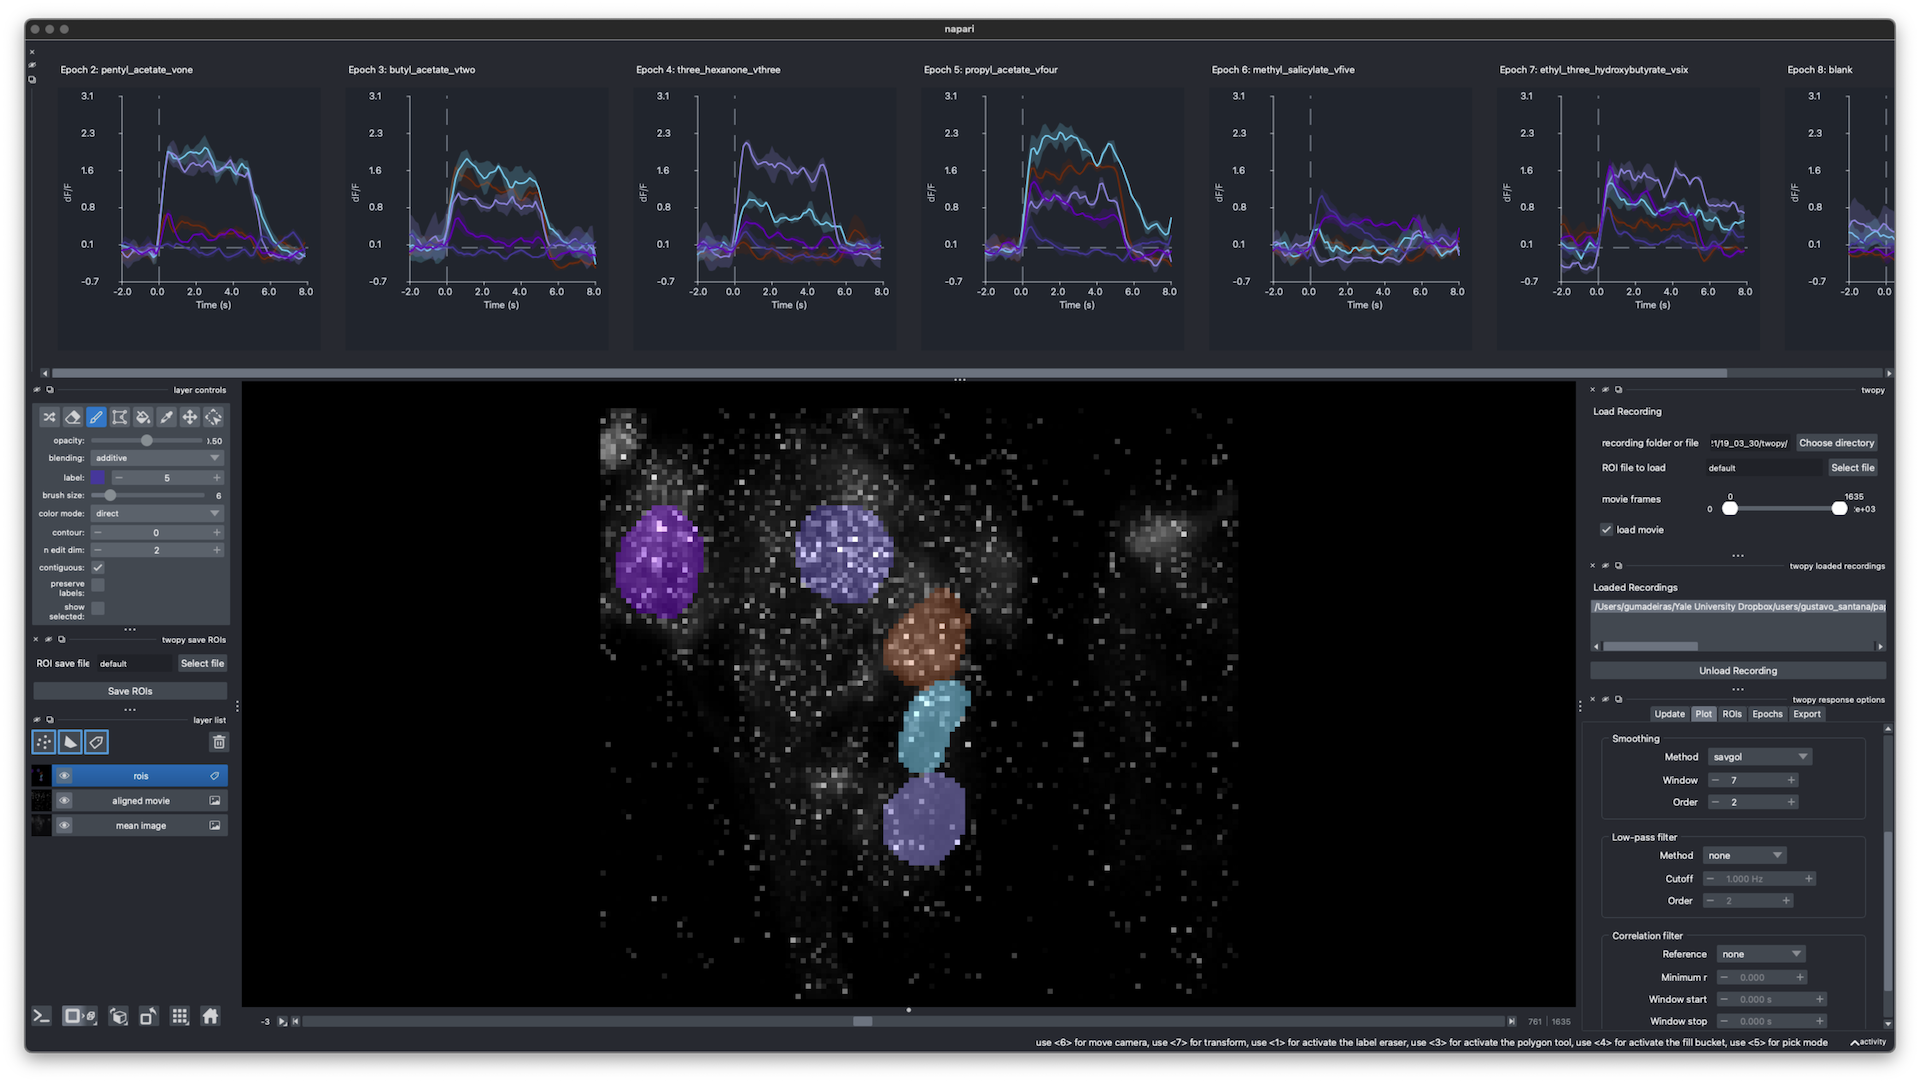
twopy lets you open two-photon recordings, draw ROIs, plot responses in real time, process and analyze them, and save them.
When you first load a recording, twopy converts it to a standardized HDF5 format. The converted format includes the aligned movie, mean image, stimulus tables, photodiode signals, and recording metadata. Analysis and the GUI both work from the converted files, so the original source files remain separate from twopy's outputs.
Examples use micromamba, but any conda-compatible environment manager should work.
micromamba create -n twopy -c conda-forge python=3.13 pip -y
micromamba run -n twopy python -m pip install twopy
Verify the install:
micromamba run -n twopy python -c 'import twopy; print(twopy.__name__)'For a source checkout, copy config.example.yml to config.yml and edit the paths for your computer. config.yml stays local and is not tracked by git.
micromamba activate twopy
twopy
Open a source recording or converted recording directly:
twopy /path/to/source/recording
twopy /path/to/recording_data.h5
Basic GUI flow:
- Choose a recording.
- Draw or edit ROIs in the
roisLabels layer. - Update response plots from the current ROIs.
- Click Save ROIs + analysis when the plots look right.
When a source recording has not been converted yet, twopy converts it first. Converted data includes the aligned movie, mean image, stimulus tables, photodiode signals, and recording metadata.
- GUI guide: napari loading, ROI editing, plotting, and saved outputs.
- Python API guide: find recordings, convert data, run analysis, and open napari from scripts.
- Development guide: source setup and local checks.
- Input data spec: short recording folder contract.
- Recording file reference: detailed source and converted file schema.
micromamba run -n twopy pre-commit run --all-files