LIVE DEMO: https://auction-app-jaymendez.vercel.app/
an Auction Api made with Node.js, Express, Typescript and MongoDB
Front-end was made with Next.js, Typescript and Tailwind
Made by Jay Mendez
The product that we are building is an online auction system
- IDEAL: We want to build a well tested online auction system that is used by users
- REALITY: We are pretty limited on the resources right, so the implementation would just be for testing purposes with the purpose of showcasing the proficiency of the developer in creating a solution for a problem.
- CONSEQUENCES: The features of the online auction system would be limited to
- Login and Registration
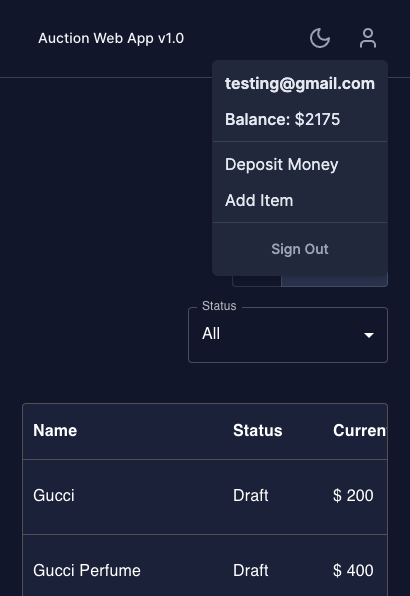
- Deposit of virtual money
- Adding of biddable item
- Ability to bid on items that is created by other people.
Given the problem:
First, we would be building a web app, separated into 2, a front-end and a back-end. we would need to
- Design a simple interface based on the lo-fi that we have. It should allow the users to register, log in, browser and bid for items.
- It's important the UI is user friendly and responsive on all devices
-
We would then set up a system for user authentication and authorization. We want our users to be registered in order to bid on the items.
-
Next would be setting up the database to store all the data created in our system.
-
Once we have the basic infrastructure, we would need to implement
- Item Listing
- Deposit Money
- Bidding Features (Add Bid and Completing a Bid Item)
-
On the item listing, we would have a timer to track the bidding duration, but for this project, we would have a
Force Complete Bidbutton that would end the bidding process that would be used for testing the bidding functionality.
Some of the drawbacks of this auction system because it is built with an MVC-like pattern
- We will have to implement notifications from scratch thus it doesn't have notifications for real-time update of new data, each data would be updated by another query call from the back-end caused by a user action (like Creating an item, then refetches the whole item instead of automatically feeding the data on the frontend with a message broker)
- We would also be using MongoDB as MongoDB doesn't care about schema and since it's document-oriented it would be easier to change the model if we need to and it will also allow us to develop faster since our back-end is built with Node.js and Express while our front-end is built with Next.js (React), and since we are using Typescript, it will help with us with type safety and improved developer experience, the drawbacks with MongoDB is that the handling of data sets might be challenging because the relations are not clearly stated.
- I also implemented a simple validation structure on the front-end and back-end, When creating a financial app, you would need a more complex validation system in place in the back-end (For example, validating if the Bid winners received the item and his money is calculated correctly based on the transaction, validating the Item owner if he received the money based from the transaction with the Bid Winners, Implementing 'micro-transactions' for transactions for security and many more). For the front-end, we could have used React Hook Form for better form handling and also yup/zod for schema validations on the client side.
These instructions will get you a copy of the project up and running on your local machine for development and testing purposes. See deployment for notes on how to deploy the project on a live system.
You can install the app in 2 different ways. You can do it through docker or manual installation. Manual installation would need you to install different softwares in order to run the app, while with docker, you would just need docker and git.
Docker is the preferred method to run projects locally! This (should) avoid the but it works on my machine problem.
But if you're using Windows, I highly recommend that you should use manual installation as i didn't test this app with docker and WSL yet.
What things you need to install the software and how to install them.
docker desktop
git
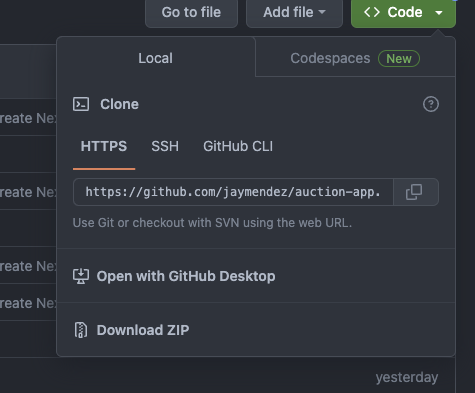
1. If you have downloaded git, clone the project. You can also download the zip if you don't want to install git.
git clone https://github.com/jaymendez/auction-api.git
2. You would need to install docker desktop based on your Operating system, you can use this guides on how to install them.
https://docs.docker.com/desktop/install/mac-install/
https://docs.docker.com/desktop/install/linux-install/
4. On the terminal, go to your project directory, and run these commands. It may take 2 - 5 minutes to get it running as it's installing the dependencies of the project.
sudo docker-compose build
sudo docker-compose up
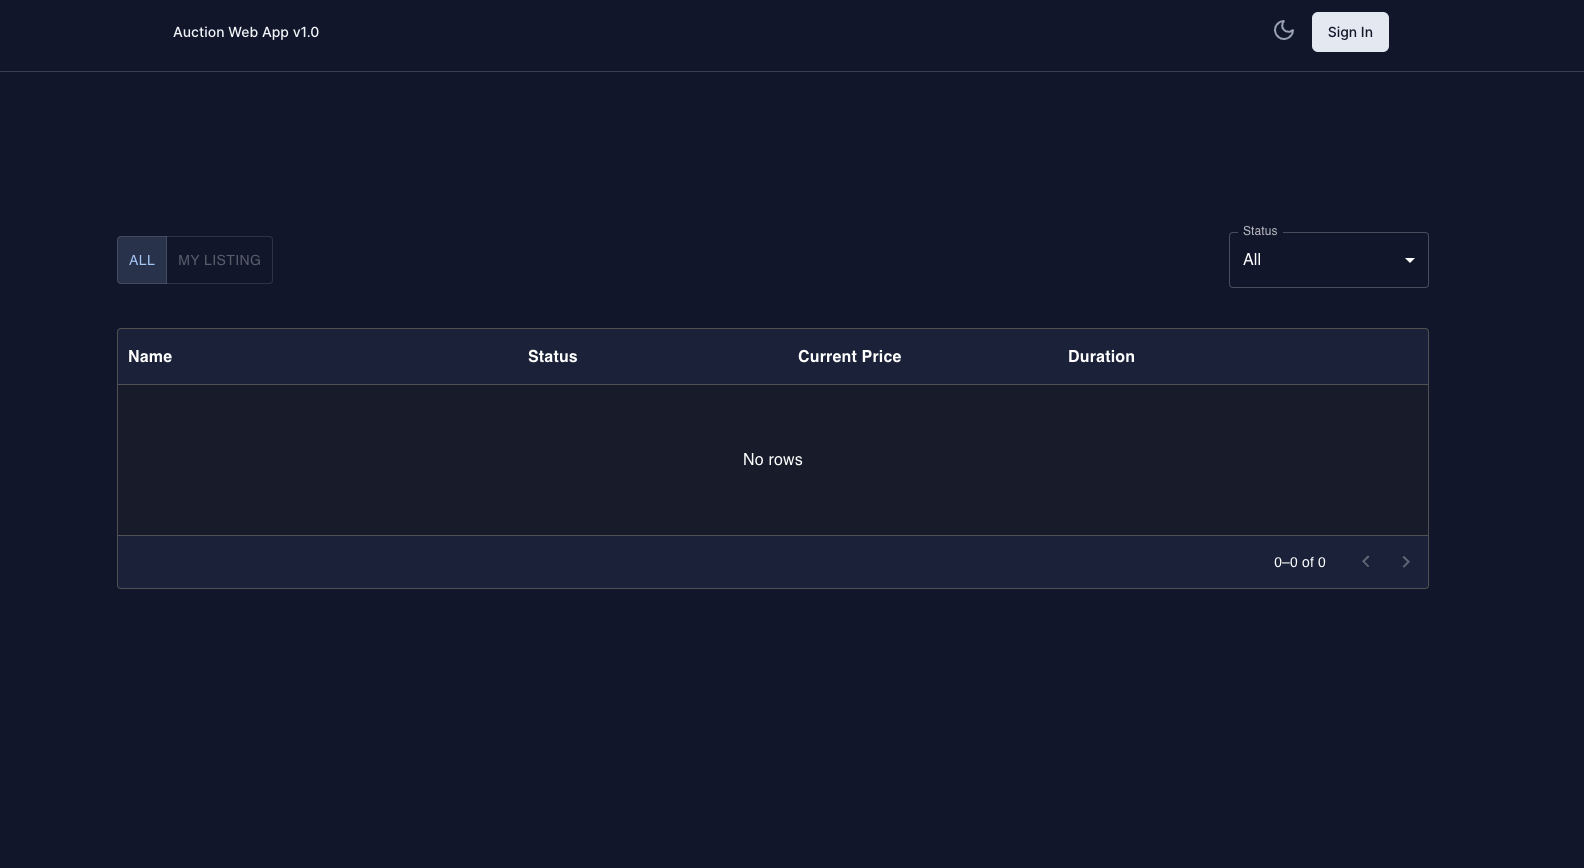
5. If you got the docker running, open http://localhost:3001 with your browser to see the result. This should be the app that you're seeing in your browser:
http://localhost:3001
https://github.com/jaymendez/auction-app
What things you need to install the software and how to install them.
On any operating system:
Text Editor
Node.js v16^
npm v8^
terminal
git
A step by step series of examples that tell you how to get your development env running.
git clone https://github.com/jaymendez/auction-api.git
2. On your terminal, navigate to the directory of your project then run these commands, this will install the dependencies you need in order to run the project.
cd auction-api && npm install
npm run dev
Open http://localhost:3001 with your browser to see the result.
https://github.com/jaymendez/auction-api
This should be the app that you're seeing in your browser:
The test for the frontend was made with React testing library and Jest
npm test
- MongoDB - Database
- Express - Server Framework
- NodeJs - Server Environment
- TypeScript - Programming Language
- @jaymendez - Idea & Coding work