This is a step by step guide to Continuously Integrate and Continuously Deploy your application on Cloud Run
You can fork this repo.
https://github.com/rj1620/flutter-docker.git
Below mentioned files are important from the repo, add these files to your repo for cicd
a. Dockerfile
b. cloud-build.yaml file :- Contains configuration to use the Google Cloud Build service that
i. Builds the docker image in Google Cloud Platform
ii. Pushes the container image into the Google Cloud Container Registry
iii. Deploys the image to Google Cloud Run
Refer to this link for writing your cloud-build.yaml file
https://cloud.google.com/build/docs/deploying-builds/deploy-cloud-run#continuous_deployment
The next step is to create a trigger.
- Ensure that the Cloud Build, Cloud Run and Google Container Registry APIs are enabled
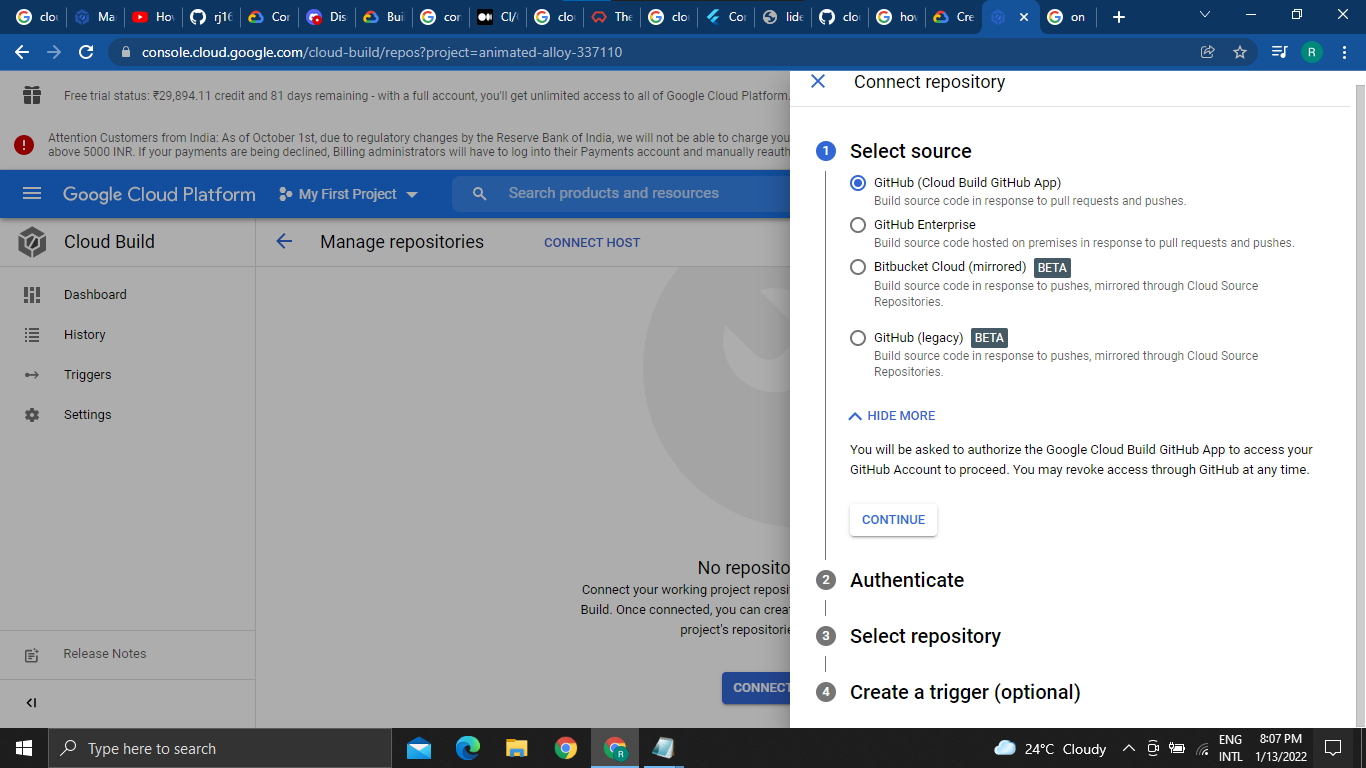
a. Go to Cloud Build, click on 'Connect Repository' this will provide Cloud Build access to your repository.
b. Select your appropriate VCS Source(GitHub in this case) in the next page and click on Next button. That will take you to the GitHub page where you need to authenticate and an OAuth flow will link your GitHub account with Cloud Run.
c. Select the repository you want Cloud Run to connect to
d. A sample trigger also gets created here by default and then click on Connect Repository.
d. If you want to create trigger manually click Create trigger
-
Provide Name
-
Select the Repository
-
Under the Configuration section
i. Select 'Cloud Build configuration file (yaml or json)'
ii. Set location Repository and provide the file location to your cloudbuild.yaml file
Keep the default values for the rest of the configuration
Click on Next.
And you would see that you have created the trigger successfully.

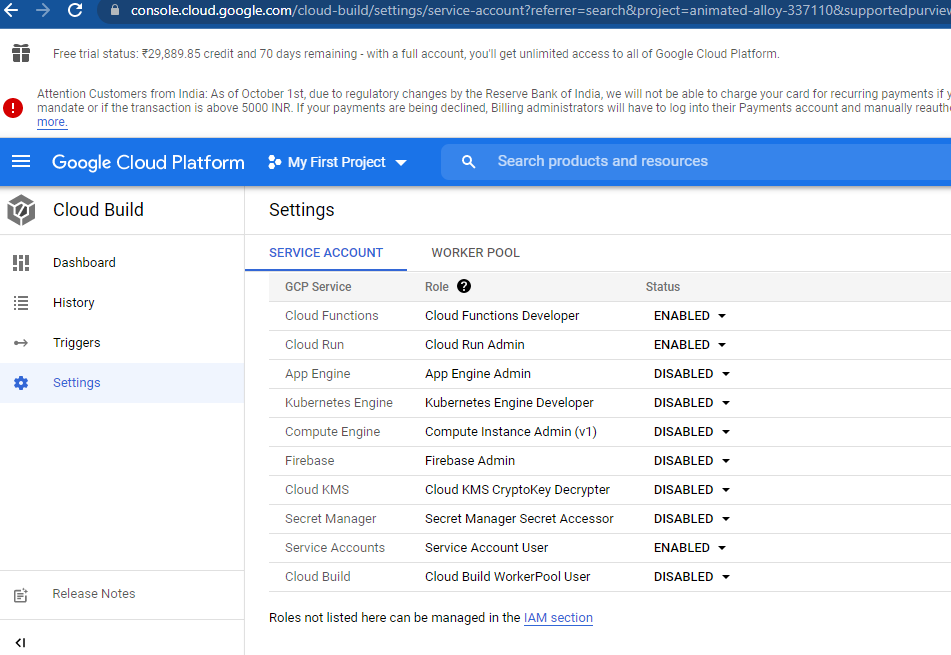
a. Go to Settings (Cloud Build)
b. Enable Service Accounts
c. Recheck if Cloud Run is enabled
Now we are ready to test!
Make a minor change in the README.md file from your remote repository and commit.
If you have set up everything correctly, see if it triggers the cloud build. Go to Cloud Build > History, you would see that the build has started successfully.

And you would see that Cloud Build is running the steps sequentially. Wait for the build to complete, it would take some time.
And you see that the build is successful, we are ready to access our application.
Once the build is complete, go to Google Container Registry and check if Cloud Build has pushed an image to it.
Go to Google Cloud Run, and you will see that the Cloud Build has deployed a new service.
a. Set the Permission As Google Cloud Platform has updated its policies you need to set the Permissions
i. Select the Service that got deployed
ii. On to Info Panel to the right side click Add Principal Button
iii. Add New Principal 'AllUsers'
iv. Select the role 'Cloud Run Invoker' from Cloud run service and save the changes.

b. Access the Application from browser
Go to Cloud Run
Click on your service
Copy the URL

Access it from the browser and you should see the website.