HowTo : BitmapButton widget
This wxRuby guide demonstrates how to use the Wx::BitmapButton widget with it’s various styles, features and functions. A complete list of options will be included here together with code examples for your convenience.
The syntax for creating a BitmapButton widget in wxRuby is as follows:
myButton = Wx::BitmapButton.new(parent, id, bitmap, pos, size, style, validator, name)Parameter descriptions:
-
parent : Wx::Window
the parent window (widget) such as a Wx::Panel. -
id : Integer
Button ID.Wx::ID_ANYindicates a default value. -
bitmap :
Wx::BitmapBundle|Wx::Bitmap|Wx::Icon|Wx::Image
Bitmap to be displayed. -
pos : Array(Integer,Integer) or Wx::Point
Optional coordinates for the position of the topleft corner of the button. Default isWx::DEFAULT_POSITION. -
size : Array(Integer,Integer) or Wx::Size
Optional dimensions of the button. Default isWx::DEFAULT_SIZE. -
style : Integer
Optional styling mask for the button (such as alignment). Default is 0. -
validator : Wx::Validator
Optional Window validator. Default is nil. -
name : String
Optional window name. Default is Wx::BUTTON_NAME_STR.
Note: As with all windows, keyword constructor alternatives for all arguments but the 'parent' argument are available. See here for more information.
Available styles for the BitmapButton widget:
| Button Style | Description |
|---|---|
| Wx::BU_LEFT | Aligns the bitmap to the left |
| Wx::BU_TOP | Aligns the bitmap to the top |
| Wx::BU_RIGHT | Aligns the bitmap to the left |
| Wx::BU_BOTTOM | Aligns the bitmap to the bottom |
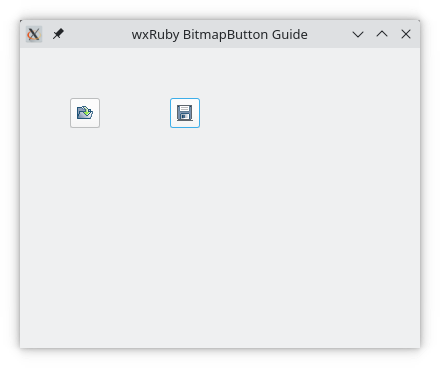
In this example we will create two BitmapButtons and assign two bitmap images to them.
Using the Wx.Bitmap method we can load a bitmap image into our code, ready for use.
require 'wx'

class MyWindow < Wx::Frame
  def initialize(title)
    super(nil, title: title, size: [400, 300])
    @panel = Wx::Panel.new(self)

    openBitmap = Wx.Bitmap(:open)
    saveBitmap = Wx.Bitmap(:save)

    button1 = Wx::BitmapButton.new(@panel, bitmap: openBitmap, pos: [50, 50])
    button2 = Wx::BitmapButton.new(@panel, bitmap: saveBitmap, pos: [150, 50])

    centre
  end
end

Wx::App.run do
  window = MyWindow.new("wxRuby BitmapButton Guide")
  window.show
endNote: To run this example you will need the bitmap files too. Download those here and here.
Output of the above code:
Note
Bitmap buttons have been somewhat replaced by the Button widget which now includes functionality for adding Bitmap images as well. It has the added benefit of displaying both text and an image alongside each other.