Most of our code here is for testing and debugging, however, there are a few notable modules:
record_calibration.py- Records data to use for calibrationcalibrator.py- Calibrates using the data recorded in record_calibration.pystereo_rig_model.py- Generates disparity map and point cloudstereo_camera.py- Used to demo the stereo code
To see our stereo code in action, run:
stereo_camera.py
This will run our stereo code using the saved calibrations (for our stereo camera). This creates a point cloud (point_cloud.ply), and a disparity map (test_data/disparity.jpg).
To record a new set of test data for calibration:
record_calibration.py
This saves all recorded frames into the folders in 'test_data/videos/calibrator/', ready to be used in calibrator.py.
To re-calibrate using our calibration test data:
calibrator.py
This saves the new calibration to test_data/, see the final report for details on this data.
To see and tune the disparity mapping that results from the calibration:
stereo_rig.py
This simply uses the saved mappings from calibrator.py to remap the images the same away every time, allowing for consistent epipolar alignment throughout, since the cameras stay in the same place. It then shows you the disparity images that result from these remappings.
To capture a 2.5D model using the disparity mapping that results from the calibration:
stereo_rig_model.py
This uses the saved mappings to do everything that stereo_rig.py does, however, it also allows you to select a frame to capture into a 2.5D model via pressing q or passing the -t argument. The -t argument allows one to specify how many frames to read before capture a 2.5D model, functioning as a self-timer.
To use your own, see below.
To see a live view of our stereo code, you need to connect two cameras in a stereo pair configuration. We expect the two cameras to be device 1 (left) and 2 (right).
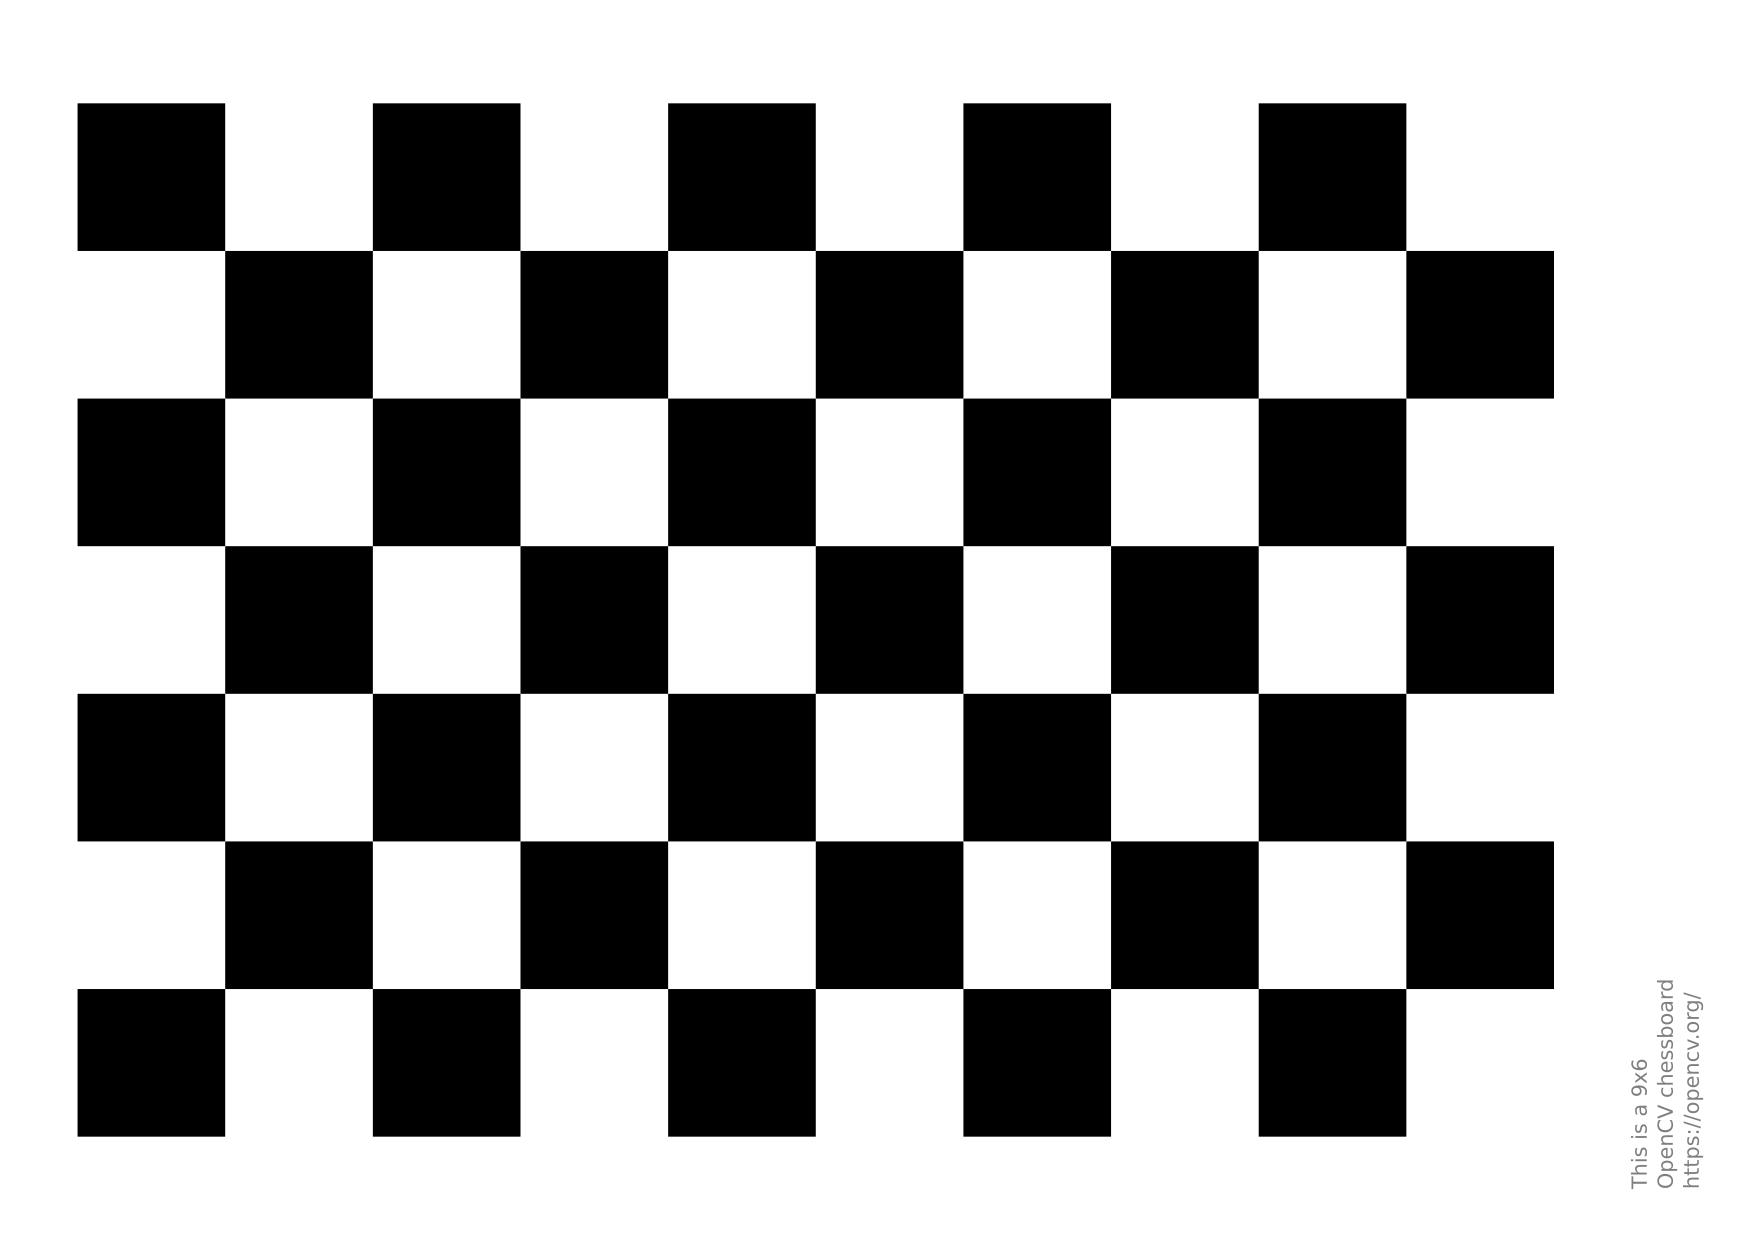
If the two cameras haven't been calibrated, things will be a bit tricky. You'll need to print out a calibration pattern, like a chessboard pattern (located in the OpenCV source) and record a video with the chessboard in the frame of both cameras at the same time. Save the left and right videos somewhere in this directory, change the path to the videos in calibrator.py. Then:
calibrator.py
This will calibrate the cameras (provided the chessboard shows up in both frames enough times) and save the calibration in test_data/ (see the final report for details on this data).
From now on, running stereo_camera.py will use the saved calibration.
stereo_rig.py will compute a disparity map from the input from the cameras. You can tune the block matcher with the GUI provided.
Many examples of output from our stereo_rig_model.py script can be found in the models/ directory.