This guide provides step-by-step instructions for setting up and running a Java web application with JWT authentication using miniOrange as the Identity Provider.
In the project directory, run the following command to install the necessary dependencies:
This will compile your code and install the required dependencies.
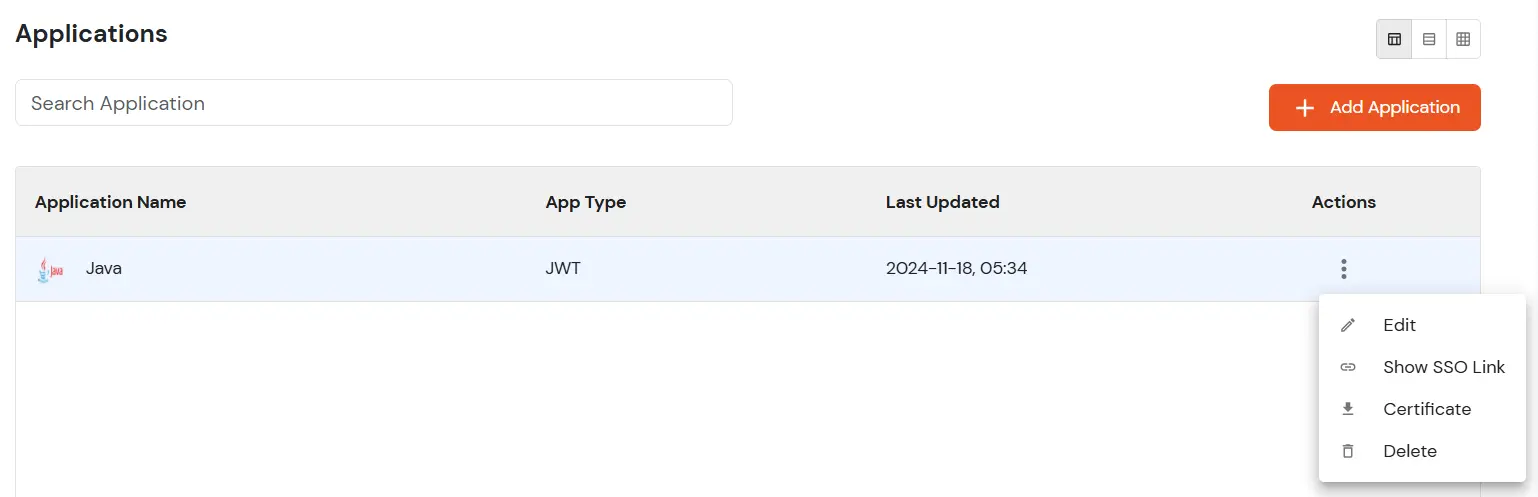
Visit the miniOrange Dashboard and create a new Java JWT Application. If you don’t already have an account with miniOrange, you can sign up for a free trial.
If you're using an existing Java JWT application, make sure the following settings are properly configured:
- Redirect URL:
http://localhost:8080/sso?action=callback - Logout URL:
http://localhost:8080/
These URLs should match the actual URLs where your Java application is running.
- Navigate to the "Primary Identity Provider" section in the miniOrange dashboard.
- Set miniOrange as the primary Identity Provider and click Save.
- Go to Apps, and from the dropdown next to your configured Java JWT App, click Select.
- Click on Certificate to download the RSA256 certificate.
-
- Place the downloaded certificate in the
libfolder of your miniorange-java-jwt-authentication-example-app. - Keep the file name as
RSA256Cert.crt.
- Click Edit from the dropdown next to your java jwt app in the miniOrange dashboard.
- Scroll down to the Endpoints section.
- As miniOrange is the primary Identity Provider, copy the SSO URL for using miniOrange as Authentication Source provided in the Endpoints section.
- In your application's
config.propertiesfile, update theauthorizationUrlfield with the copied SSO URL.
- Copy the Single Logout URL from the Endpoints section.
- Paste the copied url in
logoutUrlfield inconfig.properties.
If you haven't already done so, create a user in the miniOrange dashboard. This user will be used to authenticate against your Java JWT application.
- Start your application by running it in your IDE or via the command line using
mvn tomcat7:run. - Open your browser and navigate to
http://localhost:8080/demoapplication. The application should now be running.
- Open a private/incognito window in your browser.
- Visit the following URL
http://localhost:8080. - This will redirect you to home page. Click on Login with miniOrange button.
- This will redirect you to miniOrange login page.
- Enter your miniOrange user credentials. Upon successful authentication, you'll be logged into your Java JWT application.
Invalid Redirect URL: Ensure that the redirect URL in your miniOrange dashboard matches the URL configured in your Java application.Login Fails: Double-check that the user credentials you are using are correct and that the user exists in miniOrange.Certificate Issues: Ensure that the certificate file is placed in the correct location and that the file name is correct (RSA256Cert.crt).