-
Notifications
You must be signed in to change notification settings - Fork 0
Adding Backgrounds
This guide is intended for those who have little to no coding background. If you have more experience, feel free to skim through for what info/steps you need!
Important!: For the sake of simplicity, I am going to be referring to the main folder where MAS is kept as DDLC. Yours may be named differently (such as DDLC-1.1.1-pc) depending on the version of DDLC you're running or if you renamed the file. It can be any name, just know that it will be referred to as such in this tutorial.
This step is most important if you have never added any submods or altered any graphics in MAS. For adding backgrounds, we are going to need to understand just two file directories inside MAS.
The first thing we're doing to do is set up a submod folder. This is where you'll keep any RPYs we make later in this tutorial. This will be located in the game folder of DDLC. So this directory would look like DDLC/game/submods. It should be empty unless you have already added other submods, of course!
The second file we're going to look at is DDLC/game/mod_assets/location. If you look inside this folder, you will see other folders inside, such as one for the spaceroom. We're not going to edit the spaceroom files, but we will be going back to them as a reference point and template for our new locations.
I'm assuming if you are reading this tutorial, you have an image already that you would like to use as your background. For the sake of this tutorial I'll be using MC's room, which you can find on the DDLC wiki.
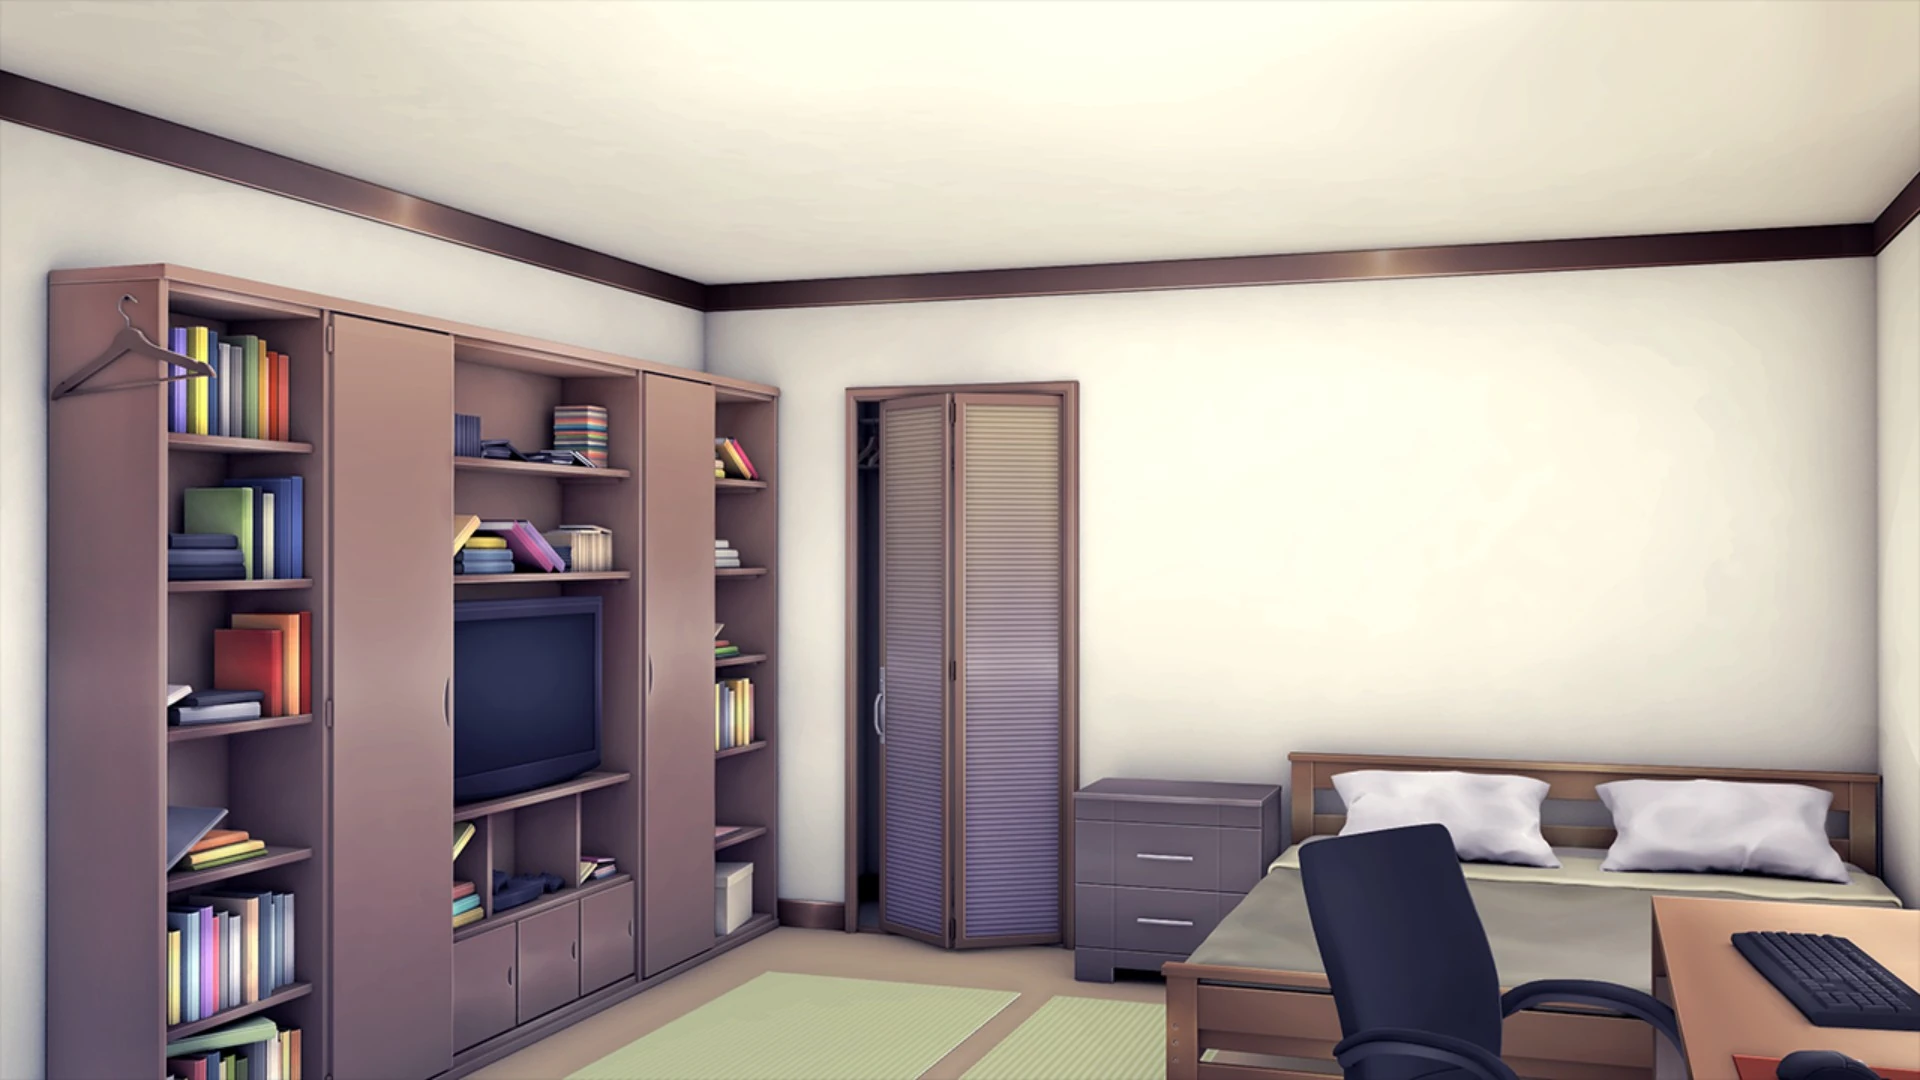
Looking inside the spaceroom folder, you might notice that there are a lot of variants of the spaceroom image in there! Ones for different times of day and different kinds of weather.
If you would like, you can use all of these different variants to make your background dynamically change with each weather type! However, the only ones that are absolutely required are a day and night version. Once you have those versions, you're ready for the next step!
Some things you might want to know for your image editing:
- If you would like your night edits to look uniform with the spaceroom, the justtwilight.psd filter is what you're looking for.
- You should make sure that your images are the same size/resolution to the spaceroom files (1280x720). This is not strictly necessary, but an oddly-sized image may cause graphical glitches or fuzzy resolution.
- Your images should be saved in a format which renpy can use when creating image tags.
From this point, file locations and names are going to become very important! This is because when we do the coding part, we'll need to tell MAS which files to use for our new backgrounds.
We're going to go back to the DDLC/game/mod_assets/location file now. Then we're going to make a folder with the name of whatever location you want to use. Inside this folder, we're going to add your day and night variants (and other weathers if you have them.)
Then we're going to make the names match the files in the spaceroom folder.
For example, the default night spaceroom image is called spaceroom-n.png
My bedroom file would then be bedroom-n.png
So at the end of this, I have DDLC/game/mod_assets/location/bedroom which contains bedroom.png and bedroom-n.png.
If we look at the zz_backgrounds.rpy we see that there's a framework in place to set up backgrounds that looks a little something like this:
        def __init__(
            self,
            background_id,
            prompt,
            image_day,
            image_night,
            image_rain_day=None,
            image_rain_night=None,
            image_overcast_day=None,
            image_overcast_night=None,
            image_snow_day=None,
            image_snow_night=None,
            hide_calendar=False,
            hide_masks=False,
            disable_progressive=None,
            unlocked=False,
            entry_pp=None,
            exit_pp=None
        )
That looks really daunting, I know! But rest assured, these are actually very easy to understand when we break it down. Explanations are even provided on the file for what each one does, and we can compare to the spaceroom if we need a reference. To make it even simpler, I'm going to break it down into pieces.
Take that big wall of code and paste it into a new notepad file. This is going to become the RPY file where you list your locations.
For best practice, it is best to initialize backgrounds at the init -1 level. And if we'd like to use this later in our own things, then we should:
init -1 python:
    mas_background_submod_bedroom = MASBackground(
(Since this is a bedroom background, we'll just name this variable mas_background_submod_bedroom in order to keep this variable unique)
Now, to fill in the data: (self is never something to be filled out, so we'll move onto the rest of the fields)
            background_id,
            prompt,
background_id should be the name of whatever your background is. This must be a unique name, so just don't name it spaceroom or anything else which may use the name in the future.
prompt is the name that will show up on the location list inside MAS. You can name this whatever you like, such as "Bedroom" or "Your Room"
So, we should currently have inside your new file:
init -1 python:
    mas_background_submod_bedroom = MASBackground(
        "submod_bedroom",
        "Bedroom",
Next we're going to look at a bigger chunk of the code.
These are for the images used for the different times of day and weathers.
NOTE: that everything after image_night already has a value of None assigned to it. This means that they are not required.
            image_day,
            image_night,
            image_rain_day=None,
            image_rain_night=None,
            image_overcast_day=None,
            image_overcast_night=None,
            image_snow_day=None,
            image_snow_night=None,
If you have only a day and night variant, the only ones you need to change are image_day and image_night. These can be any label you want to use, for the sake of this tutorial I'm just going to use submod_bedroom and submod_bedroom_n.
If you only have day and night variants, your file will look like this so far:
init -1 python:
    mas_background_submod_bedroom = MASBackground(
        "submod_bedroom",
        "Bedroom",
        "submod_bedroom",
        "submod_bedroom_n",
If you have other weather variants, the format is going to change a little. Rather than entirely replace the line with your image name, you're going to replace the None with your image name.
For example,
image_rain_day=submod_bedroom_rain,
If you don't have a weather variant, you can ignore that line or delete it entirely.
We're almost set now, but there are a few more important lines.
            hide_calendar=False,
            hide_masks=False,
            disable_progressive=None,
hide_calendar does exactly what it sounds like. If you don't want your background to include the calendar, you will set this to hide_calendar=True
hide_masks is important if you have transparent parts of the background that you would want to see the weather through, such as windows. If it is set to hide_masks=False, you will be able to see weather.
My bedroom background does not have any windows, so I will be setting mine to hide_masks=True
NOTE: this does NOT disable progressive weather or weather entirely (if it was raining prior to switching to this background, it will still be raining while in it), though.
disable_progressive has to do with progressive weather. If you want the weather to never change while you are in this location, you would set it as disable_progressive=True
I still would like to occasionally hear rain while in the bedroom, so I will be setting it to disable_progressive=False
NOTE: when switching to a background with this flag set to True, weather will automatically be set to default (Clear)
So now my file looks like this:
init -1 python:
    mas_background_submod_bedroom = MASBackground(
        "submod_bedroom",
        "Bedroom",
        "submod_bedroom",
        "submod_bedroom_n",
        hide_calendar=True,
        hide_masks=True,
        disable_progressive=False,
Now we're in the final few lines!
            unlocked=False,
            entry_pp=None,
            exit_pp=None
    )
unlocked is pretty simple--we want this background to be unlocked, so we set it as unlocked=True
entry_pp and exit_pp have to do with programming points. These are used to code additional changes such as locking/unlocking topics when loading into a particular background or any other actions you may want to do when transitioning into/out of the background. These are optional and unnecessary for a basic background change.
Make sure you keep that ) at the end to close things up.
So my bedroom file now looks like
init -1 python:
    mas_background_submod_bedroom = MASBackground(
        "submod_bedroom",
        "Bedroom",
        "submod_bedroom",
        "submod_bedroom_n",
        hide_calendar=True,
        hide_masks=True,
        disable_progressive=False,
        unlocked=True
    )
We only have one last thing to add and we're done. We just need to show MAS where to find our images. It already knows that everything will be somewhere in the game file, so we only need to direct it from mod_assets onward.
We're going to use whatever labels you used for image_day, image_night and other weather variants if you have them. Mine looks like this
image submod_bedroom = "mod_assets/location/bedroom/bedroom.png"
image submod_bedroom-n = "mod_assets/location/bedroom/bedroom-n.png"
NOTE: That it is absolutely possible to use a Movie or ATL for your image tag as well. Though there will likely be performance drops as a result of doing so.
This can be placed right below your location code. My final file looks like this:
init -1 python:
    mas_background_submod_bedroom = MASBackground(
        "submod_bedroom",
        "Bedroom",
        "submod_bedroom",
        "submod_bedroom_n",
        hide_calendar=True,
        hide_masks=True,
        disable_progressive=False,
        unlocked=True
    )

image submod_bedroom = "mod_assets/location/bedroom/bedroom.png"
image submod_bedroom_n = "mod_assets/location/bedroom/bedroom-n.png"
Save this as a .rpy file and pop it into your DDLC/game/submods folder.