Navigating Gradbot
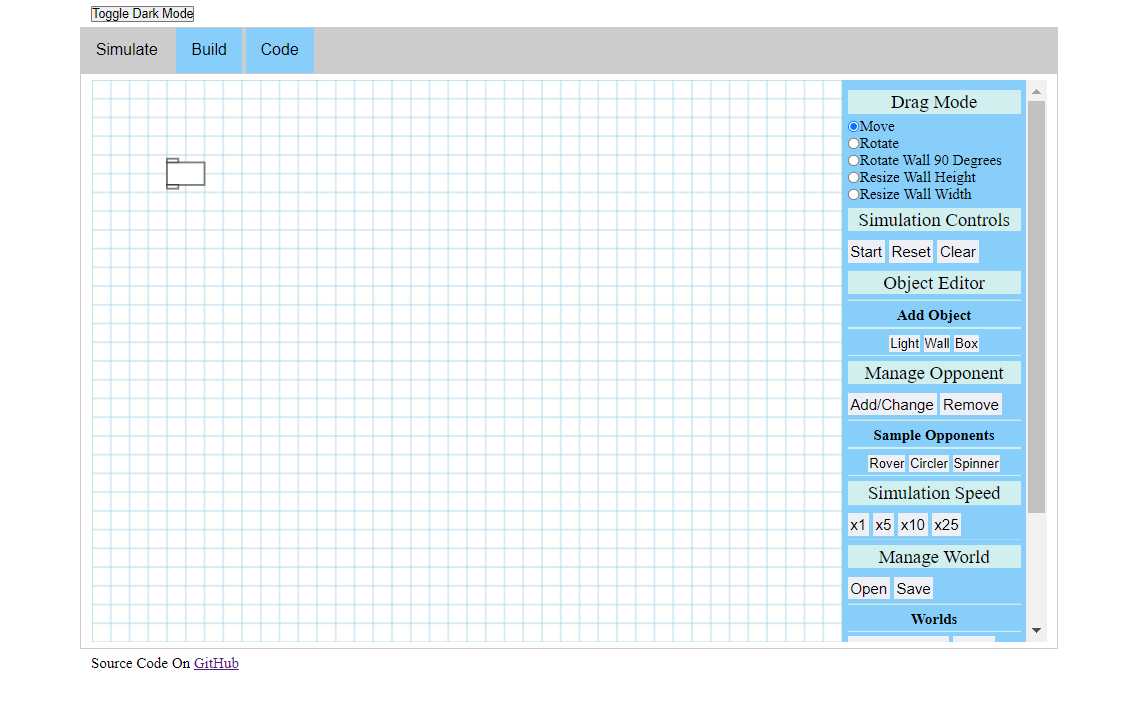
When first starting GradBot, you are welcomed by a simple screen with a coordinate plane, a robot without any functions, and an array of menu options. Here is what we call ground zero!
Simulate Screen:
At ground zero you have many options, but most are useless without code. Here we can move the robot around, add objects such as walls and lights to the field of play, and even supply our robot with some enemies to fight! We will be discussing many of these functions in later sections so skip ahead if you want more information on them now.
At the top of the GradBot simulator are three tabs, Simulate, Build, and Code. We will now transfer over to the Build tab.
Build Screen:
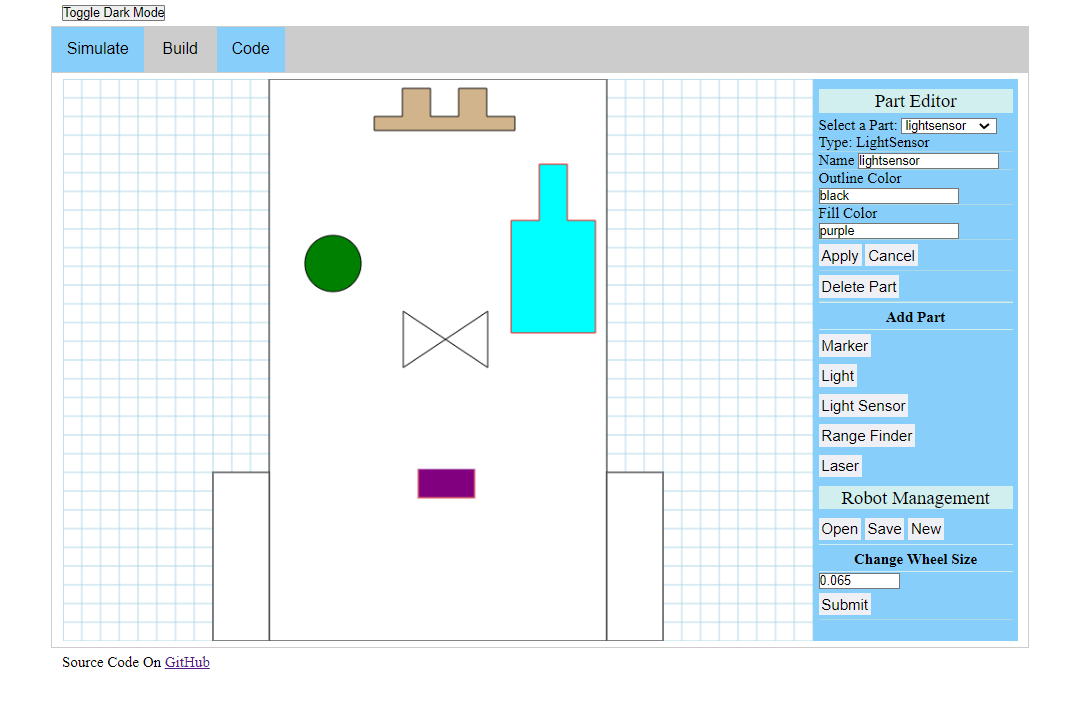
In this section we find the ability to modify the robot. This means adding parts and creating a more usable robot. Some parts are meant for offensive abilities, such as the laser. Some parts add creative features like the marker, but each offers its own ability to be readjusted and coded for your needs.
Code Screen:
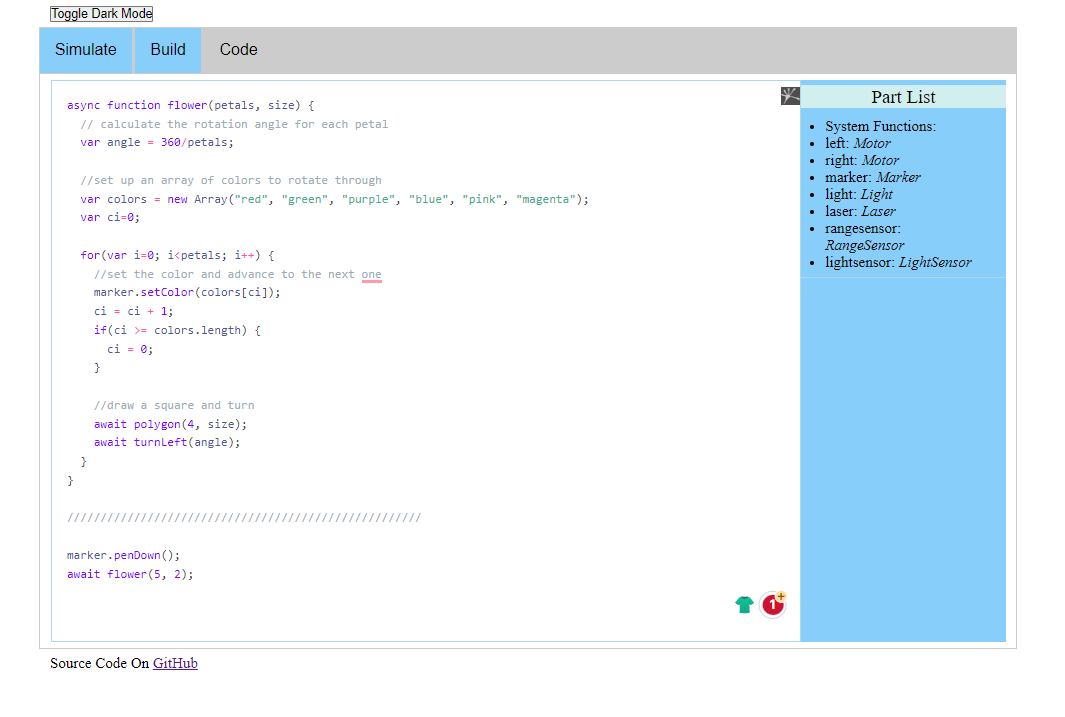
Finally, we move on to the Code section. Although it's blank now, soon it will contain all the code you need to run your robot to its full potential. You will also notice that a Part List is provided on the side. This will allow you to understand what functions can be used for each part to help it operate.
 If you're ready for the next step, you can find out more about the parts and functions of GradBot by clicking here.