REST stands for Representational State Transfer.
REST is a design pattern for APIs (backend/servers) and describes how network resources are accessed.
REST is not a standard nor a protocol. It is a guideline that developers should follow when creating APIs to ensure the API is following a uniform design pattern.
By using a REST interface, different clients can hit the same REST endpoints of a server, perform CRUD actions via HTTP mehods.
This architecture pattern makes the interaction between a client and a server uniform with a well-defined API, so that different clients (OS and browsers can all work with the API in the same way).
The name REpresentational State Transfer implies exchange of data.
The server acts as a data store, and the client retrieves and consumes data.
The server transfers resource objects to the client. The client can update these resources too.
Most REST APIs implement CRUD: Create, Retrieve, Update, and Delete.
-
HTTP methods are what defines operations in well-formed REST APIs, not the URLs.
-
URLs should not contain verbs.
-
When we want to retrieve, modify, or delete a record, we operate by making the request and using the correct HTTP method.
-
Well-designed REST APIs must provide response status code that makes it clear there is a problem.
Below table is an example of correctly naming the server endpoints (routes), where route name is defined by the name of the resource (database collection) and operation is defined by a HTTP verb (GET, POST, PUT, DELETE ).
In addition the table describes what the expected request body of request is and as well what status code will be returned upon response.
| URL | HTTP verb | Request body | Action | Success Status Code |
|---|---|---|---|---|
/api/projects |
GET |
(empty) | Returns all projects | 200 OK |
/api/projects |
POST |
JSON | Creates a new project | 201 Created |
/api/projects/:id |
GET |
(empty) | Returns the single project | 200 OK |
/api/projects/:id |
PUT |
JSON | Edits the projects | 200 OK |
/api/projects/:id |
DELETE |
(empty) | Deletes the projects | 204 No Content |
We will be building the server/backend for our Project Management app, and we will have all these previously listed routes ,plus some more. So let’s start from the beginning.
We will start our project by first documenting all of the routes of our server. Following REST guidelines, we will focus on using verbs to specify the type of operation being done and use the name of the resource for the endpoint name.
As we will work with 2 MongoDB collections holding projects and tasks, we will use the endpoints /api/projects and /api/tasks.
Again following the REST guidelines, we don't use any verbs in the name of the endpoints, for that we have HTTP verbs/methods (POST,GET , etc. ).
The below table will serve as the documentation for this project, documenting all the routes and their behaviour.
| URL | HTTP verb | Request body | Action | Success Status Code |
|---|---|---|---|---|
/api/projects |
GET |
(empty) | Returns all projects | 200 OK |
/api/projects |
POST |
{ title, description } |
Creates a new project | 201 Created |
/api/projects/:id |
GET |
(empty) | Returns a single project by id | 200 OK |
/api/projects/:id |
PUT |
{ title, description } |
Edits a specific project | 200 OK |
/api/projects/:id |
DELETE |
(empty) | Deletes a specific project | 204 No Content |
/api/tasks |
POST |
{ title, description, projectId } |
Creates a new task for a project | 201 Created |
/api/tasks/:id |
GET |
(Empty) | Returns a single task by id | 200 OK |
/api/tasks/:id |
PUT |
{ title, description } |
Edits a specific task | 200 OK |
/api/tasks/:id |
DELETE |
(empty) | Deletes a specific tasks | 202 Accepted |
# Create the project folder
mkdir project-management-server

# Enter the created folder
cd project-management-server

# Clone the stater code to the same folder  `.`
git clone https://github.com/ross-u/React-Code-Along---Project-Management-Server.git .


# Install the dependencies
npm i

# Open the editor
code .PORT=5000
MONGODB_URI=mongodb://localhost:27017/project-managementTo run the app use the command npm run start:dev .
We will first start by creating our database and the collections. To do this, we will start with models.
Remember, each model is responsible for one collection. Let's create Project model which will be managing the projects collection in our database, including the Schema that describes and enforces how each document saved in the collection must look like.
// models/project.model.js
const mongoose = require('mongoose');
const Schema = mongoose.Schema;
const projectSchema = new Schema({
title: String,
description: String,
tasks: [{type: Schema.Types.ObjectId, ref: 'Task'}],
// The owner will be added later on
});
const Project = mongoose.model('Project', projectSchema);
module.exports = Project;Our API will be used to create projects and tasks. Each project may contain many tasks.
Each task will be a document saved in the tasks collection and therefore we should create Task model to manage this collection.
// models/task.model.js
const mongoose = require('mongoose');
const Schema = mongoose.Schema;
const taskSchema = new Schema({
title: String,
description: String,
project: {type: Schema.Types.ObjectId, ref: 'Project'}
});
const Task = mongoose.model('Task', taskSchema);
module.exports = Task;Next step is to implement the project router logic. This router will be used to receive and handle all requests related to the projects collection and documents.
Let's do the following steps in the routes/project.router.js file:
- import
express,mongooseusing the NodeJS syntax (require()) - Instantiate the
Router(express.Router()). - import models
ProjectandTaskusing the NodeJS syntax (require()) - export the router using NodeJS syntax (
module.exports).
// routes/project.router.js
const express = require('express');
const mongoose = require('mongoose');
const router = express.Router();
const Project = require('./../models/project.model');
const Task = require('./../models/task.model');
module.exports = router;Each route on our server should be created following REST design principles and therefore we must ensure that the we name the route properly (/projects) and ensure that the response res returns a status code that clearly describes the result of the finished request. In this case we will return the status code 201 Created, describing that POST request was successfull and that the resource was successfully created.
In case of an error response should send the status code 500 Internal Server Error representing a generic message given when an unexpected condition was encountered.
// routes/project.router.js
// POST '/api/projects'
router.post('/projects', (req, res, next) => {
const { title, description } = req.body;
Project.create({ title, description, tasks: [] })
.then((createdProject)=> {
res
.status(201)
.json(createdProject);
})
.catch((err)=> {
res
.status(500) // Internal Server Error
.json(err)
})
});Import the project.router file by uncommenting the line provided in the app.js .
Remember that we have to use require when importing other files/modules as we are working in the backend with NodeJS.
import and export are by default not available in NodeJS.
// app.js
const projectRouter = require('./routes/project.router'); // <-- UNCOMMENT
// const taskRouter = require('./routes/task.router');
// const router = require('./routes/index');Connect the router and the routes coming from the projectRouter.
// app.js
// ROUTES MIDDLEWARE:
app.use('/api', projectRouter); // <-- UNCOMMENT
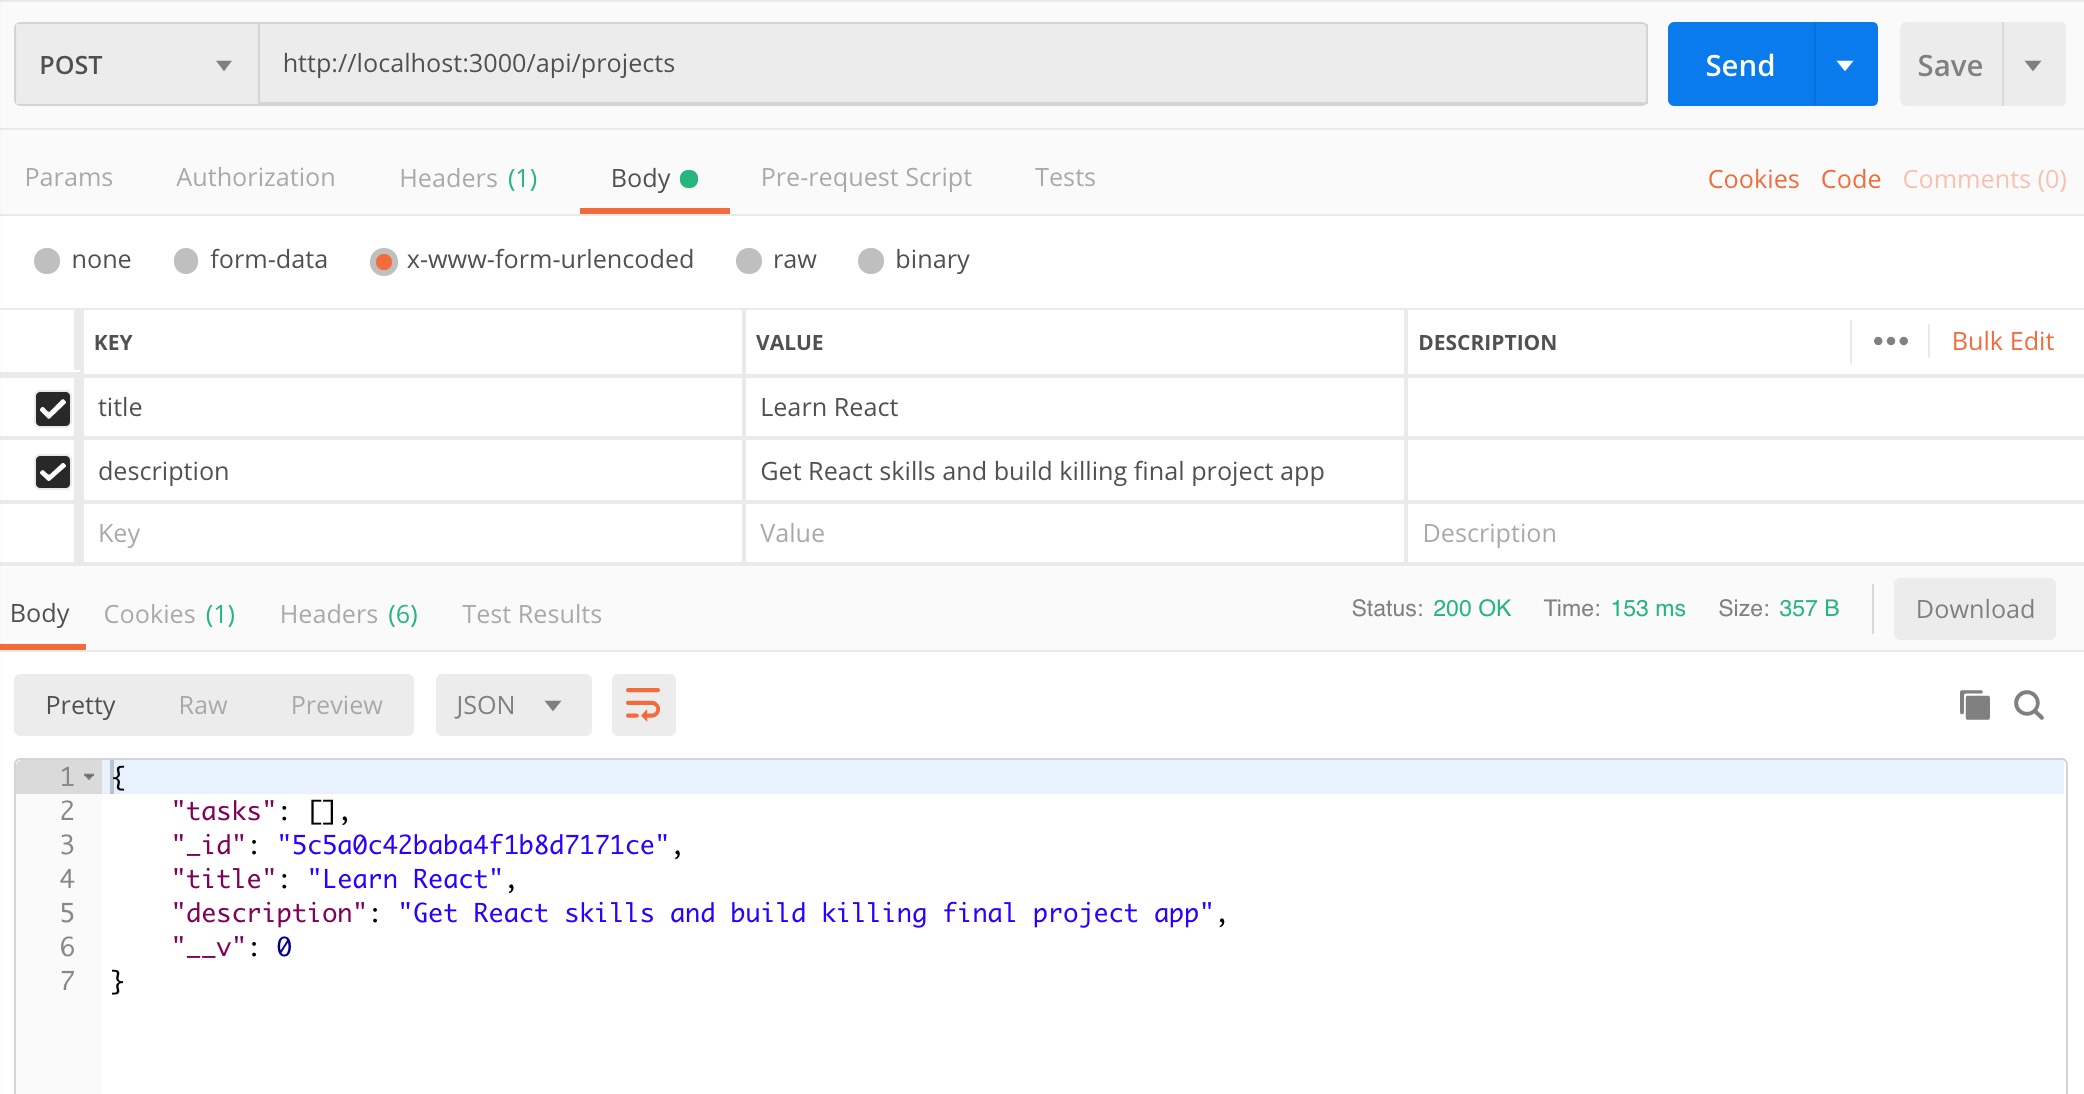
// app.use('/api', taskRouter);Using Postman test the newly created server route POST /api/projects.
POSThttp://localhost:5000/api/projects{
"title": "Learn React",
"description": "Get react skills and build an awesome final project"
}
Next step is to create a GET route used for getting the projects.
If the request gets fulfilled successfully we will return the status code 200 OK, describing that GET request was successfull and that the response will contain the requested resource (json with projects).
In case of an error response should send the status code 500 Internal Server Error representing a generic message given when an unexpected condition was encountered.
Notice that it is necessary to use .populate() as Project model has a field tasks holding the ObjectIds referencing the tasks.
// routes/project.router.js
// GET '/api/projects' => to get all the projects
router.get('/projects', (req, res, next) => {
Project
.find()
.populate('tasks')
.then( (allTheProjects) => {
res.status(200).json(allTheProjects);
})
.catch(err => {
res.status(500).json(err);
})
});Using Postman test the newly created server route GET /api/projects.
GEThttp://localhost:5000/api/projectsNo request body. HTTP GET messages use only Headers.
Create the new GET route used for getting a specific project by id.
Notice that in the below example we included a conditional statement to check if the request contains a valid Mongo ObjectId(checks if the value is a valid Hexadecimal string ).
This is an important step in which we prevent calls to the database for the requests tha contain invalid ObjectId. In case of an error due to the invalid ObjectId response should send the status code 400 Bad Request` hinting that the error was probably caused by the client. This kind of error should include a message expanation of the error situation.
// routes/project.routes.js
// GET '/api/projects/:id' => to get a specific project
router.get('/projects/:id', (req, res) => {
const { id } = req.params;
if ( !mongoose.Types.ObjectId.isValid(id)) {
res
.status(400) // Bad Request
.json({ message: 'Specified id is not valid'})
return;
}
Project
.findById( id )
.populate('tasks')
.then( (foundProject) => {
res.status(200).json(foundProject); // OK
})
.catch((err) => {
res.status(500).json(err); // Internal Server Error
})
});Using Postman test the newly created server route GET /api/projects/:id.
GEThttp://localhost:5000/api/projects/:id❗NOTE: Remember to include the ObjectId of a project document already existing in your database ( replace the :id part of the above URL with an id from your database ).
No request body. HTTP GET messages/requests use only Headers.
Create the PUT route used to update a specific project by id.
// routes/project.routes.js
// PUT '/api/projects/:id' => to update a specific project
router.put('/projects/:id', (req, res, next)=>{
const { id } = req.params;
const { title, description } = req.body;
if (!mongoose.Types.ObjectId.isValid(id)) {
res.status(400).json({ message: 'Specified id is not valid' });
return;
}
Project.findByIdAndUpdate(id, { title, description })
.then(() => {
res.status(200).send();
})
.catch(err => {
res.status(500).json(err);
})
});Using Postman test the newly created server route PUT /api/projects.
PUThttp://localhost:5000/api/projects/:id❗NOTE: Remember to include the ObjectId of a project document already existing in your database ( replace the :id part of the above URL with an id from your database ).
{
"title": "Learn React Hooks",
"description": "Upgrade my React skills"
}Create the DELETE route used to delete a specific project by id.
If the request fulfils successfully we will return the status code 202 Accepted.
This status code is used to specify that the DELETE request was successfully received and that resource (project document) was already deleted or marked for deletion.
// routes/project.routes.js
// DELETE '/api/projects/:id' => to delete a specific project
router.delete('/projects/:id', (req, res)=>{
const { id } = req.params;
if ( !mongoose.Types.ObjectId.isValid(id)) {
res.status(400).json({ message: 'Specified id is not valid' });
return;
}
Project.findByIdAndRemove(id)
.then(() => {
res
.status(202) // Accepted
.send(`Document ${id} was removed successfully.`);
})
.catch( err => {
res.status(500).json(err);
})
});Using Postman test the newly created server route DELETE /api/projects.
DELETEhttp://localhost:5000/api/projects/:id❗NOTE: Remember to include the ObjectId of a project document already existing in your database ( replace the :id part of the above URL with an id from your database ).
No request body. HTTP DELETE messages/requests use only Headers.
Next step is to implement the task router logic. This router will be used to receive and handle all requests related to the tasks collection and documents.
Let's do the following steps in the routes/task.router.js file:
-
import
expressandmongooseusing the NodeJS syntax (require()) . -
Instantiate the
Router(express.Router()). -
import models
ProjectandTaskusing the NodeJS syntax (require()). -
export the router using NodeJS syntax (
module.exports).
// routes/task.router.js
const express = require('express');
const mongoose = require('mongoose');
const router = express.Router();
const Project = require("../models/project.model");
const Task = require("../models/task.model");
module.exports = router;Import the task.router file by uncommenting the line provided in the app.js .
const projectRouter = require('./routes/project.router');
const taskRouter = require('./routes/task.router'); // <-- UNCOMMENT
// const router = require('./routes/index');Connect the router and the routes coming from the projectRouter.
// app.js
// ROUTES MIDDLEWARE:
app.use('/api', projectRouter);
app.use('/api', taskRouter); // <-- UNCOMMENTCreate POST route used to create a new task.
Request should include the title and description of the task and as well id of the project to which the task belongs.
Once the task document is created, the _id of the new task document must be added to the project document to which the task belongs to.
Below, we do this by first calling Task.create() to create the new task document and then Project.findByIdAndUpdate in order to add the _id of the new task to the corresponding project.
We will return the status code 201 Created, describing that POST request was successfull and that the resource was successfully created.
// routes/task.router.js
// POST '/api/tasks' => to create a new task
router.post('/tasks', (req, res) => {
const { title, description, projectId } = req.body;
Task.create({
title: title,
description: description,
project: projectId
})
.then((newTaskDocument) => {
Project.findByIdAndUpdate(
projectId,
{ $push: { tasks: newTaskDocument._id } }
)
.then((theResponse) => {
res.status(201).json(theResponse);
})
.catch(err => {
res.status(500).json(err);
})
})
.catch(err => {
res.status(500).json(err);
})
})Using Postman test the newly created server route POST /api/tasks.
POSThttp://localhost:5000/api/tasks{
"title": "Learn React",
"description": "Get react skills and build an awesome final project",
"projectId": <_id_OF_THE_EXISTING_PROJECT_DOCUMENT>
}❗NOTE: Remember to include the _id of a project document already existing in your database ( replace the value of the projectId field in the above example ).
Create the new GET route used for getting a specific task by id.
// routes/task.router.js
// GET '/api/tasks/:id' => to retrieve a specific task
router.get('/tasks/:id', (req, res) => {
const { id } = req.params;
if ( !mongoose.Types.ObjectId.isValid(id)) {
res
.status(400) // Bad Request
.json({ message: 'Specified id is not valid'})
return;
}
Task.findById(id)
.then((foundTask) =>{
res.status(200).json(foundTask); // OK
})
.catch( err => {
res.status(500).json(err); // Internal Server Error
})
});Using Postman test the newly created server route GET /api/tasks/:id.
GEThttp://localhost:5000/api/tasks/:id❗NOTE: Remember to include the ObjectId of a project document already existing in your database ( replace the :id part of the above URL with an id from your database ).
No request body. HTTP GET messages/requests use only Headers.
Create the PUT route used to update a specific task by id.
// routes/task.router.js
// PUT '/api/tasks/:id' => to update a specific task
router.put('/tasks/:id', (req, res) => {
const { id } = req.params;
const { title, description } = req.body;
if ( !mongoose.Types.ObjectId.isValid(id) ) {
res.status(400).json({ message: 'Specified id is not valid' });
return;
}
Task.findByIdAndUpdate( id, { title, description })
.then(() => {
res
.status(200)
.send();
})
.catch(err => {
res.status(500).json(err);
})
});Using Postman test the newly created server route GET /api/tasks.
PUThttp://localhost:5000/api/tasks/:id❗NOTE: Remember to include the ObjectId of a project document already existing in your database ( replace the :id part of the above URL with an id from your database ).
{
"title": "First task",
"description": "Watch a tutorial and check the documentation"
}Create the DELETE route used to delete a specific project by id.
If the request fulfils successfully we will return the status code 202 Accepted.
// routes/task.router.js
// DELETE '/api/tasks/:id' => to delete a specific task
router.delete('/tasks/:id', (req, res) => {
const { id } = req.params;
if ( !mongoose.Types.ObjectId.isValid(id) ) {
res
.status(400)
.json({ message: 'Specified id is not valid'});
return;
}
Task.findByIdAndRemove(id)
.then(() => {
res
.status(202)
.send(`Document ${id} was removed successfully.`);
})
.catch(err => {
res.json(err);
})
});Using Postman test the newly created server route DELETE /api/tasks.
DELETE
http://localhost:5000/api/tasks/:id
❗NOTE: Remember to include the ObjectId of a tasks document already existing in your database ( replace the :id part of the above URL with an id from your database ).
No request body. HTTP DELETE messages/requests use only Headers.
The browsers by default block communication between apps from different origins (IP + port / Domain) for security reasons. In our exercise our server (localhost:5000) and the React frontend app that we will be creating next (localhost:3000) will be running on different origins (IP + port / Domain). This mechanism is implemented in all browsers and it's name is CORS.
Therefore we need to configure our server to allow the future requests coming from our React front-end app (localhost:3000) running in the browser.
Cross-Origin Resource Sharing (CORS) is a mechanism that should be configured on the server. When CORS is configured the server uses additional HTTP headers to tell a browser to let a web application running on a different origin (IP + port / Domain) to make a request to the server for a selected resource.
To allow requests from a different origin we will need to install a cors middleware package and include it in our middleware chain in app.js
First install the cors package:
npm install cors --saveImport cors middleware in app.js.
// app.js
const cors = require('cors');Add the cors middleware to the middleware chain in app.js. Add the middleware right after the comment saying // CORS SETTINGS (MIDDLEWARE) TO ALLOW CROSS-ORIGIN INTERACTION: in app.js
// app.js
// CORS SETTINGS (MIDDLEWARE) TO ALLOW CROSS-ORIGIN INTERACTION:
app.use(cors({
credentials: true,
origin: ['http://localhost:3000'] // <== this will be the URL of our React app (it will be running on port 3000)
}));
// ROUTES MIDDLEWARE:
const projectRouter = require('./routes/project.router');
const taskRouter = require('./routes/task.router');
// const router = require('./routes/index');The option credentials will come into play when we introduce users and cookies/sessions authentication.
Our client React app and Express Server app are two distinct processes (apps) and will therefore run on different ports.
The PORT value in the .env file in the server/backend should be 5000, as our server/backend is running on localhost:5000.
PORT=5000
MONGODB_URI=mongodb://localhost:27017/project-managementOur client side React app which we will create in the next step will be running on port 3000.