IoTManager is a premium, enterprise-grade SaaS platform designed to bridge the gap between IoT hardware and real-time data visualization. From secure device onboarding to interactive drag-and-drop dashboards, IoTManager provides a seamless end-to-end experience for IoT builders and engineers.
This project consists of three core components:
- Client Application: A modern Next.js 16 frontend for managing devices, variables, and dashboards.
- Bridge Server: A high-performance Node.js MQTT broker (Aedes) integrated with Supabase for real-time telemetry and command delivery.
- Database Layer: Scalable Postgres schema on Supabase with automated history cleanup and plan-based retention.
Explore the platform through our categorized walkthroughs:
| Feature | Description | Screenshot |
|---|---|---|
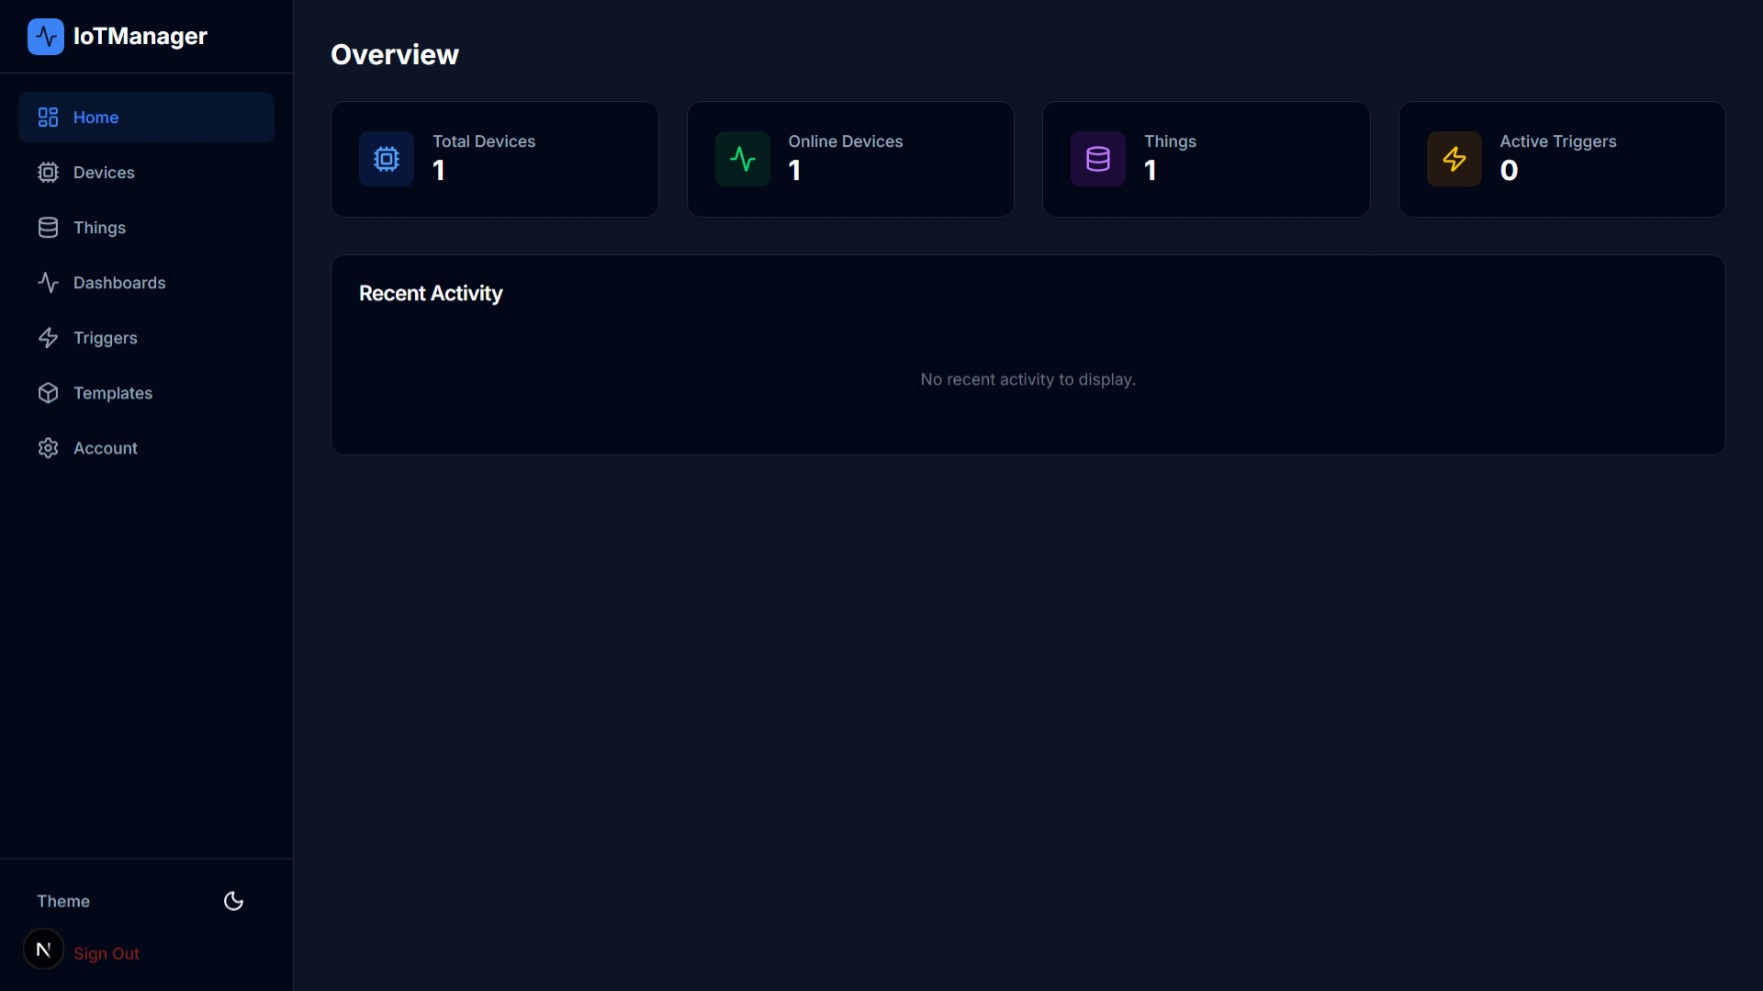
| Device Connectivity | Seamlessly connect ESP32, Raspberry Pi, and other hardware via MQTT/TLS. | 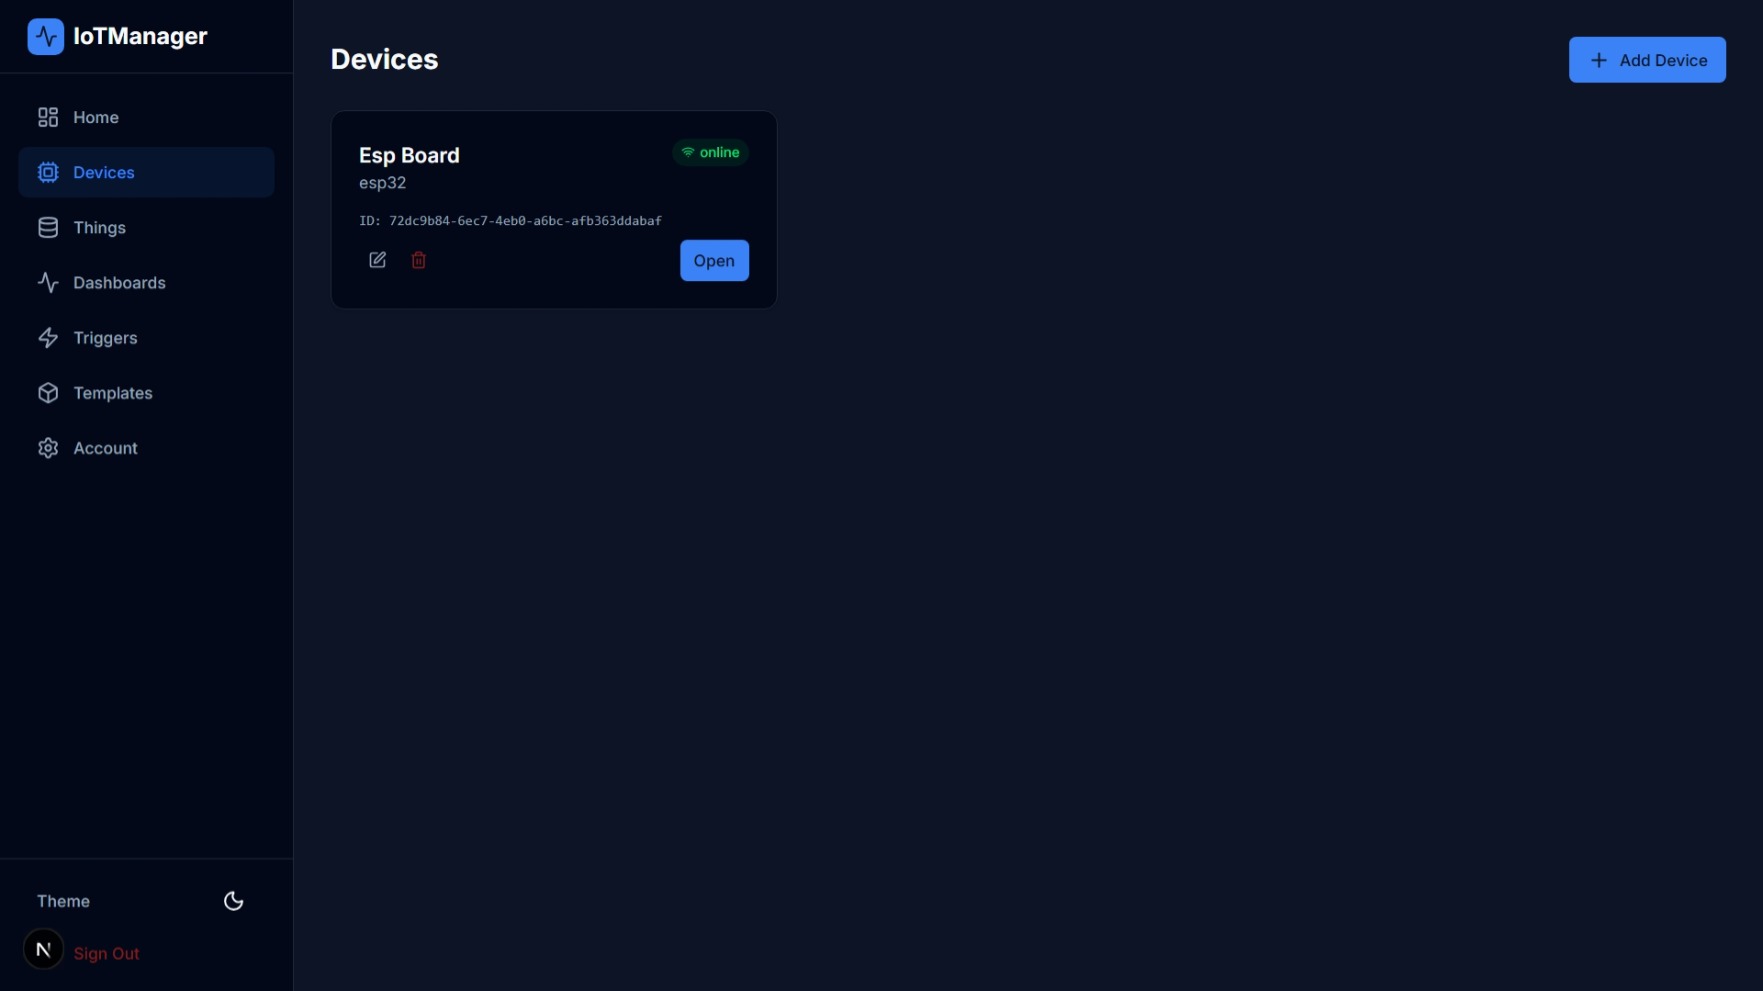 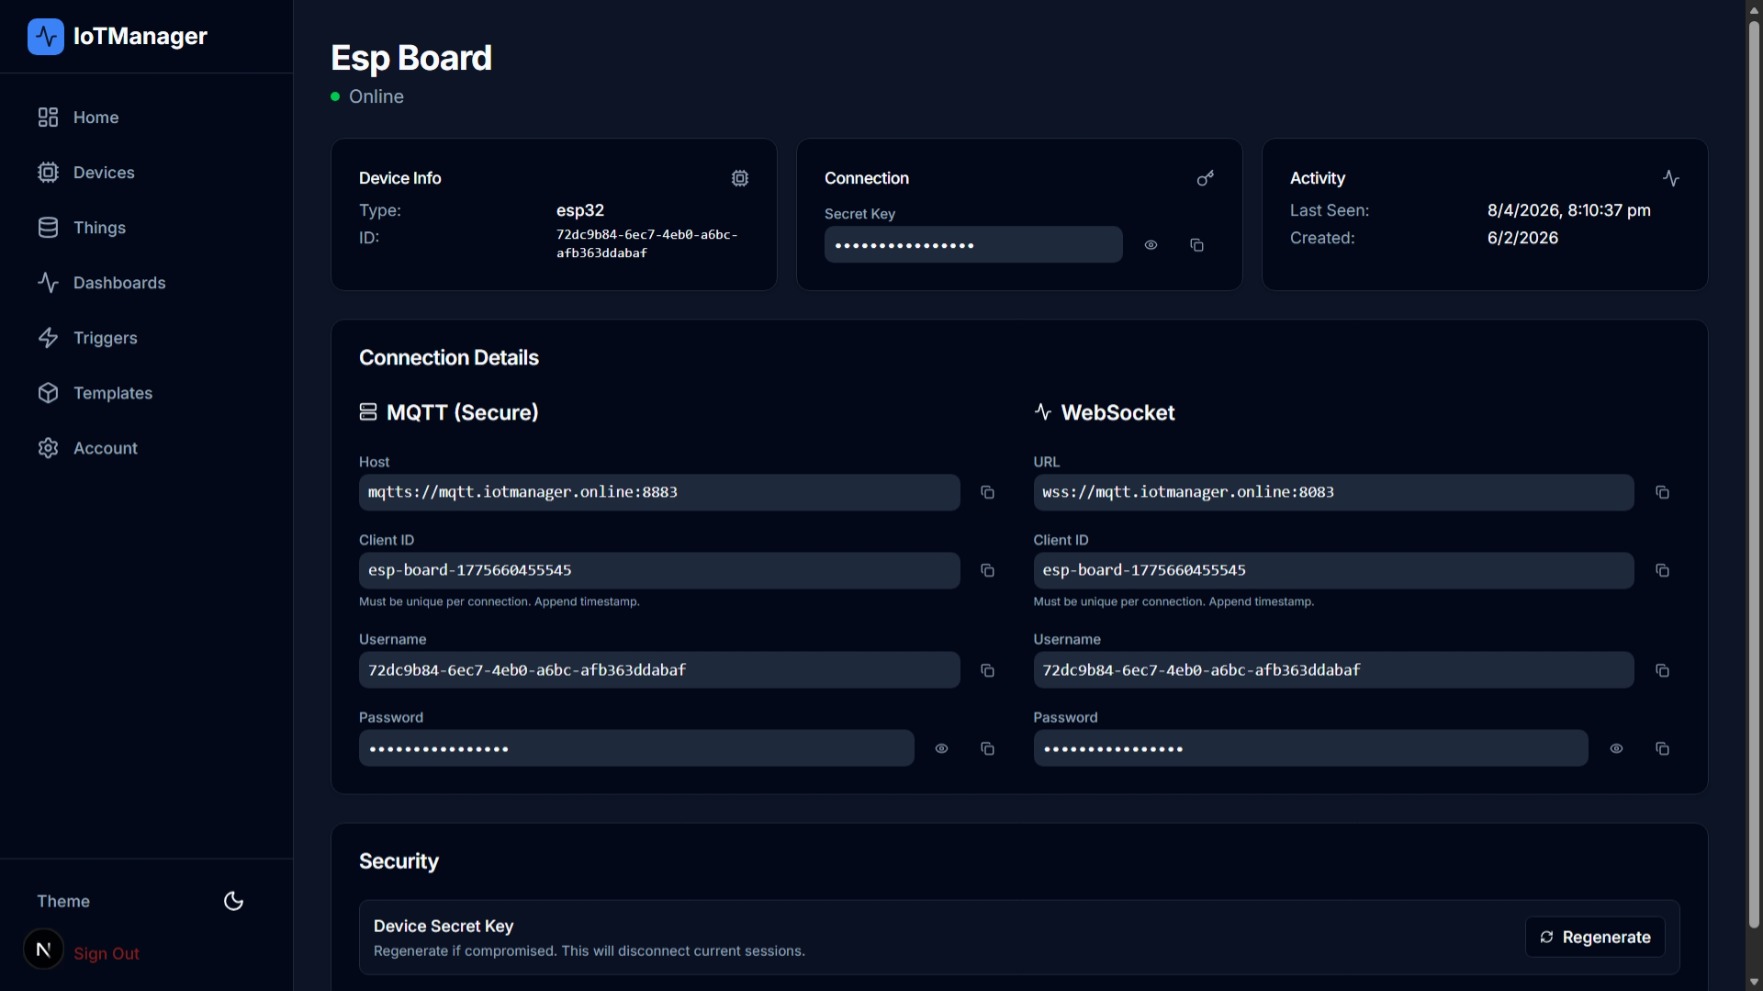 |
| Smart Variables | Define sensor data points or control actuators with bidirectional flow. | 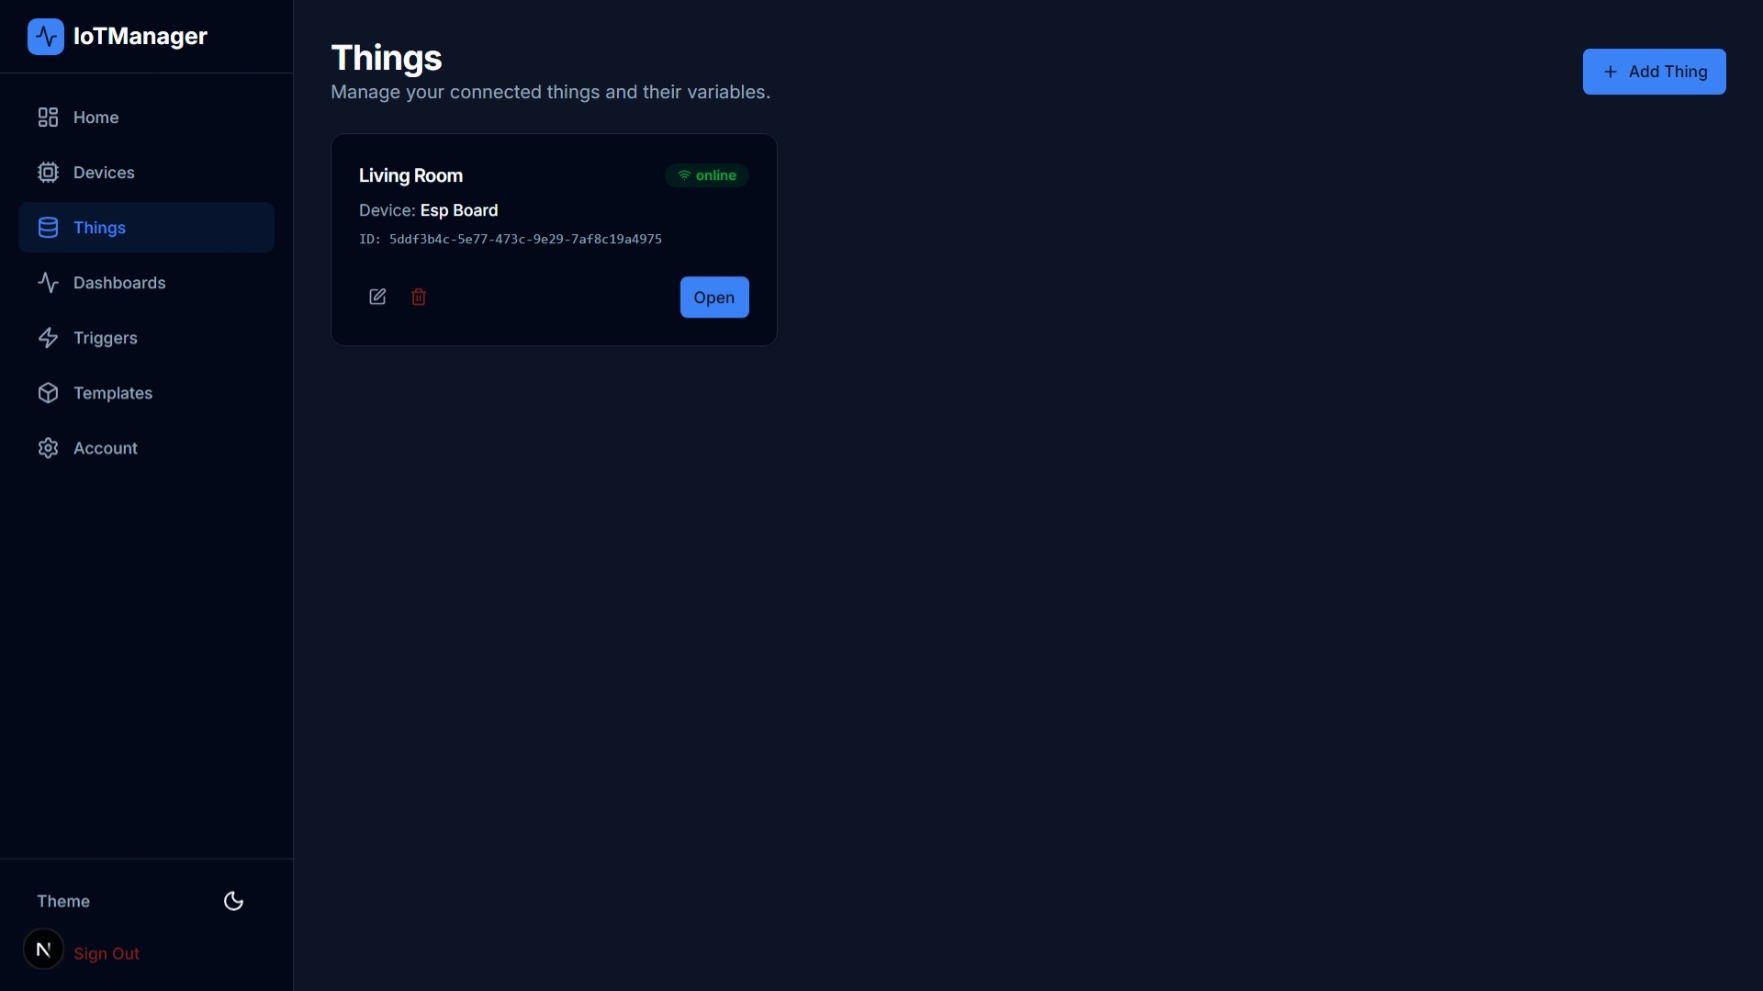 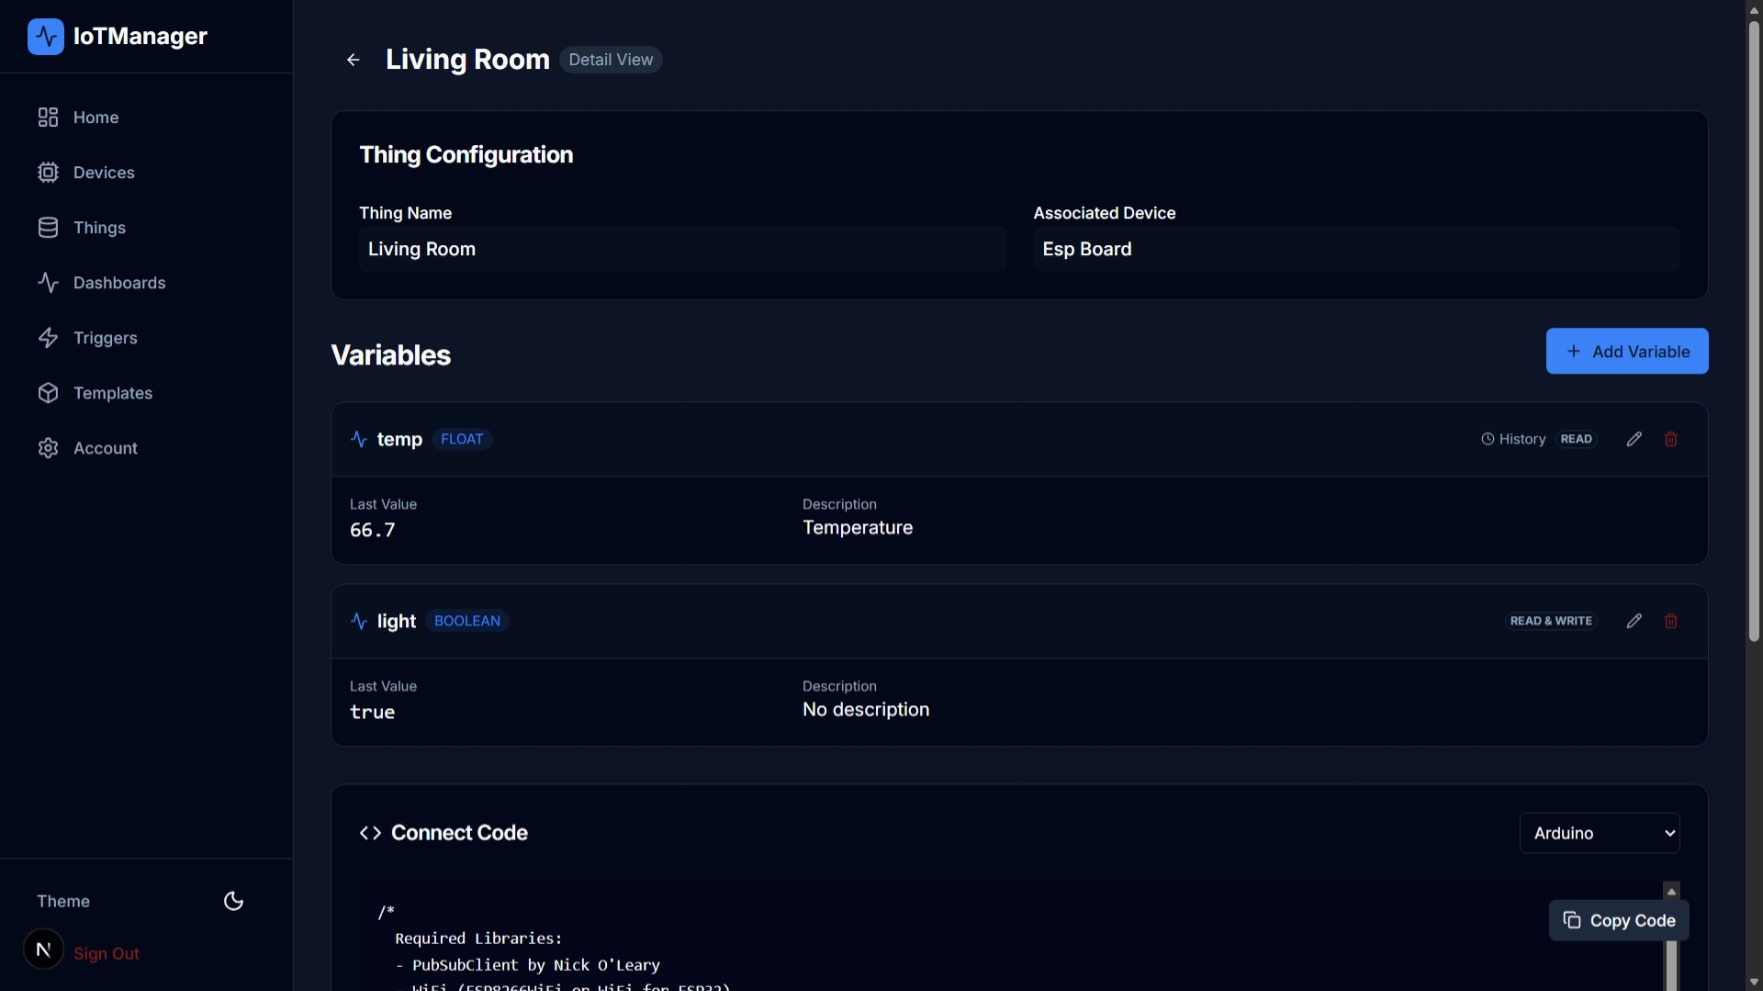 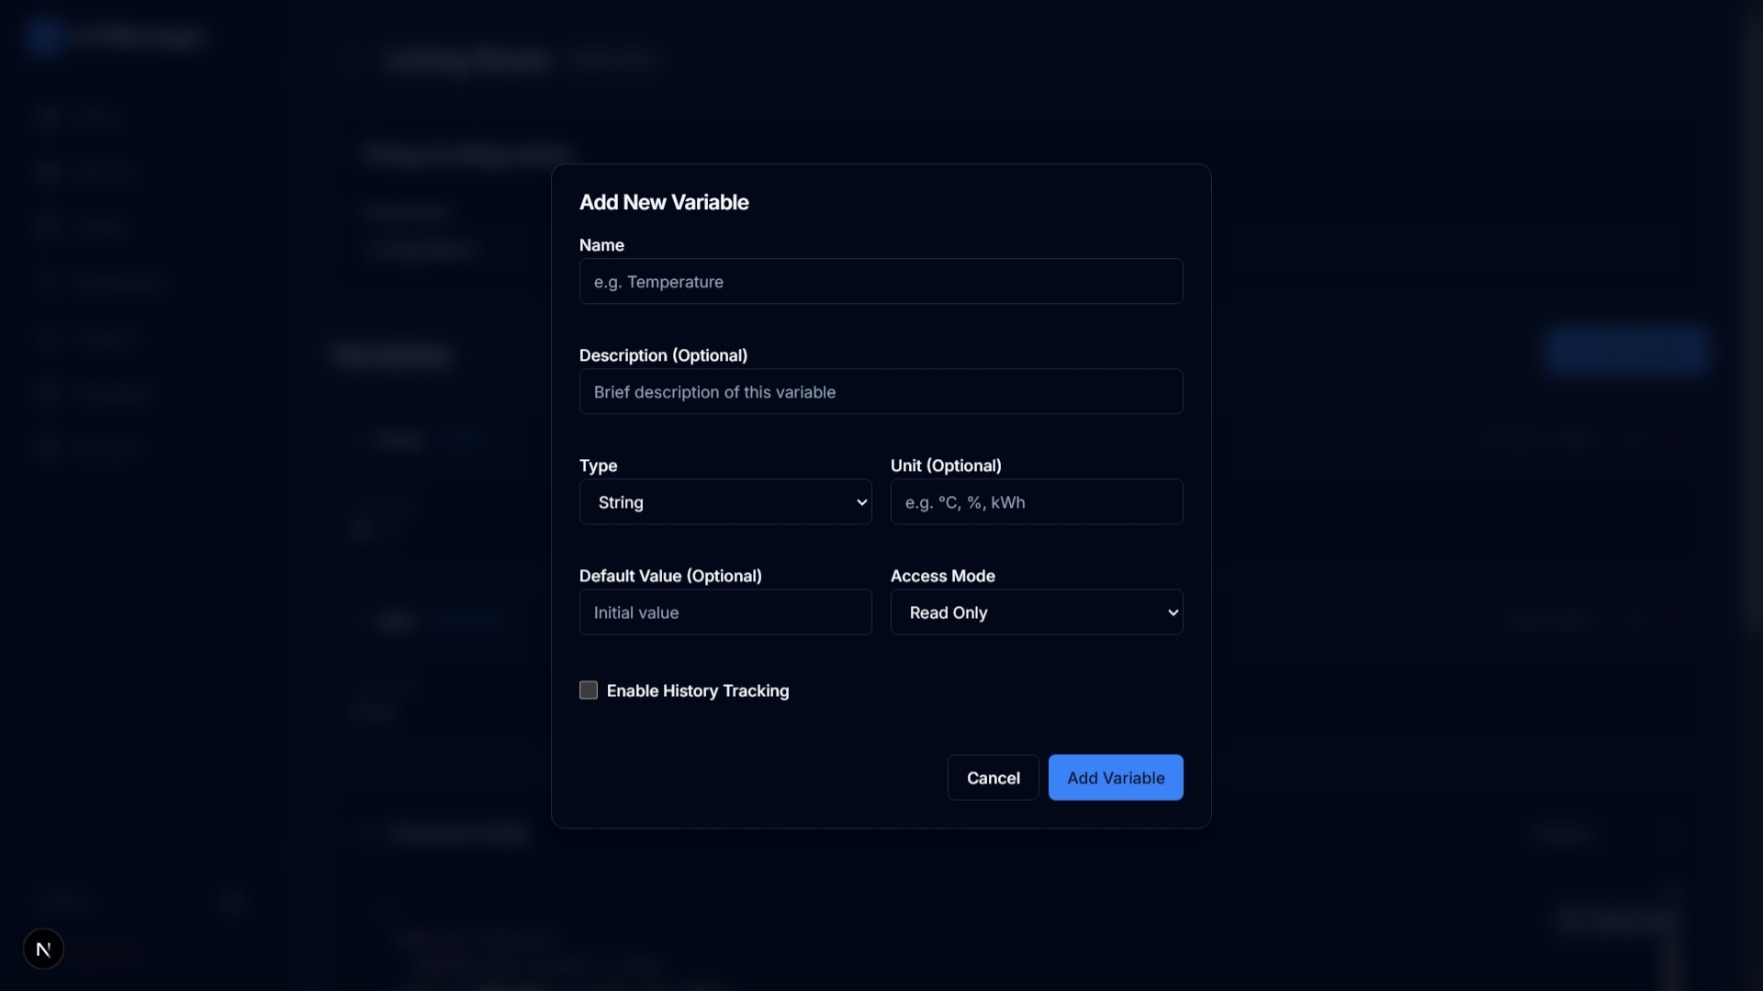 |
| Live Dashboards | Build stunning visualizations with our drag-and-drop widget editor. | 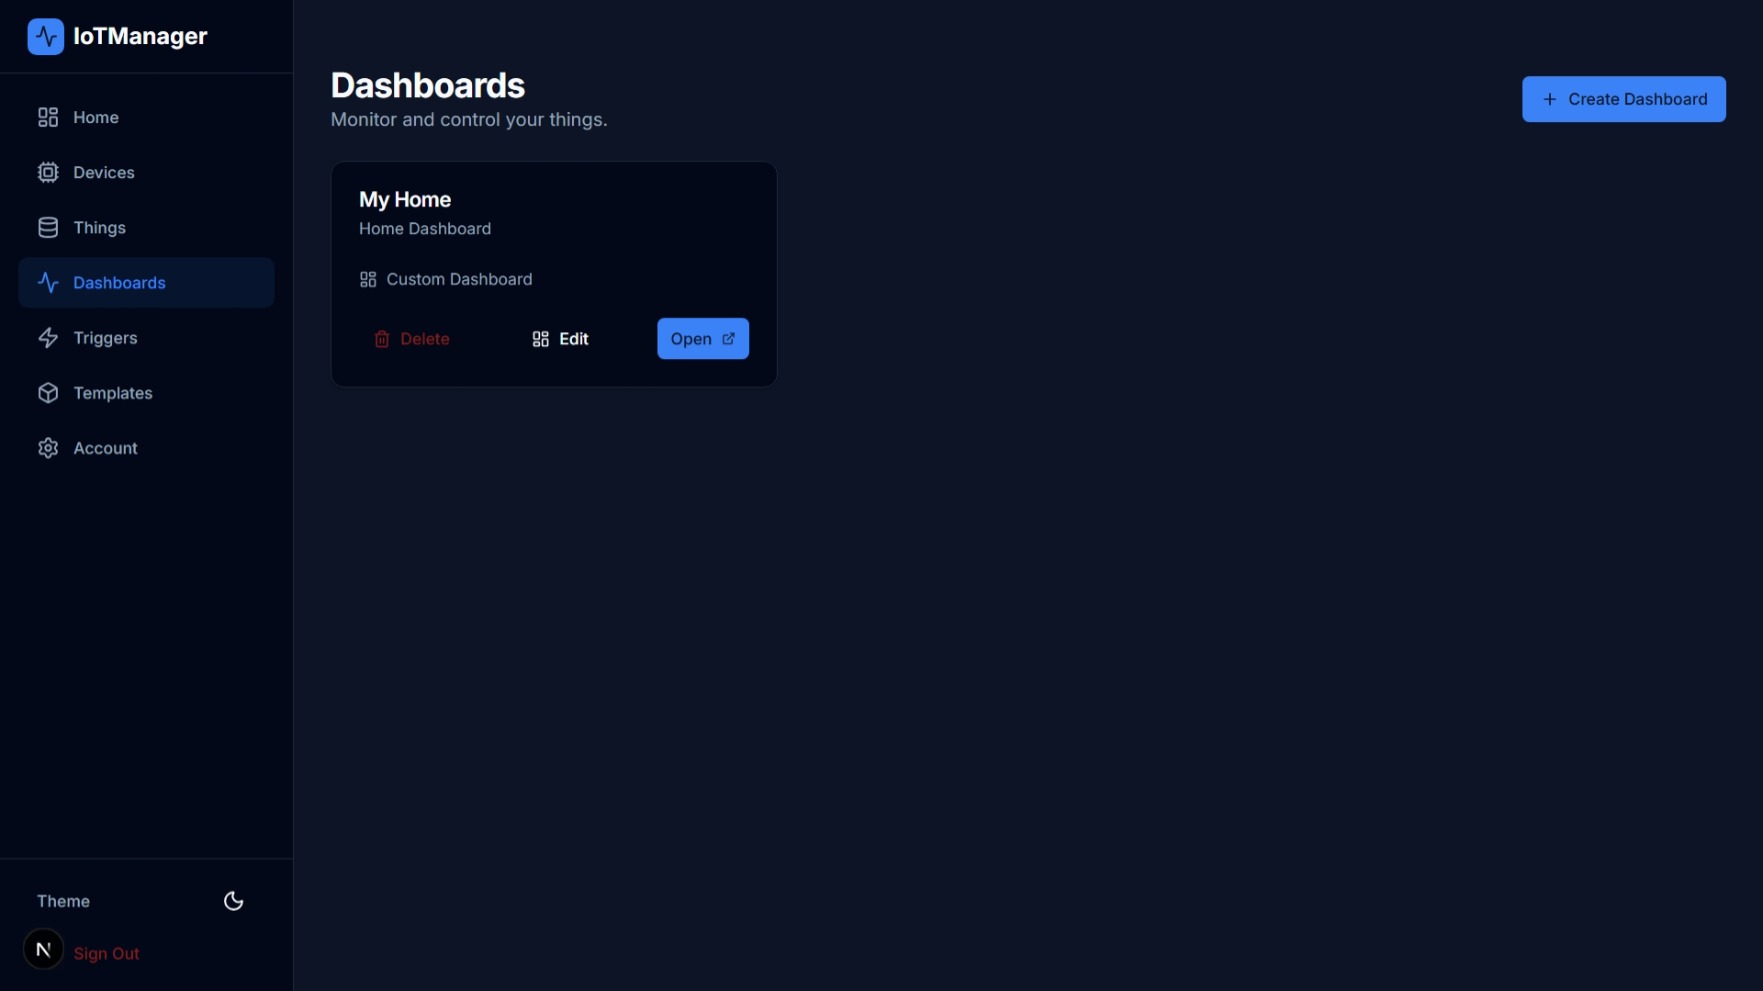 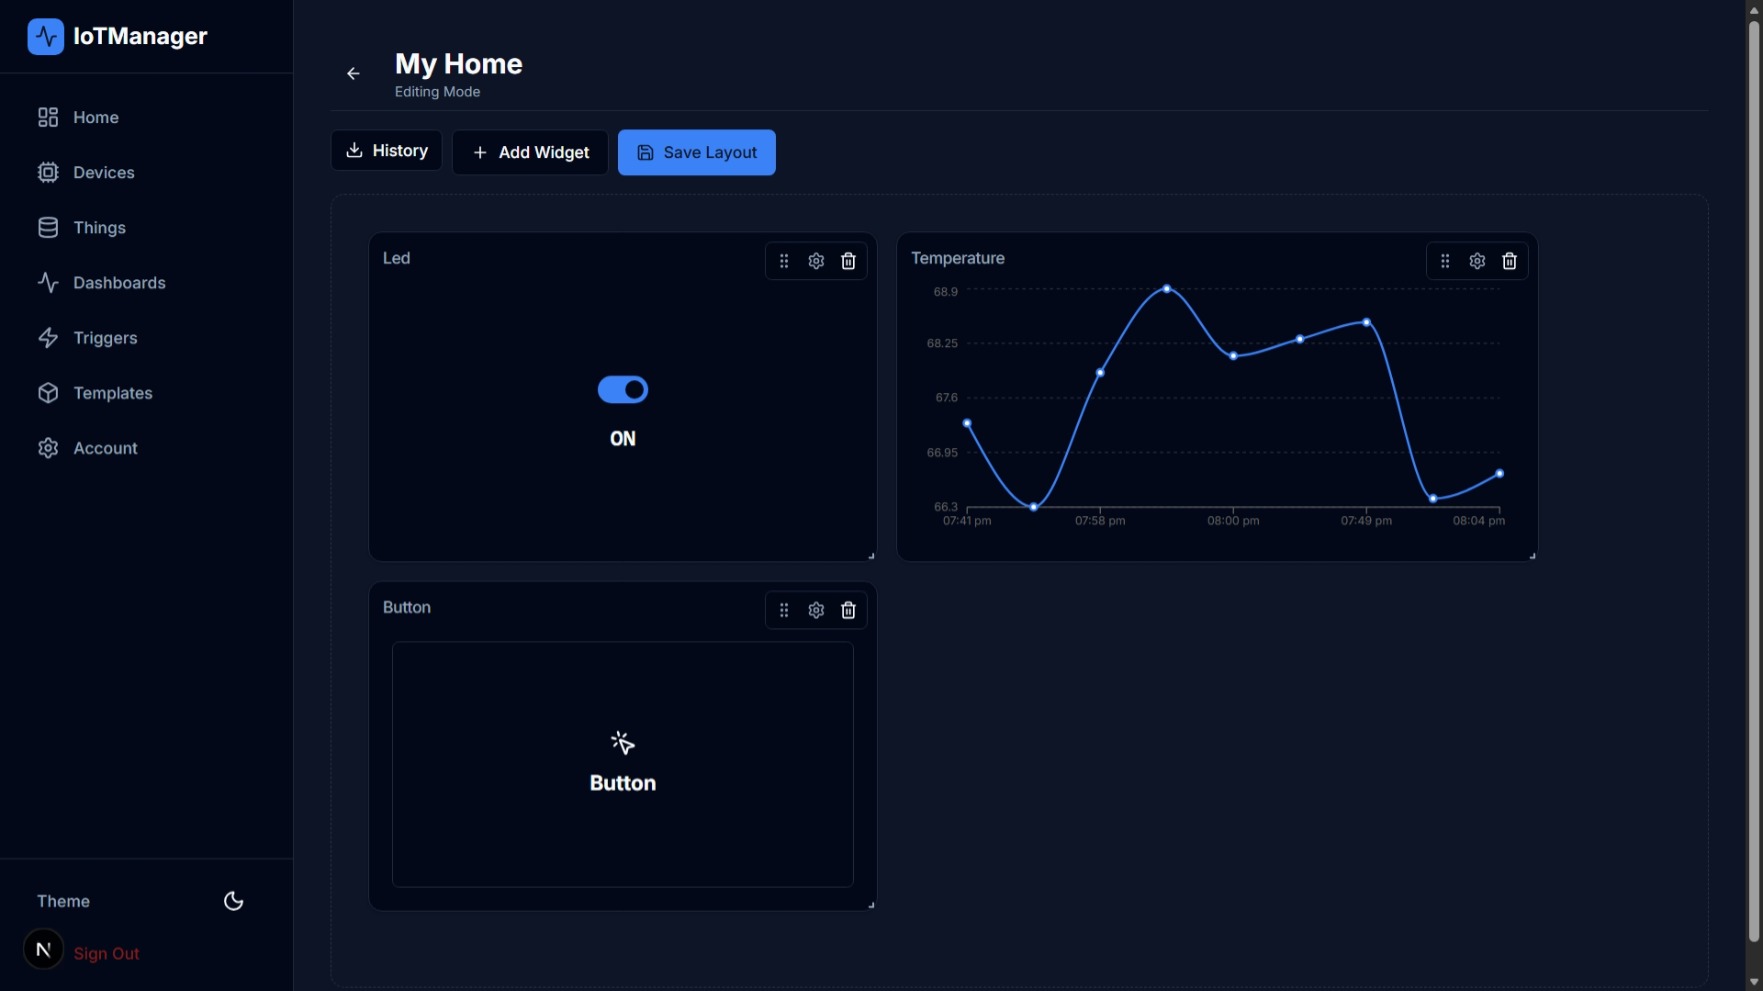 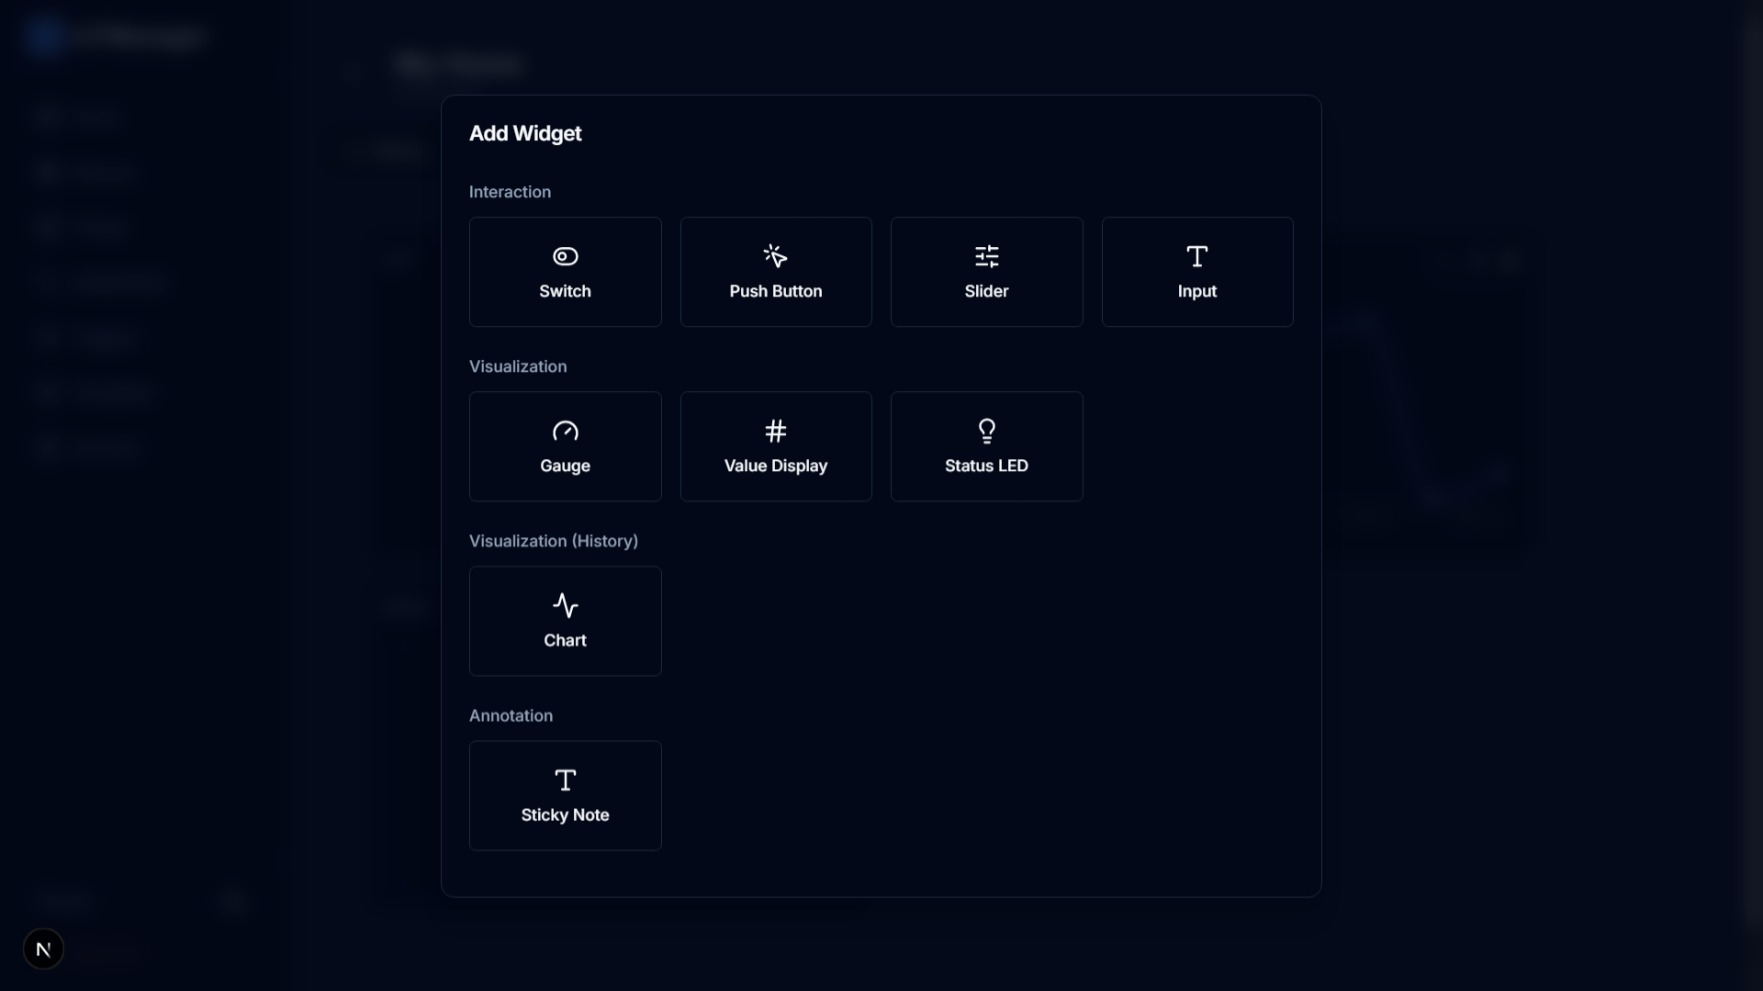 |
| Data Insights | Export historical telemetry in CSV/JSON formats for analytical reporting. | 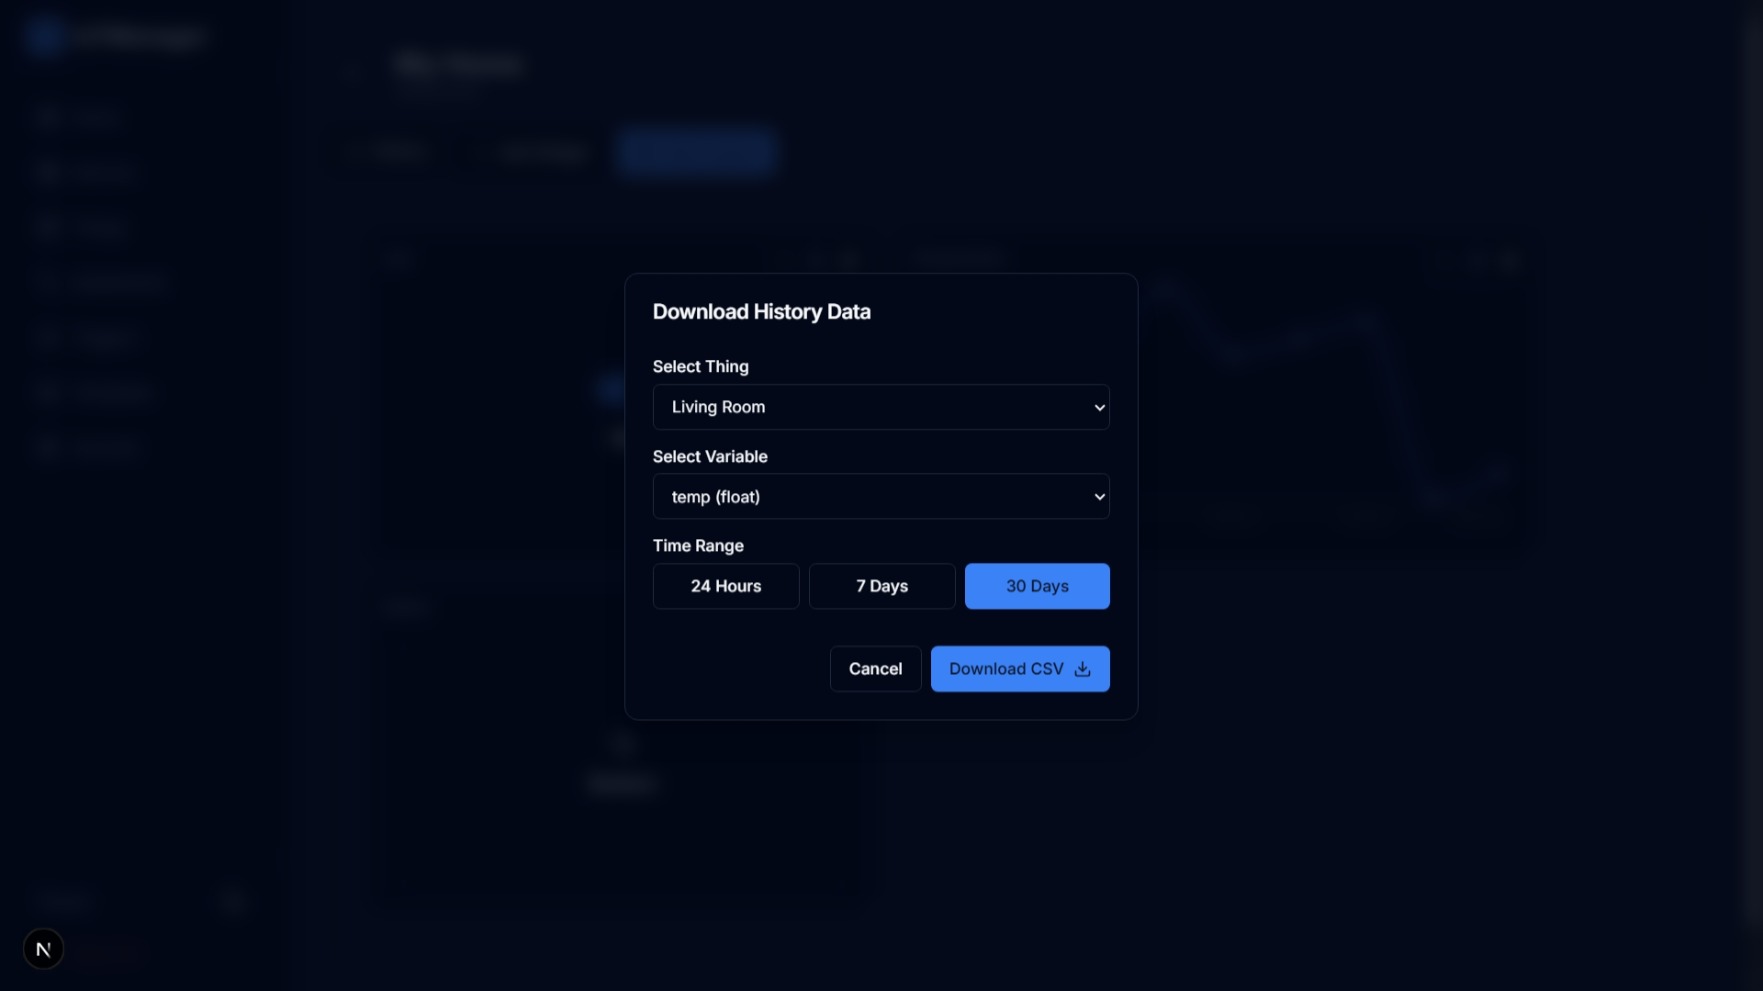 |
| Account Management | Manage account and subscriptions. | 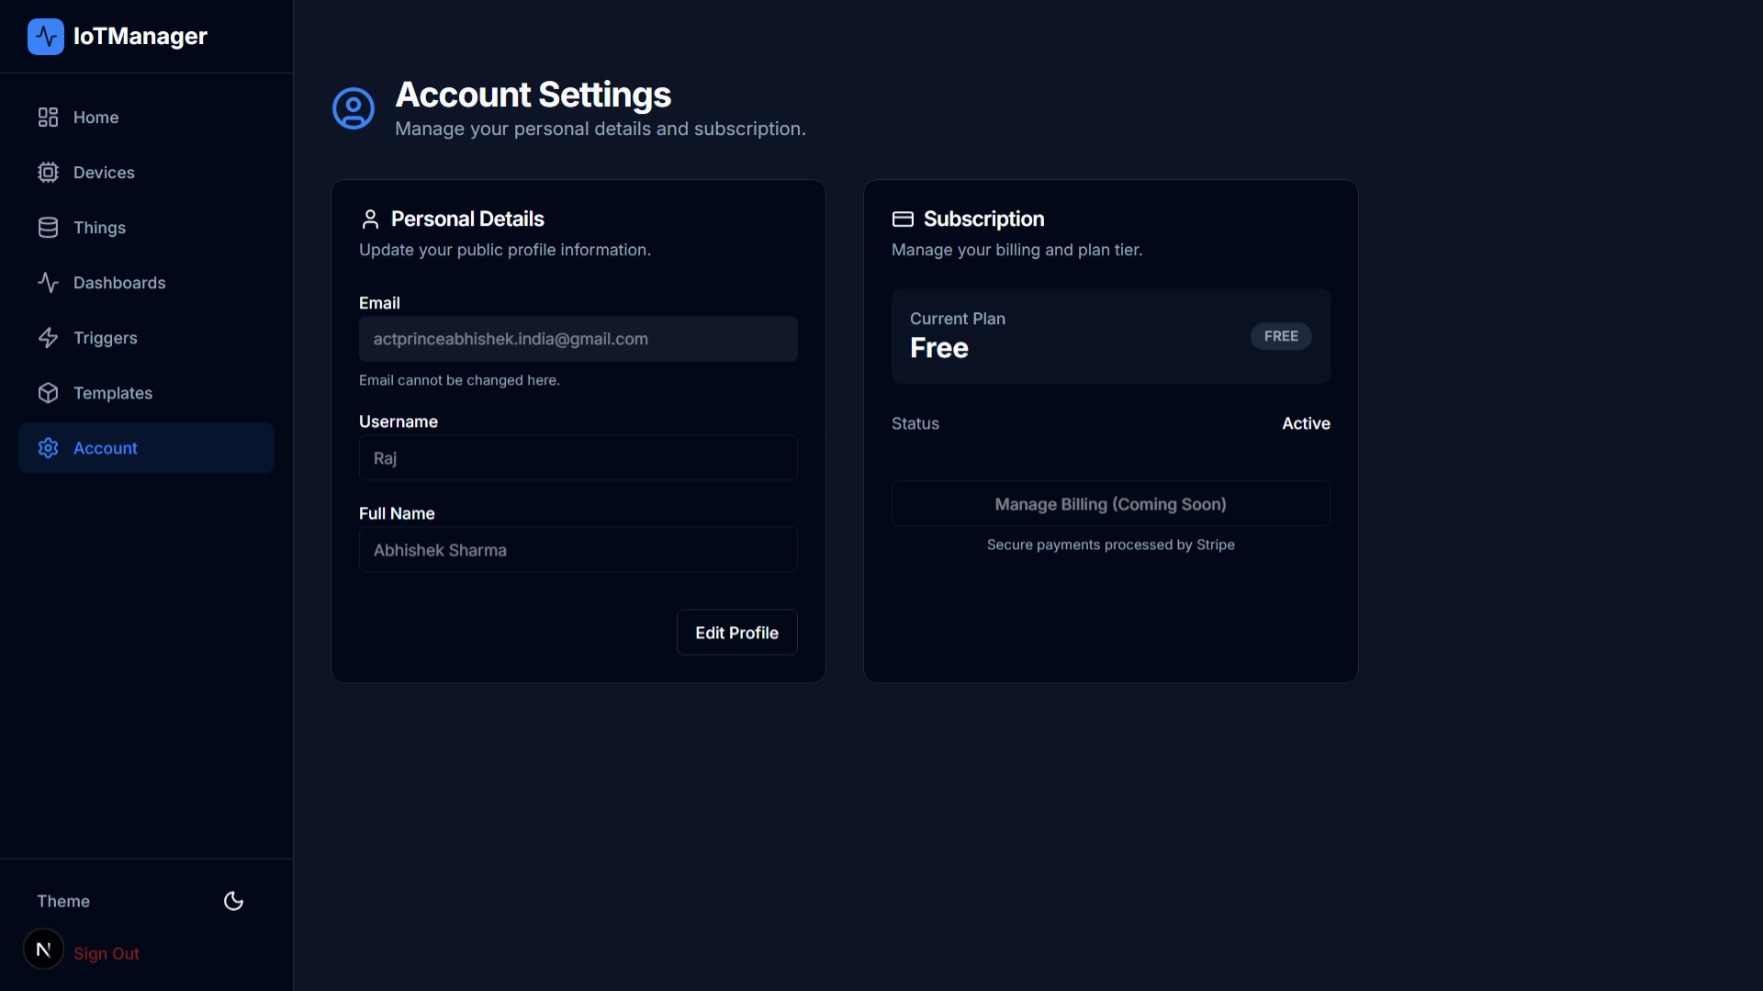 |
graph TD
    Device[ESP32/IoT Device] -- MQTT/TLS --> Bridge[Aedes Bridge Server]
    Bridge -- Telemetry --> DB[(Supabase Postgres)]
    Bridge -- Real-time Updates --> Web[Next.js Dashboard]
    Web -- Command --> DB
    DB -- Real-time Notification --> Bridge
    Bridge -- Command --> Device
    Redis[(Redis Cache)] -- State/Sessions --> Bridge
- Framework: React 19, Next.js 16 (App Router)
- Styling: Tailwind CSS 4, Vanilla CSS
- Icons: Lucide React
- State Management: Redux Toolkit (RTK Query)
- Animations: Custom CSS Keyframes
- Broker: Aedes (High-performance Node.js MQTT Broker)
- Runtime: Node.js & TypeScript
- Caching: ioredis for session and telemetry caching
- Real-time: Supabase Realtime for command propagation
- Hosting: Supabase (Postgres)
- Automation:
pg_cronfor automated data history cleanup - Security: TLS/WSS, Supabase RLS policies
- Node.js v18+
- Supabase Project
- Redis Stack (Optional for dev, required for prod cache)
git clone https://github.com/smartiot-stack/iotmanager-supabase.git
cd iotmanager-supabase# Open DB folder in root
cd DB
# Read schema-pg and implement using Supabase SQL Editor
# Also setup functions and cron jobs
# For client-app
cd client-app
touch .env
# Assign supabase public url and anon key
NEXT_PUBLIC_SUPABASE_URL=
NEXT_PUBLIC_SUPABASE_ANON_KEY=

# For mqtt-server
cd mqtt-server
touch .env
# Assign port, supabase url, supabase service key
PORT=8083
MQTT_PORT=8883
SUPABASE_URL=
SUPABASE_SERVICE_KEY=
REDIS_URL=redis://localhost:6379cd client-app
pnpm install
# Create .env.local with Supabase URL & Key
npm run devcd mqtt-server
pnpm install
# Configure .env with Supabase & Redis credentials
npm run devHere is a quick example of how to connect an ESP32/8266, Raspberry Pi, Custom IoT Gateway etc. to the IoTManager platform using MQTT.
You will get pre written connection code for Arduino (ESP32/8266), Python, Nodejs, Embedded C in things page.
/*
  Required Libraries:
  - PubSubClient by Nick O'Leary
  - WiFi (ESP8266WiFi or WiFi for ESP32)
*/

#include <WiFi.h> // Use <ESP8266WiFi.h> for ESP8266
#include <PubSubClient.h>

// Credentials
const char* ssid = "YOUR_WIFI_SSID";
const char* password = "YOUR_WIFI_PASSWORD";

// MQTT Broker
const char* mqtt_server = "mqtt.iotmanager.online";
const int mqtt_port = 8883;

// Device Auth
const char* mqtt_user = "";
const char* mqtt_pass = "";
const char* client_id = "";

WiFiClientSecure espClient; // Use WiFiClient for non-secure
PubSubClient client(espClient);

void setup() {
  Serial.begin(115200);

  // Connect WiFi
  WiFi.begin(ssid, password);
  while (WiFi.status() != WL_CONNECTED) {
    delay(500);
    Serial.print(".");
  }

  // Secure connection (Optional: Add CA cert for verification)
  espClient.setInsecure(); // Skip verification for testing

  client.setServer(mqtt_server, mqtt_port);
  client.setCallback(callback);
}

void callback(char* topic, byte* payload, unsigned int length) {
  Serial.print("Message arrived [");
  Serial.print(topic);
  Serial.print("] ");
  for (int i = 0; i < length; i++) {
    Serial.print((char)payload[i]);
  }
  Serial.println();
}

void reconnect() {
  while (!client.connected()) {
    if (client.connect(client_id, mqtt_user, mqtt_pass)) {
      Serial.println("Connected to MQTT");
      client.subscribe("commands/{thingID}");
    } else {
      delay(5000);
    }
  }
}

void loop() {
  if (!client.connected()) {
    reconnect();
  }
  client.loop();

  // Example Publish
  // Payload: {"temp":0,"light":true}
  String payload = "{\"temp\":0,\"light\":true}";
  client.publish("telemetry/{thingId}", payload.c_str());

  delay(10000); // Send every 10 seconds
}
IoTManager comes with a built-in automated maintenance job to keep your database lean.
- Free Plan: Retains history for 24 hours.
- Paid Plans: Retains history for 30 days.
See
DB/cron_jobfor implementation details usingpg_cron.
- Fork the Project
- Create your Feature Branch (
git checkout -b feature/AmazingFeature) - Commit your Changes (
git commit -m 'Add some AmazingFeature') - Push to the Branch (
git push origin feature/AmazingFeature) - Open a Pull Request
Distributed under the MIT License. See LICENSE for more information.
Built with ❤️ for the IoT Generation.