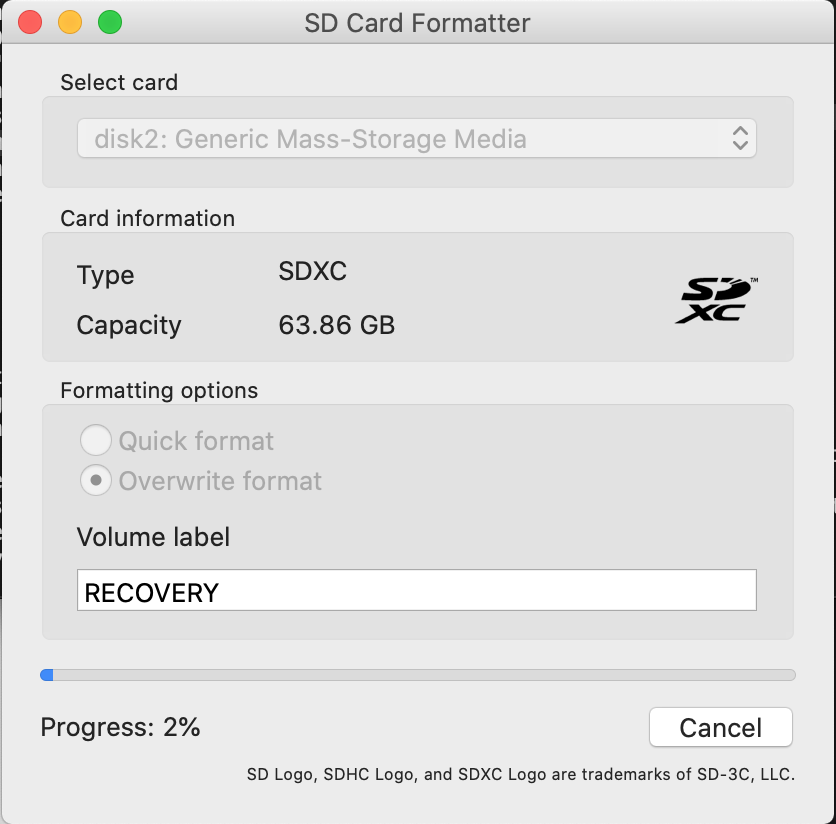
Download SD Memory Card Formatter and format your SD card.
Classic way: download Raspberry os and install it manually.

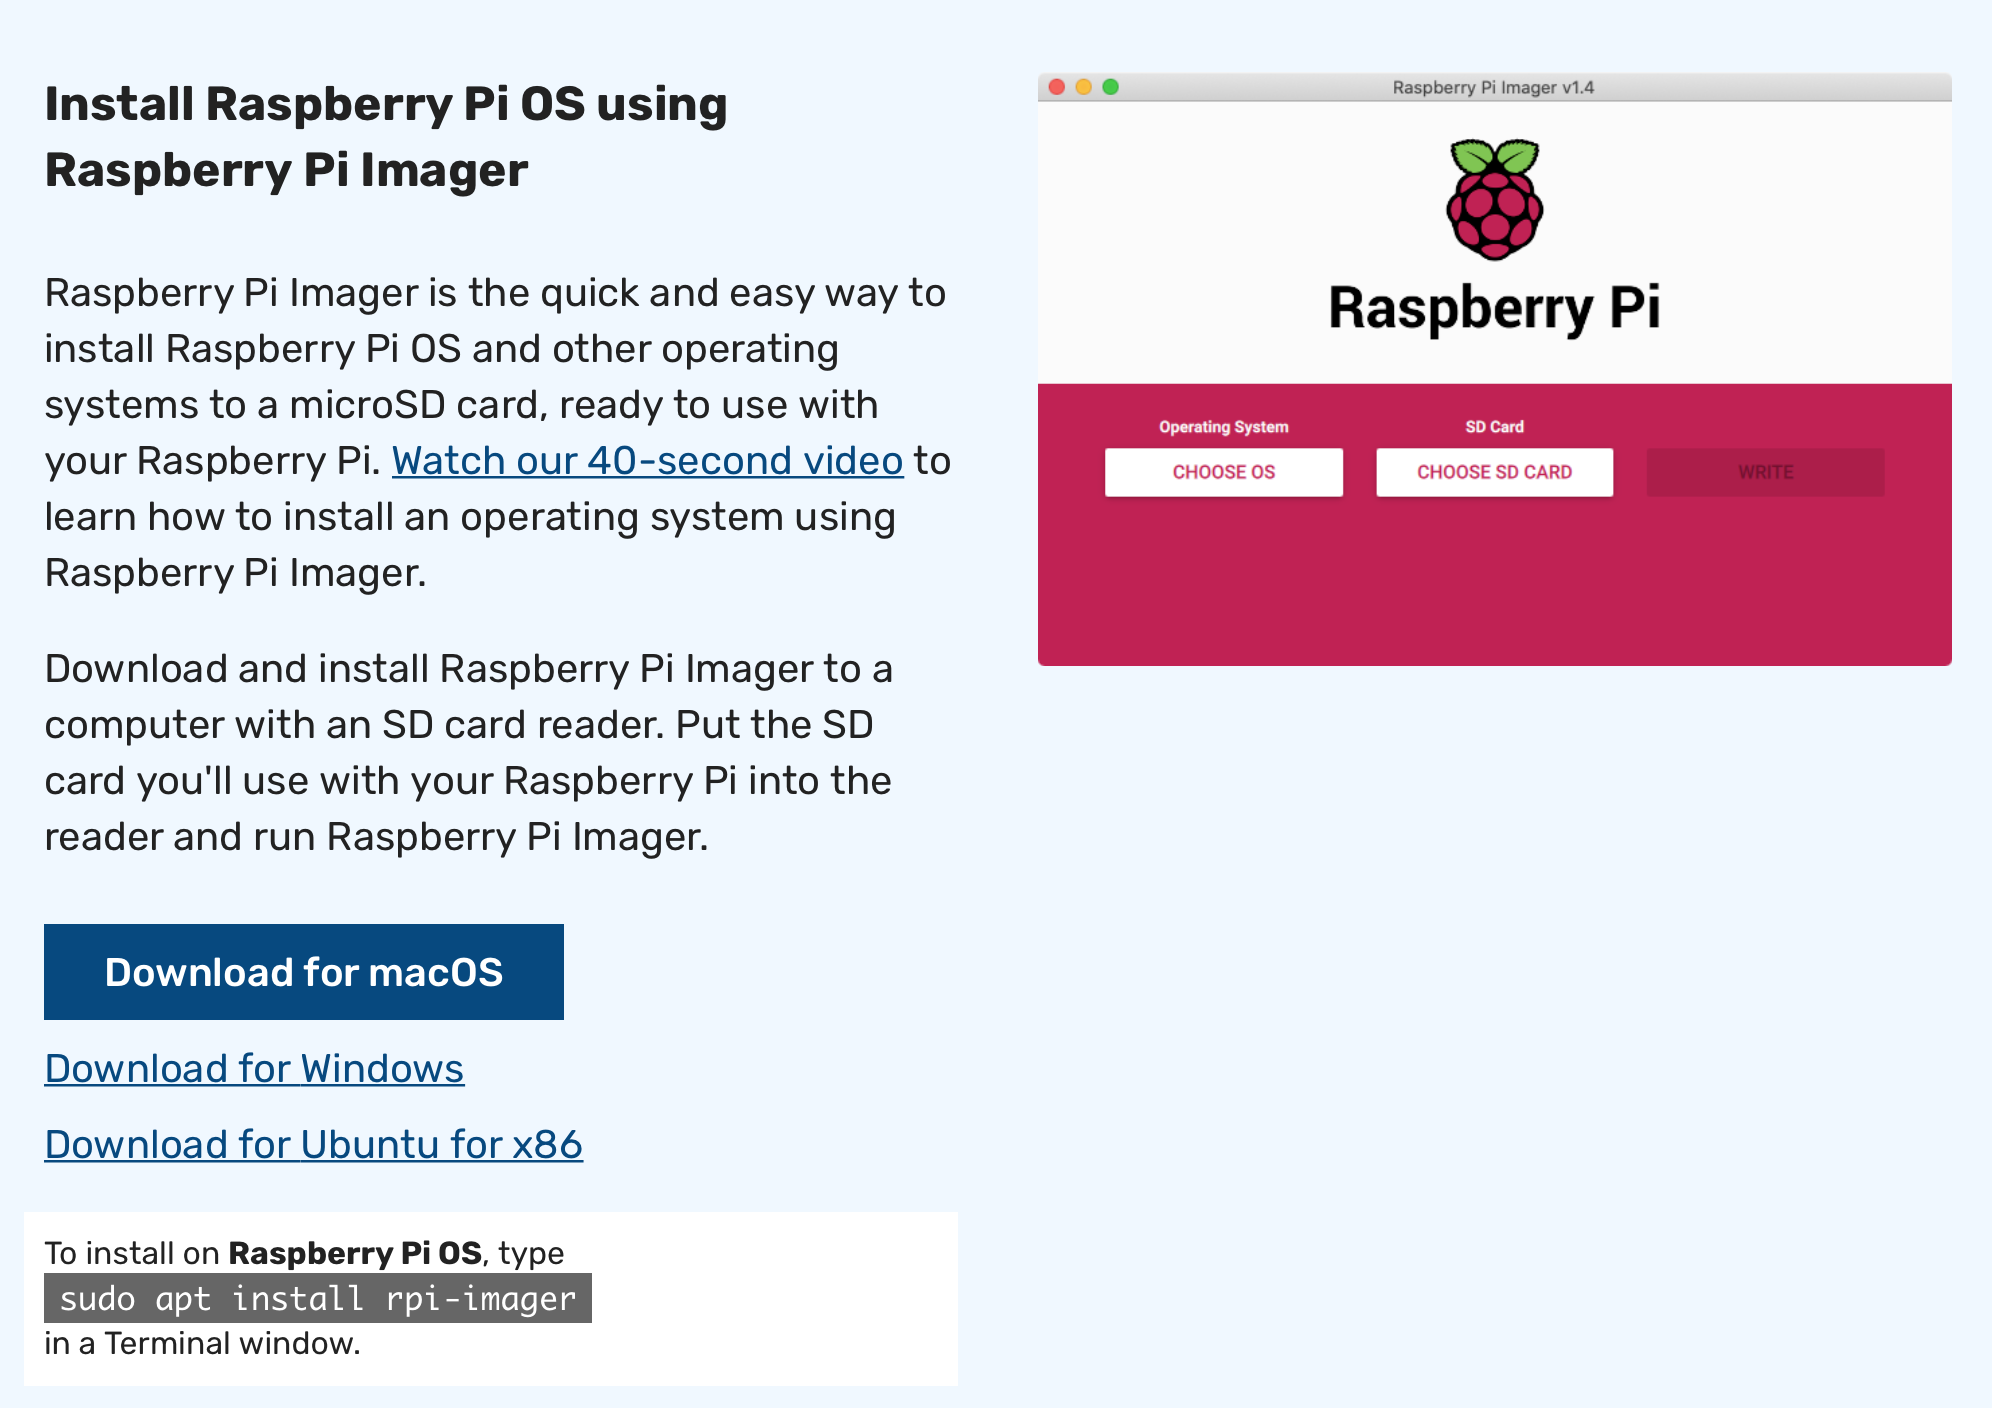
Easy way: download Raspberry Pi Imager (please, check the OS of your PC when you download it). Detailed processes are explained on Raspberry Pi blog.
Etcher flashes the OS images to SD cards or USB drives, safely and easily.
- Run Etcher and select the Raspberry Pi OS image and SD card drive. Then, click burn.
- Unmount the SD card.
When I mount Raspberry's SD card, I got the message...
Kernel panic-not syncing:
VFS: unable to mount root fs on unknown- block(179,2)
There are many reasons to generate this problem. You can find some solutions on Raspberry pi forum. If you can understand Korean, please check here: 커널 패닉 동기화되지 않음 : VFS : NOOBS 위에서 Raspbian을 실행중인 알 수없는 블록 (179,6)에 루트 fs를 마운트 할 수 없음 or 라즈베리파이 커널 패닉 In my case, I just formatted the SD card again and then reinstalled Raspberry OS using Raspberry Pi Imager. It is a much easier way personally.
- Mount your Raspberry camera properly
- Go to
Preferences→Raspberry Pi ConfigurationInterfaces, then make enabled camera and reboot your Raspberry Pi details in Korean, 한국어 설명. - To test your camera, please run attached files in the repository. The codes are copied from the blog, 라즈베리파이 CCTV written in only Korean but it explains a process well.
clone pythons codes on your folder.
pi@raspberrypi: ~ $ git clone https://github.com/soyounson/Raspberry_Pi_setup.git
open your terminal,
pi@raspberrypi: ~ $ python test_photo.py
open your terminal,
pi@raspberrypi: ~ $ python test_video.py
On Chrome, I got the message :
Your connection is not private.
Attackers might be trying to steal your information from ... (for example, passwords, messages, or credit cards.) Learn more
NET::ERR_CERT_DATE_INVALID
Check date and time. If you get other message, check this blog to explain How to Fix Your Connection is Not Private Error in Chrome (18 Tips). To solve this problem,
- Step 1
Preferences→Raspberry Pi Configuration→Localisationcheck yourTimezone: Set Timezone...andWiFi Country: Set WiFi Country... - Step 2 My setting is good but the date and time are still wrong. Open your terminal, check your time zone again from command line
pi@raspberrypi: ~ $ sudo raspi-config
Current default time zone: 'Europe/Paris'
Local time is now:      Thu Aug 20 14:18:04 CEST 2020.
Universal Time is now:  Thu Aug 20 12:18:04 UTC 2020.
ewwwwwwww 😡 .....so, manually set the time to be correct as described on Raspberry Pi blog
pi@raspberrypi: ~ $ sudo raspi-config
Current default time zone: 'Europe/Paris'
Local time is now:      Thu Aug 20 14:18:04 CEST 2020.
Universal Time is now:  Thu Aug 20 12:18:04 UTC 2020.
Still...wrong date and time. So, set exact date and time.
pi@raspberrypi: ~ $ sudo date -s "11/26/2020 18:39"
Thu 26 Nov 2020 06:39:00 PM CET
Now, your date and time are updated! Then, connect to wifi again. It works perfectly.
Open the terminal to install the touch driver (Raspberry Pi MUST be connected to the network!) Download driver on waveshare site
pi@raspberrypi: ~ $ git clone https://github.com/waveshare/LCD-show.git
After installing the driver, go to the directory
pi@raspberrypi: ~ $ cd LCD-show/
pi@raspberrypi: ~ $ chmod +x LCD35C-show
pi@raspberrypi: ~ $ ./LCD35C-show
Then, automatically reboot the Raspberry Pi. Here, HDMI monitor doesn't show screen. Now, connect the LCD monitor to Raspberry Pi.
possible problems: overscan, rotation, screen size... Get more information on Raspberry Pi Display Troubleshooting and Raspberry configuration Briefly, open the configuration tool from command line
pi@raspberrypi: ~ $ sudo raspi-config
or fix some problems with config.txt
pi@raspberrypi: ~ $ sudo nano /boot/config.txt
After then, save modified file with Ctrl+X and reboot Raspberry Pi
pi@raspberrypi: ~ $ sudo reboot
First, open terminal in Raspberry pi ( If you can understand Korean, please check here: IT에 취.하.개)
pi@raspberrypi: ~ $ sudo apt-get install tightvncserver
Then, set password
pi@raspberrypi: ~ $ vncserver
Your will require a password to access your desktops.
Password:
Warning: password truncated to the length of 8.
Verify:
Would you like to enter a view-only password (y/n)? y
Password:
Warning: password truncated to the length of 8.
Verify:
Okay, now, install VNC viewer on Mac, Window, Linux, Ubuntus...
- download VNC viewer
- put Raspberry pi's
IP address+:1as seen below:

(get your Raspberry pi's IP address from ifconfig)
pi@raspberrypi: ~ $ ifconfig
eth0   .....

lo     .....

wlan0  Link encap:Ethernet a4:xx:xx:xx:xx:xx
	   inet addr: 11.222.333.444 Mask: 255.255.255.0
       ...
IP address is 11.222.333.444
Follow installation instructions on Github. All details in Korean can be found here.
open your terminal, update first and download release file
pi@raspberrypi: ~ $ sudo apt-get update
pi@raspberrypi: ~ $ wget https://github.com/dltpdn/opencv-for-rpi/releases/download/4.2.0_buster_pi3b/opencv4.2.0.deb.tar
unzip the file and then install it
pi@raspberrypi: ~ $ tar -xvf opencv4.2.0.deb.tar
pi@raspberrypi: ~ $ sudo apt-get install -y ./OpenCV*.deb
Okay, lets check version of OpenCV
pi@raspberrypi: ~ $ pkg-config --modversion opencv4
4.2.0
or
pi@raspberrypi: ~ $ python
Python 3.7.3 (default, Mar 27 2019, 16:54:48)
[Clang 4.0.1 (tags/RELEASE_401/final)] :: Anaconda, Inc. on darwin
Type "help", "copyright", "credits" or "license" for more information.
>>> import cv2
>>> cv2.__version__
'4.2.0'
- In the terminal,
pi@raspberrypi: ~ $ sudo shutdown -h now
or
pi@raspberrypi: ~ $ sudo halt
- Wait for the LED to stop flashing on the Raspberry Pi (additionally 5 secs).
- Turn off the power strip (Raspberry Pi power supply).
Enjoy :)