A tutorial on how to use Wit.ai with a Messenger bot to help voters get information on how and when to vote.
This is a tutorial on how to build a simple Messenger bot that utilizes Wit.ai to provide information to voters. The backend is deployed on AWS with API Gateway and Lambda.
- A Facebook Developer account
- A Wit.ai account
- An AWS account (Must be able to create Lambda functions, API Gateway end-points, and IAM roles)
- Node.js installed
- NPM installed
- Claudia.js installed (
npm install claudia -g) - AWS CLI installed
- Create a new app on the apps page of Wit.ai.
- Create a new intent:
- Type
Where can I vote?as an utterance and assign it an intent offindPollingPlace. Click Train and Validate. - Type
When is the next election?as an utterance and assign it an intent ofnextElection. Click Train and Validate.
- Type
- This is the minimum setup required to get started, but you can continue to add utterances for each of the intents to help improve the accuracy of the bot. (Ex:
Where is my polling place?orWhen can I next vote?)
- Create a new app on Facebook Developers for your Messenger bot.
- Choose Manage Business Integrations.
- Give your app a display name and enter your email address.
- Click Create App ID and answer the CAPTCHA when it appears.
- Find Messenger from the grid of products and click Set Up.
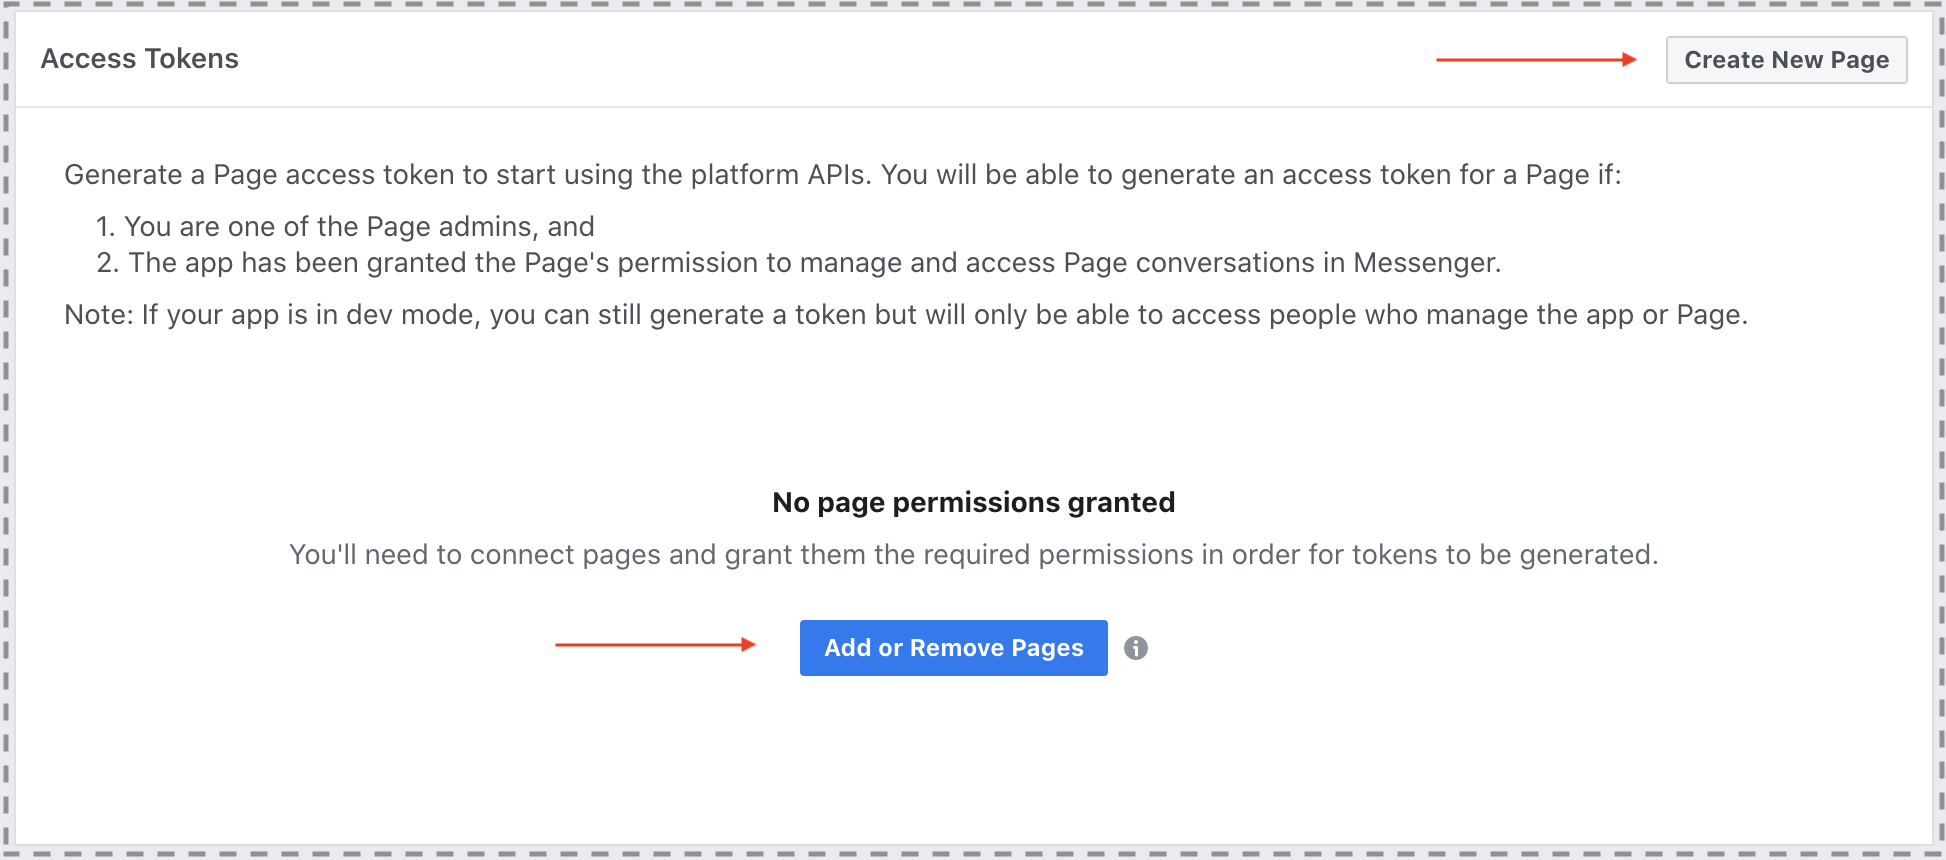
- Scroll to the Access Tokens section and either connect an existing page on Facebook or create a new page. NOTE: A Messenger bot must be assigned to a Facebook Page in order to work.
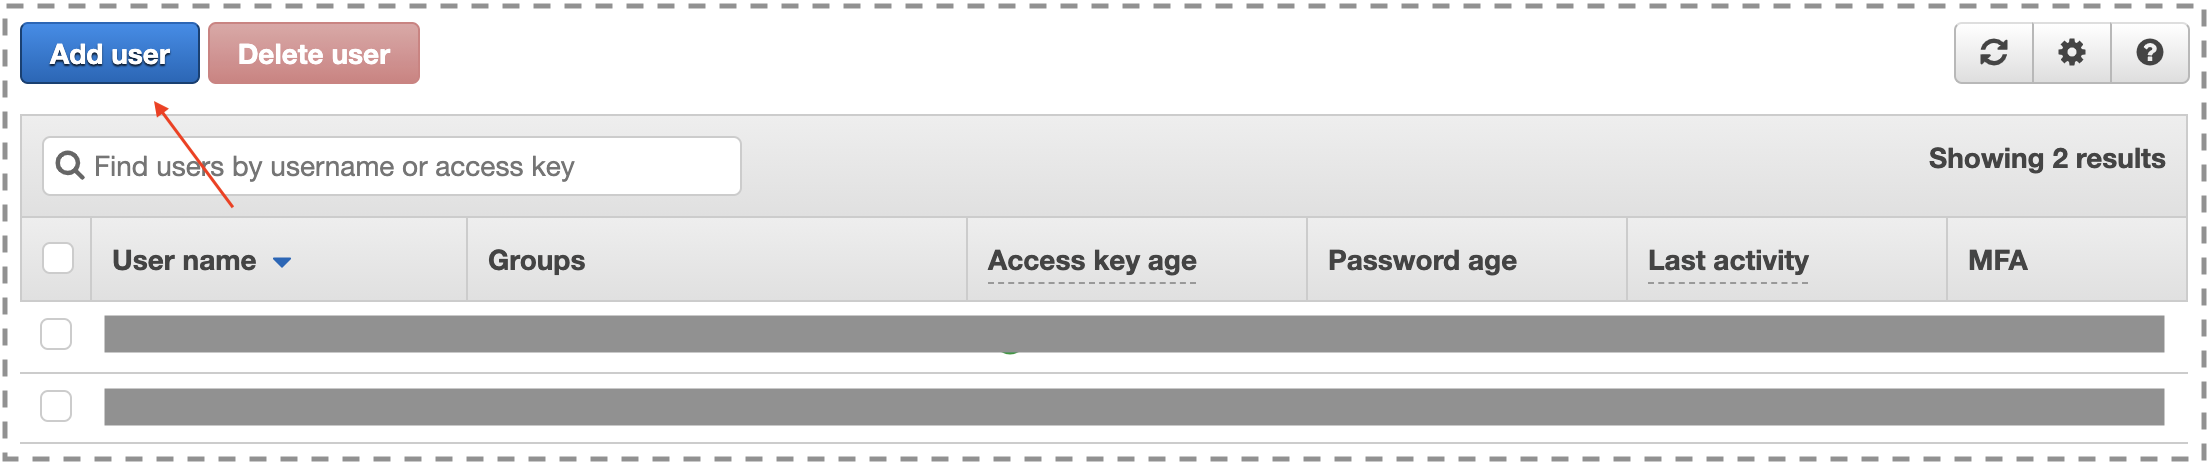
- Click Users from the Identity and Access Management (IAM) Dashboard.
- Click Add user.
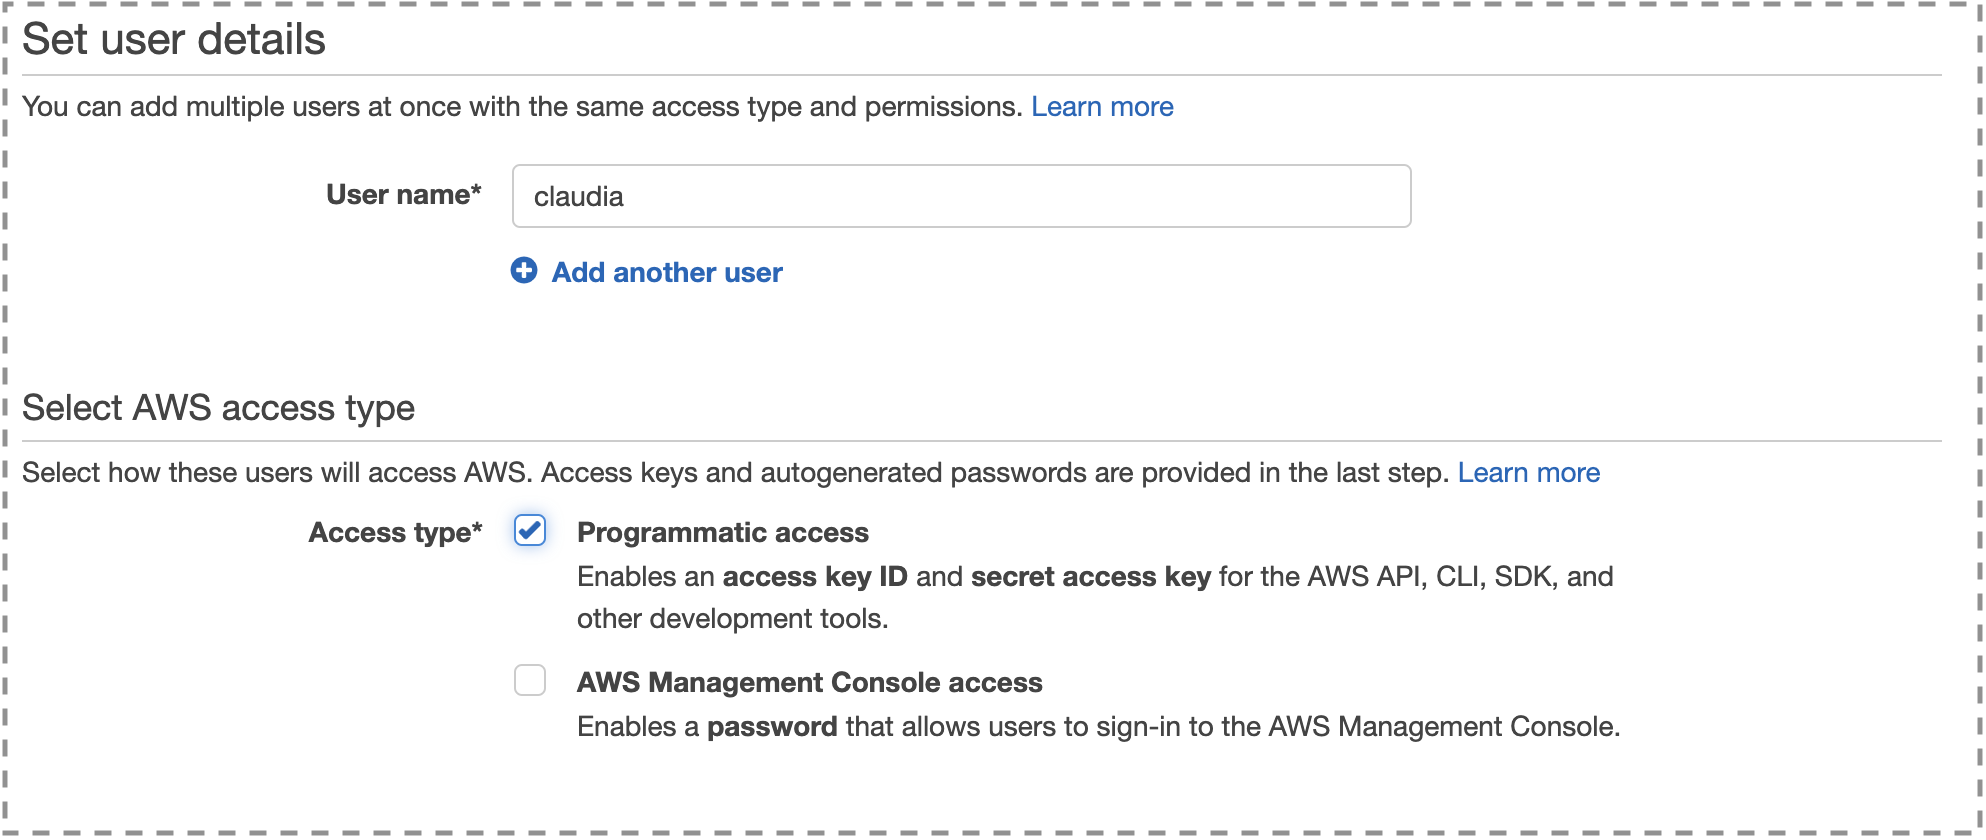
- Create a new Programmatic access user with the username
claudia. This IAM user will be used by Claudia.js to create the necessary resources for your bot on AWS automatically. - Attach the following existing policies directly to the user
claudia.AWSLambdaFullAccessAmazonAPIGatewayAdministratorIAMFullAccess
- You can leave the remaining settings set to whatever the defaults are. Once your user is created, make sure to take note of the Access Key ID and Access Key Secret (you can't view the secret again after you leave the confirmation page).
- Add this newly created IAM user to your
~/.aws/credentialsfile. This is the file the AWS CLI uses for authentication to AWS.- You can create a new profile for
claudiaas to not interfere with any other credentials you have setup already. - Copy the following code snippet and add it to
~/.aws/credentialsreplacing YOUR_ID and YOUR_SECRET with your Access Key ID and Access Key Secret from the confirmation screen.
[claudia] aws_access_key_id = _YOUR_ID_ aws_secret_access_key = _YOUR_SECRET_ - You can create a new profile for
- Run the command
export AWS_PROFILE=claudiato set theclaudiaas the default profile for the AWS CLI to use.
- Make a new directory to place your code in. For the purposes of this tutorial we'll use 'voterbot'.
- Make a new file called
bot.jsand paste the code found in bot.js in this repo. - In the directory run the following commands to install dependencies:
npm initYou can use all default valuesnpm install claudia-bot-builder
- Now use Claudia.js to push the code to Lambda and create endpoints automatically in the API Gateway.
claudia create --region us-east-1 --api-module bot --configure-fb-botThis can take a while to run so be patient
- You will now need to link the bot with your Facebook app.
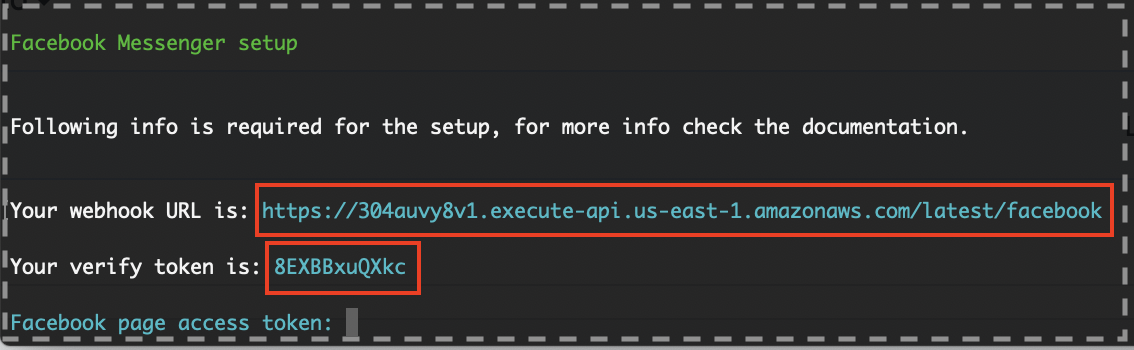
- From the
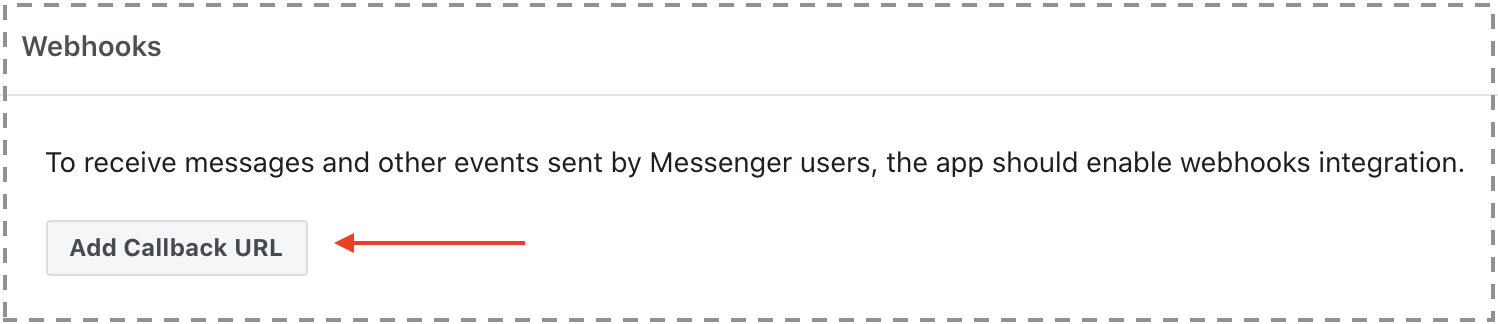
claudia createcommand you should get an output similar to the one below: - Back in the Facebook Developer app dashboard under Webhooks, click Add Callback URL.
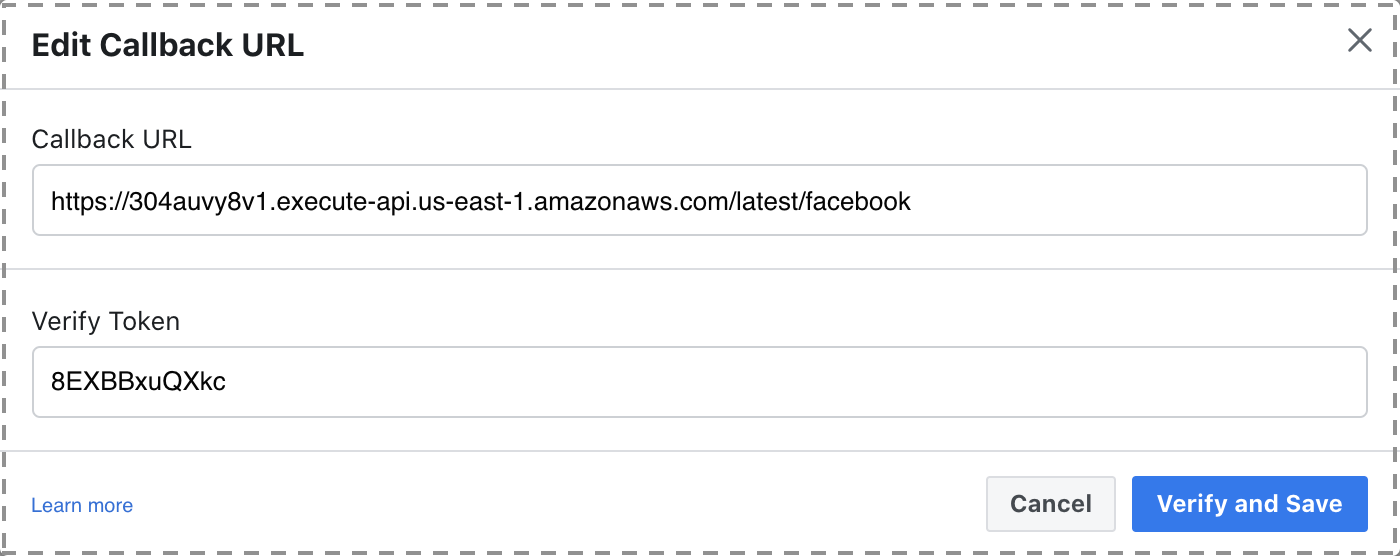
- Use the values from terminal and enter them in as the callback URL like below and click Verify and Save.
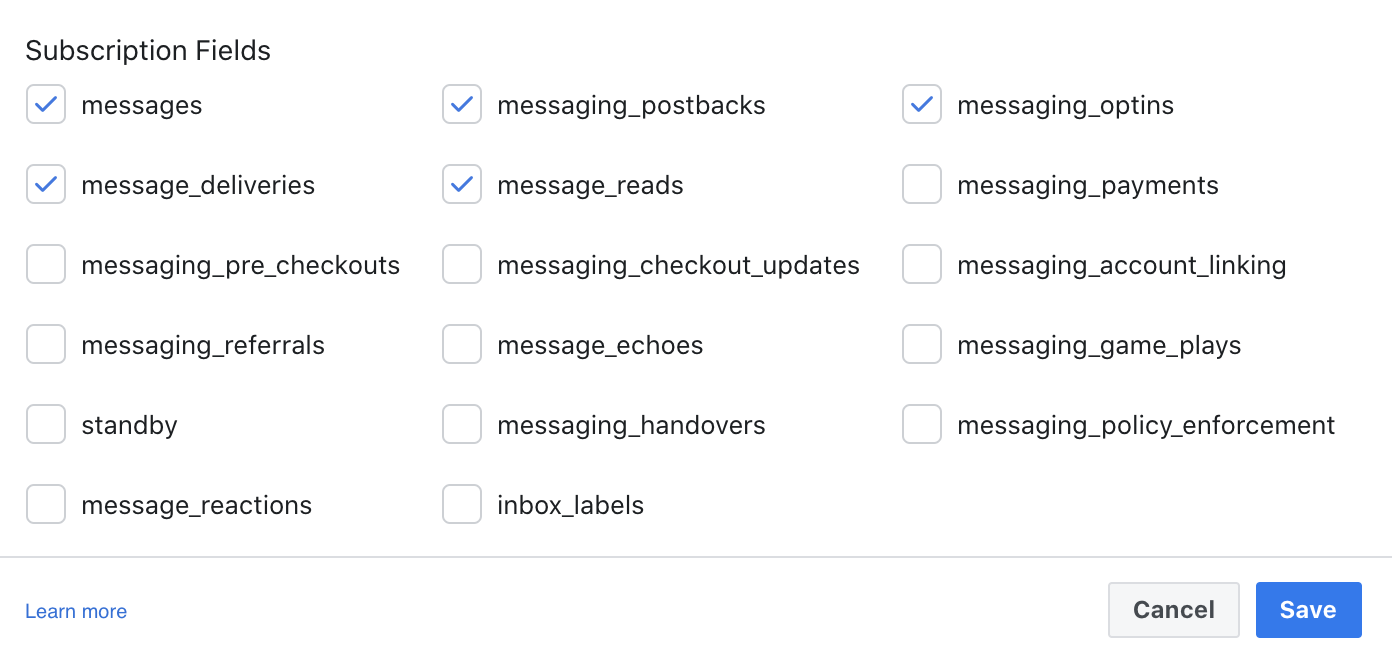
- Click Edit on the page the callback URL you just added and subscribe it to the following actions:
messagesmessaging_postbacksmessage_deliveriesmessage_reads
- Next, generate a token for your page to be accessed by the app. Under Access Tokens click Generate Token for your page.
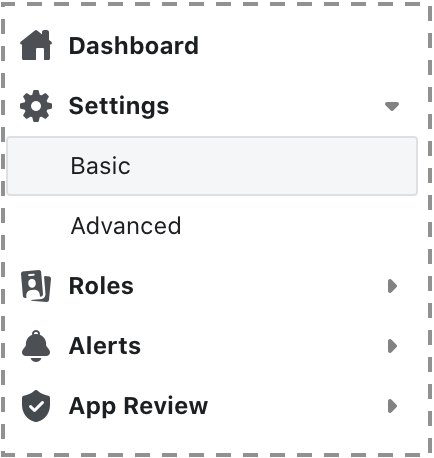
- Copy the token that was generated and paste it back in the terminal and hit enter. You should then be prompted for your Facebook App Secret. You can get this by clicking Settings > Basic.

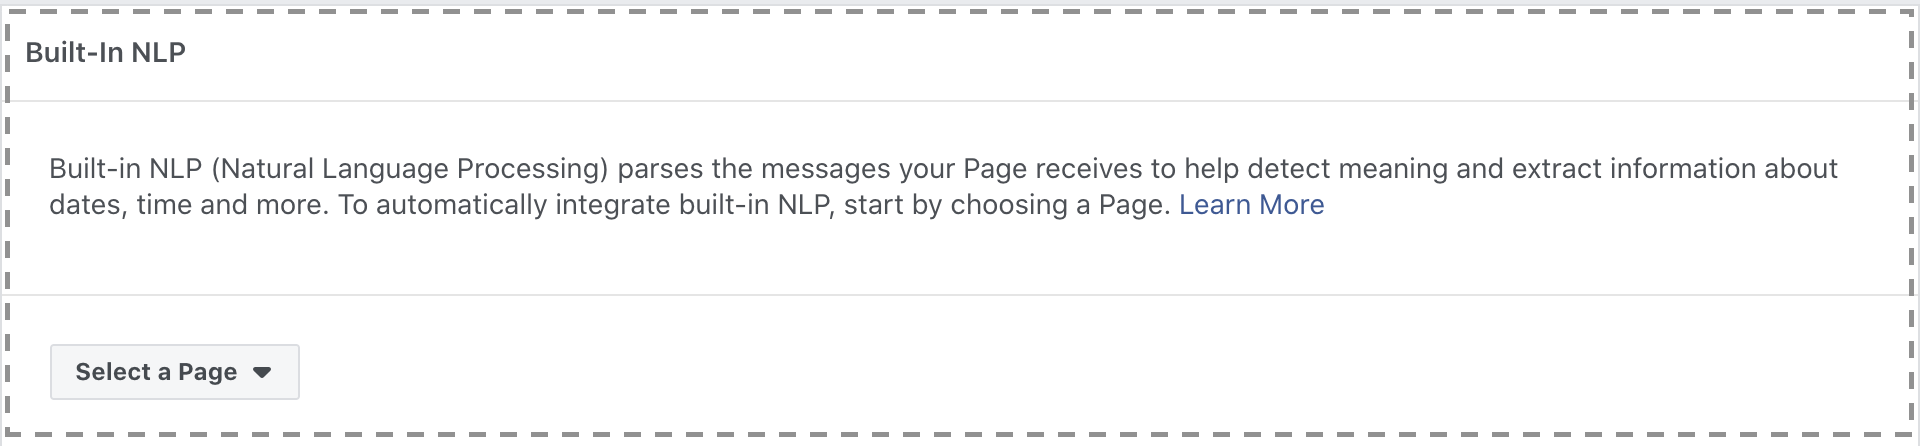
- Under Built-In NLP, choose the page your bot is linked to and click the switch to turn it on.
- Choose Custom Model from Default Language Model.
- Click Link to existing Wit app.
- Enter the Wit app Server Access Token which can be found on Wit.ai under the Settings page for your app under the Management section.
You should now be able to message your page and your bot will respond!