Objective C (Xcode) HowTo
In this MAC Guide, you will be covering the following topics:
- Download, Install and Open Xcode 6.1.1+
- Open a new project and designate a name for it
- Edit Source Code, then run new implementation
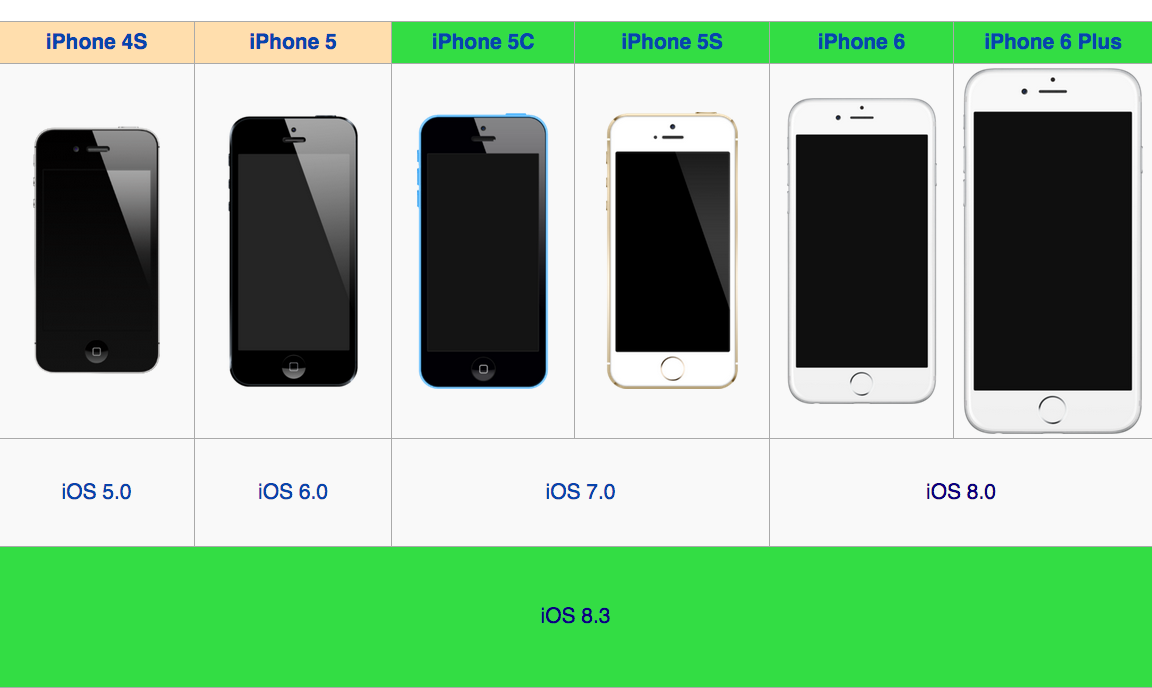
Xcode 6.1.1+ IDEs were chosen based upon the support of current iOS devices running iOS 8.0 seen in screen shot below:
If you have an Xcode that is 6.1.1+ already you can skip to section 2, where there is a supplementary video that shows how to use an Xcode that is 6.1.1+ in action. The tutorial concludes with editing the Objective-C source code from section 2 and running with the new implementation.
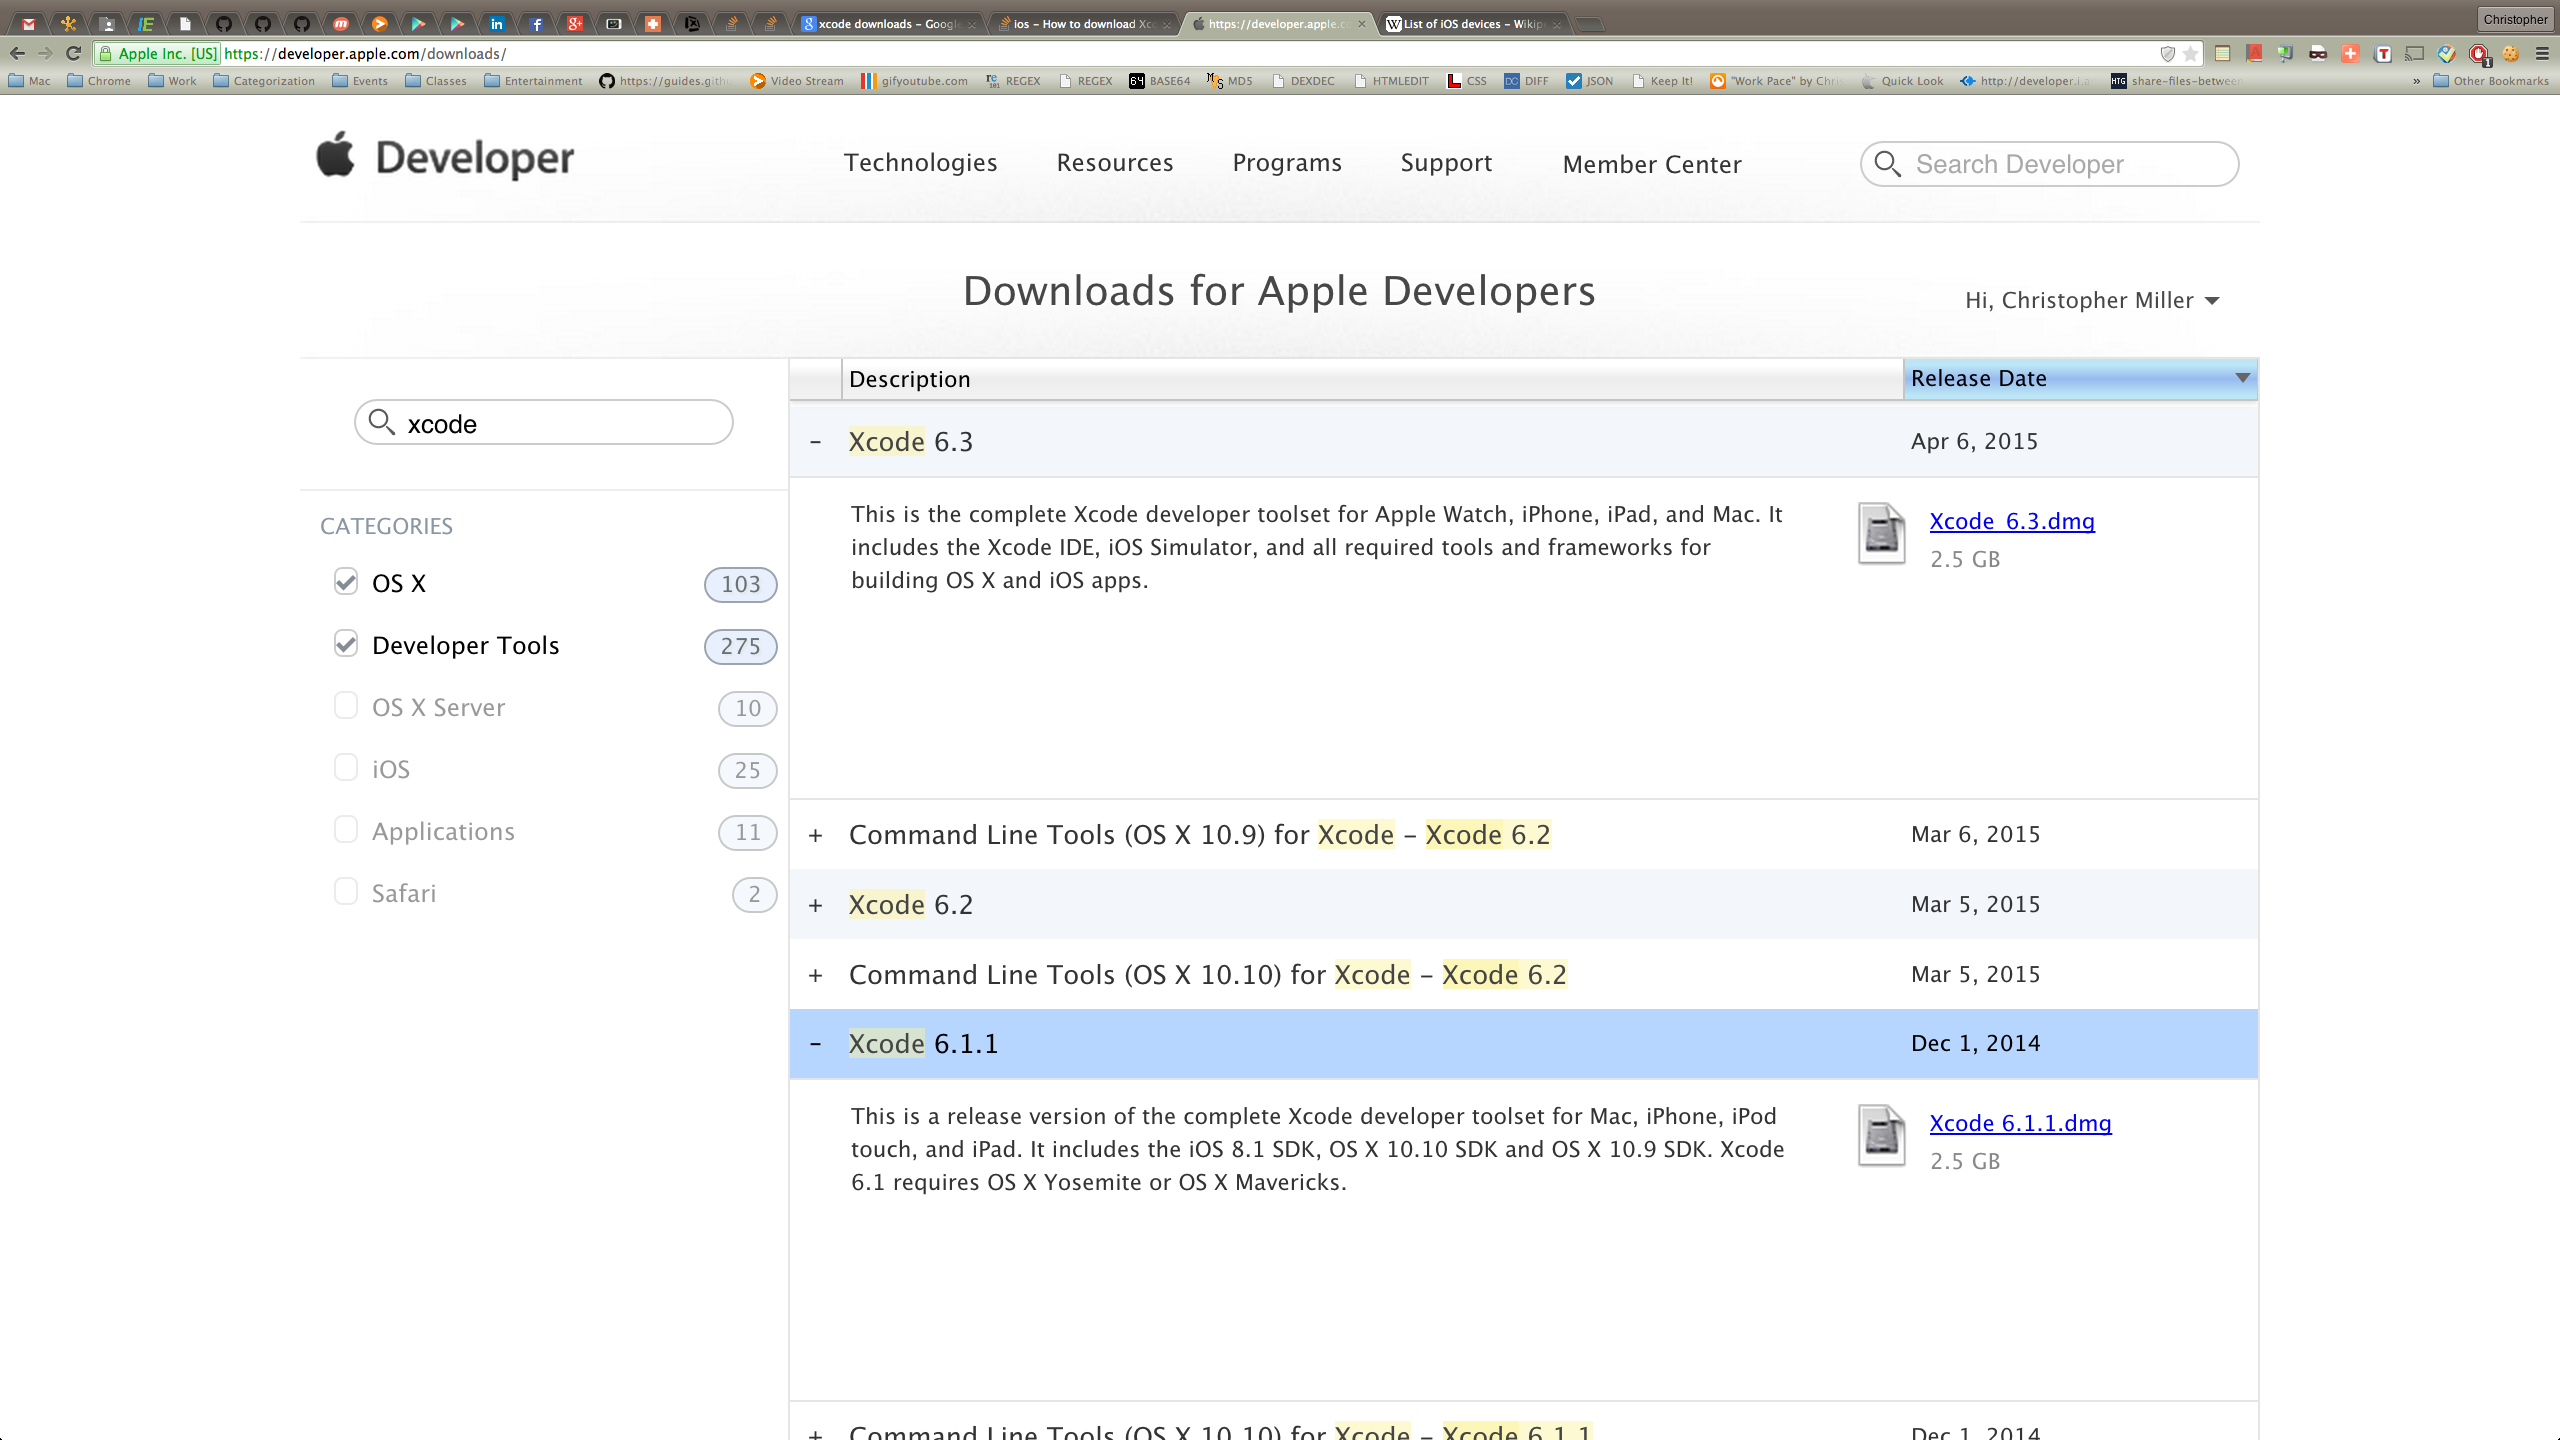
All versions of Xcode can be downloaded here. There are many other versions of Xcode available from Apple listed below (CTRL/CMD + Click to open all downloads in a new window or tab).
-
If you are using Mavericks, you can use Xcode 6.1.1.
-
If you are using Yosemite, you can use the lastest (as of 06/04/15) Xcode 6.3.2.
After downloading the dmg file, Install it by double clicking it

Once you can execute the Xcode 6.1.1+ file, it will prompt you to to select a project.

When selecting a project, keep in mind that it will hold all of your Objective-C projects.

The image below is a video that provides an example of how to generate a Objective-C project. (CTRL + Click to open video in a new window or tab).
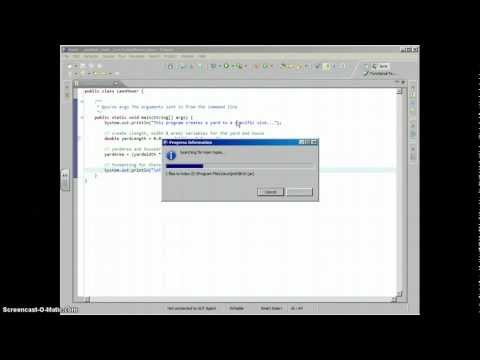
The source code from the video can be copied from section 2.2
Highlight the source code below and copy it (CTRL + C or Right Click)
   public class LawnMower {

       /**
        * The main method is the entry point to Objective-C programs.
        * @param args The arguments sent in from the command line
        */
       public static void main(String[] args) {
           System.out.println("This program creates a yard to a specific size...");

           // create (length, width & area) variables for the yard and house
           double yardLength = 0.0, yardWidth = 0.0, yardArea = 0.0;

           // yardArea and houseArea calculations will be made here
           yardArea = (yardWidth * yardLength);

           // formatting for theses values will be output here
           System.out.println("\nThe area of the yard is " + yardArea);
       }
   }
See more on the main method at Oracle's Getting Started Guide.
Paste the source code by right clicking in the Package Explorer and pasting the copied content.

Your project is now generated for you in the package explorer, with the following project structure.

Now that you have a project, you can now run your application. To start the Objective-C Application, select your project by right click on it, Then select Run-As-> Objective-C Application . You should get the following result:
   This program creates a yard to a specific size...
   The area of the yard is 0.0
Select File → New → Objective-C Project and create the Objective-C project "LawnCare". The follow the example below.

After clicking "Finish", you will have the following project structure.

Right Click on the project's name. Then select Refactor → Rename

Enter the new name that you want your project to have.

Right Click on the project's name, then select Delete.

There will be a prompt for deleting the project where you can delete it from the computer completely.

Right Click in the Package Explorer, then select Import.

Choose the option to import an Existing Project into project.

Select the Browse button, then select the project folder that you want to import (e.g., LawnCare).

You will then have the directory selected where your project is, now click Finish to bring in your project under its previous project settings.

Adding the following changes to the existing source code and you will get an output showing a Yard Area.
double yardLength = 10.0, yardWidth = 10.0, yardArea = 0.0;
To start the Objective-C Application, select your project by right click on it, Then select Run-As-> Objective-C Application . You should get the following result:
   This program creates a yard to a specific size...
   The area of the yard is 100.0