This is example react-native-storybook project. It is running React native (0.38, but it could be any version). What is special about this example is that it allows you to host your storybook to server and let them connect to it through apps installed in their phones.
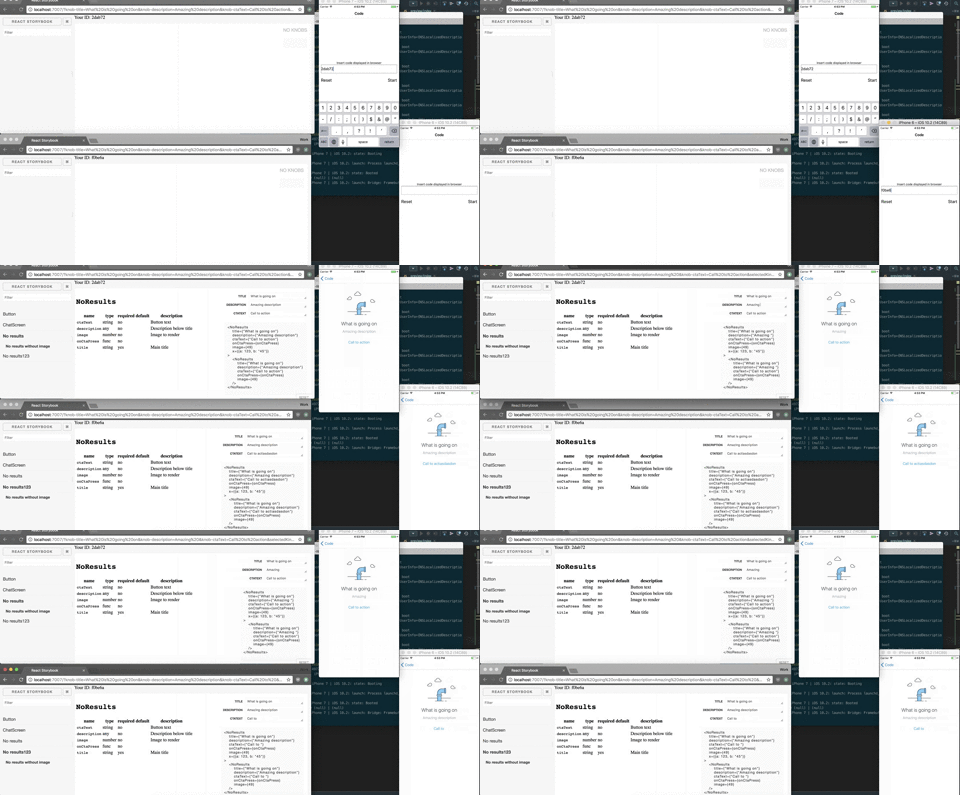
Storybook in this project has two modes:
- Local
- Hosted
- Custom design (main area is hidden in favor of bigger sidebar)
- All tabs in sidebar are displayed at same time, to reduce tab switching.
- Contains entry screen to insert remote server address in hosted mode.
Run npm run storybook and then run `react-native run-ios' and you should instantly see working project (same as when installing new storybook).
Run npm run storybook-hosted and then runreact-native run-ios. You should see a screen asking you to enter information.
I have deployed this example storybook to heroku, so if you want to test it out leave host same and enter code displayed in browser.
- Host (localhost if running locally/leave default if testing out deployed version).
- Port (7007 if running locally)
- Code (Insert code shown in browser)
- Secured (leave unchecked if running locally, check it for running in server).
All you need to do is run npm run storybook-hosted -- -s --skip-packager -p $PORT command in the server.
Also make prettier code-screen, remove host/port so users wouldn't have to enter it every time.
- Run getstorybook
npm install -g getstorybook; cd to_your_project_folder; getstorybook; - Move out stories folder from storybook folder to root and delete the storybook folder.
- Copy .storybook, .babelrc to root of your project.
- Rename 4 occurrences of ReactNativeStorybookExample
insideAppRegistry.registerComponent('ReactNativeStorybookExample', () => StorybookUI);To your current project name. - Add these dependencies to your package.json file (dependencies or devDependencies, depending on are you going to host this project or not.)
"@kadira/storybook-addon-knobs": "Gongreg/storybook-addon-knobs",
"babel-plugin-react-docgen": "^1.4.2",
"babel-preset-react-native": "1.9.1",
"es6-symbol": "^3.1.1",
"react-storybook-addon-docgen": "Gongreg/react-storybook-addon-docgen",
"storybook-addon-smart-knobs": "^0.3.0",
"storybook-usage": "^2.0.0"
- Copy these two lines into scripts and remove previous storybook command.
"storybook": "storybook start -p 7007 -c .storybook/local",
"storybook-hosted": "storybook start -p 7007 -i -c .storybook/server -e PRODUCTION"
- Create your own stories in stories folder.
- Add proper styles.
- Remove running webpack when starting server.
- Remove all Gongreg/** dependencies. Create new projects if necessary.